Best Resin Coaster Molds – How to Cast Epoxy Coasters
This post may contain affiliate links. We may earn a small commission from purchases made through them, at no additional cost to you. You help to support resin-expert.com
Resin coasters are fun to make and are amazing, one-of-a-kind gifts for family and friends. Each resin coaster can easily be customized to create something unique. You will need a few things to get you started including a silicone coaster mold. There are many silicone molds to choose from, so we have provided you with a few popular choices.
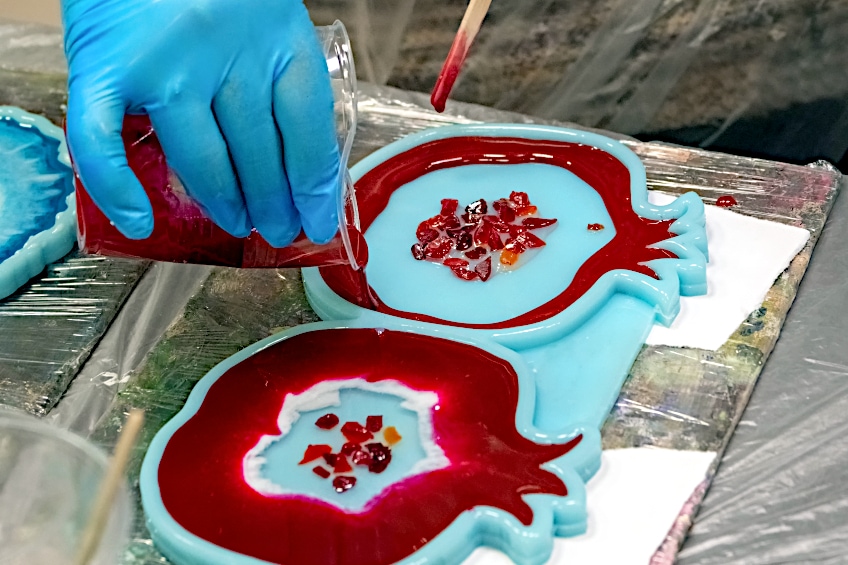
Table of Contents
What Are Resin Coasters?
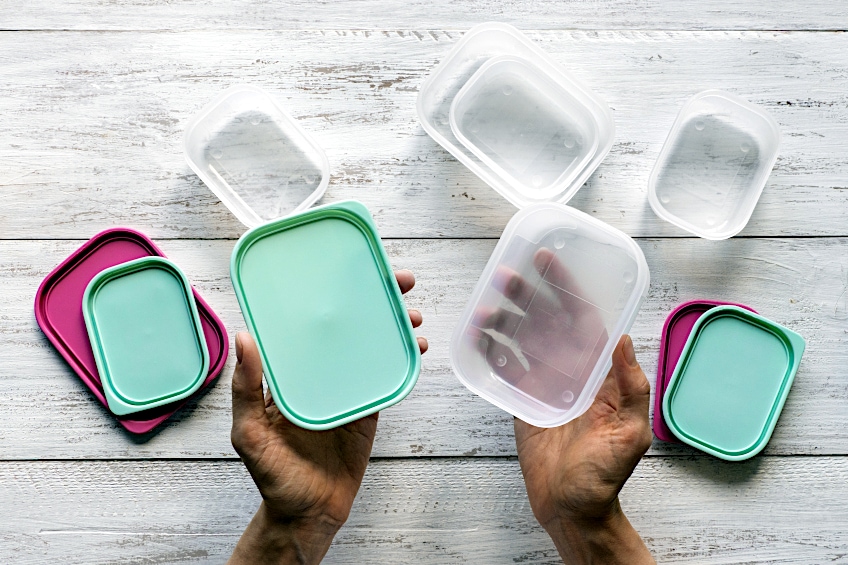
The coasters are made from epoxy resin, which you then pour into a mold of your choice. This then cures or hardens and can be unmolded and used. The coaster can then be used as a beautiful addition to your living room and when guests come to visit, they can become useful as coasters for cups. You can also create resin coasters by using something around the house that can be used as your mold. For example, a container or plastic lid.
The container or similar item to be used as mold should be smooth and shallow. However, the container will most likely be destroyed when trying to unmold the resin, meaning that creating a set of coasters may prove difficult. Using a plastic lid can also make removing the cast item difficult and may result in damaging it. This is why a silicone coaster mold is your best option, as it is easier to use and can be used for more than a single application.
Types of Resin Molds for Coasters
There are many different types of silicone coaster molds, shapes, and sizes. You have your common round molds as well as simple square silicone molds. Then, if you want to pour more than a single coaster at a time, there are silicone molds that can provide three or more cavities for the resin. Below are a few examples of various shapes for resin molds for coasters.
- Oval or rectangular
- Hexagonal or octagon shapes
- Heart molds
- Flower molds
- Geode silicone mold
- Star shape
- Silhouette head shape
The molds can also create resin items that have a rim around the edge, which is mostly done with a round shape mold. Another effect is your four-piece silicone molds, which are similar to puzzle pieces. Each mold is separate, but once the four separate items come together, they form a whole shape. The shape could be square, a circle, or even a geode shape.
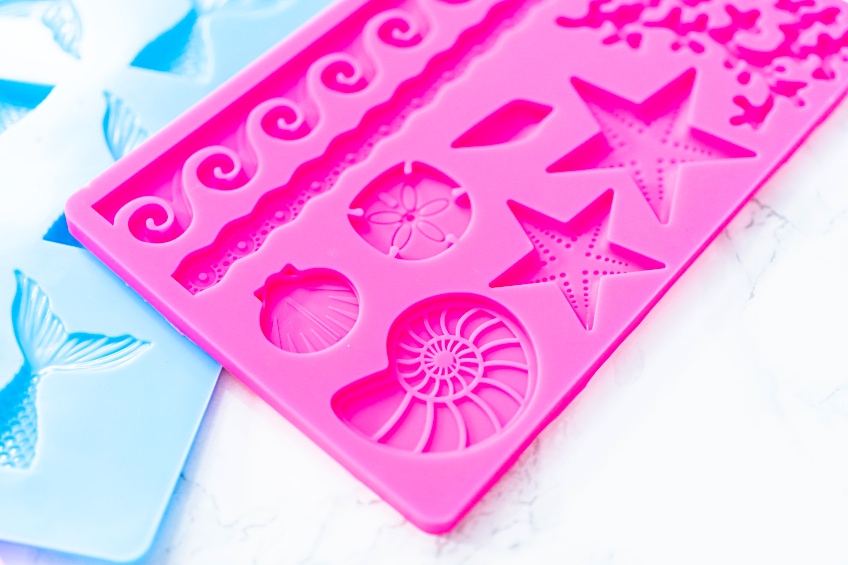
Some silicone molds have a very smooth interior surface which produces casts with a very glossy finish. A less smooth interior surface will give a matte finish once the resin has cured. There are also silicone molds that have various patterns or impressions, which will transfer onto the resin.
Best Resin Coaster Molds
As we have learned, there is a variety of different resin coasters available. There are also different brands, each with different prices. So, we have done some research for you and chosen some of the more popular coaster resin mold options.
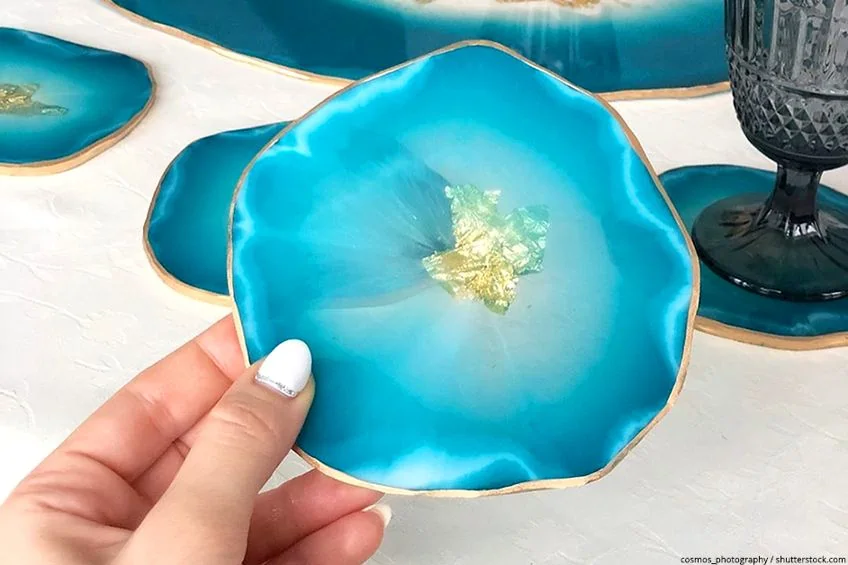
Best Geode Resin Coasters: LET’S RESIN Geode Coaster Molds
These geode coaster molds are durable, with superior tear strength and elasticity. The glossy surfaces should provide a beautiful finish. The molds keep their shape nicely when pouring the resin and once cured, the hardened resin should demold easily. These molds can also be used for other purposes besides coasters, for example, as decorative ornaments or a candle holder.

- Keeps its shape for casting with flexibility to ensure easy to release
- Finished products are glossy and shiny, no polishing required
- Mold can produce coasters, jewelry holders, dishes, or candle holders
- Glossy surface
- Great elasticity
- Durable
- Shaped perfectly
- Some consider it too thin for a coaster
- Size difference for each mold
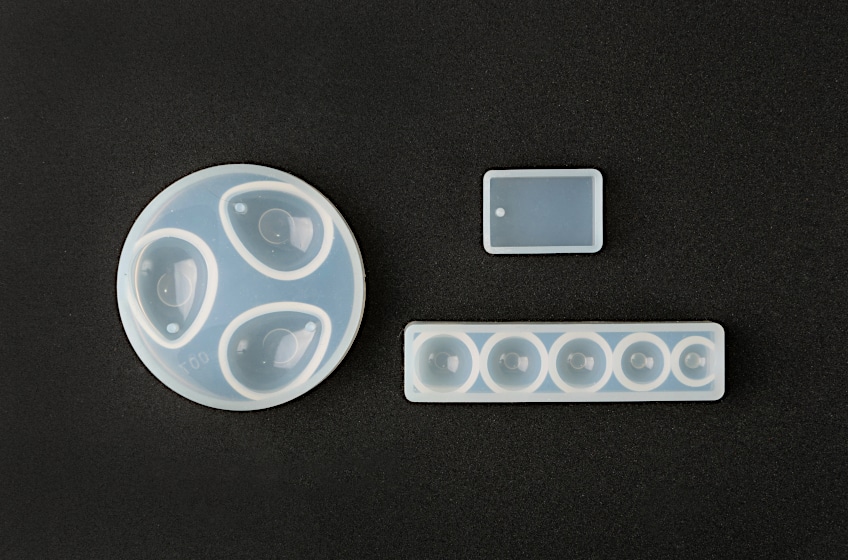
Best Resin Coaster Molds Set: LET’S RESIN Round Coaster Molds
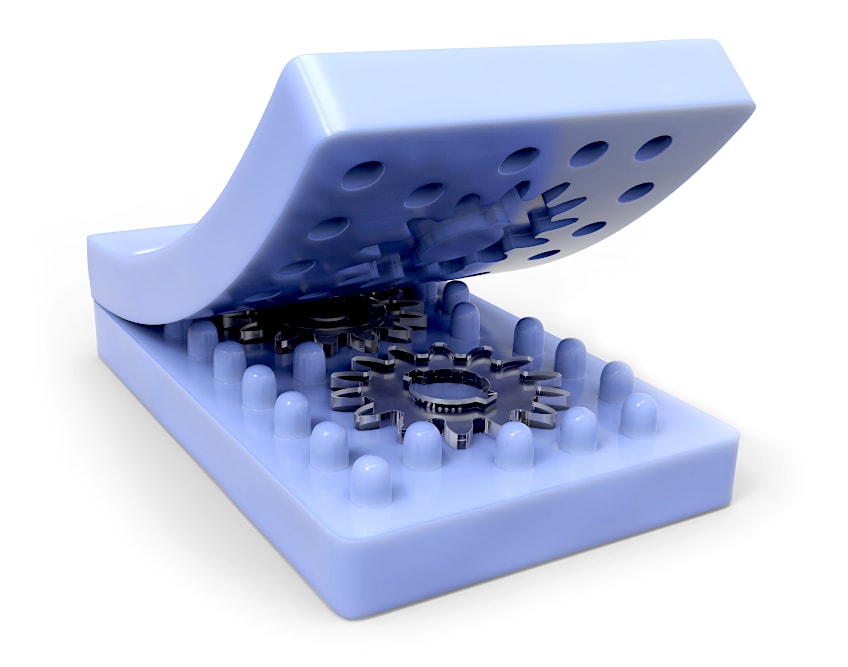
This Let’s Resin product comes with four round coaster molds as well as a coaster storage box mold, so you can keep them stacked and stored properly. The coaster molds have been upgraded and are now thicker at 0.12 inches, to make sure the coasters keep their shape. The silicone is of high quality and has good elasticity, which makes it flexible and durable. These resin coaster molds have a gloss surface that provides a nice shiny finish. The smooth surface helps make the demolding process easy.

- Includes 4 round silicone molds and 1 coaster storage box mold
- High-quality silicone with excellent elasticity, and high tear strength
- Suitable for casting resin, pigment, and dye, but not for coating resin
- Gloss surface
- Flexible and durable
- Easy to demold
- Comes with a coaster holder
- Imperfections can transfer to the cast item
- Molds are easily warped during packaging and transport
What to Look for When Buying Resin Molds for Coasters
Okay, so now you have seen our recommendations for silicone coaster mold products, but what if you want to look for yourself? What would you need to be on the lookout for if you want to do your own research into purchasing a good quality silicone coaster mold?
The Surface of the Mold
The first factor to take into account when purchasing your mold is the surface. Is it a gloss, smooth surface or is it a matte surface? In either case, you want your finish to be smooth and without sharp edges or marks. The gloss surface will give you a nice shiny finish, which is great for those clear resin castings.
When your resin item comes out shiny, you do not need to polish it afterwards. By contrast, a matte surface will result in a dull finish. The color of the mold should also be taken into account. Clear molds offer a better opportunity of viewing your coaster before it begins to cure, especially if you have embedded items. You cannot do this with colored molds.
Mold Durability
The best resin coaster molds are made from silicone, which is both durable as well as flexible. You should be able to use your silicone molds over and over, without them wearing and tearing. Even though silicone is durable, it is best to get thicker molds, to help prevent any tearing further while you are demolding. Thinner silicone molds do tend to tear more easily. The silicone mold should be of excellent quality and be able to withstand a certain amount of heat as the resin heats up during the curing process, and also when you are using a heat gun to remove bubbles from the resin.
Cleaning of the Mold
Working with resin and molds can be fun, but inevitably, you will need to clean up. Silicone molds are great because the resin does not stick to the surface and can easily be peeled away, which makes them easy to clean. All you need to do is wipe it off after you have used the mold and then put it away until you are ready for the next resin project. If you are having difficulty cleaning your mold, then you may have to get a different one.
Costs
Price matters, as you do not want to pay too much for a poor-quality silicone mold, but you also do not want to go too cheap and create a poor quality casting. The best option would be to find a product that offers a good price, without compromising on quality.
How to Make Resin Coasters
Creating resin coasters is a relatively easy project and requires a few materials. You can get all these materials separately or you can also choose a kit, which includes everything you need for a particular project. Depending on your project, you will need to get the following items.
- Silicone molds
- Epoxy casting resin
- Mold release spray
- Measuring plastic cups (two smaller and one larger cup)
- Stirring utensil like a popsicle stick
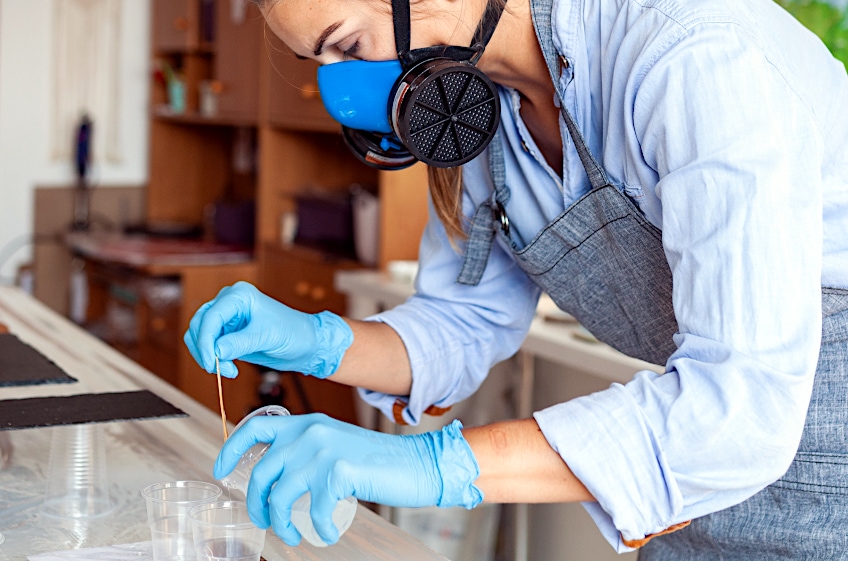
- Gloves
- Mask or respirator
- Toothpicks
- Cleaning cloth
- Something to cover your resin while it cures
- Lighter or heat gun
- Color pigments and embellishment
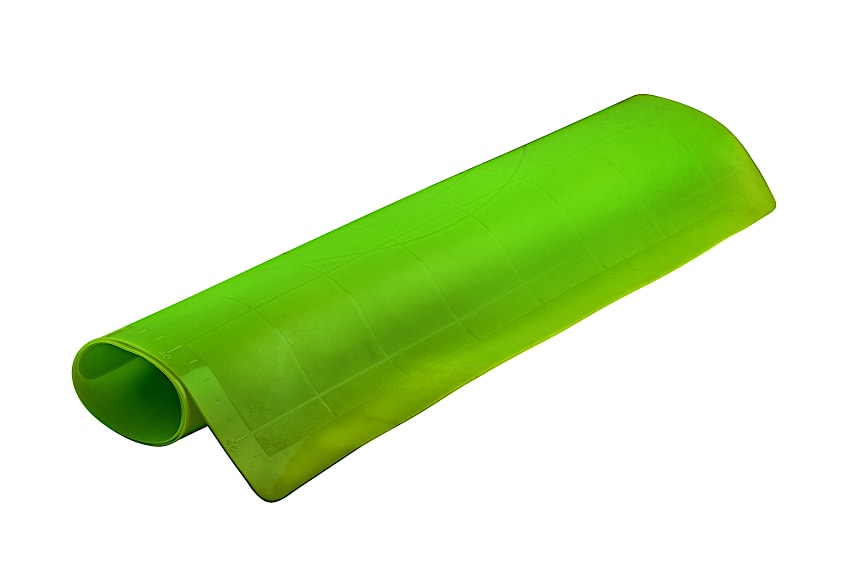
You might also want to get some clear bumpers or cork pieces to place underneath the coasters for extra cushioning on a hard surface. Choose a work area that has enough air flowing through and a place where you can work without being disturbed. You might want to get a silicone mat of the type used in baking to work on as it is easy to clean if you make a mess. Otherwise, cover your work surface with something stable to work on and you do not mind messing on.
Even if you are using a silicone mold, we still recommend applying some mold release spray to the mold surface to prevent the cured resin from sticking and damaging the mold and casting. Also, remember to put on a mask and gloves before you start working.
Preparing the Resin
You need a casting resin for coasters, as this will cure harder and keep the shape of the coaster. Always read the directions provided as curing times and other details can vary according to different brands. The amount of resin required will be determined by the size of the mold and if you are going to embed an object.
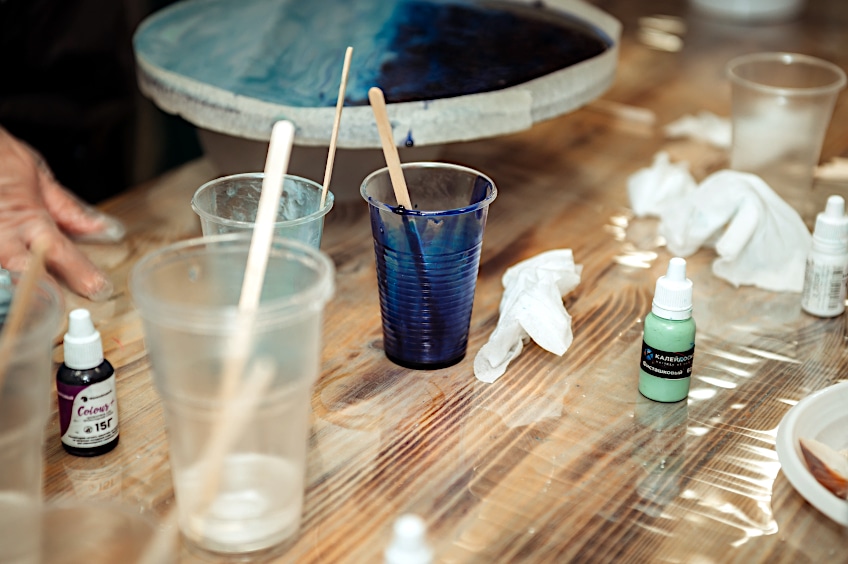
Casting resin comes in two parts, your hardener, and your resin, and these two materials must be mixed to form your casting. The ratio is usually 1:1, however, this is one of the things you should look out for on the instruction label. Pour the correct amounts of each resin and hardener into two separate measuring cups.
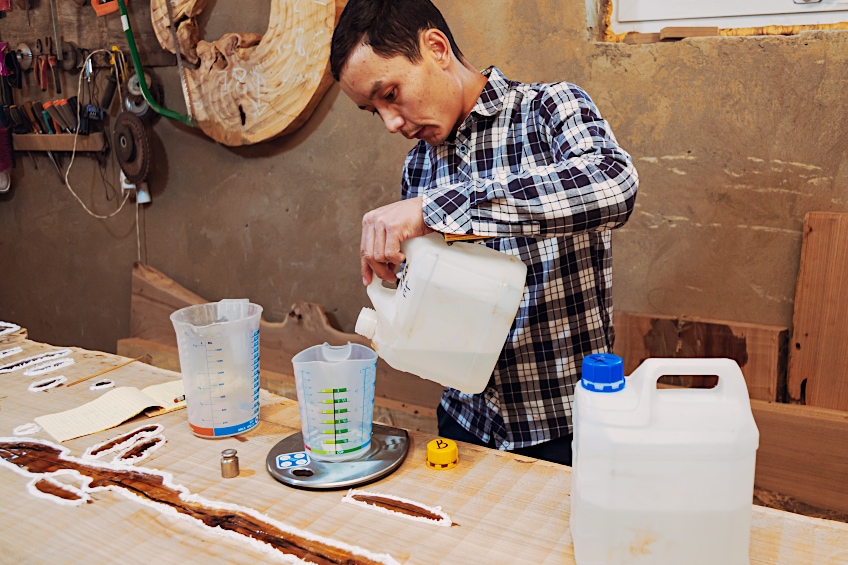
An estimate should be about 60 ml of each of these materials for the first layer, but this can be different, depending on the size of the mold. Both are then poured into your bigger measuring cup and stirred. Scrape down all the sides, so it all gets mixed thoroughly. Mix carefully for about three minutes so it does not form too many bubbles as you go.
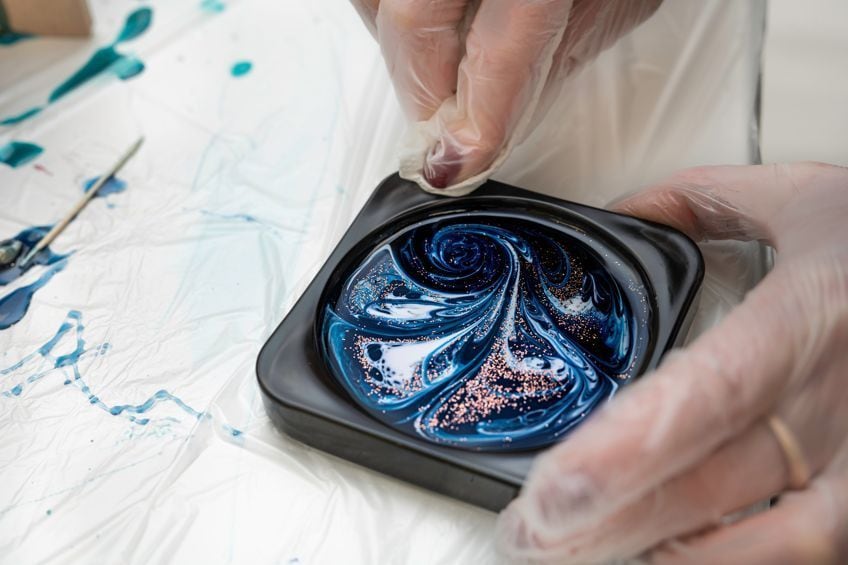
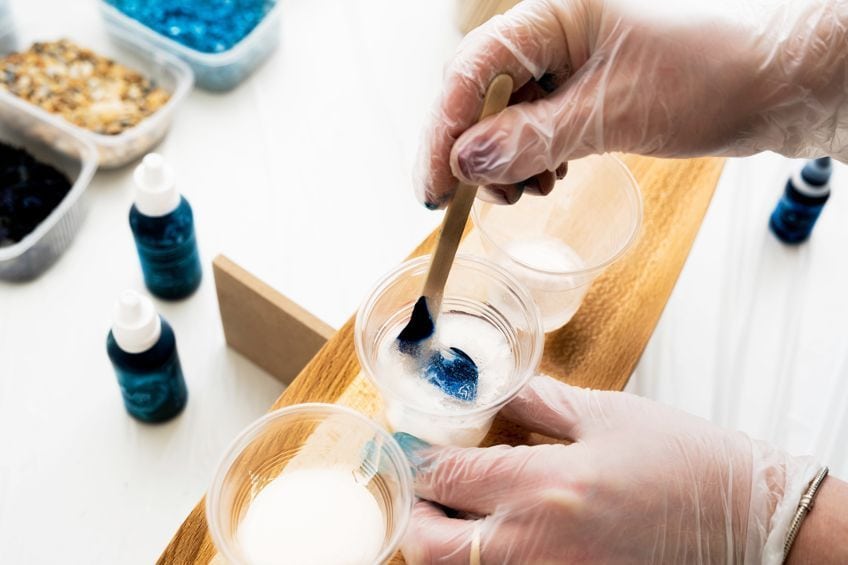
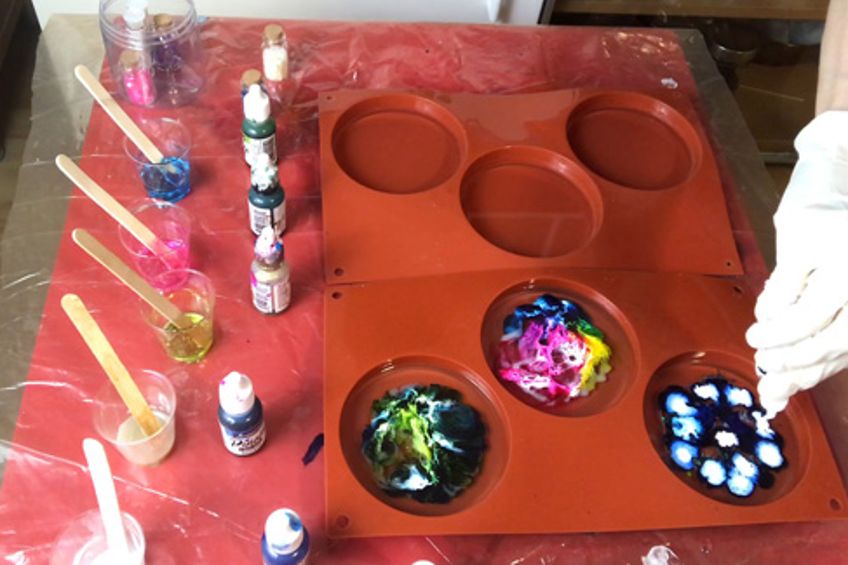
Adding Color
Once you have mixed the resin and hardener, you can add color if you wish. We recommend that you only use colors from the same brand of resin you are using. Any other color brands may affect the final look of the cured resin. There are various colorants available, and each can produce a different result. Do not include more than six percent color to the total amount of resin.
- Resin dyes
- Color pigments
- Alcohol inks
Embedding Embellishments
This is optional and the resin can remain clear for this purpose. Take a little bit of resin and cover the bottom of the mold. Take the item you wish to embed and push it into the resin. Remember, if the mold has a rim included, you will have to place the item upside down, so when the resin has cured and you remove it from the mold, the embedded item will be facing the correct way.
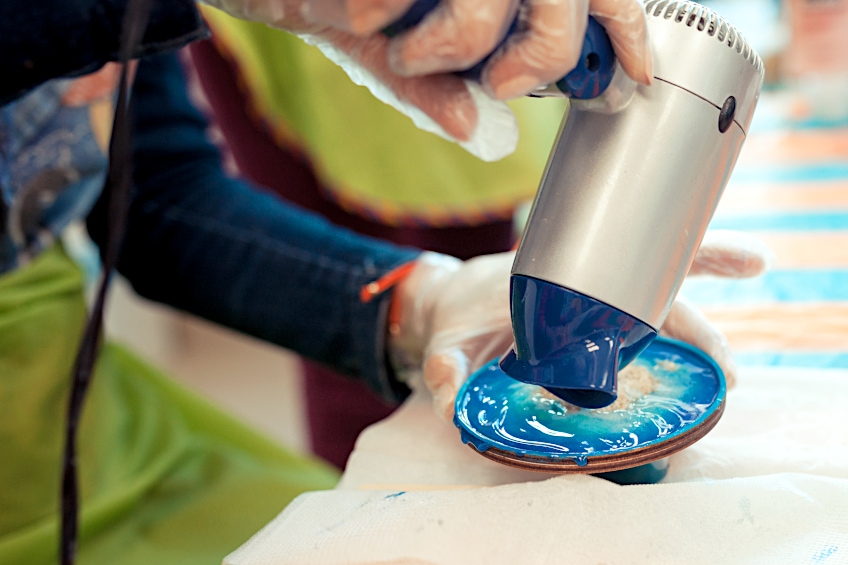
You can also dip the item you wish to embed into the resin mixture, which can help to reduce the number of bubbles. You can also pop any bubbles appearing with a toothpick or a heat gun, keeping the heat source at least six inches away. Cover the mold so no dust can get in and allow it to cure for about four hours.
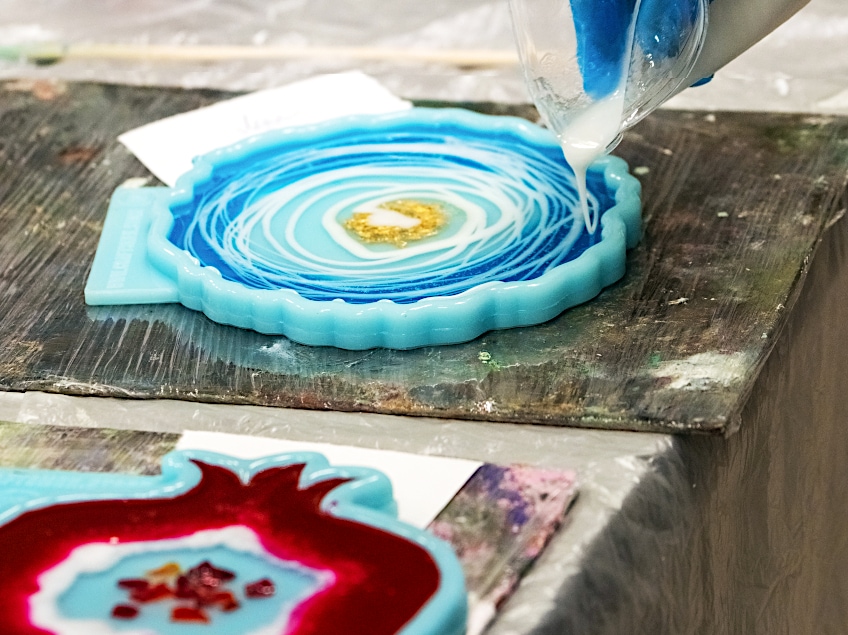
Pouring the Second Resin Layer and Curing
Once the first layer has cured, you can then add the second layer. Follow the same process when stirring together the hardener and resin. Pour this over your cured resin, making sure you do not fill it too much, so it overflows. When using the 60ml amount, to begin with, you should then have used a total of around 100ml to complete the project. Pop any bubbles again and then cover and allow to cure thoroughly as instructed or for at least 24 hours.
Demolding the Cured Resin
When removing the cured resin from the mold, it should be easy and peel right off. Since you used a mold release spray, you should not have any issues. Doing this also helps to prolong the life of your silicone mold. If you used a glossy mold, the item should already have a glossy surface. However, if it is not as glossy as you want it to be, you can also use a resin polish or wet sand the resin item with fine-grit sandpaper. As a final touch, you can then stick on some clear bumpers to the bottom of the coaster.
How to Make a Coaster Resin Mold at Home
The easiest way to make your resin coasters is to purchase the many silicone molds available. However, why not make your own silicone coaster mold? All you need is some silicone caulk, soap, and an item or a coaster to make the mold out of.
However, you can also use silicone and cornstarch, or you can buy a silicone-making kit. The kit usually comes in two parts, you will then need to mix these two parts according to the instructions. This is then poured over the prepared item you wish to form the mold from. You can also get mold putty, which also comes in two parts you can knead together to form your mold.
Making a Coaster Resin Mold Using Silicone and Liquid Soap
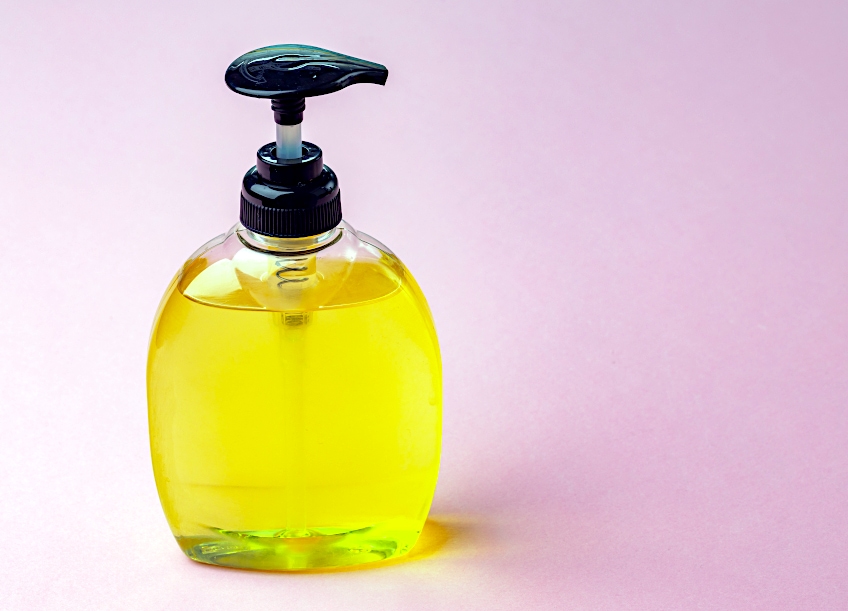
The process is quite easy with only two ingredients. First, fill a bowl with some tepid water, enough so you can fit your hand into the bowl and the water covers your hand. Take the liquid soap and stir it into the water. The amount should be about one part soap to ten parts water. Stir until it is completely mixed in.
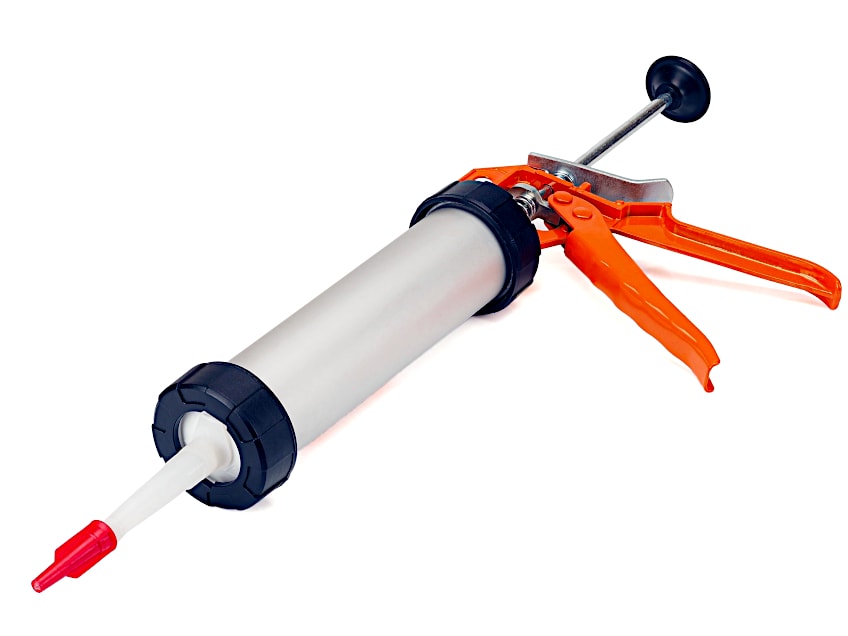
Then take your silicone and place some into the water and soap mixture. The amount of silicone you squeeze in should be able to cover your chosen item you wish to form a mold from. Do not choose a quick-setting silicone product, make sure it is your general construction silicone, which is also known as silicone caulk.
You will now need to put on a pair of gloves and knead the silicone in the water. Continue to knead and squish the silicone, until it is no longer sticky, which should take about five minutes. Take the silicone out and put it on a clean surface, and form a round, thick disk shape. The silicone should be thicker than the item you wish to mold.
Take your item, in this case, a coaster, and press into the silicone with the design facing down. Cover all gaps found around the coaster in the silicone. Allow all of this to harden for a few hours. The silicone should become hard yet remain slightly flexible. Remove the coaster by pulling the mold edges back. Once you have removed the item, you can then use the silicone mold.
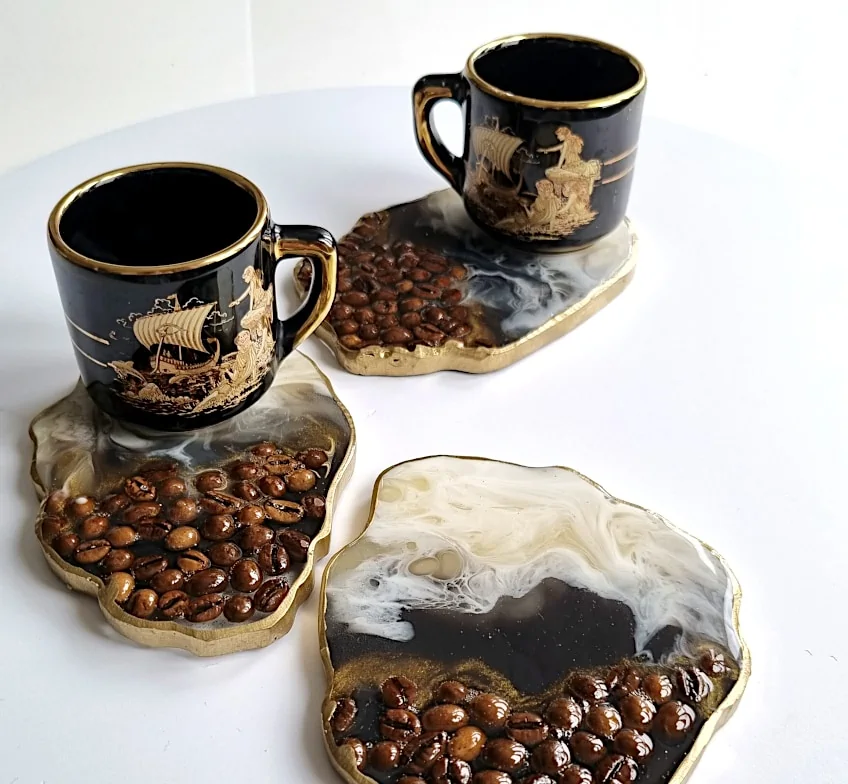
Creative Ideas for Resin Coasters
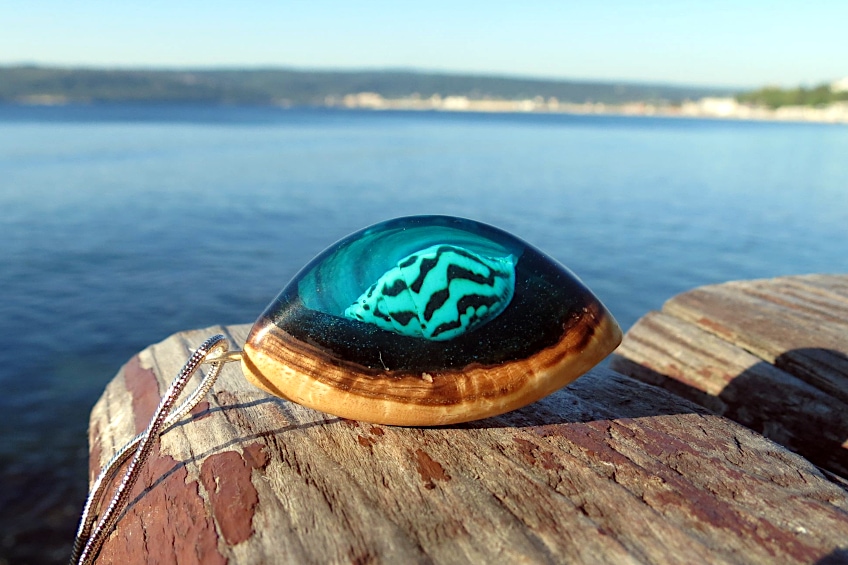
You have many creative ideas for making resin coasters. You can embed practically anything in resin, color it, and create various shapes. When it comes to organic matter like flowers, it might be best to use the dry or fake flowers as the real ones contain moisture, which could turn brown inside your cured resin coaster.
A popular idea is to create a beach look, using sand and shells. You can also create the river effect with two pieces of wood and the resin running in-between. There are countless ideas, but below are a few more inspirations.
- Embedded beads
- Bottle caps
- Mosaic tiles
- Customize with photos
- Include glitter for galaxy coasters
- Golden leaf
- Using alcohol ink
- Cut up color pencils
- Buttons
- Use wooden letter tiles or metal disks
- Confetti
Now that you have some idea and inspiration for creating resin coasters, it is your turn to go out and purchase the best resin coaster molds for your next project. Not only do these look good in your own home, but you can make some amazing gifts for those you love as well.
Frequently Asked Questions
What Is the Best Resin to Use for Resin Coasters?
When making resin coasters, it is best to use casting resin. This type of resin is perfect for pouring into molds as it has a thinner consistency and will reach all those corners and cavities in a mold. Bubbles can also escape more easily, where you can then get rid of them. Casting resin also cures harder, so you will have a nice and firm coaster that will keep its shape. You can also decide to use a special heat-resistant resin for coasters.
How Do You Care for Your Silicone Coaster Molds?
You want your silicone molds to last for some time, so you need to take care of them. You can use a mold release spray when using epoxy resin, so you will not struggle to get the cured item out of the mold. You can also need to make sure and store your molds out of the sun and heat.
Can You Pour Resin Into Plastic Molds?
You can, but it is not the best mold as it will most likely break when unmolding your cured resin item. The silicone mold is a much better choice as you can use it over and over again, it is flexible as well as durable. You can also make a custom mold by purchasing a silicone two-part mold-making kit.
Should You Use Mold Release Spray?
To be sure the cured resin will come out of a mold without problems, it is best to use a mold release spray. Not doing so could result in difficulty removing the cured resin and damaging the mold. You can purchase mold release spray, or you can use other materials like cooking spray or any cooking oil, talcum powder, mineral oil, or petroleum jelly.
Can You Make Silicone Molds at Home?
Yes, if you want to make cheap silicone molds a home, you can. The most common method of making a silicone mold is by using construction silicone and liquid soap in a bowl of water. The silicone is placed in the water with the liquid soap, which speeds up the curing process of silicone.
