Can You Stain Over Stain? – Ultimate Guide to Restaining Wood
This post may contain affiliate links. We may earn a small commission from purchases made through them, at no additional cost to you. You help to support resin-expert.com
Staining wood is a great way to enhance the natural grain of the wood. It can bring out all the details of the grain as well as create a rich but natural-looking color on the surface of the wood. When refurbishing wood you may be wondering to yourself – can you stain over stain? The answer is yes you can! Staining over stain is a great way to alter the look of an old piece of furniture. However, there are several things you need to consider before you slap on a stain.
Table of Contents
Types of Wood Stain
Wood stains are similar to paint in that they usually contain chemicals like solvents, binders, and of course pigments. However, instead of covering up the wood grain, it allows the wood grain to show through by absorbing into the wood. By doing this it adds dramatic color and warmth to your project. There are many different types of stains. This section aims to introduce you to some of them so that you may get some clarity on how to proceed with your project. Later on, we will look at how to stain over stain as well as refinishing wood.
Oil Wood Stain
Oil wood stain is the most common wood stain. It is often made from natural oils like linseed oil. It is very forgiving and some products are even safe for surfaces that are intended to come into contact with food. Some however contain solvents that can be toxic. For this reason, it is best to refer to the manufacturer’s safety guidelines before applying this type of wood stain to your butcher block. Oil stains make it easy to achieve an even finish and they tend to penetrate deep into the wood.
When using this type of stain you should not apply a water-based finish over it.
Water-Based Stain
Water-based wood stains do not contain solvents and are thus more environmentally friendly. Cleaning up is also very easy as all you need is water. These types of wood stains dry much faster than oil stains and are good for inhibiting mold and mildew growth. Because water-based stains dry fast it can be difficult to achieve an even finish, especially when using a brush. It is best to apply water-based stains with a rag or a stain pad.
Gel Stain
As the name suggests, gel stains are thicker than both oil and water-based stains. This makes them easy to work with especially on vertical surfaces where the risk of runaway stain is high. Gel stains work well on a variety of woods and are usually oil-based. Gel stains tend to be on the darker side of the spectrum and are great for hiding imperfections in the wood. Gel stain is ideal for covering up the previous wood stain and even paint.
These types of stains take a long time to dry and can not be sprayed on.
Lacquer and Varnish
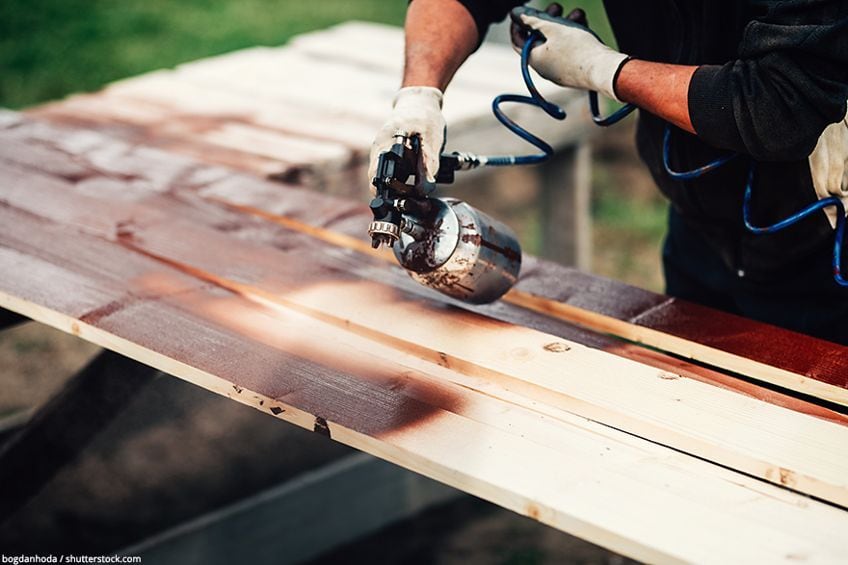
Lacquers and varnishes may contain pigments that create a similar effect on wood that stains do however they are not exactly wood stains. These are usually clear film-forming coatings that are applied to protect the wood and seal it off. Lacquers and varnishes are easily applied with a brush but to achieve a professional-looking finish it is advised that you use a spray gun to apply these types of topcoats.
Water-Soluble Dye Stain
This type of stain comes in a powder that is mixed with water. They come in a wide variety of different colors and were originally used as textile dyes. However many coats you apply it will not cover up the wood which makes water-soluble wood stains ideal for preserving the natural character of the wood.
These types of stains tend to fade when subjected to UV rays for a prolonged time so they are not ideal for use on outdoor items.
How to Stain Wood Darker
Now that we have covered some of the different types of stain we can take a look at how to stain over stain. If you are unhappy with an existing wood stain you can stain over it, provided that you are willing to go a shade darker. Applying a light stain to a dark stain will make little difference if any at all. However, choosing to stain over a light stain with a darker wood stain will work just fine.
Be aware that the existing stain will affect the color of the darker stain. This may be a good thing. For example, if you used a light-colored stain with red tones this could create a warm undertone to your new darker stain. This is a great way to achieve interesting finishes. You can even mix stains to achieve custom shades.
Now let us take a look at an overview tutorial on how to stain wood darker.
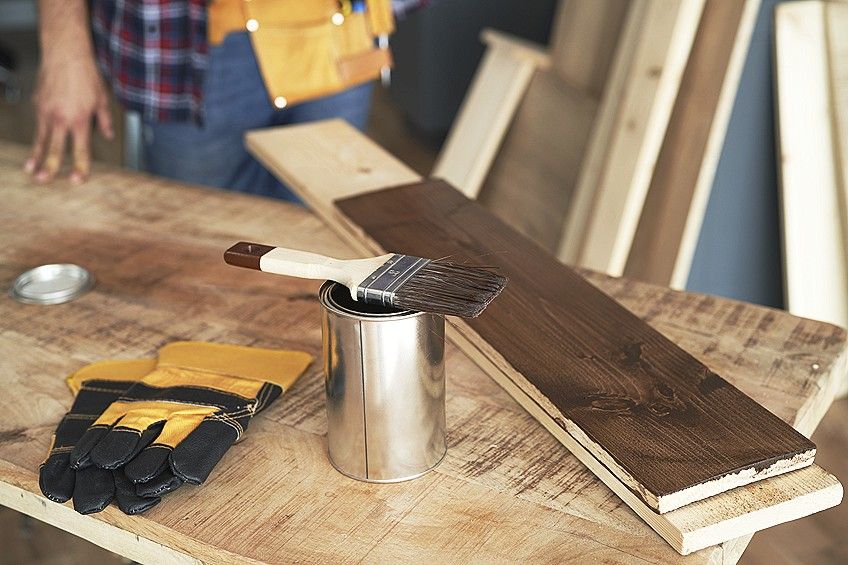
Disassembly and Preparation
Before you restain wood you need to disassemble the piece you are working on. This will make it easier to get to all the areas that you want to stain. Remove any door handles, draws, and shelves. Remove whatever you think may get in the way. If something can not be removed you should consider masking it with painter’s tape to prevent stain getting onto it.
Lay down a drop cloth to prevent any unwanted mess. Alternatively, you can use old newspapers. You consider taping them down to prevent them from blowing away.
Make sure you are working in an area that is well ventilated.
Staining Over Stain
Stain over stain can be very effective unless you are dealing with wood that has been sealed off with a topcoat. There are many polyurethane stains that you can apply over polyurethane topcoats without having to strip or sand them. If you are dealing with wood that has a stain but no topcoat you can simply apply a darker stain over it. Just be sure to not apply a water-based wood stain over an oil wood stain.

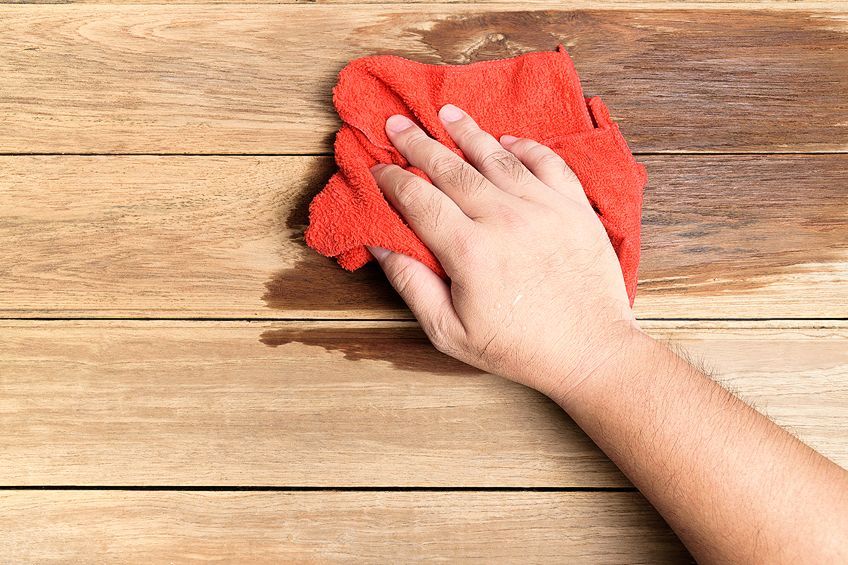
Before you restain wood it is best to wash the surface with a degreaser such as TSP soap. Make sure the item is dry before you move on to sanding. Standing lightly with 220 grit will do the trick. No need to give it heavy sanding as this could remove areas of the old stain and leave you with an uneven finish when you restain wood. Next, use a tack cloth or a damp cloth to remove all of the dust and grit. Before you apply the stain be sure the surface of the wood is completely dry. Test a small amount of the stain on an area that is out of plain sight to test the adhesion as well as the color.
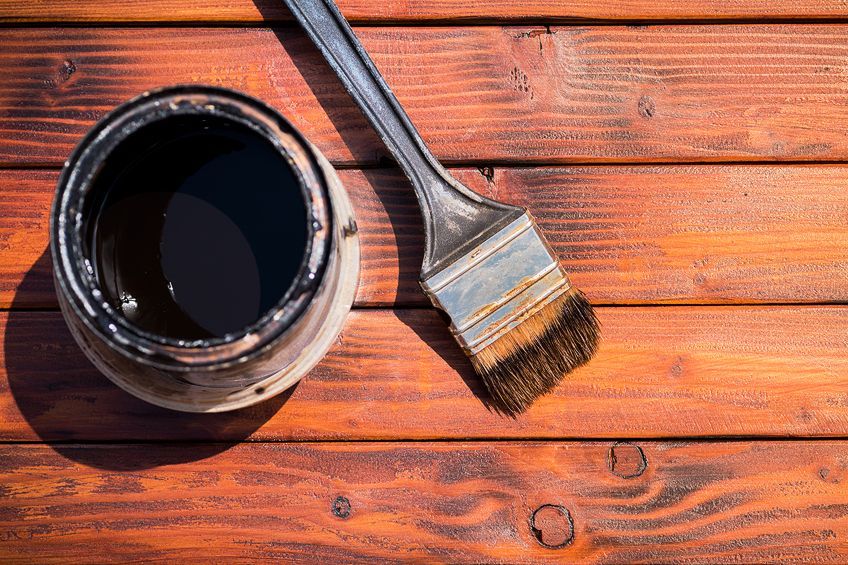
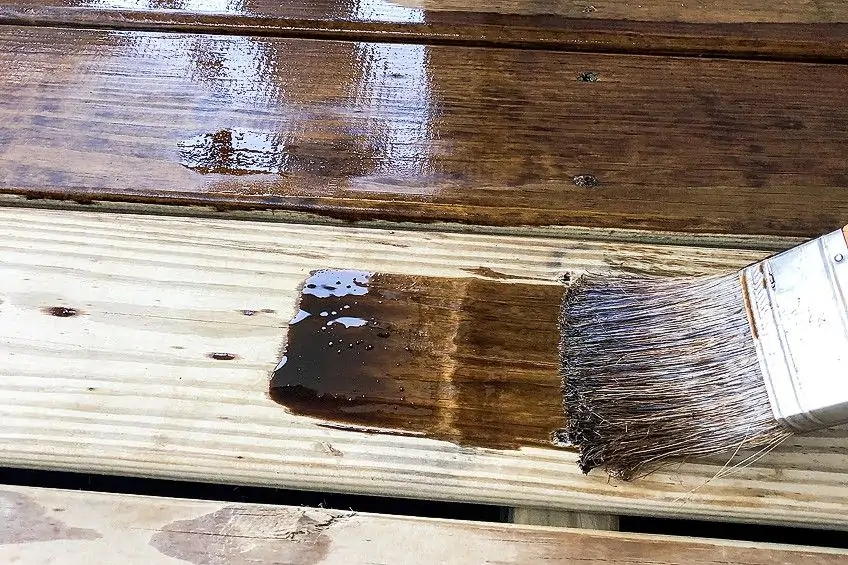
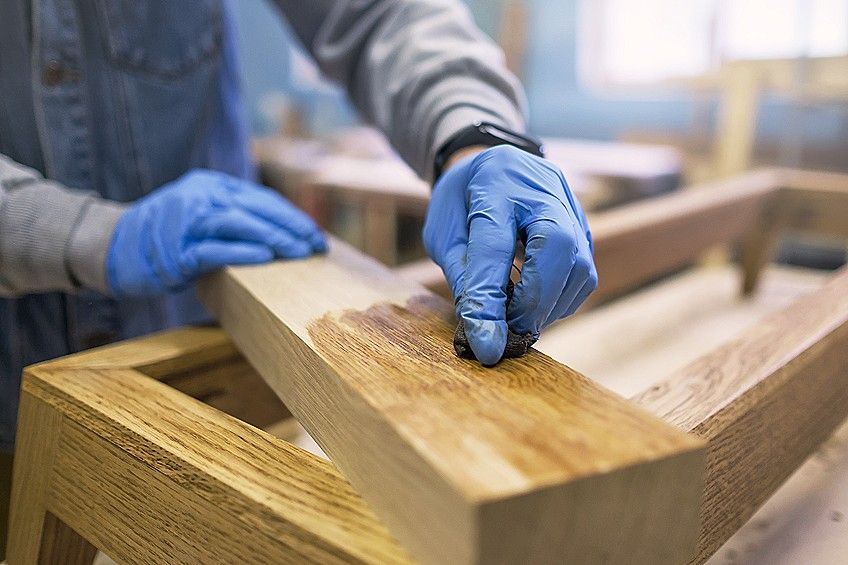
Apply the stain as generously and evenly as possible using a cloth. Apply it with and against the grain and once you have achieved full coverage wipe away the excess before it dries. Thin coats are what you are after when staining wood and refinishing wood.
There are specialized stain pads available that can help you to achieve an even finish when staining and they also work when staining over stain. If you are applying a gel stain you can just use a paintbrush as this stain can be quite forgiving to work with. Allow the wood stain to dry for a few hours and apply another coat if you want it to be darker.
Toners and Topcoats
Applying multiple coats of stain tends to obscure the natural wood grain. Another way to adjust the color of a stain is to spray on toner. These products can tone down attributes like yellow hues or green tinges. Once you have completed staining over stain you may consider applying a topcoat.
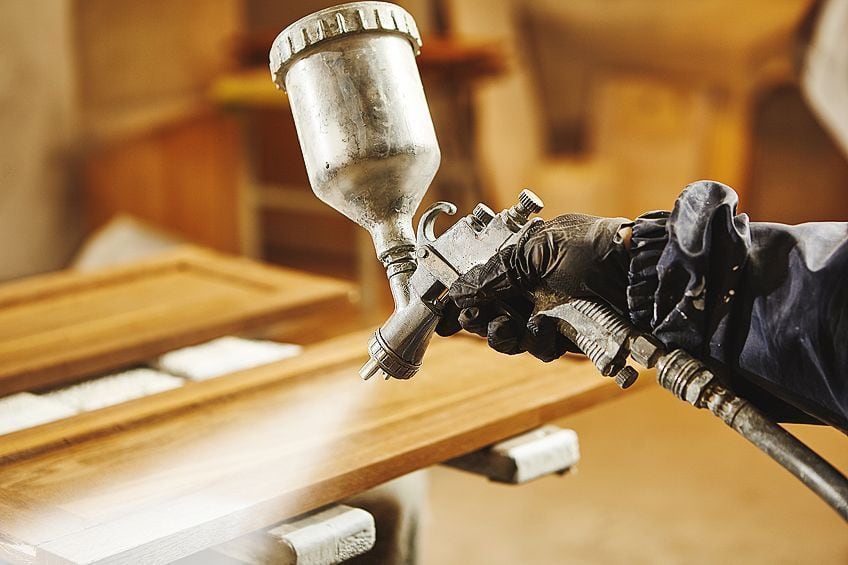
This will protect your item from unwanted stains like spaghetti sauce and will preserve your stained wood by making it more durable. Applying a top coat using a spray gun is ideal but you can do this with a brush too. Be prepared to apply multiple coats to achieve a smooth professional finish. For the best results always refer to the manufacturer’s directions.
Reassemble and Enjoy
Allow at least 10 hours for your stain to cure and after applying a top coat allow another 24 hours for that to cure. Next, remove the masking tape and reassemble your project. Staining over stain is far easier than stripping an existing stain so if you have made it this far just remember that you skipped all that by using a darker stain over a light stain. If you are adamant that you want a lighter stain than the current stain on your project, you will have to remove the existing stain by chemical or abrasive methods.
Applying a light stain will not have much effect at all when applied to the dark wood stain. Next, we will look at what is involved in that process.
Refinishing Wood
You may have applied a stain and it is too dark for your tastes or you may have an old piece of furniture that has a dark stain and a top coat but you want it to be lighter. Whatever the case may be, the only thing to do here is to remove the existing stain before you can apply a lighter shade. Below is a table to help you understand whether or not your surface needs to be stripped or sanded before restaining.
| Oil stain | You can stain over oil wood stain with oil wood stain so long as you restain using a darker shade. |
| Water-based stain | You can stain over the water-based stain with water-based wood stain so long as you restain using a darker shade. |
| Gel stain | You can stain over gel stain with gel wood stain so long as you restain using a darker |
| Varnish | You will need to strip varnish using sandpaper or chemical stripper before you will be able to restain the wood. |
| Lacquer | You will need to strip lacquer using sandpaper or chemical stripper before you will be able to restain the wood. |
| Water-soluble stain | You can stain over the water-soluble wood stain with stain so long as you restain using a darker shade. |
Sanding
Sanding is a great way to remove a topcoat and existing stain in order to restain the wood. This may require a bit of elbow grease. It is always best to start with 80 grit sandpaper and gradually move up to 120 grit and then a 220 grit. To make this process a lot easier you will want to get your hands on an orbital sander or belt sander. Once you have removed all the fittings and disassembled your project it is time to sand. It may take you a while but once you have removed the topcoat and the stain you are ready to apply the wood stain.
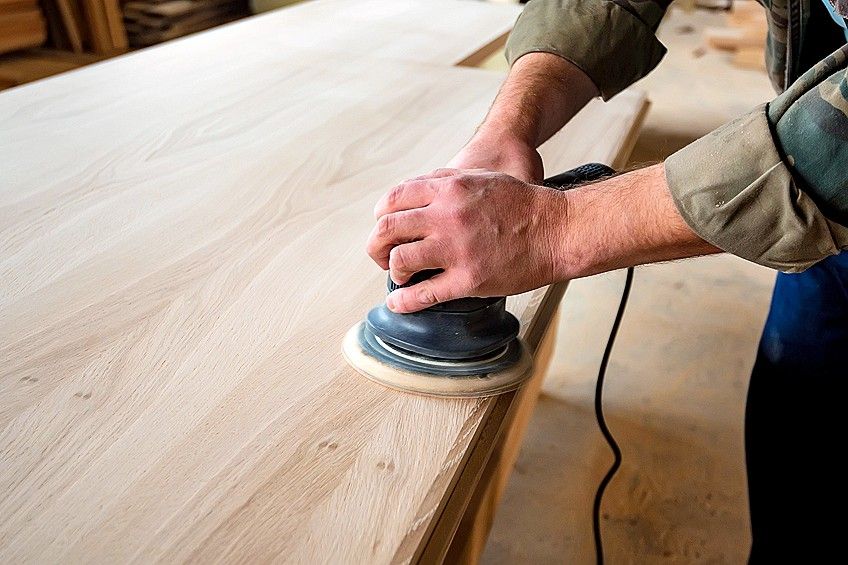
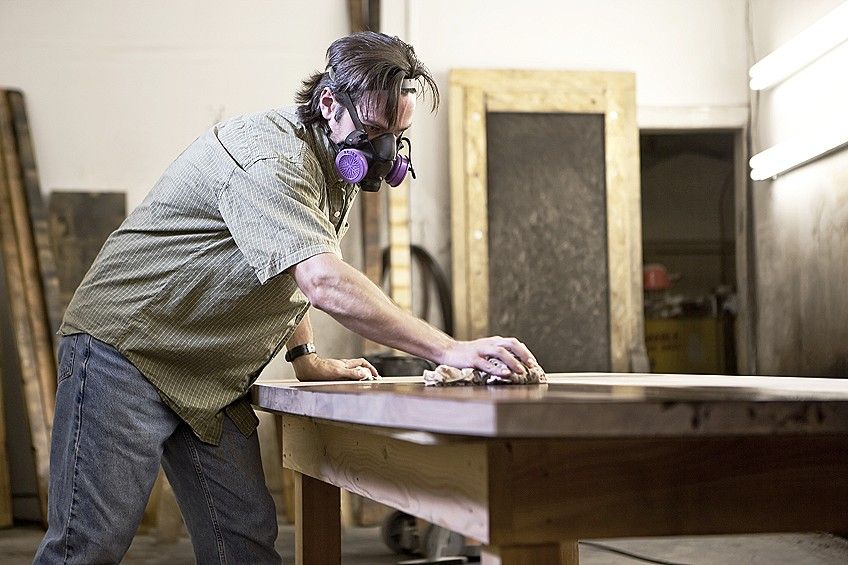
Sanding is a great way to avoid using harsh chemicals however sanding can cause a lot of dust so it is best to don a respirator to prevent yourself from breathing in dust particles. If you are working with an electrical sander make sure to keep the sander flat against the surface to avoid gouging the surface.
Chemical Stripper
Sometimes a topcoat can be very thick and difficult to get through with sandpaper. Chemical strippers are a great option for stripping wood from paint and other coatings. Chemical strippers are also a good option for ornate furniture that you do not want to damage with aggressive sandpaper. However chemical strippers can be toxic and give off noxious fumes. When working with chemical strippers it is wise to wear goggles, gloves, and a respirator to protect you during the process of applying the stripper.
Once you have applied the chemical stripper you should begin to see it work its magic in a matter of minutes.
The topcoat will begin to bubble and list from the surface of the wood. Use a plastic scraper to scrape off the topcoat as it is lifting. You may need to reapply the stripper on stubborn areas, consider using steel wool along with the stripper if you are having trouble removing the stain. Always refer to the manufacturer’s directions for use and safety precautions.
Once the wood stain has been removed, you will need to make sure that the surface of the wood is free from any dust and grit. A tack cloth does a great job on this. If you use a chemical stripper you will need to make sure that the surface of the wood is free from any residue. To achieve this you can rinse the wood with water and white vinegar solution.
Once the surface is dry you can go ahead apply the wood stain. Apply it generously and evenly, with and against the grain, then wipe away the excess before it dries. Make sure to not miss any spots. Allow it to dry for a few hours before assessing whether or not it needs another coat. Once you are happy with the stain consider applying a polyurethane topcoat to protect the wood and preserve the stain.
Tips and Tricks For Staining Over Stain
If this is your first time restaining wood, then you may need some additional guidance. From removing the old stain to choosing the new shade, we have compiled a list of our top tips and tricks for restaining wood.
- Before applying a wood stain test a small amount of the stain on an area of your project that is hidden. This will allow you to figure out whether or not the color you have chosen meets expectations.
- When refinishing wood it is not necessary to remove all the stain as long as you remove the protective topcoat. If you intend to apply a light stain you will need to remove all the dark stain from the wood. Any dark stain left behind will show through the light stain.
- After applying a wood stain , consider applying a top coat of clear lacquer. This will create a high gloss finish that will accentuate the natural beauty of the wood as well as enhance the color of the stain.
- When applying wood stain the idea is to apply it generously with the applicator and against the grain and then wipe it off immediately using a rag or a staining pad. You can leave the wood stain on longer for a darker color but you must wipe off the excess.
- When applying a stain over polyurethane, do not expect absorption. Opt for a gel stain and expect it to function as a transparent, tinted paint. Polyurethane will not penetrate a protective polyurethane coating and stain with wood beneath.
By now you should be ready to restain wood. Staining over stain is possible, provided you opt for a darker shade. Applying a lighter stain over dark does very little if anything at all. If a topcoat has been applied you can either paint over it with a darker polyurethane gel coat or strip it and start over. Starting from scratch will allow you to begin with a lighter shade. Whatever you decide to do it is best to refer to the manufacturer’s directions for use. This will ensure the best results and most of all, enjoy the process!
Frequently Asked Questions
How to Restain Wood?
Restaining wood is doable as long as you are not trying to stain over a protected finish like varnish or wax. Staining directly over a stain can be done as long as you are using a darker stain over a light wood stain. A light stain over a dark stain will have little to zero effect.
Can I Make Wood Stain Lighter?
Unfortunately, you can not make dark wood stain lighter by applying a light-colored wood stain. The best way to do this is to strip the stain using a chemical stripper or sanding. There are other methods of using wood bleach to bring out highlights in the wood but you will still have to remove the topcoat through sanding or using a chemical stripper.
Can You Stain Over Stain?
Yes, so long as you choose a darker stain than the existing stain. Also, make sure that there is no protective coating that will resist the stain. You can stain over polyurethane using a gel stain, varnish, or lacquer.
Will Multiple Coats Darken the Stain?
More coats of wood stain will darken the wood. This is how to restain wood. Before applying a second coat, wait for the stain to dry properly before deciding on whether or not a second coat is needed. The more coats of dark stain you apply the less visible the grain will be.
Do I Need to Apply a Topcoat After Staining?
Applying a protective topcoat is not imperative but it will protect the wood for years to come and it will also make it easier to clean. Polyurethane stain is great for both staining and protecting the wood.