
Types of Wood Stain – Your Guide to Color Treatments for Wood
This post may contain affiliate links. We may earn a small commission from purchases made through them, at no additional cost to you. You help to support resin-expert.com
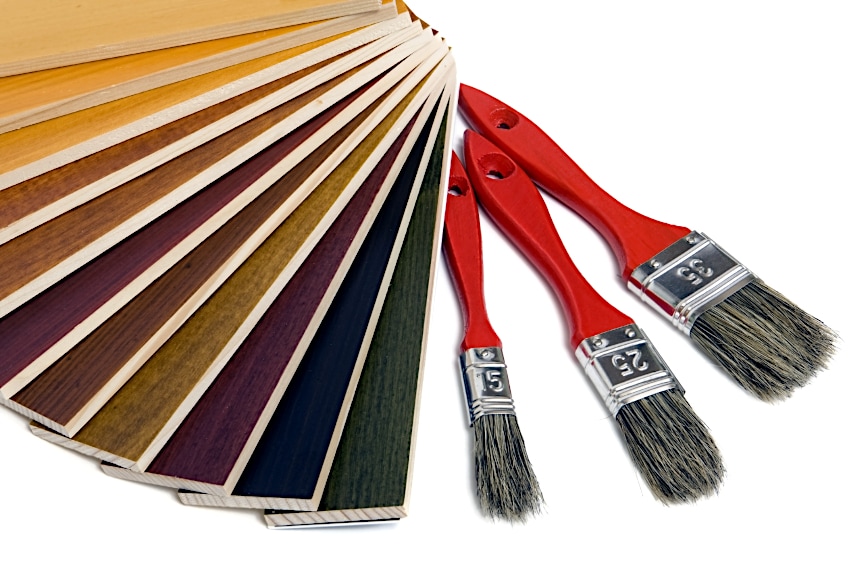
These days, there are loads of ways you could go about impressively finishing just about any workpiece you could think of. One of the more prominent trends at the moment is wood staining, but with so many wood stains to choose from, it can be challenging to find one that suits your workpiece best. There are tons of things to consider, such as what type of wood you’re working with, where your workpiece will be situated, what application your workpiece will be used for, and ultimately what type of finish you’re looking for. This being said, let’s have a look at what types of wood stains are available, what applications suit them best, and how best to apply them.
Table of Contents
What Is Wood Stain and How Many Types Are There?
Wood stain is actually a wood treatment, and if you’re wondering what the difference between a wood treatment and coating is, it’s quite simple. Wood treatments penetrate below the surface of the wood and interact with the wood fibers to alter the color while providing a degree of protection.
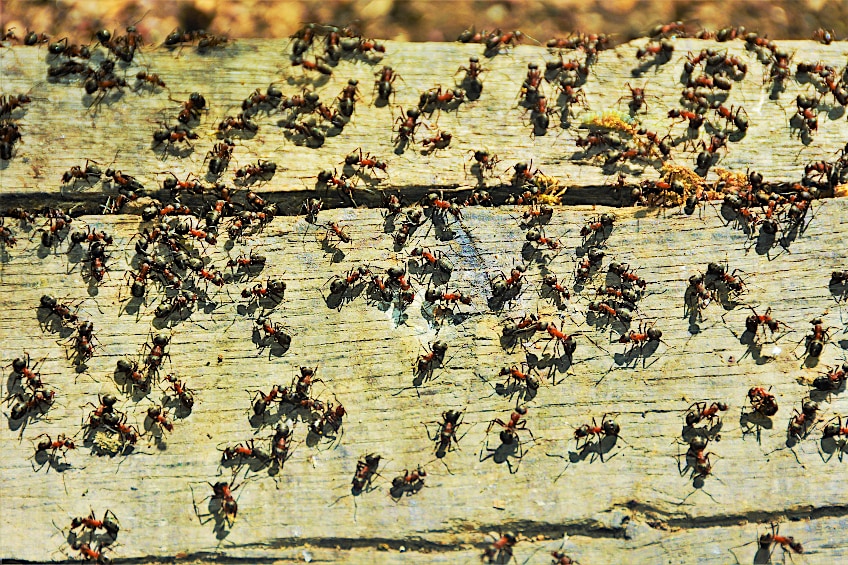
Paints, for example, are surface coatings, whereas wood stains (being wood treatments) will not only improve the aesthetic appeal of your workpiece but provide protection for moisture, excessive exposure to heat, and even things like insect infestation.
There are loads of wood stain finishes to choose from, and these finishes can be found in seven different types of stain which each has its respective advantages and disadvantages, so without further ado, let’s have a look at some of the different types of stain you might come across, some of their pros and cons, and how best to apply them.
The Seven Types of Wood Stain
Below are the seven types of wood stain you’re likely to come across in your crafting journey. Remember that different stains have been designed for different purposes, this is why you should always consider whether the type of stain you have chosen (as well as the finish it provides) will suit your application.
| Type of Wood Stain | Characteristics |
| Oil-Based Wood Stain |
|
| Varnish Wood Stain |
|
| Water-Based Wood Stain |
|
| Gel-Based Wood Stain |
|
| Lacquer-Based Wood Stain |
|
| Water-Soluble Dye Stain |
|
| Metalized Dye Stain |
|
Oil-Based Wood Stain
Oil-based strain is arguably the most common type of wood stain on the market today, allowing you to change the color of your workpiece while preserving the wood’s natural grain and by extension its texture.
Oil stain has been around for a long time, and functions and a sort-of blanket solution not only to increase the aesthetic appeal of your workpiece but allows you to protect it from a number of external forces which might otherwise impact the longevity or structural integrity of your workpiece.

The oil-based wood stain has become slightly less popular in recent years due to it containing some volatile organic chemicals (VOCs) which can be harmful to the environment and to those who come into contact with excessive amounts of it, and manufacturers have since taken it upon themselves to lessen the amount of these chemicals present in their formulas. As you could probably tell by the name, oil-based stains are primarily oil-based. What kind of oil is it based on?

Well, most oil-based stains use a combination of linseed oil and varnish as a base substance, to which dyes and other colorants can be added to produce the desired result. Oil-based stains are renowned for their ability to seep deep into the surface of the wood and bind with the internal wood fibers, this allows the stain to cure and dry in a manner that protects the wood from things like moisture, UV damage, insect infestation, and splitting.
Oil-based stains are durable and can be used in conjunction with various other finishes if need be, and this coupled with how easy to use and cost-effective they are is what makes them so popular in the woodworking industry.
- Versatile
- Easy to use
- Easy to apply
- Protects from rot, insects, moisture, UV damage
- Can be used with other finishes
- A wide variety of finish options is available
- Protects interior and exterior wood
- Contains volatile organic chemicals (VOCs)
- Can only be used on wooden surfaces
- Can blotch on certain wood types
- Can have a slow drying time if no additives are present
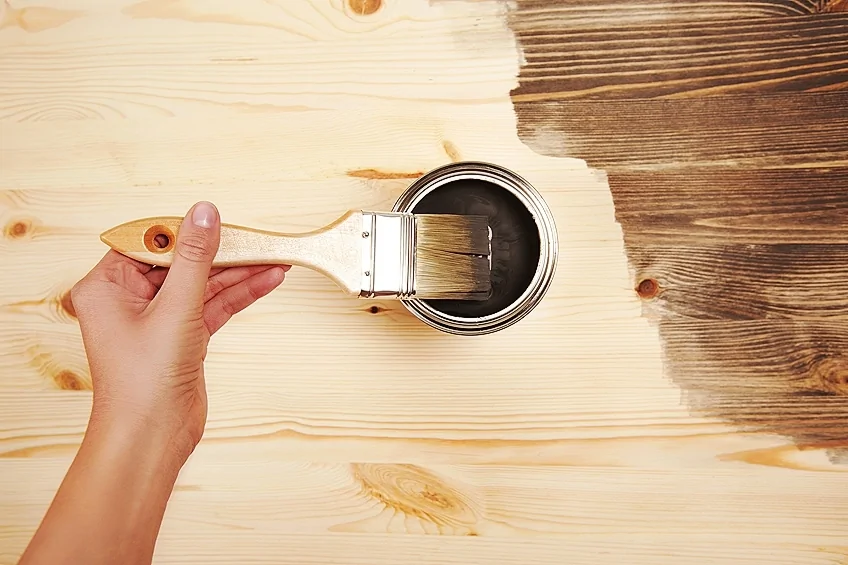
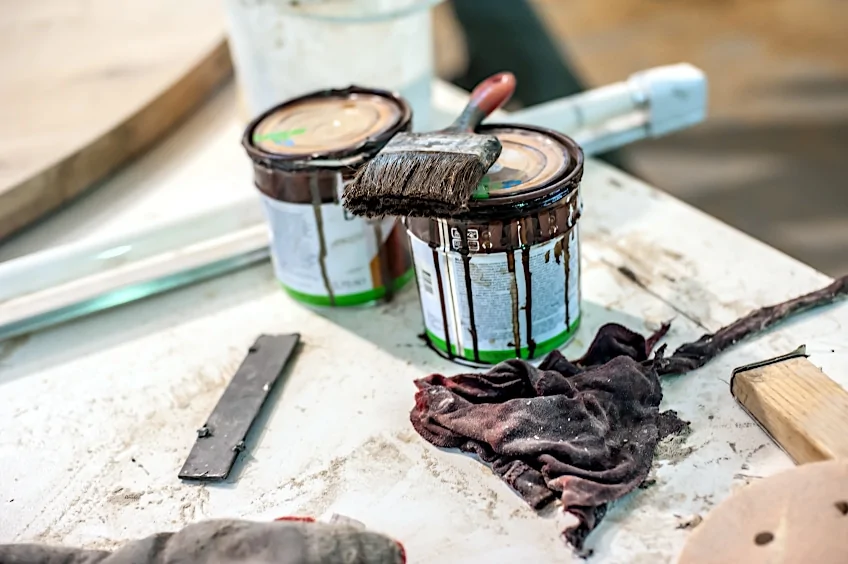
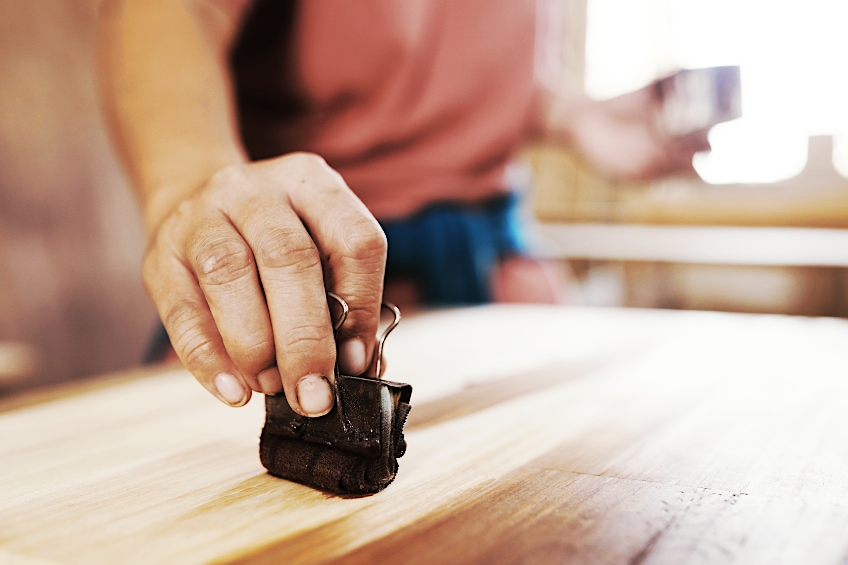
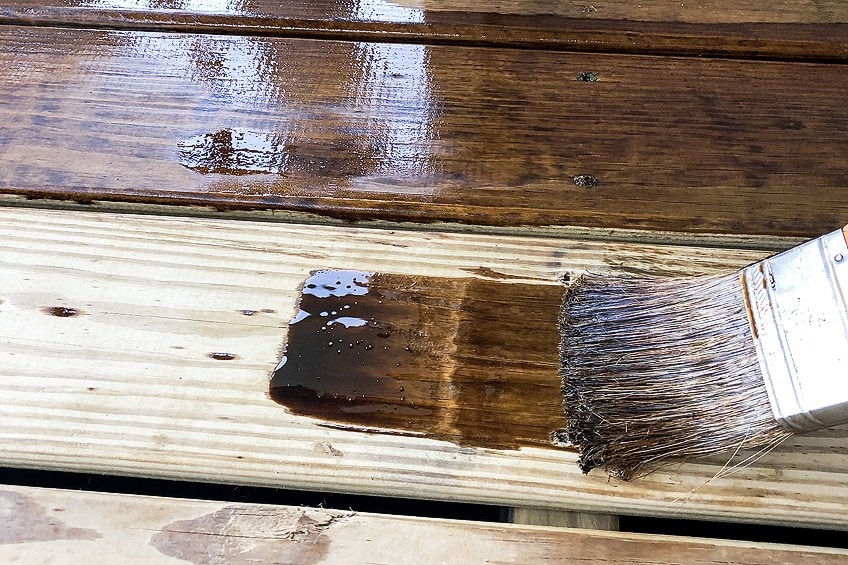
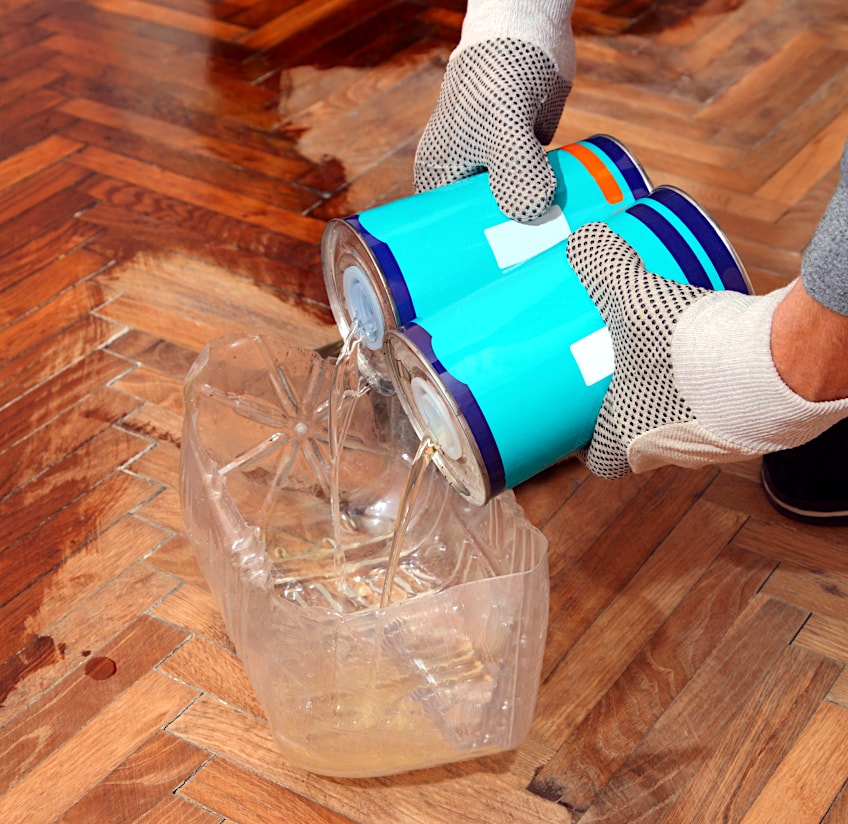
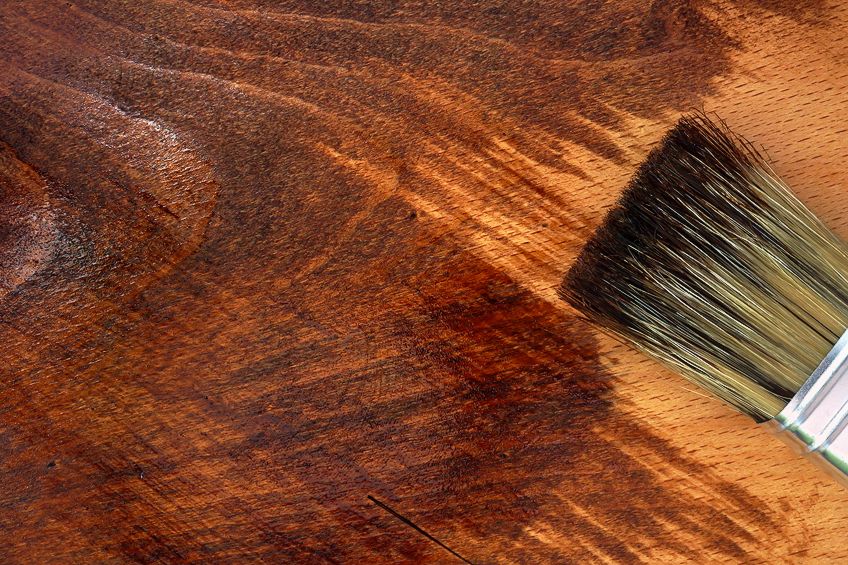
How to Apply Oil Based Wood Stain
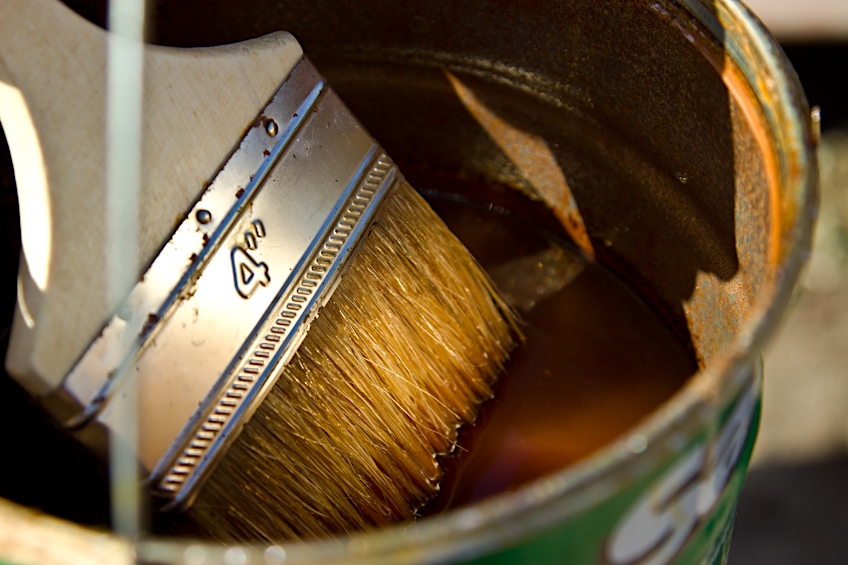
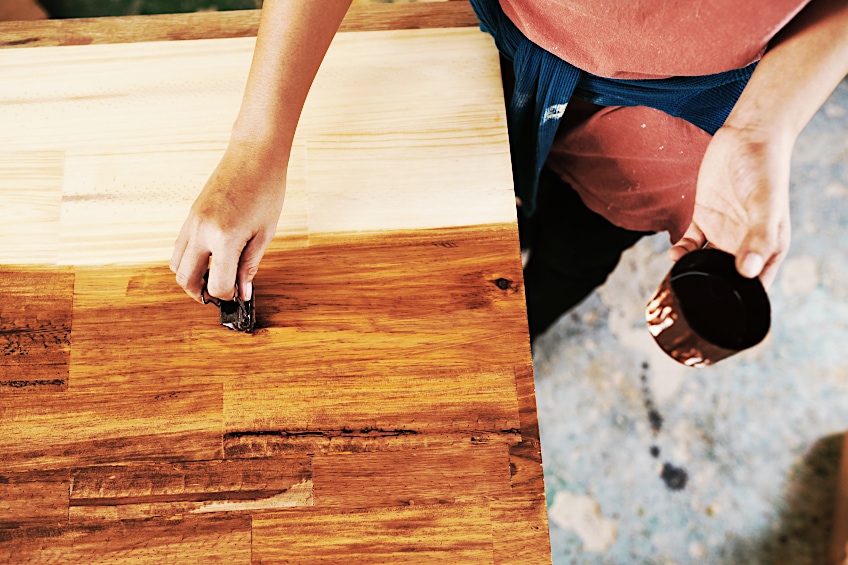
You have two choices when applying oil-based wood stain, you can either use a brush (which is ideal for larger workpieces), or you could use a cloth (which is ideal for smaller or irregularly shaped workpieces).
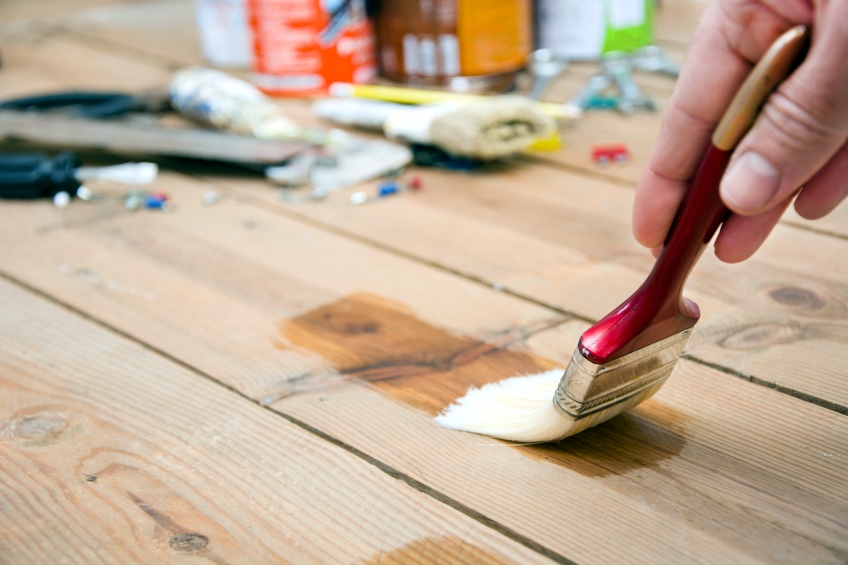
Using a brush, you would dip a small section of the bristles into the container and apply it to the surface of your board, making sure that you apply the stain in the direction of the wood’s grain. If you’re using a cloth, you could either add some wood stain directly to the surface of your workpiece or dip a small section of your cloth into the container while doing your best not to over-saturate the cloth with wood stain.
Next, start by rubbing the stain into the surface of the wood with your cloth, making use of circular motions to ensure that the stain is evenly distributed and does not build up in one section of the wood. When working with a medium-sized workpiece we recommend simply starting at one end of the board and working your way to the other.
If your workpiece is round or oddly shaped, we recommend working from the center of the workpiece and making your way out towards the edges. Once you are satisfied with your initial coat, sit back, and allow the stain to dry and cure for the manufacturer’s recommended time period. Afterward, dab and blend any sections that are still relatively wet.
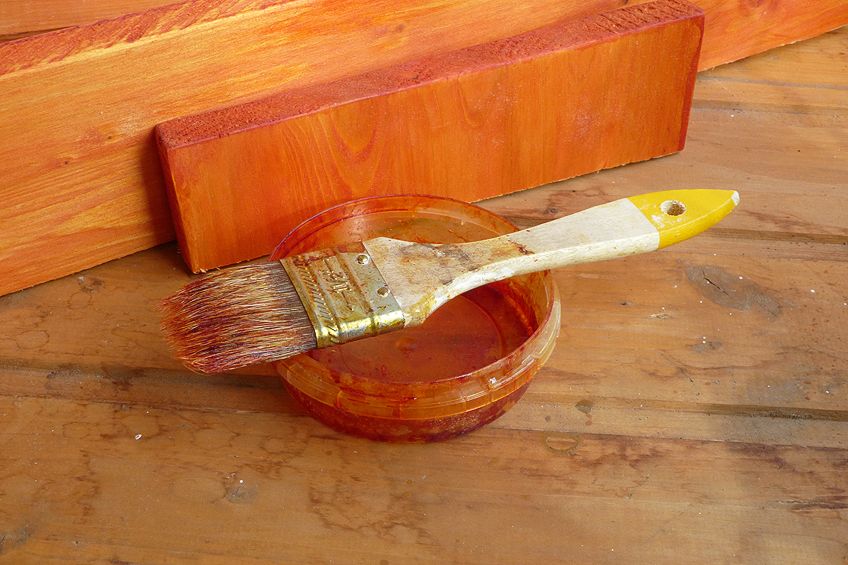
Varnish Wood Stain
What makes varnish such a great choice for wood finishing? Well, we mentioned previously that varnish was used in the mass production of furniture back in the day, and the reason for this was because it has one of the fastest drying times of all the wood treatment options.
At its core, varnish is an alkyd solution that has some dyes and pigments added to the mixture to produce color once it has bonded to a woods surface, this makes it fast drying and capable of producing intense color pallets that really bring out a wood’s natural beauty and amply it considerably.
There are different stains for different applications, but varnish tends to work for most wooden surfaces unlike some of the other stains we’ll have a look at here. There is a drawback to its versatility though, varnish tends to be quite brittle once it has had a chance to dry and cure completely, on the other hand, it tends to be quite easy to maintain compared to other wood treatments on the market.
Varnish can also be used as an overcoat for surfaces that have already been stained, this creates an additional protective layer for your wood’s surface, just be sure to match the varnish you’ve chosen with the existing color of your workpiece.
- Easy to use
- Fast-drying formula
- Can be used on most woods
- Protects internally and external wood
- Protects against moisture, insects, UV exposure, and splitting
- Extremely durable finish
- Creates a smooth and even finish
- Contains volatile organic chemicals (VOCs)
- Cannot be used in enclosed areas
- Cannot be used on certain surfaces
- Not a good treatment for beginners
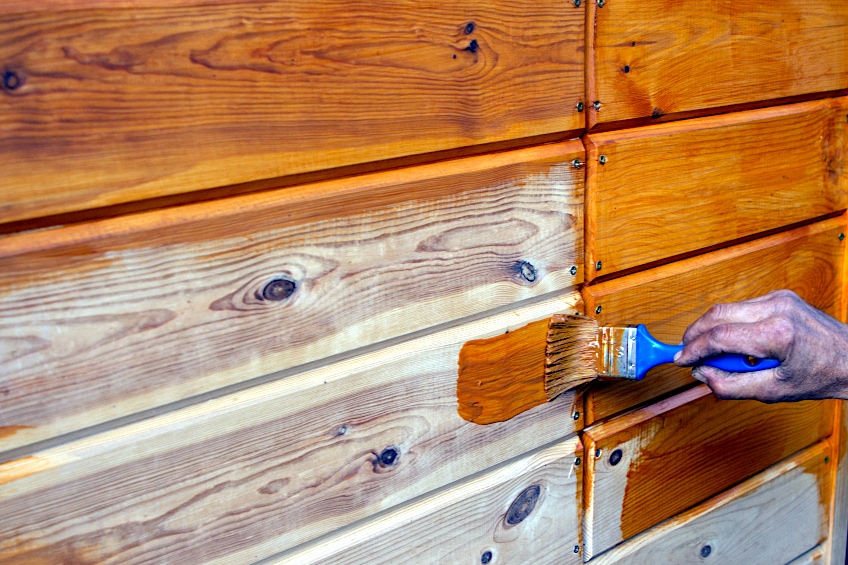
How to Apply Wood Varnish
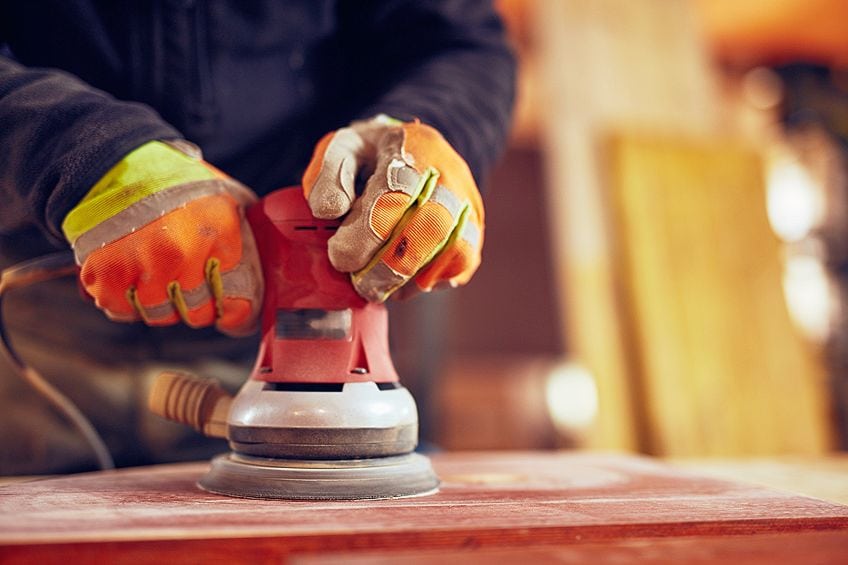
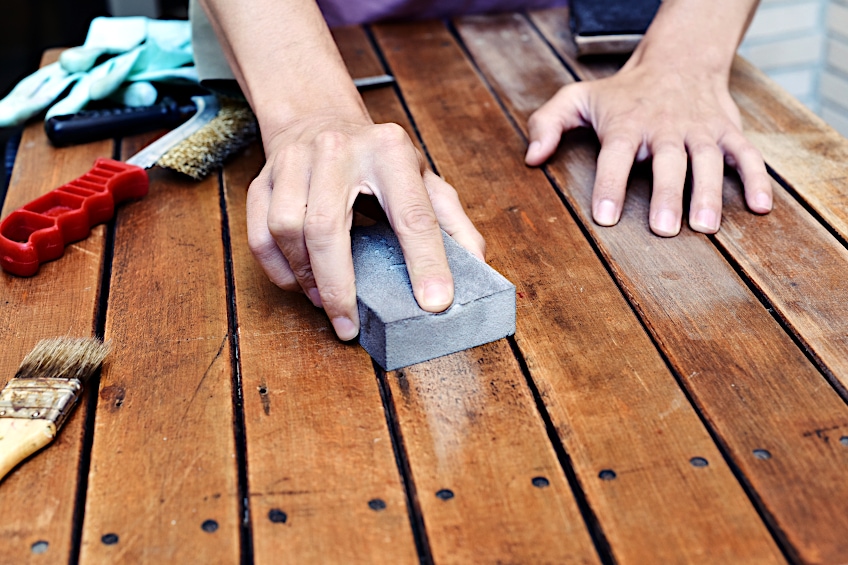
Sand your workpiece and ensure that the surface is completely flush. Use a power sander for larger boards and sanding paper for smaller or unconventionally shaped surfaces Before you begin, ensure that the surface of your workpiece is clear of any debris, this should be done regardless of whether you have an existing wood treatment or surface coating present on your workpiece.
Once your workpiece has been cleared, use a mixing stick to stir your varnish. This step is especially important if the varnish you are using has been sitting on a store shelf for a while. This step ensures that all the parts the varnish consists of are mixed together nicely, as they tend to separate slightly if the tin has been idle for a particularly long period of time.
Once your varnish has been mixed together and your board is clear it’s time to start applying it. Dip around a fifth of your brush into the varnish, you want to use very little of this wood treatment as it dries really quickly.
Once you have some on your brush start applying it to your workpiece, we recommend starting at the left-most corner and working your way to the other end if you have a conventionally shaped board, if not work from the center of your workpiece outward to ensure even coverage. Allow the varnish to dry and cure for the manufacturer’s recommended time period before applying another coat or handing the surface of the workpiece.
Water-Based Wood Stain
Other types of stains for wood usually use harmful binding agents to ensure adhesion and the chemical integrity of the stain itself, but water-based stains typically use substances that cause little to no harm to the environment and are perfectly safe to have in contact with your skin.
Water-based stains are more commonly known as latex stains even though they contain virtually no latex, in case you’re worried about allergies. Water-based stains are characterized by being highly viscous, easy to clean up, relatively inexpensive, fairly versatile, and readily available in most stores and online.
Water-based stains are water-based, which means they break down pretty easily when they come into contact with water or other substances with a high concentration of water in their makeup.
Although this makes them an absolute joy to apply, it also means that they aren’t ideal for use outdoors, and they tend to be less durable compared to some of the other stains we’ve had a look at thus far.
Water-based stains dry really quickly, but don’t provide the same level of protection against rot, insects, UV damage, and splitting as other wood treatments do. This being said, the most suitable application for this type of wood stain would be for indoor aesthetic applications where minimal exterior forces have the chance of ruining your hard work.
Water-based stains also have a tendency to raise the grain of your workpiece, therefore it is always advised to sand your surface between coatings to combat this effect. Other types of stains for wood don’t have this effect, so if you’re considering using a water-based stain you should keep this in mind to avoid a nasty surprise after your first coat.
- Easy to use
- Very fast drying time
- Inexpensive compared to other types of stains for wood
- Tends to be runny and easy to work with for beginners
- Easy to clean and requires no solvents
- Contains little to no volatile organic chemicals
- Can be applied indoors with less regard for airflow
- Does not provide the same level of protection as other stains
- Cannot be used for outdoor applications
- Requires sealer to protect wood surfaces from damage
- Not as durable as other wood treatments
- Scratches easily
How to Apply Water-Based Wood Stain
Water stains in particular are really easy to apply, and even though they dry pretty quickly they are still suitable for beginners because they can be removed with some water and a cloth. This being said, sand your workpiece and ensure that your surface is as flush as possible, then remove any excess debris from the surface before moving on to the next step in the process.
Water stains are, well, watery which means that they can be pretty tough to apply with a brush. Using a cloth is the most viable way to apply this type of stain, so either get some onto the surface in question or dip a small section of your cloth into the container.
You want to ensure that you really rub any water-based stain in evenly, as an uneven application can result in parts of the wood being saturated with stain, which you will have to correct once your stain starts being absorbed into the wood.
How you choose to apply water-based stain is entirely up to you, considering that it dries pretty quickly, and you’ll be able to alter your application method to see which one suits your workpiece best but considering that it’s primarily used on indoor furnishings which tend to be smaller in size, we recommend starting from the center of the workpiece and working your way out towards the edges.
Remember that water-based stain tends to raise the grain of the wood that it’s applied to (depending on the brand and additives used in the formula) so once your initial coat has had an opportunity to dry and cure, sand the surface of your workpiece lightly before you apply your second coat.
Gel-Based Wood Stain
Gel-based stains are strange to look at and can be even stranger to work with if you’ve worked with other types of wood stain before. Nevertheless, they are effective in their application and have been used more and more in recent years. Different wood stains have different characteristics and are therefore better suited for different applications, and in this regard, gel-based wood stain stands out the most.
Unlike conventional wood stains, a gel-based stain isn’t really a wood treatment in the same way that other stains are. This is partially because the gel-based stain is gelatinous in its consistency, which means it can’t really be rubbed into the wood’s surface as other stains can.
Gel-based stains are applied much in the same way that other surface coatings are, which means that you don’t really have to worry about the evenness of the application like you would with other stain types. This does make it a bit more challenging to work with compared to other stain types, and it’s up for debate whether this type of stain is a good jumping-off point for beginners.
Gel stains, although easy to work with, can put you in some pretty challenging situations if misused. If you don’t apply a gel stain evenly, it will create blotches, and due to the unique gooey consistency of gel stains, you won’t be able to even it out with some rubbing. You will have to sand the entire surface and begin the process again, which can be extremely frustrating especially if your project is time sensitive.
Gel stain is ideal for surfaces you cannot lay horizontally. Why? Well, gel stains are pretty sticky which means you can add some to a vertical surface without the risk of it running down, or worse, hitting you in the face. This type of stain is usually oil-based so you should always wear the appropriate personal protective gear and work in a well-ventilated area when handling it.
- Hides imperfections well
- Can be used on vertical surfaces
- Versatile
- Easy to use
- Can be applied to surfaces without sanding
- Protects against moisture and heat damage
- Works well on tightly grained woods like pine
- Contains VOCs
- Does not penetrate wood deeply
- Cannot be rubbed into the wood’s surface
- Can be challenging to clean up
- Difficult to correct errors
- Slow drying time
How to Apply Gel-Based Wood Stain
The process of applying gel stain literally consists of you simply taking some stain with a brush and applying it evenly over the surface of your workpiece. Don’t feel like sanding your surface? No problem, slap that stain on there and walk away.
Don’t feel like taking your workpiece apart so that you have a level surface to work with? Don’t bother, just pop some stain right onto the surface and allow it to dry and cure for the manufacturer’s recommended time period.
With all of the luxury that gel stain affords you, you might think it’s a great thing to have for all of those time-sensitive projects, but don’t let the time it saves you in preparation fool you. Gel stain takes a while to dry and cure completely, and not all brands have a high-quality formula, so we strongly recommend using gel stain on a sample before applying it to your primary workpiece.
Once you have allowed the gel stain to cure, grab a cloth and remove the excess from the surface of your workpiece. Ensure that you dispose of any rags you’ve used with this stain type responsibly as it could cause quite the mess if it’s disposed of in the wrong way.
Lacquer-Based Wood Stain
If you find yourself constantly working against the clock, then we recommend getting well acquainted with some come lacquer. Why? Well, lacquer is one of the fastest drying wood treatments out there aside from water-based paints and stains.
These days lacquer is often frowned upon because it contains chemicals that could cause discomfort and aren’t particularly good for the environment. Raw lacquer lone does not contain a very strong dye, and rather alters or enhances the existing color of wood, which is why stains and dyes are often added to lacquer to compensate for this.
Because of its fast-drying nature, one would be led to believe that this wood treatment is suitable for beginners, but this is not the case. Why? Well even though water-based stains dry quickly, they are also easy to remove and blend if you happen to over-apply the stain, but lacquer is a lot trickier to remove and requires much more focus when it is being applied.
Furthermore, the water-based stain doesn’t cause any irritation when it comes into contact with your skin and can be worked within semi-closed spaces, whereas lacquer has a really pungent odor and can cause serious discomfort if inhaled or if it comes into contact with your hands or face. This being said, lacquer is more a “pro-level” wood treatment.
- Easy to apply
- Dries extremely quickly
- A colorant can be added to adjust the intensity
- Penetrates deep beneath the wood’s surface
- Strong adhesion to wood surfaces
- Protects wood from heat, moisture, insects, and splitting
- Rarely causes blotching
- Contains volatile organic chemicals
- Cannot be used in enclosed environments
- Not suitable for beginners
- The smell can become overwhelming
- The final result can be brittle
- Finish not resistant to abrasion and impact
How to Apply Lacquer-Based Wood Stain
Lacquer is easy to apply, but what the finished product looks like is almost entirely dependent on your skill level. Lacquer is available in a conventional container like most wood stains, or you could get it in aerosol form.
Before applying your lacquer ensure that your workpiece has been sanded adequately and that you have cleared the surface of any stray wood particles. If you are using a brush to apply your lacquer, get some on about a third of your brush and paint from one end of your board to the other, allowing the lacquer to dry and sanding each coat lightly before applying the next one.
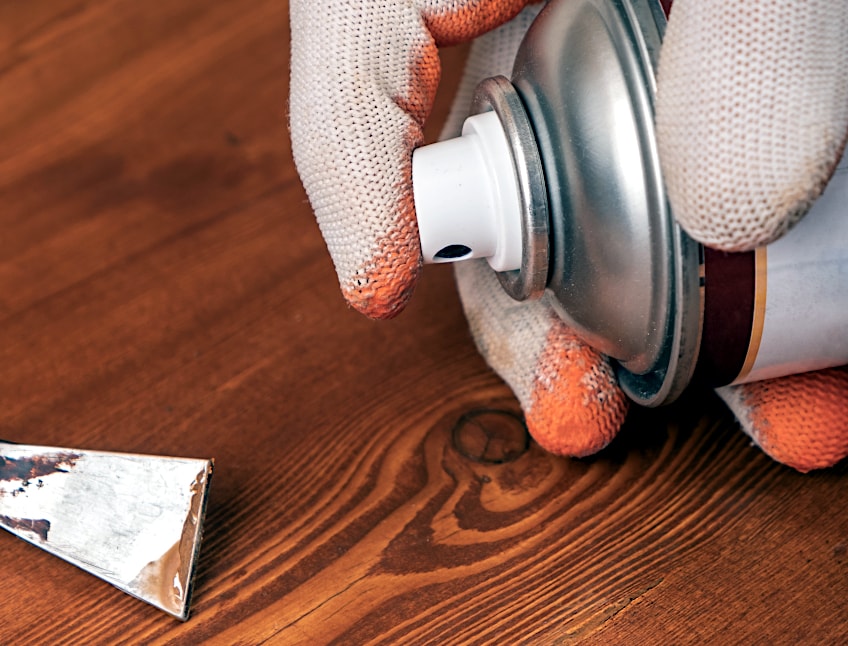
If you are using an aerosol can, the best way to go about it is to start by spraying off the workpiece and then moving your wrist in one fluid, uninterrupted motion across the surface of the board while maintaining medium pressure on the spray button.
This ensures an even application of the stain and minimal botching on the surface of your workpiece. Remember that lacquer dries quickly, so instead of applying one to two heavy coats, you could simply apply multiple thin coats to ensure that you’re able to manage the depth and intensity of the color.
Water-Soluble Dye Stain for Wood
These stains are more commonly used by smaller woodworking businesses or touch-up artists to blend them in with existing finishes. Why? Well, the color intensity of this stain is easy to manipulate and can be graded to match virtually any color or tone, if you know your way around the consistencies and color pallets.
Water-soluble dye stains are aniline dyes, which are essentially a set of powders that are available in different colors; these powders can be mixed with water and applied directly to a wooden surface to achieve a staining effect. Is it more like painting? Maybe, but considering that the dye seeps beneath the surface of the wood and does a relatively decent job of bonding with the wood’s fibers, many consider it to be a dye agent.
Water-soluble dye stain is great because it genuinely does stain the wood instead of creating a layer on top that masks the wood’s color. It binds with the wood leaving the grain and by extension the texture of the wood unaffected.
Although this dye is really fun to work with and is really easy to use (when applied with a spray or brush) it isn’t exactly robust and does not offer protection to your wood’s surface. It also cannot be used for outdoor furnishings as UV light tends to make the color of the wood fade rapidly.
- Easy to use
- Color can be manipulated
- Affordable
- Versatile
- Color can be altered even once applied
- Does not contain any VOCs
- Unlimited shelf life before and after it mixing
- Poor protection from impact/abrasion
- No protection from moisture, heat, or insects
- Cannot be used for outdoor furnishings
- Consistency is difficult to maintain
- Cannot be used over existing finishes
How to Apply Water-Soluble Dye Stain
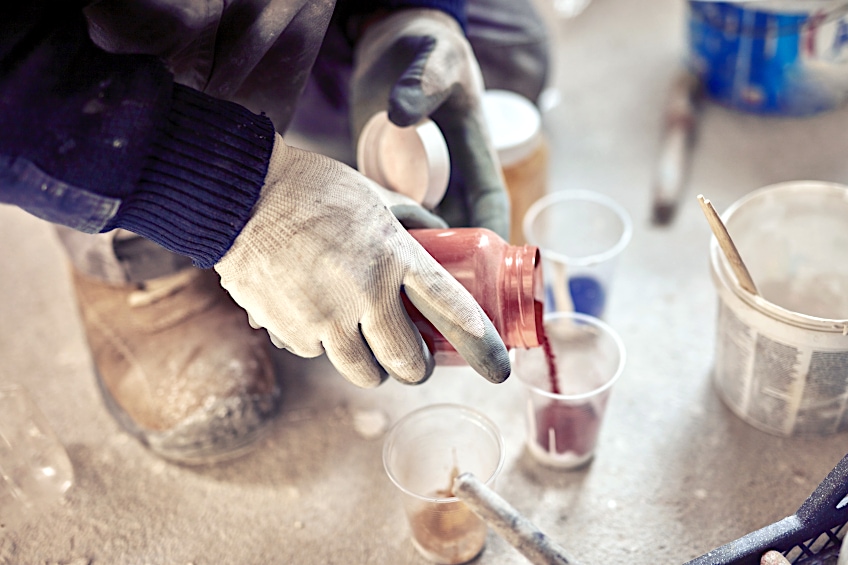
Ensure that your surface has been well prepared by sanding it thoroughly. This is important because this type of stain cannot be applied over an existing finish. Once you are sure that your surface is flush and clear of debris, mix your water-soluble stain together. If you are applying your stain with a brush, feel free to apply as much as you see fit as this stain itself isn’t very potent.
The stain does dry pretty quickly, and you’ll be able to see if more dye or water is needed throughout the application process. If you’re using a sprayer, you might want to test the consistency of your dye stain on a spare piece of board before you get to your actual workpiece.
Start by spraying off the workpiece and moving your wrist in one fluid, uninterrupted motion across your work surface while maintaining your pressure on the spray trigger throughout the exercise. Once your initial coat has dried feel free to sand lightly and repeat the process until you’re satisfied with the finish at hand.
Metalized Dye Stain for Wood
What is this type of stain? If water-soluble dye stains are a powder that you combine with water to achieve a stain, metalized stains are a liquid that can be mixed with water or lacquer to achieve the same thing. These stains have been around since the 1950s and have been a pretty influential part of the crafting scene ever since.
This type of wood stain can be used as a primary staining tool or it can be used as means to enhance an existing staining method, which makes this a favorite in both the commercial and private woodworking industry. One noticeable drawback about this type of dye stain is that it cannot be used on outdoor furnishings or any workpiece that will be situated in direct sunlight for that matter.
Why? The inherent nature of the dye means that prolonged exposure to UV light causes the stain to degrade rapidly, which isn’t good for your finish or your workpiece. This is why this type of dye is rarely used in its standard form, and additives are always being added to compensate for this seemingly fatal flaw.
- Easy to use
- Color can be easily modified
- Properties can be added and removed
- Readily available
- Reasonably priced
- Does not conceal woods grain
- Does not protect the wood from impact or abrasion
- Does not protect wood fibers from insects, moisture, or UV damage
- Not very useful on its own
- Not food safe or graded for use outdoors
How to Apply Metalized Dye Stain
Metalized dye stain has been used around for so long that there are too many ways to apply it. In the interest of efficiency, we recommend applying it with a paint sprayer. Before you begin, ensure that your workpiece has been adequately prepared.
Sand your workpiece so that the surface is completely flush, then use a clean cloth to remove any stray wood fibers from the surface of the workpiece. Mix your metalized dye stain together with some lacquer and ensure that you have the consistency and color you’re aiming for on your workpiece. Next, fill up your hopper or container with the dye to get spraying.
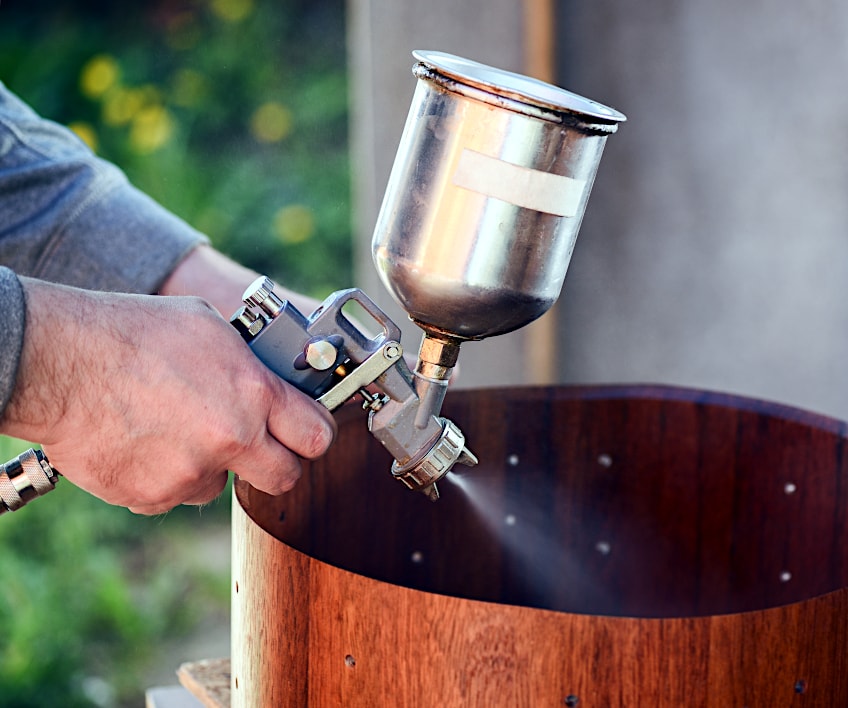
As we mentioned previously, the best way to go about this is by starting off your workpiece and moving your wrist in one smooth, uninterrupted motion across the surface of your workpiece while maintaining your desired pressure.
We recommend applying many thin coats, as even though this type of stain dried quickly, the combination of metalized dye stain and lacquer means it will dry even quicker than usual. Allow each stain to dry and cure between coats, and lightly, and apply as many coats as you’d like.
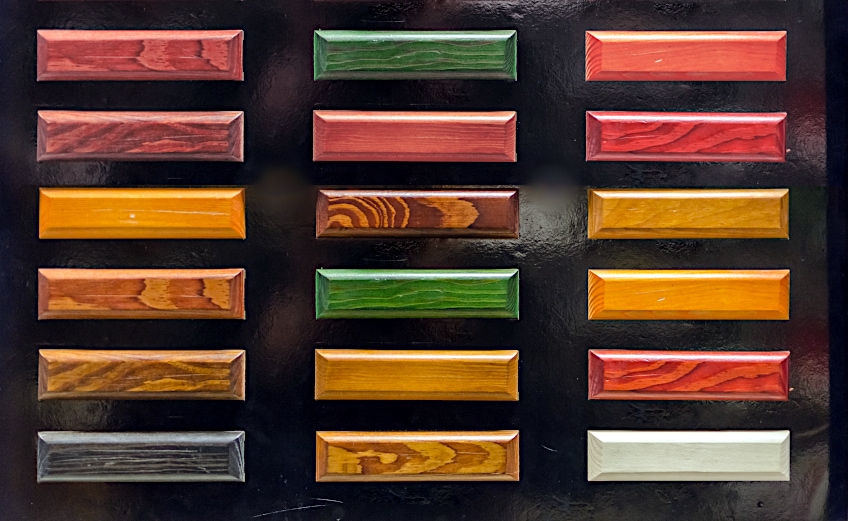
What Types of Wood Stain Colors Are Most Popular?
Wondering what types of wood stain colors are most popular? Well, there are a couple of ways you can find out, but one of the most popular ways of doing so is by using a wood stain color chart. What is a wood stain color chart? It is a comprehensive display of the most popular wood strains in their fully cured form. This allows you to get a really good idea of what your workpiece will look like once you have applied your wood stain. This being said, let’s have a look at some of the best stain colors for wood.
| Type of Wood Stain | Approximate Percentage of Popularity |
| Pecan Wood Stain | 40% |
| Sandalwood Stain | 30% |
| Larchwood Stain | 15% |
| Rustic Cypress Wood Stain | 15% |
Now that you know what wood stain is, what the different types of wood stains are, how to apply each type of wood stain, what the pros and cons of each stain are, and which colors are most popular for each wood stain type, it’s time for you to get out there and put your newfound knowledge to some good use. Remember to always consider what application your wood stain will be used for and what forces will be acting on your workpiece when choosing a stain type.
Frequently Asked Questions
Is Wood Stain Permanent?
While it can be a bit scary, staining is in fact permanent. Stain colors for wood seep deep into the wood fibers to produce a color-enhancing effect that lasts for a long time. These stains can be maintained and even altered depending on the type of wood stain you have chosen to use.
Does Wood Stain Wear Off?
Strain colors for wood can fade over time, but those that do are typically not graded for outdoor use and fade due to being exposed to UV light. Most wood stain colors do not fade very easily, particularly those that are oil-based.
Does Stain Need to Be Sealed?
Even though wood stain does a good job of sealing most wood surfaces from exterior forces and rot, it is always advisable to seal your wooden surfaces after the stain has cured completely. Why? Wood stain is not as durable as polyurethane coating, which will protect your workpiece for what could arguably be considered is a lifetime.