Epoxy Resin Calculator – Calculate how much epoxy you need
This post may contain affiliate links. We may earn a small commission from purchases made through them, at no additional cost to you. You help to support resin-expert.com
The calculation of the required amount of epoxy resin can be quite complicated. We have therefore created an epoxy resin calculator for this purpose, with which the required amount of resin can be calculated very easily. The correct epoxy resin mixing ratio can also be calculated.
Rectangular Resin Calculation
The mixing ratio between resin and hardener varies according to manufacturer and product. These specifications are noted on the packaging.
Round / Circular Resin Calculation
The mixing ratio between resin and hardener varies according to manufacturer and product. These specifications are noted on the packaging.
How Much Epoxy Do I Need?
The calculation for determining the amount of epoxy you need is a simple volume calculation. You simply multiple the length of the pour by the depth of the pour by the average width of the pour and then convert to liters. When calculating the average width of the pour, you can measure the width every 6 inches along the entire workpiece and then divide by the total number of width measurements you took to determine the average.
Thickness of your pouring?
Most epoxies are designed to self-level to create a coat that is 1/8 of an inch thick. Is that thick enough for you? If you are trying to create a thicker coat of epoxy, you’re going to need a lot more. If you want to create a thinner coat, well, you’d need less but you also probably shouldn’t try that. Epoxies want to settle out to a coat 1/8 inch thick, which is 0.125; it’s easy to add more to that, but it’s very difficult to make it thinner while keeping it level.
Making it thicker also requires the use of a dam or a mold to hold everything in. This means you may not need as much extra epoxy as you might think to create a thicker layer, since you won’t have any epoxy running off the edges.
General rule for epoxy coverage
There is a general rule to help you understand how much epoxy you need. For coating epoxies, one mixed gallon (half a gallon each of resin and hardener) will cover twelve square feet at a thickness of 1/8 of an inch. This may vary by brand though, so always check the manufacturers instructions to be sure.
Always have more epoxy on hand than you think you need. It’s better to have more than enough than not enough, otherwise you will likely need to re-sand the entire surface and pour your project again.
Pouring in Layers
Most coating epoxies such as tabletop and bar top epoxy require thin pours of no more than ¼ inch per application. If these types of epoxies are poured thicker, you risk an accelerated reaction, which will cause the epoxy to heat up, which can ultimately crack, fish eye or yellow. Understanding the desired thickness of the final project is critical to calculating the necessary epoxy for a given project. For deeper pours, use a pouring resin which can be poured up to 2 inches in one pouring.
Encapsulation Coverage
If you will be encapsulating items in your project you may want to account for additional epoxy. All items being encapsulated should be sealed prior to applying a coat of epoxy. If these items are not sealed prior, the items could soak up epoxy and ultimately ruin the item.
This can be accomplished by dipping the items into a properly mixed batch of epoxy or by painting on a very thin coat of epoxy. By sealing encapsulated items, you can reduce the likelihood of bubbles forming on the edges/surface of the encapsulated items. Be sure to account for the additional epoxy that may be required for this step.
Seal Coat Volume VS Flood Coat Volume
A seal coat is a very thin coat meant to seal the surface of a porous substrate. When pouring epoxy over a porous surface excess bubbles can arise as the epoxy soaks into and fills all the voids, which ultimately releases air. By pouring a thin seal coat (i.e. 1/32 inch) the air is able to rise to the surface easier than a thicker flood coat (i.e. 1/4 inch). Additionally, if imperfections do appear in the initial seal coat, it is often easier to correct in a thin pour seal coat versus sanding through a thick pour.
A flood coat is meant as a final coating and is often much thicker. Most epoxies require pours of no more than 1/4″ per application. Therefore a flood coat will often be between 1/8 and 1/4″. If the project were sealed initially with a thin seal coat, then bubbles should not be as numerous in the flood coat. This is why this coat can be poured more liberally.
Some Epoxy mixing Tips
Only dispense the epoxy resin and hardener into clean plastic, metal, or unwaxed paper mixing cup. Do not use glass or foam mixing cups as the epoxy can dissolve many types of foam materials such as styrofoam. Glass mixing cups are not recommended due to the potential danger from exothermic heat build-up from the reaction.
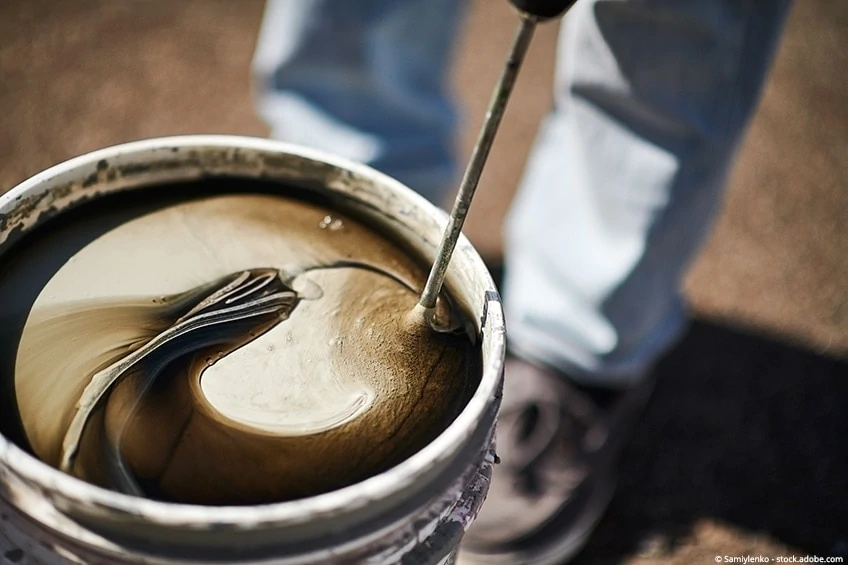
Stir the two components together thoroughly. In cooler temperatures, add an extra minute to the stirring. Then, scrape the sides and bottom of the pot as you mix. Use the flat end of the mixing stick to reach the inside corner of the pot. Curing epoxy generates heat, so do not use foam or glass mixing containers.
If any pigments, tints, thickening agents, or other additives are to be added, dispense them into the mixed epoxy, and mix in thoroughly prior to pouring.
As soon as the epoxy has been completely mixed, it should be poured or applied. Do not allow the epoxy to sit in the mixing cup any longer than it needs to, as the cure reaction has already started at the time the two components were mixed together.
Resin Mixing Ratio by Volume or by Weight?
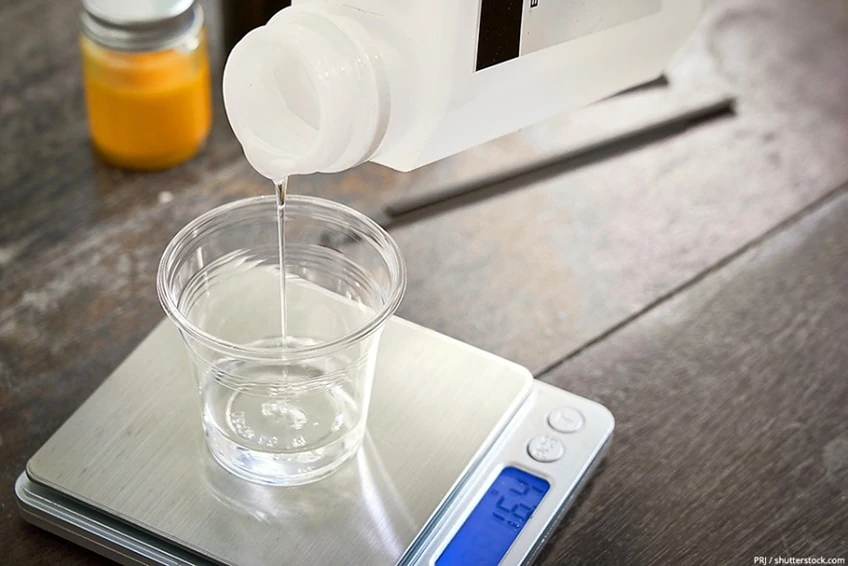
How you have to mix your resin depends on the product that you use. Because resin and the hardener could have a different density, weighing them would not work, especially if you need to measure big amounts of resin and hardener, as it gets unprecise.
So first check your manufacturer’s instruction on how the weighing has to be done – either by weight or by volume.
Then verify the mixing ratio of the product that you’re using. Casting resin often has a more complex mixing ratio, while “normal” Epoxy resin for less deep applications have a 1:1 mixing ratio. But also more complex ratios aren’t a problem, as we’ve got you covered with our Resin calculator.
Then you can determine the complete amount of resin that you need and if it is a bigger amount, you can break this volume down into smaller amounts of resin and hardener that you can mix separately.
Tipp: If you want to seal a surface with Tabletop Epoxy, you can calculate with around a depth of 1/16th inch.
[button color=”btn-primary” size=”btn-md” shape=”btn-rounded” outline=”false” block=”false” target=”” rel=”” data-wpil=”url” href=”https://resin-expert.com/en/guide/best-epoxy-resin”]Find the Best Epoxy Resin for your Project[/button]
[blogposts limit=”15″ orderby=”date” order=”desc” layout=”small”]


