Polishing Resin – How to polish Epoxy Resin [Tutorial]
This post may contain affiliate links. We may earn a small commission from purchases made through them, at no additional cost to you. You help to support resin-expert.com
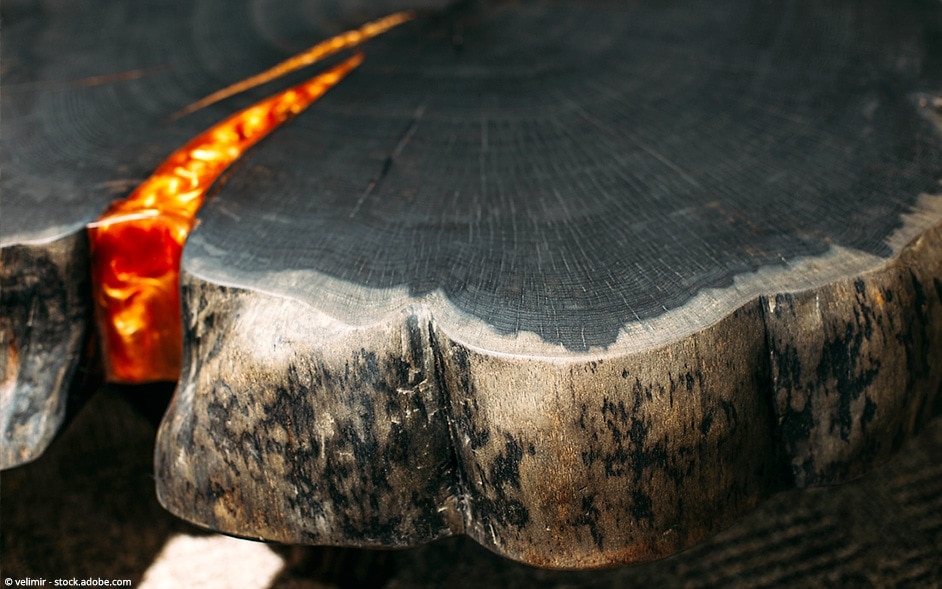
After curing, release from a mold or other applications, epoxy resin may appear dull or contain haze. Here, polishing epoxy resin helps to give the final result that certain something and the necessary shine. The polishing is done in a few steps and makes the cured resin shine properly. We show you step by step how to sand and polish resin.
Table of Contents
Possible Applications
Which epoxy resin applications can be polished?
In principle, any cured epoxy resin object and any surface can be polished. Here is a short selection of possible applications:
- Epoxy resin table
- Epoxy resin molds
- Epoxy resin wood
- Epoxy resin floor in living area
- Floor coating in the garage
- Epoxy resin repairs
The Choice of Best Polishing Compound
There is a wide range of polishing compounds available, which differ in the fineness of the polishing grain contained, and which are also used differently in some cases and have been developed for different materials. We recommend the Polishing Set from Incredible Solutions. This company has a lot of experience when it comes to epoxy resin and their polishing compound with the matching cleaner just gives you the best results
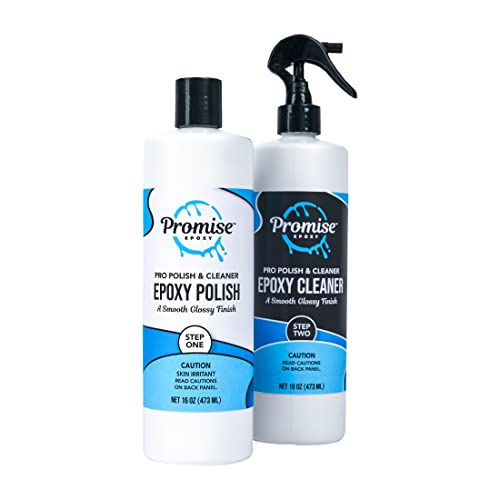
- Developed for reaching that brilliant shine on Epoxy Resin surfaces
- Removes all imperfections from the surface including scratches and scuffs
- Easy removing of the polishing paste with the included cleaner
Other Required Materials
- Sand paper 120, 180, 220, 400, 600, 800, 1000, 1500, 2000 Grit
- Sanding block
- Water
- int free, scratch free polishing cloth
- Polishing wheel
- Optional: Wax product
Preparation – Sanding of Epoxy Resin
The process begins with wet sanding. Wet sanding sandpaper is used for this. As the name suggests, this can also be used with water, as the abrasive grains are applied to a special, waterproof fabric. Wet sanding involves carefully sanding from coarse grit from grit 120 to grit 1000 in circular movements. This can be done either by hand for small objects or with an eccentric sander. The aim here is to prepare the surface evenly and to the extent that the actual polishing process can be carried out.
The actual wet sanding works as follows:
- Fill a container with water or use a water sprayer
- Dip the sandpaper into the water and start the sanding process
- It is also possible to apply some water by hand on the surface
- Between sanding operations, you can wipe off the milky water with a cloth
- Make sure that the sanding marks become less and less or finer with each change of grit.
- Scratches still existing from the previous sanding process cannot be removed later.
- Finally, you can wipe off the water completely

If the surface is already smooth after casting the resin, either wet sanding with a finer grain is sufficient or it can be polished directly. If you would like to learn more about sanding, we recommend the guide article on sanding epoxy resin.
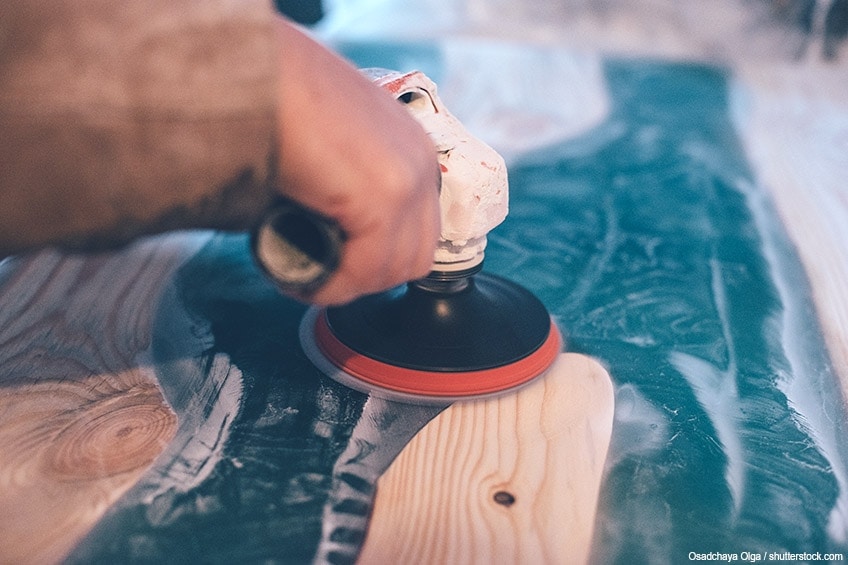
Polishing Epoxy Resin – Tutorial
The actual polishing process is not difficult but should be carried out very carefully. Because this is where it is decided whether the surface is really flawless. Factors such as the number of revolutions, the polishing post used, the polishing sponge and a few other factors must also be taken into account here.
Polishing Machine or Drill?
For polishing surfaces and larger objects, it is advisable to purchase a polishing machine. This can be equipped with different polishing sponges and has a number of revolutions per minute specially adapted to the polish so that the surface does not become too hot. We do not recommend the use of angle sanders, as the speed is much too high, especially for models without speed regulation, and the surface therefore becomes too hot.
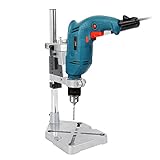
For smaller objects and shapes it is recommended to use an attachment for the drill. There are polishing discs in different sizes as well as polishing sponges and polishing ball heads, which are especially suitable for small objects.
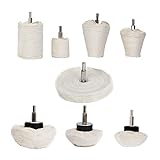
Machine Polishing Synthetic Resin – Small Objects with a Drill
You need the following materials
- Drilling machine with speed regulation
- Holder for drilling machine so that the hands are free
- Flannel polishing attachments for plastic fine and extra fine
- Carnauba wax
- Gloss wax
- A piece of wood
- Respirator mask

The procedure here is as follows:
- Mount the fine flannel polishing attachment to the drilling attachment
- Switch on the drill
- Hold a square object against the rotating polishing wheel until the fibers are set up
- Apply some polishing paste
- Carefully hold the workpiece to be polished against the rotating polishing wheel
- Polish with even movements until the desired gloss level is achieved
- If necessary, repeat the entire process with the extra fine flannel disc
Epoxy resin Polishing Machine
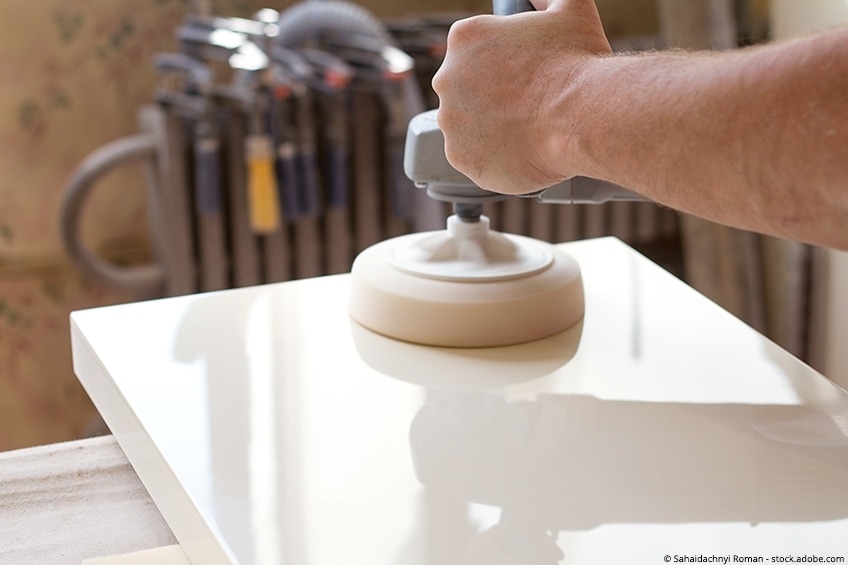
Polishing epoxy resin with a polishing machine is especially suitable for larger surfaces, such as epoxy resin tables, smaller floor surfaces, tabletops and similar products. Due to the eccentric movement you will get an excellent polishing result. Instead of only a rotating movement, the polishing pad moves in an elliptical path on the eccentric polishing machine. This is especially recommended for beginners, as a regular gloss is easier to achieve.
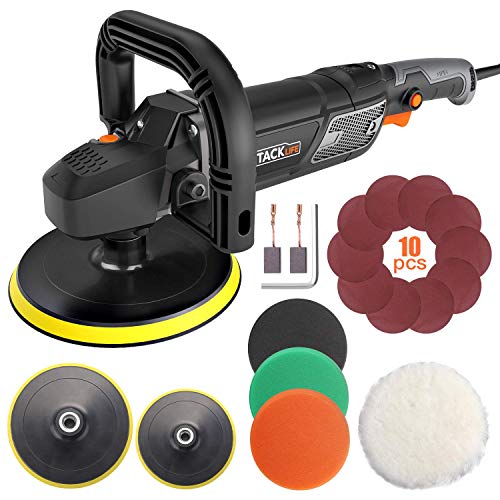
- Powerful compact orbital polishing machine
- Digital Screen and detachable handle
- Polishing set included, paste trays in 6 inch and 7inch, polishing pads, and carbon brush
Polishing Resin by Hand
Sometimes it can also make sense to polish small objects by hand. This way you have more feeling and can control the polishing process better. You will need the following materials:
- A cotton or linen cloth
- Polishing compound colorless
- Water
- Optional: a rectangular, hard object (piece of wood or similar)
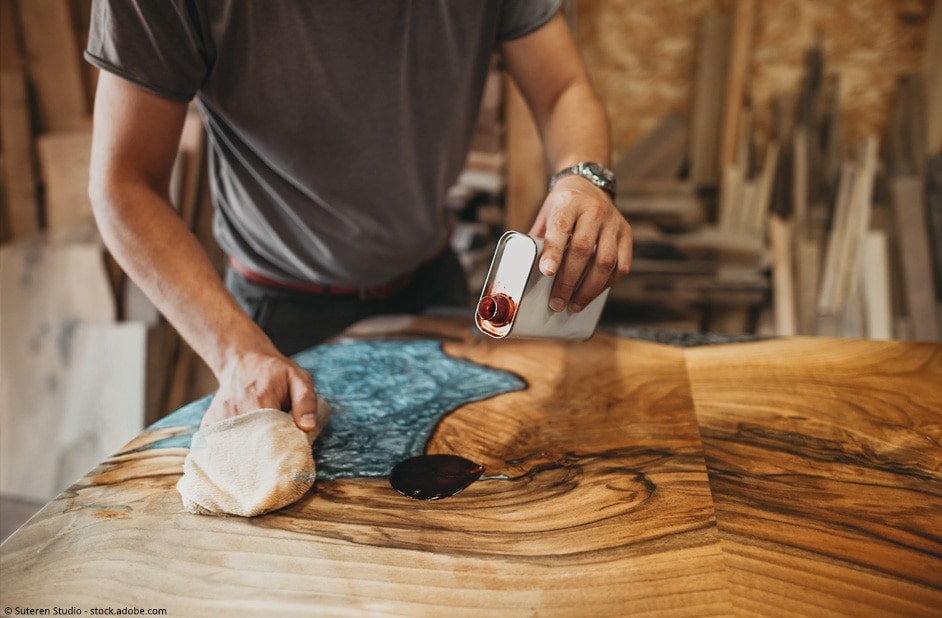
How to polish Epoxy Resin by Hand – Step by Step
- Apply some polishing paste to the cloth
- Wet the cloth very slightly with water
- Rub the prepared cloth slowly, but with pressure in circular movements
- Here now some patience is necessary because it takes some time until the surface shines
- For straight surfaces or edges, it also works great to wrap the wooden block with a cloth
Remove the polishing paste from time to time with a clean cloth. It can happen that you get the impression that the surface is not yet sufficiently polished. Instead, the polishing paste simply creates a matt impression.
Be sure to use a colourless polishing paste so that no coloured residues remain, which must first be laboriously removed.
Making Epoxy Resin shine – Conclusion
To obtain a really perfect and shiny surface, polishing is essential. Here, however, it is important that above all the previous sanding with different grit sizes was carried out carefully. If this is not done carefully, polishing is of no use and ugly sanding marks are left behind.
