How to Get Bubbles Out of Resin – Epoxy Bubble Buster Tips
This post may contain affiliate links. We may earn a small commission from purchases made through them, at no additional cost to you. You help to support resin-expert.com
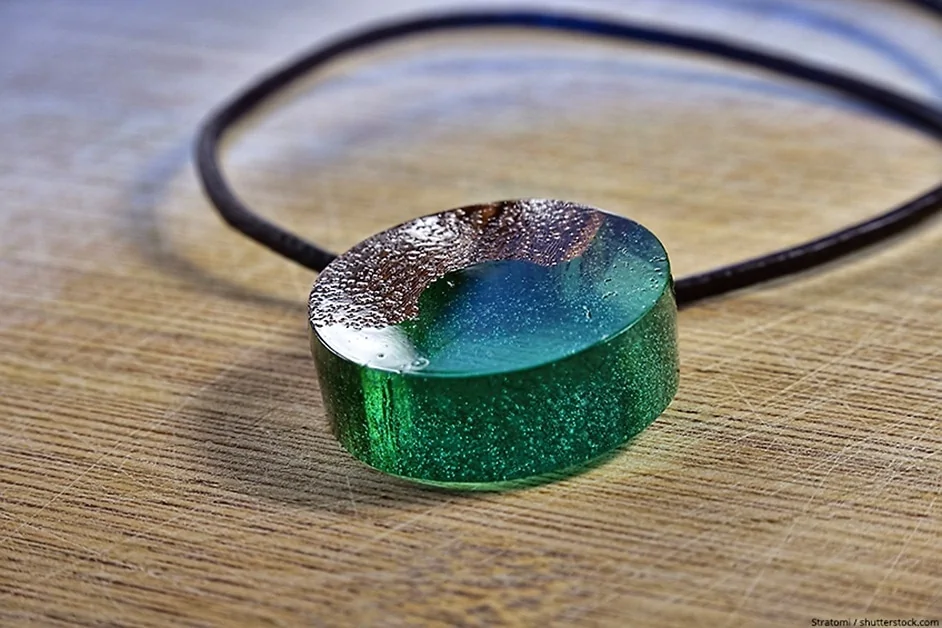
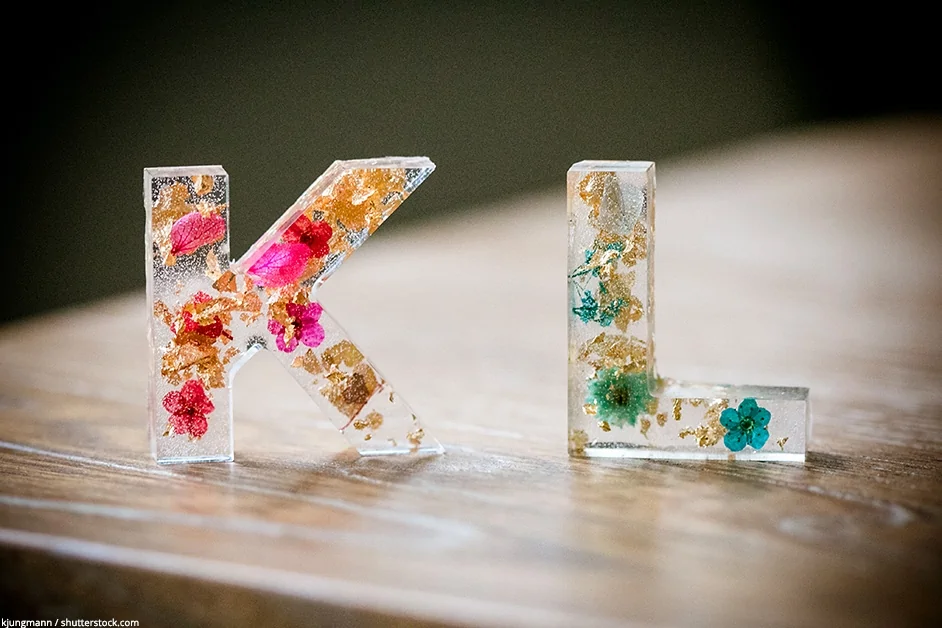
Resin is an exciting material to work with, and there are so many projects you can do using resin from making river tables, jewelry, forms and shapes like stars or hearts, coasters, flower pots, pen holders, and even tabletops to list just a few of the possibilities. Sadly, when you have worked hard mixing, stirring, and pouring out the resin you might be left with bubbles. The bubbles can cause a cloudy appearance, and it can be disheartening to think that your hard work is spoilt.
How to Fix Epoxy Bubbles
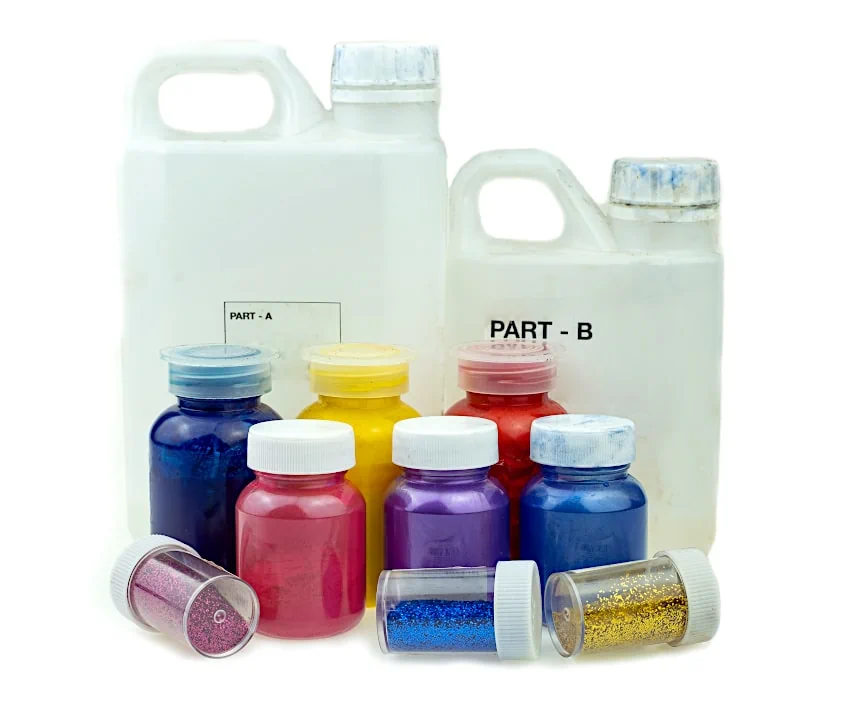
Resin is a type of epoxy that is made up of hardener and resin. When mixed the components form a solid, hard substance once it has completely cured. You can use resin to seal a variety of surfaces and offer protection. You can also pour the resin into a mold to create a variety of objects. You can even use resin to create sculptures or furniture.

Your resin casting project could be ruined if bubbles form in the epoxy. Thankfully there is a safe and easy way to use an epoxy bubble buster. We will be guiding you through how to overcome this problem, dividing it into two areas to handle the issue. To begin with, you need to avoid creating the bubbles, and should bubbles form you will need to know how to get bubbles out of resin

How to Prevent Bubbles Forming in Your Resin
When pouring resin bubbles form, it is a common problem, and anyone who has worked with resin will have experienced this issue at some point. It is much better to stop the bubbles from forming, to begin with, than attempting to remove them afterward.
Choose the Correct Type of Resin
To begin with, you should take into consideration if you have purchased the right type of resin for your project. There are two forms of resin, coating or doming resins, and casting resins. We are dealing with casting resin into molds, so you will need to use casting resin. Coating or doming resins have quite a thick consistency, so you should rather use casting resin as it has a much thinner consistency, which means fewer bubbles when poured.
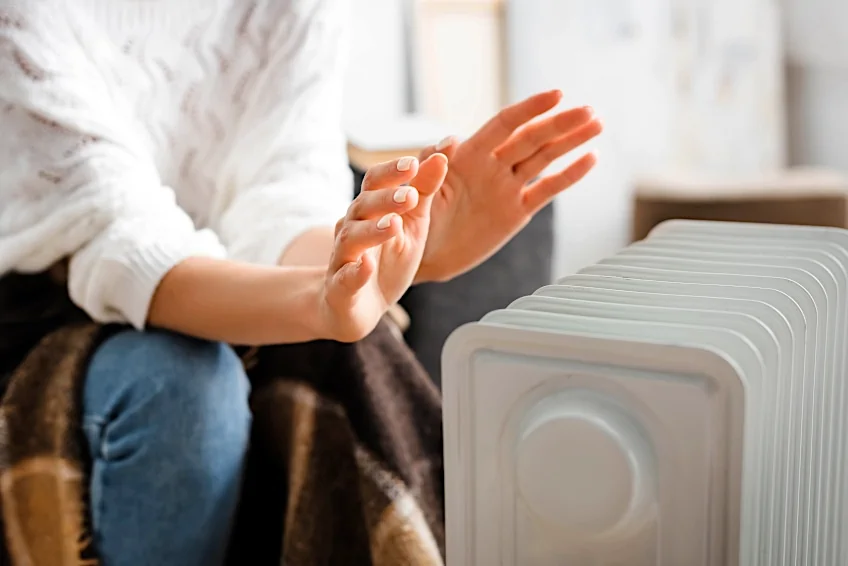
The Effect of Temperature on Your Resin
Resin thrives in warm temperatures, so you want to be certain that you are working in a space with the correct temperature. You ideally require a temperature slightly higher than room temperature (75 to 85 degrees Fahrenheit or 24 to 30 degrees Celsius). Heating the room with a heater can potentially be quite expensive, so we recommend you work in a smaller space such as a bathroom, where you will be able to maintain the temperature for the whole time that it takes for your resin to harden. A hot box for casting that can be used for smaller mold projects if efficient and effective.
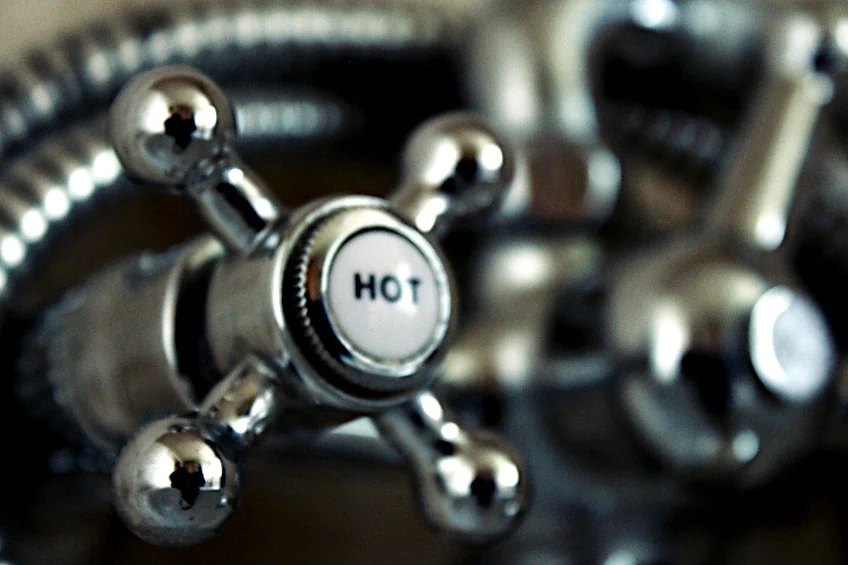
You will not only require a warm space to work in, but you should also warm your resin. By warming the resin, the mixture becomes more viscous, so you can pour the resin and spread it with ease. In doing this, fewer bubbles will form. The resin should be headed before you combine it with the hardener, as heat causes the resin to cure quicker.
Take the containers of hardener and resin and place them each in a plastic bag, the plastic bags can then be submerged in a bowl of warm (but not hot) water. Leave them in the water for roughly five to ten minutes. You will shorten the curing time if you overheat them, so please be careful. The bottles of resin and hardeners need to be tightly closed when warming them as you want to ensure that no water gets into the containers. Placing the containers in a plastic bag in no way assists the heating, but it does protect the safety instructions and label from washing off.
Mixing and Stirring Your Resin
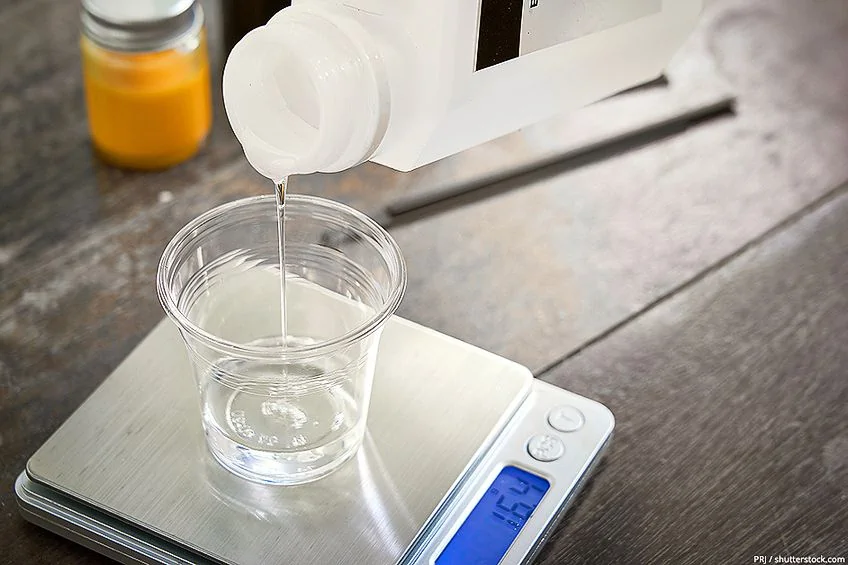
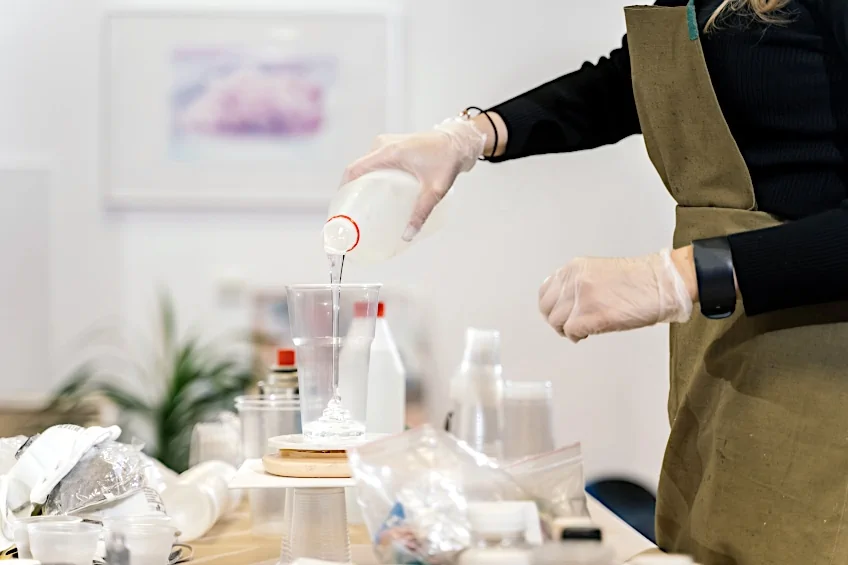
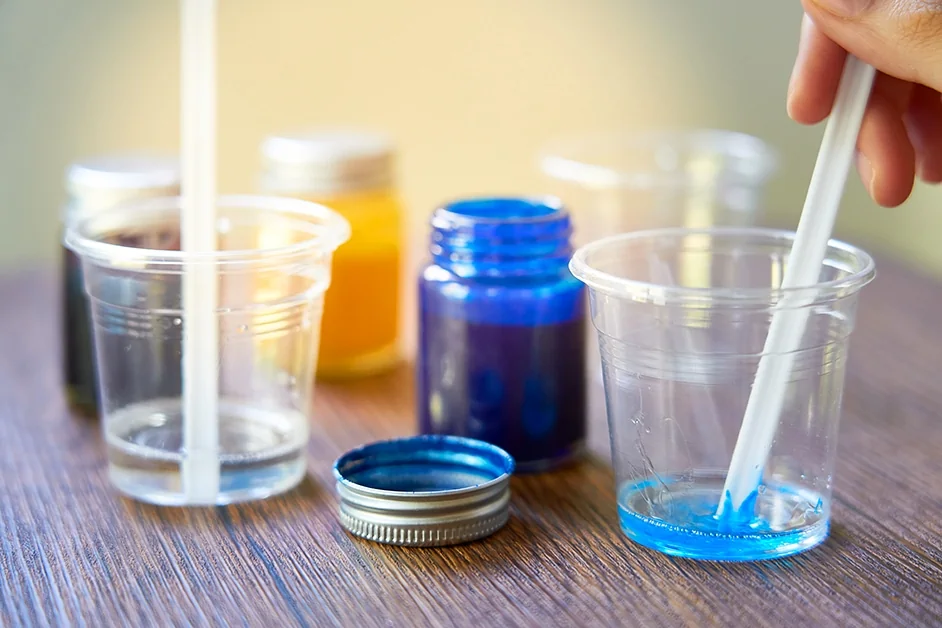
Before you combine the two components you will need to also warm the mixing cup. Remove the cap from the resin bottle and slowly, and carefully decant it into the mixing cup. You want to tilt the mixing cup to a 45-degree angle to ensure the resin gently runs down the side of the cup. In doing this you will ensure that the resin does not catch bubbles as it is poured. Take the hardener and add it, ensuring to pour it carefully. The mixing ratio needs to be 1:1 unless otherwise advised by the manufacturer’s instructions.
Now you can begin to mix the hardener and resin. Mix smoothly and slowly, there is no rush to the process and it is ok if it takes you three to five minutes. You want to be certain that the mixture is combined properly. You can press the stirring utensil to the bottom and the sides of the cup. This will prevent additional bubbles from forming.
The resin magic happens in the mixing process, as this is when the chemical reaction occurs when the two components are combined. The chemical reaction will cause your liquid mixture to turn solid. Be careful when mixing that you do not whip the mixture, as this will cause the resin mixture to foam up with bubbles.
It is practically impossible to have no air bubbles form in your resin mixture, but once you have finished the mixing process, allow the resin mixture to stands for roughly three to five minutes, depending on which resin you have selected to use. Leaving it to stand is important as it allows the resin time to de-gas, this means that the bubbles will rise to the top of the mixture and pop on their own.
Pouring Your Resin Effectively
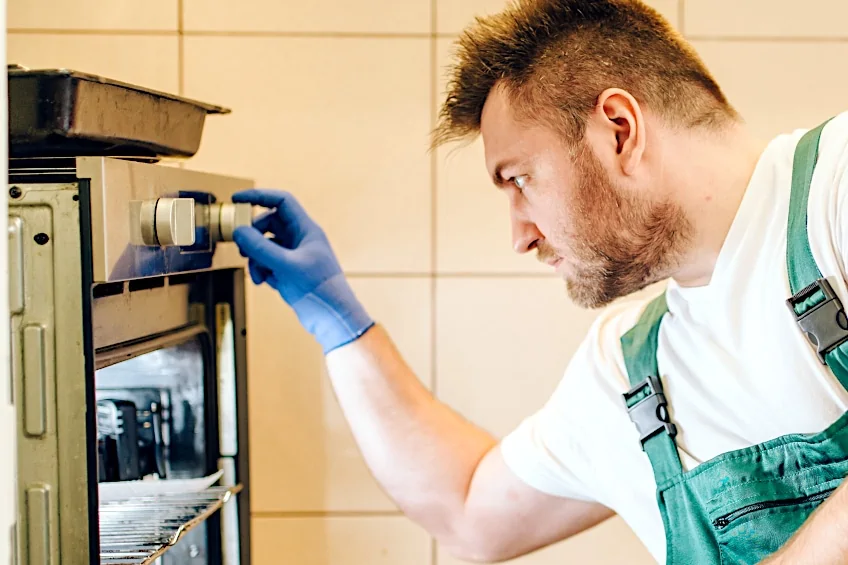
When pouring the resin mixture, you will need to follow the same process. You will need to warm up your mold before you begin to pour the resin mixture into it. Surface tension can occur if there is a difference in temperatures, this would cause bubbles to be trapped in the resin as you pour it in. You can warm your mold using a hairdryer or a heat gun for resin. Alternatively, if your mold is oven-safe, you can pop the mold into the oven set at 150 degrees Fahrenheit (65 degrees Celsius) for several minutes.
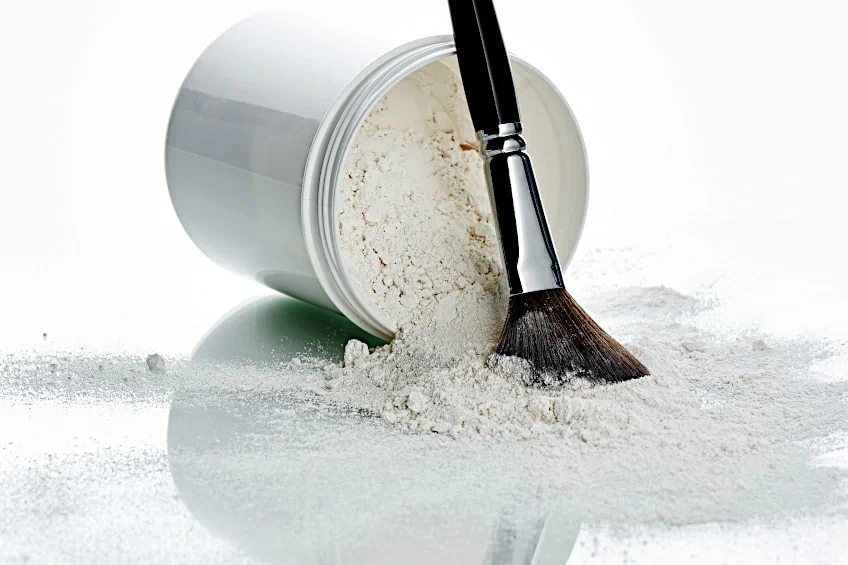
You can also decrease the surface tension of the mold as well as the chance of bubbles forming by dusting the surface of the mold with powder. You can just use some baby powder. Take a paintbrush and apply the powder, and then shake any excess powder out of the mold.
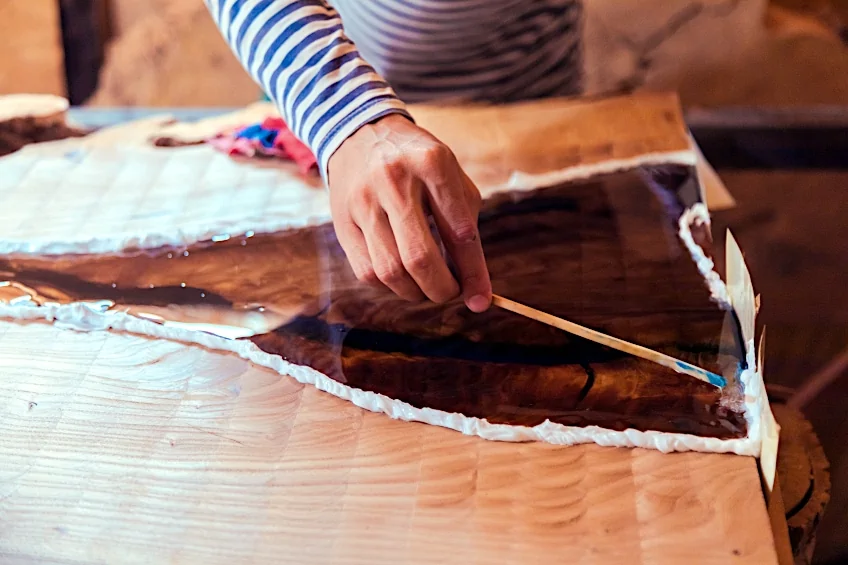
Decant the resin slowly and carefully into the mixing cup. In doing so you can avoid any bubbles forming. Hold the pouring container a few inches away from the mold’s surface. If you are working with a large mold, then begin by pouring the resin into the middle of the mold and moving carefully across the mold, this will ensure that the layer of resin is even. If you have mixed 30 ml of resin, it should all be poured in about 30 to 45 seconds (under a minute).

Try pouring the resin in a circular motion, smoothly and slowly. Ensure that you move in an anticlockwise or clockwise direct so that overlapping does not occur, this will assist in decreasing the number of bubbles that form.
The resin should be poured in thin layers, roughly one-eighth of an inch. Bubbles escape easier when the resin is thinner. Thick layers of resin are hard to work with and it becomes challenging to remove any bubbles. When you have finished pouring a thin layer of resin mixture into your mold, you need to check if there are any bubbles trapped in the resin.

This is a very important step as you need to remove bubbles from each layer as you work. Any bubbles trapped in the initial layer will remain there if you do not remove them and will be trapped in your finished cured item. You can then continue the process with the following layer until your entire mold is filled with the resin mixture.
How to Remove Bubbles From Your Resin Before It Hardens
We have just been through the different methods to prevent bubbles from forming in your resin mixture. Sadly, air bubbles can form at any point during the pouring process, even after curing has begun. It is ok though, we can help you save your project. A lot of the bubbles will work themselves out during the curing process, but if they do not, we will illustrate how to remove epoxy bubbles before the resin starts to harden.
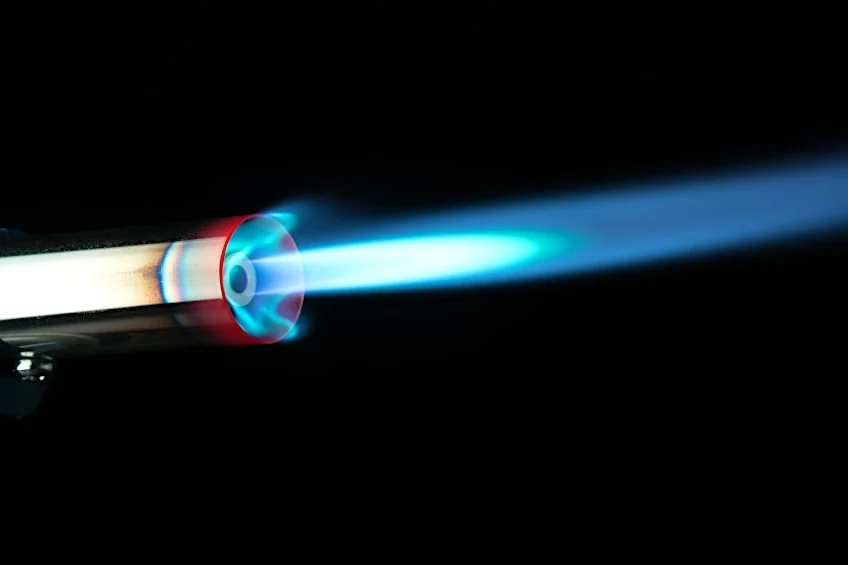
Using a Propane Torch or Heat Gun
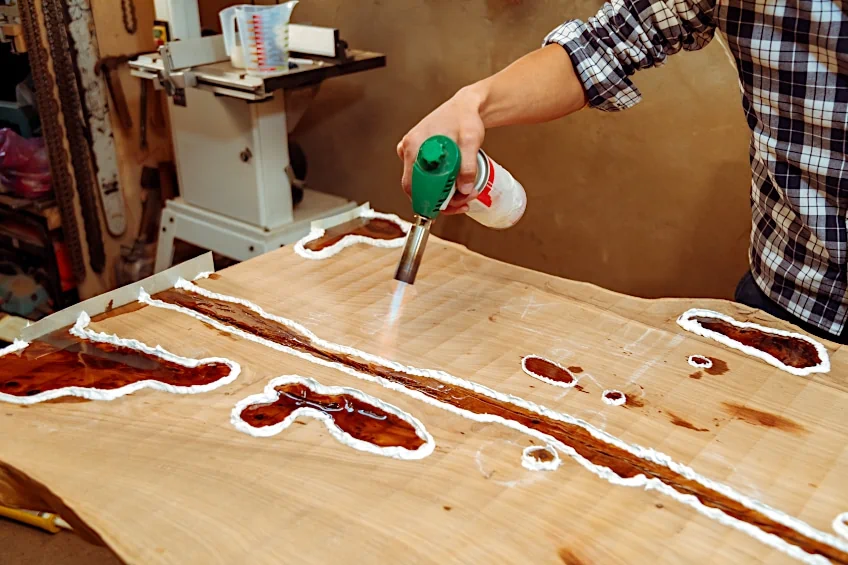
A propane torch is your go-to for removing bubbles from resin. A culinary torch will work just as well if you are working on a smaller project. However, will need a larger propane torch for bigger projects like tabletops, countertops, and large art pieces. Consult the resin’s instruction label, before you begin using the torch as certain resins are flammable and could catch alight from the torch’s flame. However, you will be completely safe if you avoid the flame coming into direct contact with the resin.
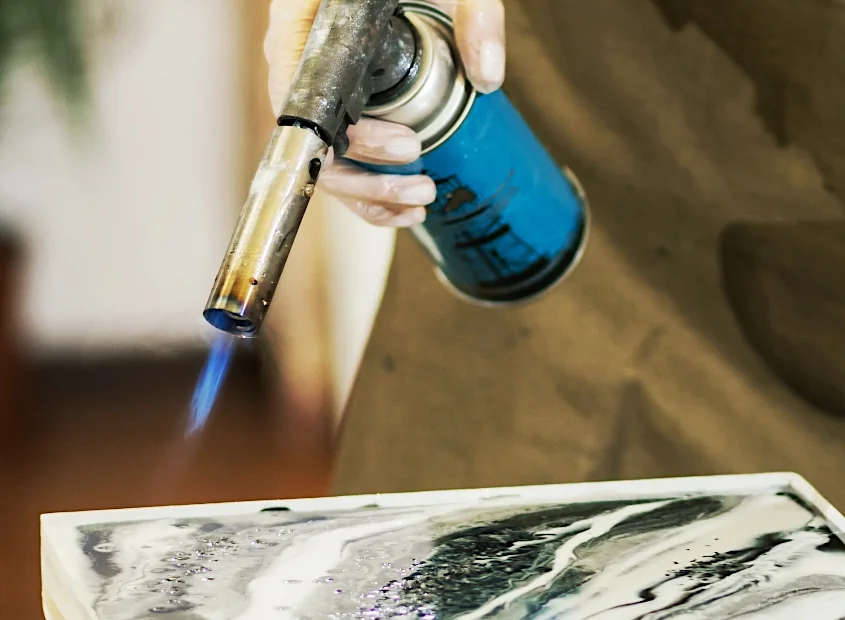
The torch’s flame will heat the resin’s surface, which will then allow the air bubbles to move to the top and escape. Hold the torch so that it is not pointing at the resin, and switch it on. Next, dial the torch down to its coolest setting, and pull the trigger to ignite the flame. Allow the torch three to four minutes to reach the desired temperature.
You want to hold the torch roughly six to 12 inches away from the surface of the resin and move the torch from side to side on a small area of the surface of the resin for about 10 to 15 seconds. Then move on to the next section. After three to four seconds the shallow bubbles will pop from the surface, but deeper bubbles may require longer.
Repeat the process until you are happy all the bubbles are gone. Do not allow the resin surface to heat for longer than 30 seconds. If you do, you could cause the consistency of the resin to change. After 30 seconds if you still have bubbles then unfortunately you are stuck with them. This is why it is so important to avoid creating bubbles when mixing and pouring the resin.
The process has to be done before the hardening or curing starts, otherwise, the bubbles will set in the resin and will become harder to remove. You can do the same process with a heat gun for resin, but this is only an option for smaller resin projects. If you are attempting to remove air bubbles from silicone molds the intensity of heat generated by a torch can damage other molds.
Tips to Adhere to When Using a Propane Torch
A lot of people are scared to use a propane torch, as they are worried, they may damage their project, or accidentally set something alight. However, if dealt with correctly, and by following some simple rules, it is a safe process. The safety rules are as follows:
- The flame torch cannot be left unattended
- The torch should be held roughly eight inches from the surface of the resin
- The flame should not be brought near any flammable substances or objects
- Move the torch over the resin’s surface, from side to side
- Do not allow the flame to be held in one spot for too long
- Work in a well-ventilated area
- Do not over torch the resin, as it could ruin your project
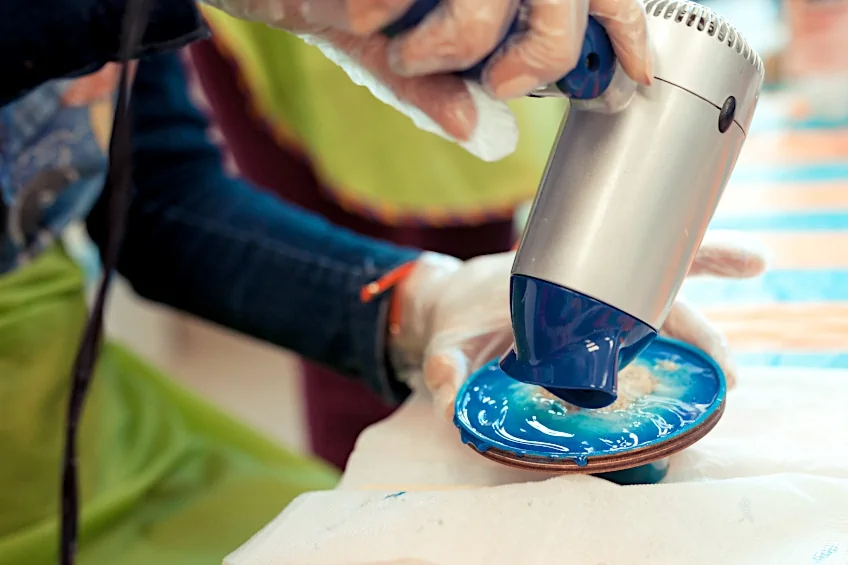
Using a Hair Dryer as an Epoxy Bubble Buster
While a heat gun or a propane torch is more effective than a hairdryer, a hairdryer will still work in removing surface bubbles from your resin. You can follow the same process as you did with the torch. Be careful not to blow dust onto the surface of the resin, as this will damage your glass-like finish.
How to Get Bubbles Out of Resin Using a Toothpick or Pin
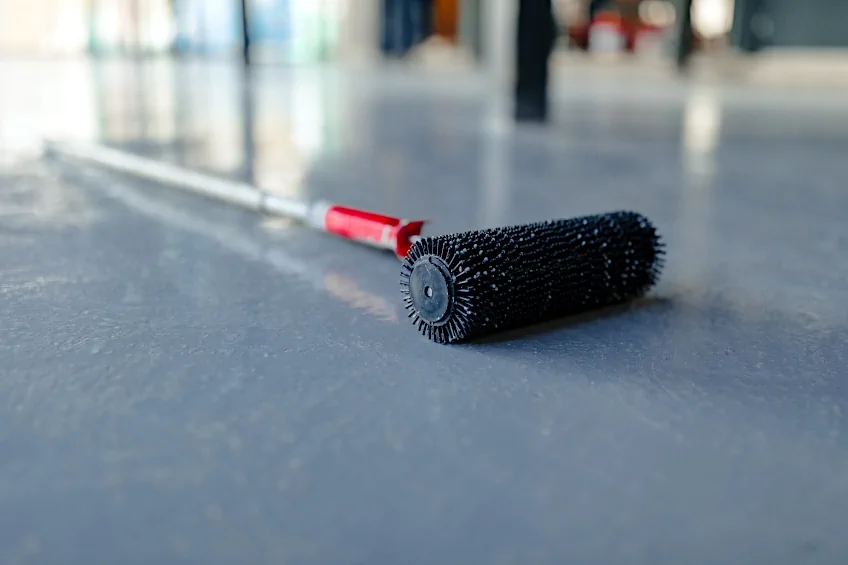
You will only be able to effectively use this method when working with smaller projects and it requires a fair amount of time and patience. Insert your toothpick into the bubble and start to swirl the resin a little bit. This will cause the bubble to be forced out of the resin. Another option is to take the toothpick and attempt to coax the bubble away from the edge making it easier to pop. Epoxy floor installers have a specialized device named a needle roller for this very function.
How to Fix Epoxy Bubbles Using a Drinking Straw
This is another method that works best when you are working with a smaller project, such as a small river board, jewelry, and small molds. Insert the drinking straw into the and gently blow. The air movement should cause the bubble to pop, just keep in mind these needs to be done before the curing process begins.
Using a Vacuum Chamber
This is the final method for bursting bubbles on a smaller project or mold. The bubbles are removed thanks to the vacuum chamber de-gassing the resin. This is not a method used by most DIY-ers, as the vacuum chamber is relatively pricey and is not an item that is commonly in everyone’s house.
How to Remove Bubbles From Dried Epoxy
If you followed everything above and were careful when pouring the resin mixture, but sadly still have some bubbles after the resin has cured. You may wonder if it is possible to remove bubbles from your resin, even once the resin has completely cured?
This happens quite often, particularly when you have used any type of embellishment in the resin, and the air surrounding it is slightly cooler. Do not worry, as there is a way to remove the bubbles from the resin even once it has cured.
If there are only one or two bubbles, you can take a sharp knife and cut the resin away from around the bubble. Removing the bubble and the surrounding resin and creating an open hole. Next, you will have to combine a tiny batch of resin, roughly three quarters to one ounce, which should be sufficient to fill the hole you have created.
Place the casting on a rack so that it is no longer sitting on a flat surface. Use your stirring stick and take some of the resin and fill the hole you have created, where the bubble used to be. The resin will bond and the hole should vanish. You can then coat the whole resin surface using a thin layer of resin, which becomes a glaze. If there are several bubbles, you may be forced to sand down the whole surface until they have been removed. If you can use several layers of resin and you only notice once the resin has cured that there are bubbles in the initial layer, you will have difficulty removing them. They should have been removed before you added additional layers of resin.
When casting epoxy resin, you are bound to have some air bubbles form in the resin. However, if you adhere to the correct processes, and do your best to avoid forming bubbles, as much as you can, you should be rewarded with a bubble-free project. We hope you have a good understanding of how to get bubbles out of resin for any of your future projects.
Frequently Asked Questions
How to Remove Bubbles From Dried Epoxy?
You will need to begin by sanding down the whole resin surface, which will remove all the surfaces bubbles. Use a damp cloth to wipe down the area and then apply a fresh coat of resin across the entire surface. Once cured you will have a stunning resin artwork.
How Can You Fix Epoxy Bubbles?
A propane torch works well on large projects. While if you are doing a smaller project, like creating jewelry, then a heat gun is ideal, a hairdryer will work as well. Another option is to use a pin or toothpick or even attempt the method of blowing through a straw.
Can a Hair Dryer Get Rid of Bubbles From Resin?
A heat gun or a hairdryer does create sufficient heat to remove bubbles from the resin, as long as the casting is not too big. You need to be careful that the hairdryer does not blow dust onto the resin which will cause damage to the smooth, glossy finish of the resin.
Is a Vacuum Chamber Necessary for Casting Resin?
A vacuum chamber is the only method to ensure you have zero bubbles in your resin. However, as a beginner, there are more affordable methods you can use to stop air bubbles from forming.
How to Prevent Bubbles When Casting Resin on a Porous Surface?
If you have chosen to cast your resin on a porous surface, which is any surface that contains air pockets, such as wood, you will have to start by sealing the surface using a spray sealant or a waterproof varnish. You are then able to cast your resin safely. This will stop air bubbles from forming on the resin’s surface.
