Resin Rings DIY – Your Guide on how to make Resin Rings
This post may contain affiliate links. We may earn a small commission from purchases made through them, at no additional cost to you. You help to support resin-expert.com
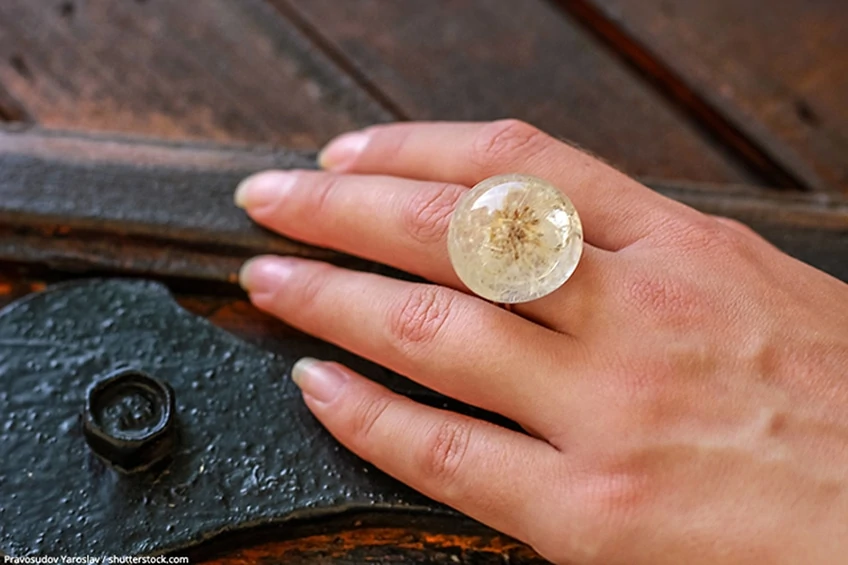
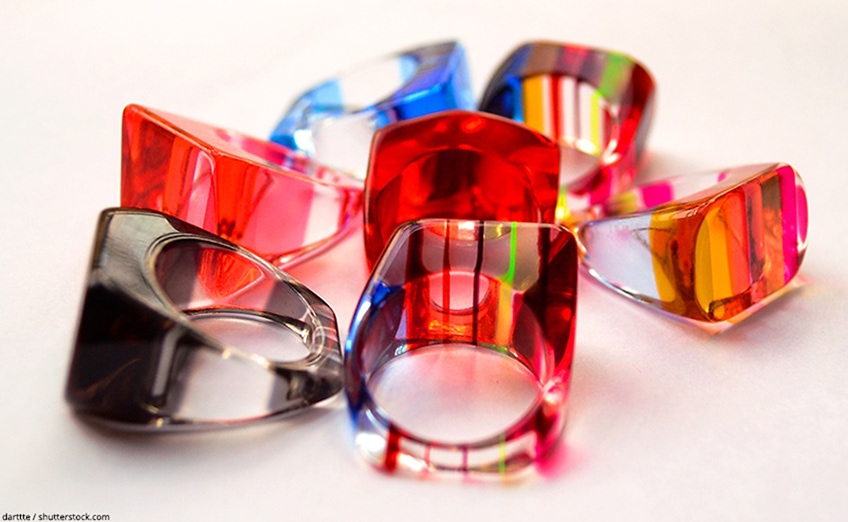
A very popular and easy project to begin with is making resin rings. Follow these easy instructions on how to make your own beautiful resin rings.
Table of Contents
Popularity of Resin Rings
If you are a creative person and like venturing into the world of DIY, making your resin rings is a popular and easy option. Most people will quickly learn the techniques needed to make resin rings. There are countless ideas you can realize, also there are endless inspirations you can find on the internet. An advantage is they should last for a very long time, depending on the products you use.
Products and ingredients should be available at most local craft stores, otherwise you can research online for products. The simplest method to make resin rings is to buy or use an available mold. As soon as you have gained a bit of experience in the art of making resin rings, you can start making your molds, which will allow you to customize the ring in unique settings.
There are many videos and tutorials available online that teaches you How to make resin rings, including courses and workshops that will develop and expand this craft.
Supplies needed to make resin rings
Proper preparation is very important, so before you begin make sure you have all the materials you will need for this project.
Materials needed to cast Epoxy Resin:
- Epoxy Resin
- A Resin Ring Mold (or you can make your own silicone mold)
- Resin dye or Resin compatible pigments
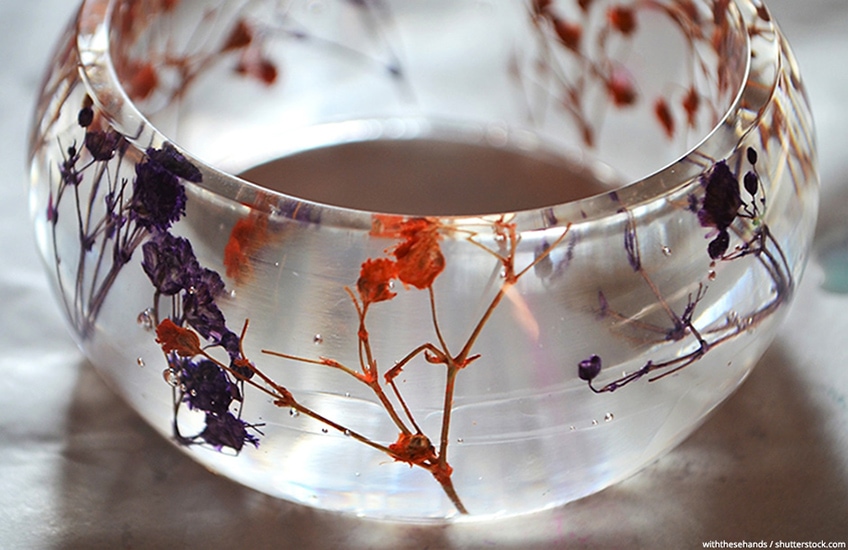
- If you want to make it even more personal, you can also use personal objects to embed
- A Resin work mat or wax paper
- Latex gloves
- 3 small measuring cups
- Squeeze condiment bottle (optional)
- Blow Dryer
- Toothpicks and popsicle sticks
- An empty box or container to cover your work
- Quick Drying Adhesive
How to make resin rings with a resin mold
In this DIY guide to making resin rings with a bought mold, you will learn all the steps to get your first Resin jewelry piece.
Preparation
This project kicks off with proper preparation and must be carried out in a well-ventilated workspace. Once you have all your equipment ready on your worktable and laid down your wax paper or resin mat (this is needed for any resin that might drip), you can start making rings. The worktable must be leveled for the resin mixture to remain even during curing.
Put the resin and hardener into warm water as it will help the forming of air bubbles. You can also mix it smoother. Prepare your workspace and make sure you have all tools by hand as you don’t have time to waste as you start.
Resin mixing and coloring
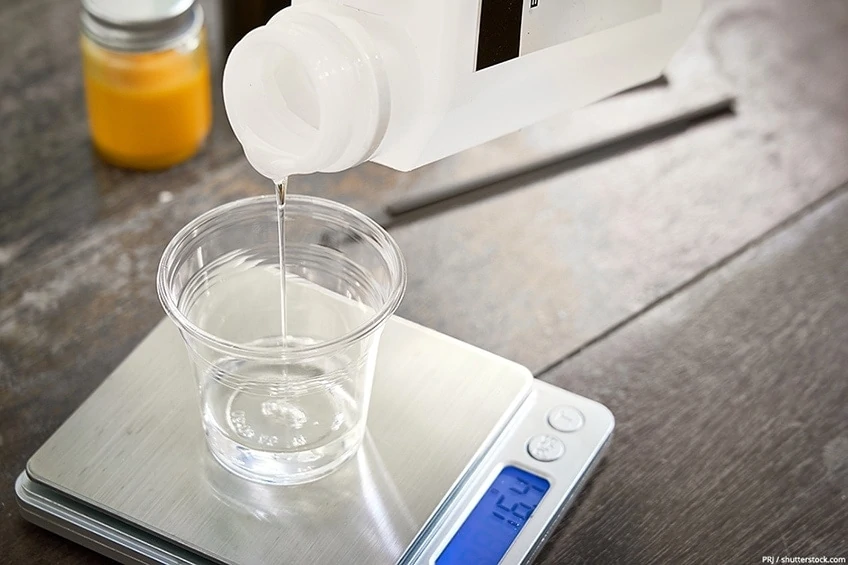
Epoxy Resin is an easy medium to work with but read the instructions on the labels carefully. Use your 2 measuring cups to mix equal parts of resin and hardener. Mix it in a mixing container.
The next step is to add resin color to your mixture. Mix and blend completely with a popsicle stick or mixing tool. Add your glitter at this stage. If you are planning to use more than the basic color, mix it in separate cups with your resin mixture.
How to cast your resin ring
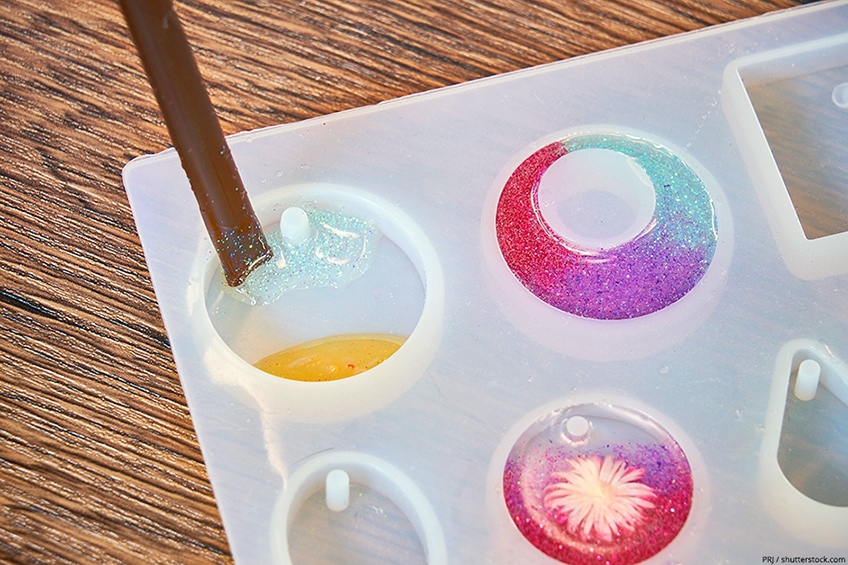
Once mixing is completed, the resin must be poured into your mold. For more precise pouring, you can use a condiment bottle.
Add filler: Pour a layer of resin into the mold. Then add the items that you have chosen to the resin. You can add another layer of resin if needed, but be careful not to add too much resin and over-fill your mold. Use a torch or hairdryer on low heat to remove any air bubbles that might be trapped in the resin.
Note: Pour straight into the bevel cup if you use a blank ring as this will only use a small amount of resin.
Let it cure
Allow 24 – 48 hours to fully cure the resin. Cover the mold with a container or box so that no dust or filth can get into your resin during the curing process.
Note: You can use UV Resin, which is ideal for smaller pieces if you don’t want to wait out the curing process. No mixing is needed and it cures within minutes simply by using a UV light.
Demolding
To find out the curing time of your epoxy resin, take a look at the label on your container. You can only remove the items from the mold once the resin has fully cured.
Demold carefully as sharp edges sometimes form. If you have problems with demolding, check if you use a polished mold or use a demolding spray before you put in the resin next time.
Polishing and Finish
Depending on the quality of your mold, it is possible that you will notice some share edges or other imperfections in your unmolded resin ring. The first step to fix these small errors, you can smooth these out with fine-grit sandpaper. More about how to do this, you can find in our resin sanding tutorial.
The next step would be polish your resin piece to create a nice shine to your ring. To add a clear gloss effect, you can use Crystal Clear Resin.
A basic round ring mold forms a solid resin ring and there are many shapes and designs to use and glue onto a ring base.
 This piece needs some polishing
Making basic resin ring molds
It is not too difficult to make resin ring molds, but it may require a bit of practicing before creating the perfect mold. The easiest method is to buy a Silicone mold-making kit and replicate the rings you want. Instead of using your rings, you can also buy cheap rings from local stores and use this for your project.
A silicone mold kit comes with easy instructions, but herewith a few easy steps:
- There are two parts in the kit – parts A and B
- Mix evenly (ratio 1:1) until the color looks even
- The mixture can eventually be formed into a ball
- Press down and flatten a little
- Take your ring and press it into the mold
- Leave for about 25 minutes and take it out
- For the proper formation of the mold, there is a waiting period of about 48 hours, then you can add your resin
Common questions
Lifespan of resin rings
Resin rings should last for many years, depending on how well it was made and provided that you take good care of it. You can also check out our resin jewelry tutorial.
Tips to help your resin rings last longer
- Epoxy resins are one of the best products used in this process. Take into account if the resin is made for doming or molding and what is the best brand. The quality and type of resin that you use to make resin rings are very important to get the best results.
- It is natural for the resin to turn yellow over time. There are some products, which work better protecting your piece from yellowing.
- Resin rings must not be stored in direct sunlight, also avoid prolonged exposure to heat.
- Do not leave your ring in extreme heat such as direct sunlight in your car, as it can get damaged.
- All resin can scratch on the surface, so rather take it off if you are cleaning, doing dishes or do gardening.
- Creams, lotions, perfumes, and harsh chemicals (such as nail polish removers) often contain harmful chemicals. These cause permanent damage to your ring, so remove the ring before using these products.
- Store your resin ring in a cool, dark, airtight container.
- If you have made a mixed media ring, say with metal and resin, use high-quality metal as this will contribute to the lasting ability of your ring.
