How to Lighten Stained Wood – How to Brighten Up Wood Finishes
This post may contain affiliate links. We may earn a small commission from purchases made through them, at no additional cost to you. You help to support resin-expert.com
It can be a challenging process to stain wood, and when the results are not what you were hoping for, it can be quite frustrating. Luckily, if you are looking to lighten up your wood there are several methods you can try. Lightening the stain of your wood will not only change the look of your workpiece, but the area surrounding your workpiece will feel lighter as well. Creating a really “open” feel, as opposed to if you had used dark wood stain. In this article, we will provide insight into a few techniques you can use to lighten up your stained wood workpieces and what the best ways to go about these methods are. Keep in mind the point of DIY crafting is to be able to push your crafting beyond finishes that are easily available, while customizing your piece, so do not be nervous and have some fun!
Table of Contents
How Can You Lighten Wood Stain?
IF you find yourself with furnishings or an interior made completely of dark stained wood that you wish to lighten up without covering everything in paint, then you may be considering various methods for changing the tone of existing wood stain.
It can be a simple and exciting process to lighten up your wood stain, and there are a variety of methods you can use to achieve this.
The most effective methods for lightening already stained wood include bleaching the wood, or removing a layer of stain with steel wool. However, if you have purchased stain but realized that it will be too dark, we can also show you how to dilute your stain before application.
Bleaching Your Wood
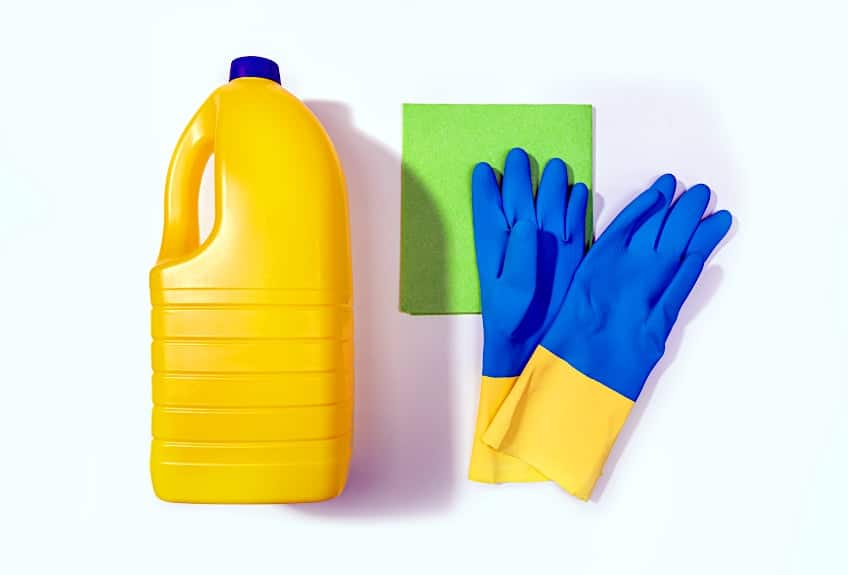
Making stained wood lighter with bleach is the simplest technique you can use to lighten your wood. Before you begin you will require a pair of goggles, some gloves, a workspace with good ventilation, and a tarp. Additional materials you will require include a paint scraper, chemical wood stripper, fine-grit sandpaper, wood bleach, a paintbrush, and access to both cold and hot water. Lay down your tarp in your work area to ensure that none of your belongings get damaged by bleach.
Strip Your Wood’s Surface
There is a good chance that if your workpiece has been in use for some time, it is probably covered in a protective coating of polyurethane or varnish on the surface. If you plan to bleach the item you will need to first remove the coating. You will have to use a heat gun or a paint stripper to remove the coating.

When using a chemical stripper, ensure that the layer is applied evenly. Allow time for stripper to soak into the surface. The process will take roughly 20 minutes for the stripper to weaken the varnish or polyurethane to the point where it can be scraped off
Now to begin the messy part! When the wood stripper has caused the surface coating to turn into a substance that looks similar to snakeskin, you will then need to scrape off any residue. While you can use a metal scraper, a plastic scraper will be less likely to damage your wood. Keep in mind though, that many paint strippers may melt plastic scrapers.
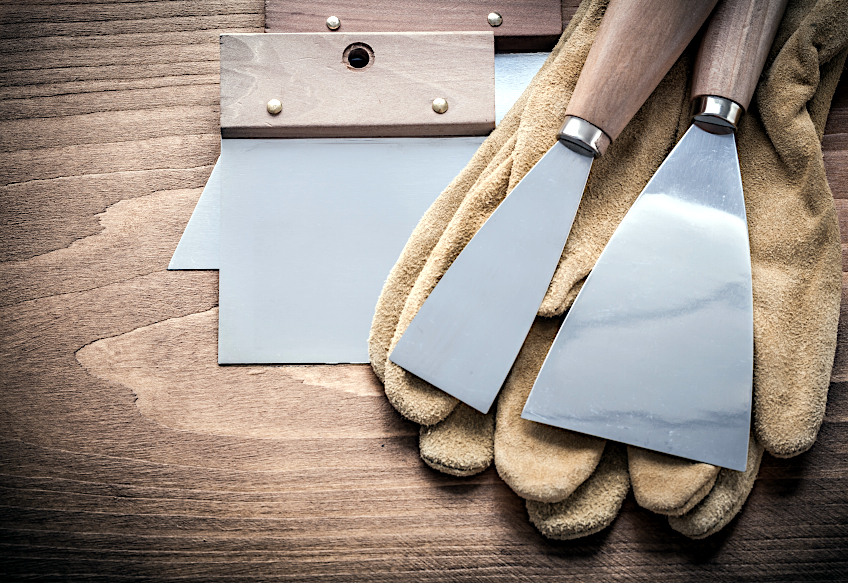
Hold your scraper at a 45-degree angle. Remember to dispose of the stripped coating residue in a vessel graded for harmful materials. This is important as a wood stripper has the capability of eating through most types of standard garbage bags, which is very bad for the environment.
Once you have removed the bulk of the coating, look out for any contrasts in color on the workpiece’s surface. If there happen to be darker spots over the surface, use your scraper or some sandpaper to remove them. You are aiming to have the surface of your workpiece have a uniform color once all the varnish or polyurethane has been removed. Before progressing onto the following step, you will need to allow your workpiece some time to breathe.
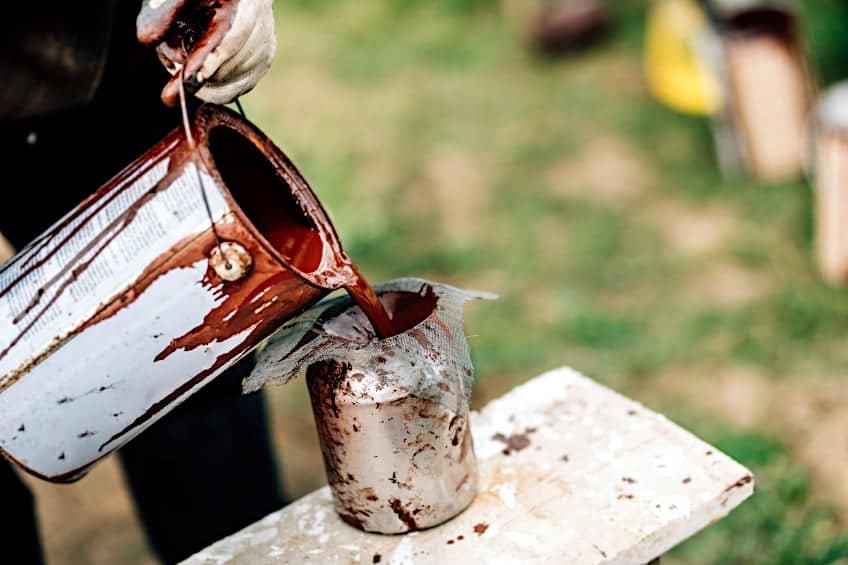
Prepare Your Wood Bleach
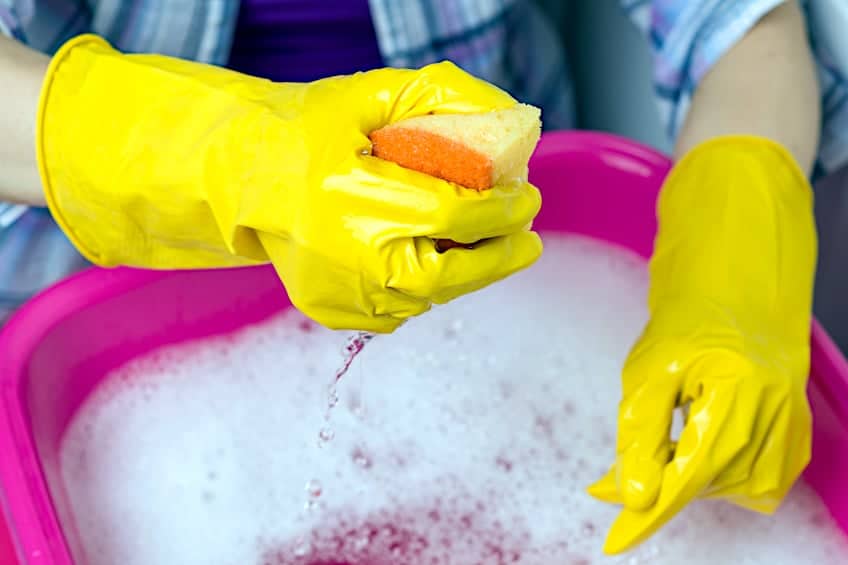
Take your bucket, and add some wood bleach into it. ensure you are wearing the necessary safety gear when working with the bleach, including gloves and goggles. You will naturally require adequate ventilation. The reason ventilation is so important is that wood bleach has a potent smell and inhaling the fumes it creates can cause mild to moderate discomfort. Once you have added the wood bleach to the bucket, you should follow the directions on the product’s packaging.
When your wood bleach is ready for use, secure your workpiece and have your paintbrush ready for the following step in the process. If you do not want your wood to be too light when you apply the wood bleach, we suggest you add some oxalic acid to your wood bleach mixture.
Apply Your Wood Bleach
Now for the important part. You can begin to apply the wood bleach to your wooden surface. Like any other surface coating, the majority of effort is in the preparation of the surface as opposed to applying the coating itself.
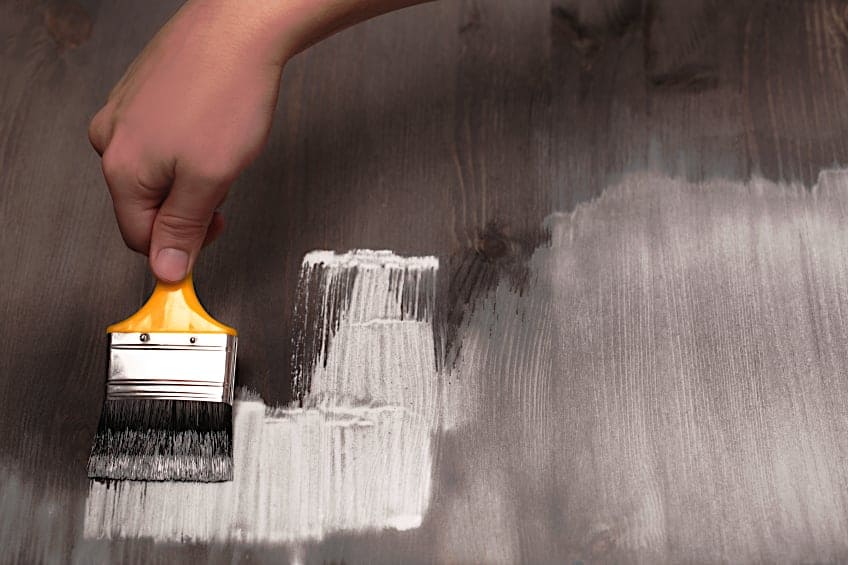
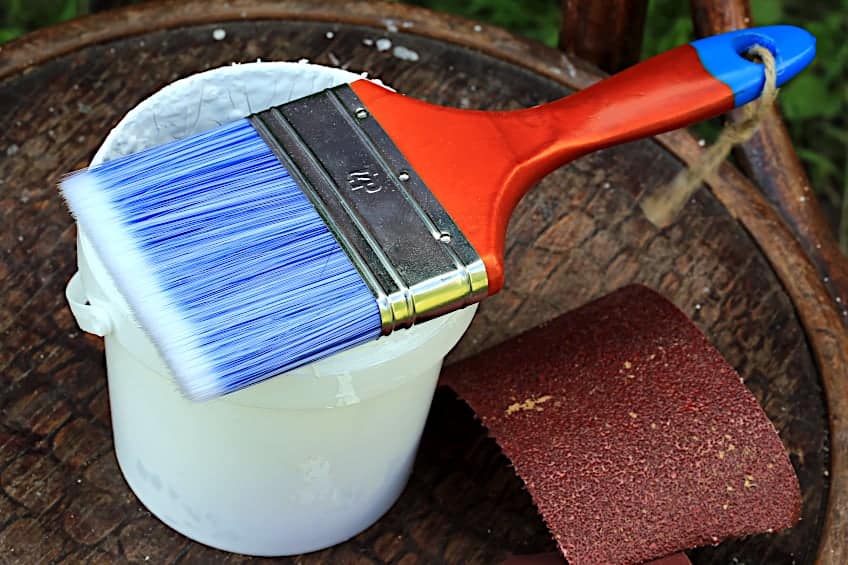
Take your chosen paintbrush (we recommend you use one that has natural bristles) and coat it in your combined wood bleach. Apply a thin coat of bleach to the surface of your workpiece. You want to ensure that the bleach is spread evenly across the entire surface area. If you are dealing with a large workpiece, we suggest using a small to medium-sized mop to move the process along.
Using a mop or something similar will cause the bleach to be forced into the wood’s fibers, which means the process will go a lot faster than if you simply leave the bleach to seep in on its own. When you have finished applying the bleach, step back and allow between 30 and 45 minutes for the product to work.
Apply White Vinegar to the Surface
Allow the bleach to sit for between 30 to 45 minutes, you can add some white vinegar to the workpiece’s surface. Take a small bucket or a bowl and pour some white vinegar, and then combine it with some water.
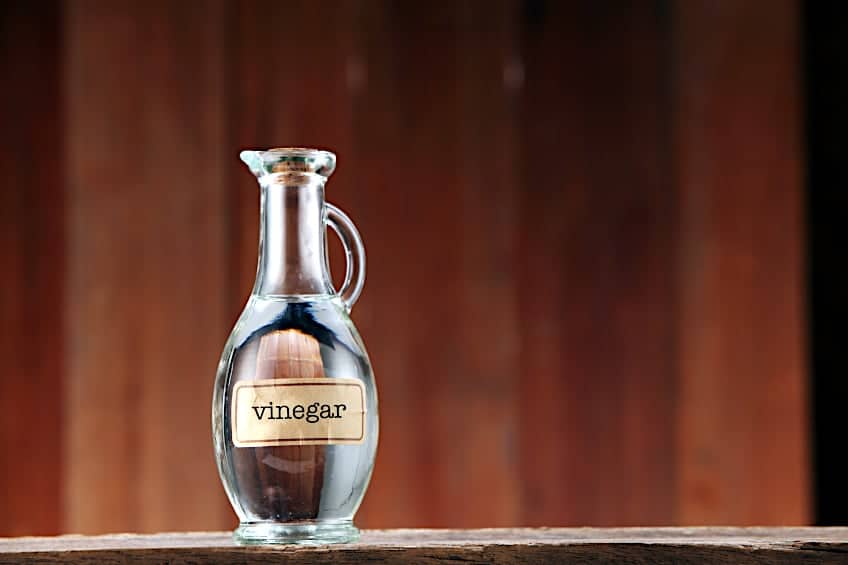
Try your best for the vinegar mixture to be equal parts vinegar and water, a ratio of 1:1. The vinegar mixture will allow the wood bleach to settle quickly. How does one apply the vinegar to the surface of the workpiece? Just take a clean cloth and dip it into the mixture and allow the cloth time to soak up the mixture for several seconds and then ring out any excess. Once you have the necessary quantity on your cloth, you can rub the mixture over the workpiece’s surface.
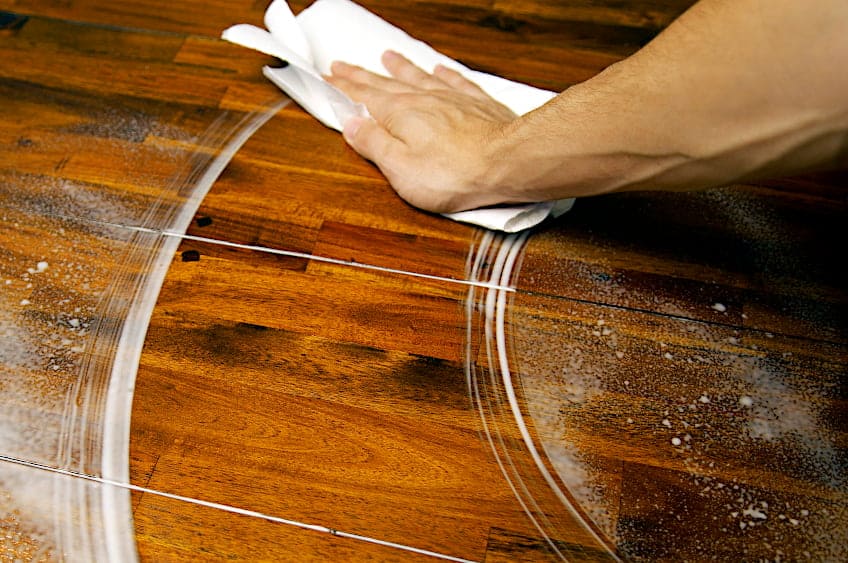
Allow the mixture to sit for a few minutes so that it can seep in, and then you can just remove the mixture from the wooden surface using a wet cloth, ideally soaked in warm water. Ensure that you have removed all the white vinegar and wood bleach from the workpiece’s surface before you move on to the following step.
Sand Your Workpiece and Resurface It
You may think your job is done, but we suggest you take some additional steps to ensure that you have the best chance of maintaining and enjoying your workpiece. Keep in mind that you have removed the protective layer to be able to bleach the wood, so we suggest you replace the protective layer before things like insects, moisture, or excessive heat ruin the surface of your workpiece.
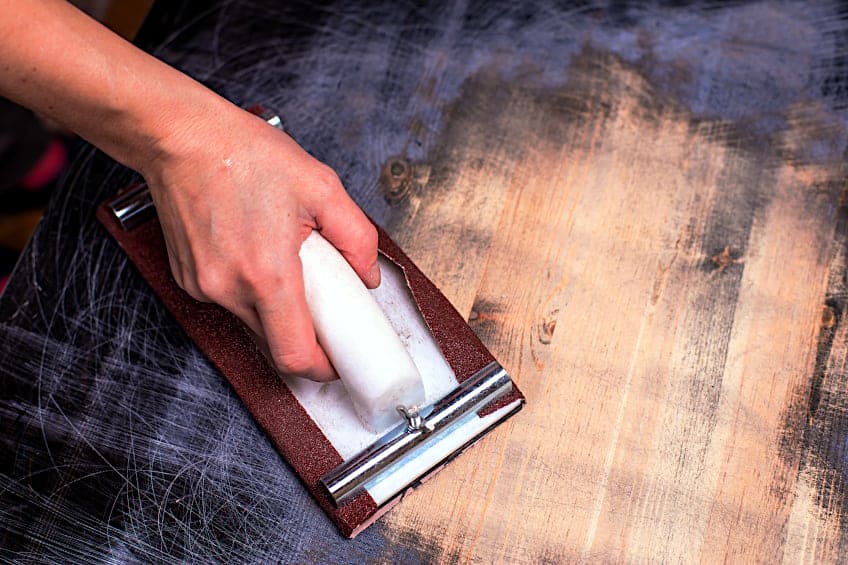
Before you apply the polyurethane layer, your workpiece’s surface will need to be re-sanded. Use fine-grit sandpaper, between 160 and 180 grit, to sand down your workpiece. When you have finished sanding, clean down the surface using a fresh cloth. The surface will then be ready for you to apply your protective layer.
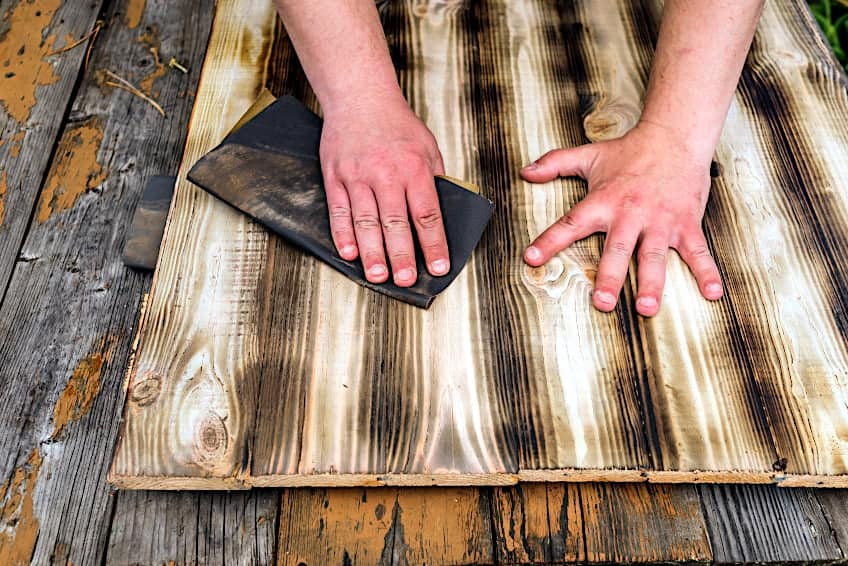
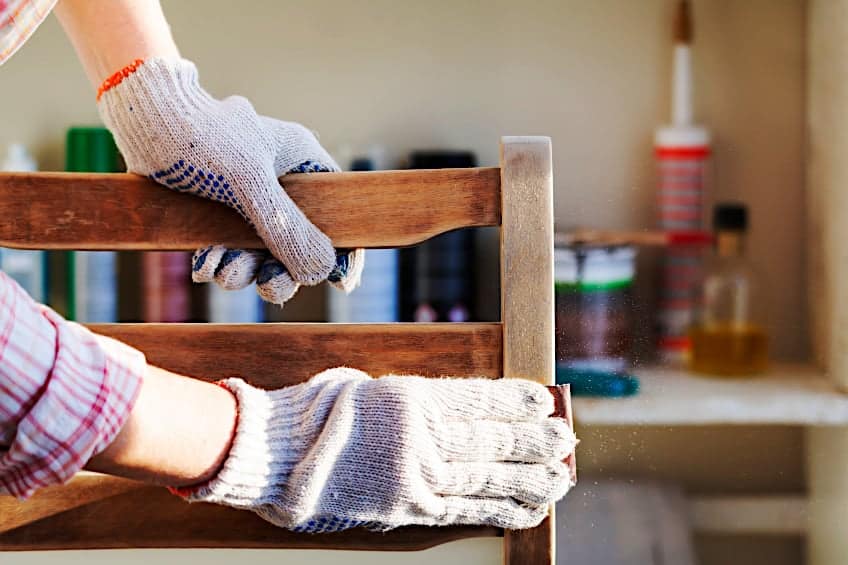
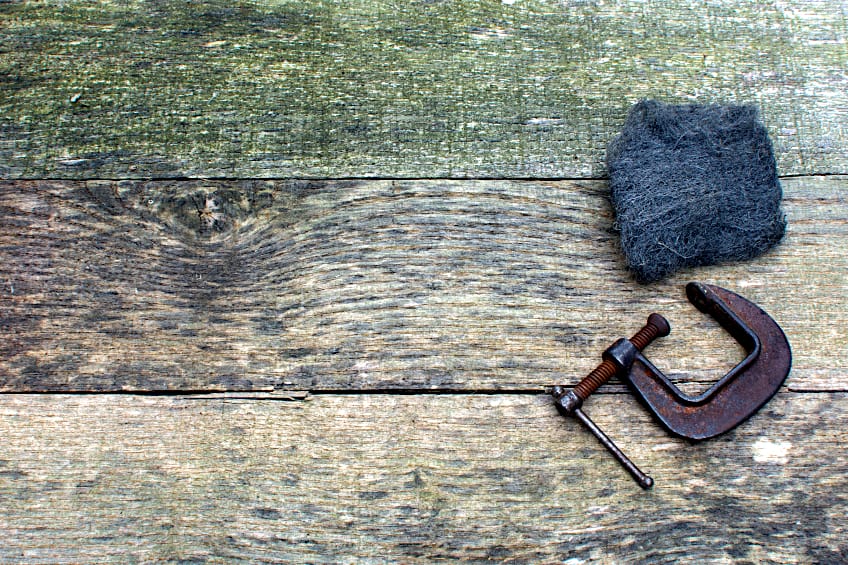
Using Steel Wool
If you are wondering how to use steel wool to lighten your stained wood, do not worry, as this is a simple process. Steel wool is a highly versatile material and can be used for much more than just cleaning your dishes. It is an amazing substance that can be used to lighten up your wooden surface. This method requires some steel wool (the fine kind of steel wool) warm water, mineral spirits, a clean cloth, some goggles, and gloves.
While you are not working with any toxic products, it is still important to ensure that you are working in a well-ventilated space.
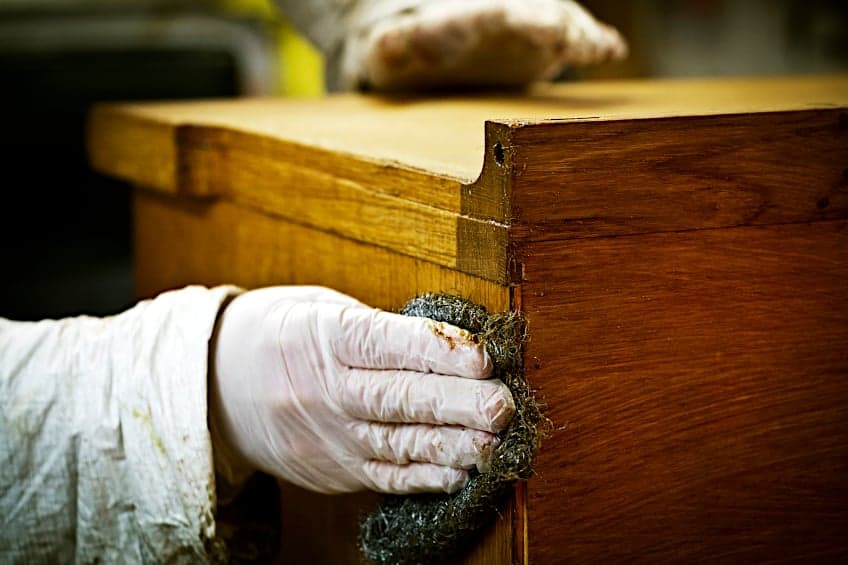
Use the Steel Wool on the Wood
Begin by placing your steel wool directly into warm water. You want to be certain that the steel wool is completely saturated with water. Then, you can ring out the steel wool, leaving yourself sufficient water to work with. When you are ready to begin, start by scrubbing down your workpiece’s surface with the steel wool, make sure that you apply sufficient pressure evenly across the surface of your workpiece.
Keep in mind that your goal is not to use the steel wool to remove the stain completely from the wood, but rather to lighten the stain. Gauge the amount of pressure you will need to apply to achieve your goal. If you take off too little of the stain you can always go back and scrub further, but if you take off too much you may have to re-stain your item all over again.
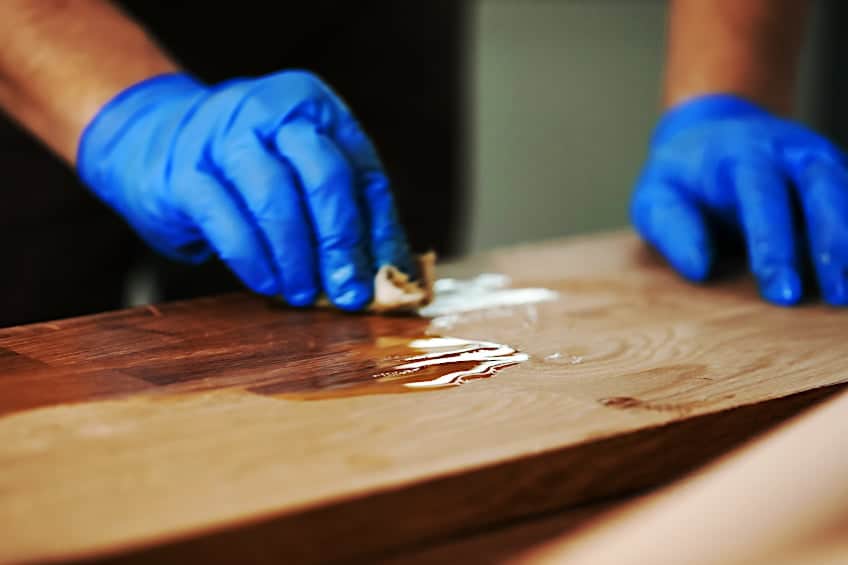
Use Mineral Spirits on the Exposed Surface
Now for the fun part: Take your mineral spirits and apply some either directly to the surface or on the cloth that you have been using thus far. Once you have applied the spirits, you will need to rub them over the surface of your piece, working at an even pace. You should be able to see the impact it has on the wood stain in real-time, watching it alter and raise the tone of the stain as you rub the spirits into the wood.
You have the option of adding additional stain or picking up a fresh cloth during this process. This is particularly helpful particularly if your cloth has become saturated with spirits while you were lightening the stain. Keep an eye out for how the wood’s color changes and adjust accordingly. This could mean the difference between totally saturating your board with spirits or achieving the color that you want.
Alternate Until Satisfied
Now that you are aware of the required routine, just repeat the process until you are happy with the results. It can feel slightly repetitive after an initial couple of attempts, while also being quite physically taxing, ensure that you take regular breaks to ensure that you do not ruin your wooden workpiece by falling into a monotonous rhythm. When you have achieved the tone of stain you are looking for, allow time for your workpiece to breathe for a couple of minutes before you continue to the next step.
When the color has settled and the mineral spirits are no longer reacting with the wood stain, you will be left with your final results. When you get to this point just wipe down the surface using a clean cloth and take in the masterpiece in front of you.
You should be aware that this method offers the best results if your wood has been treated with a water-based stain. Lastly, if you wish to re-treat your wood using a thin layer of sealant, you should, particularly as you just removed several layers of wood stain. As this method is particularly labor-intensive it is best suited for smaller projects.
Diluting Your Stain Before Application
If you do not want to retroactively lighten your stained wood, then this is the perfect method for you. This is also a great method if you are wondering how to lighten dark-stained wood. This method is considered a more proactive approach, and it works quite well if you have already bought a dark wood stain. You will require natural wood stain, a brush, some rags, a conventional wood stain, and of course the relevant protective gear.
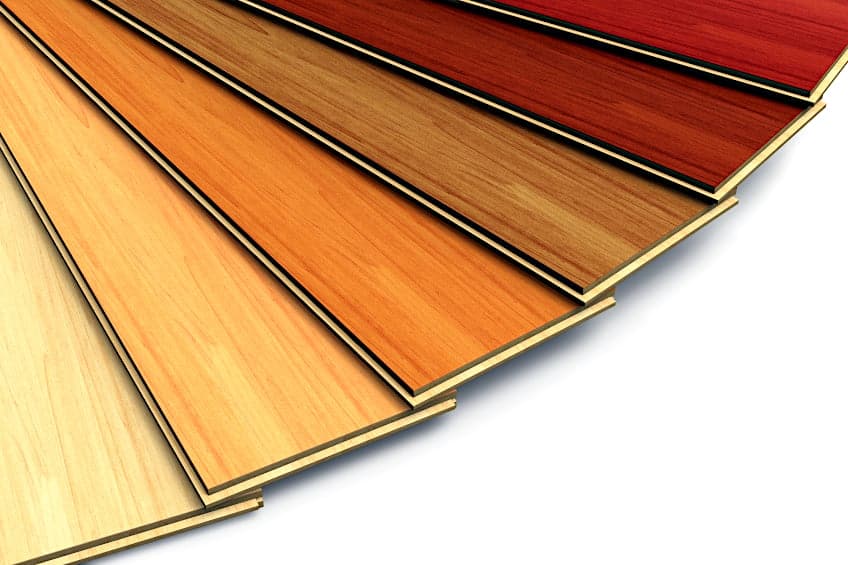
Choosing Your Wood Stain
As you will note, thanks to the color difference, you can use natural wood stain as a lightening agent when combined with the strongly tinted wood stain. This is a much better approach than trying to retroactively lighten the wood stain that has already been applied to your wood and can be significantly less labor-intensive in comparison to the aforementioned method.
Something you should look out for is the base formula of each type of wood stain. If you have a water-based natural wood stain then ensure that your tinted wood stain is also water-based. If the base formula is not the same you could end up with big problems.
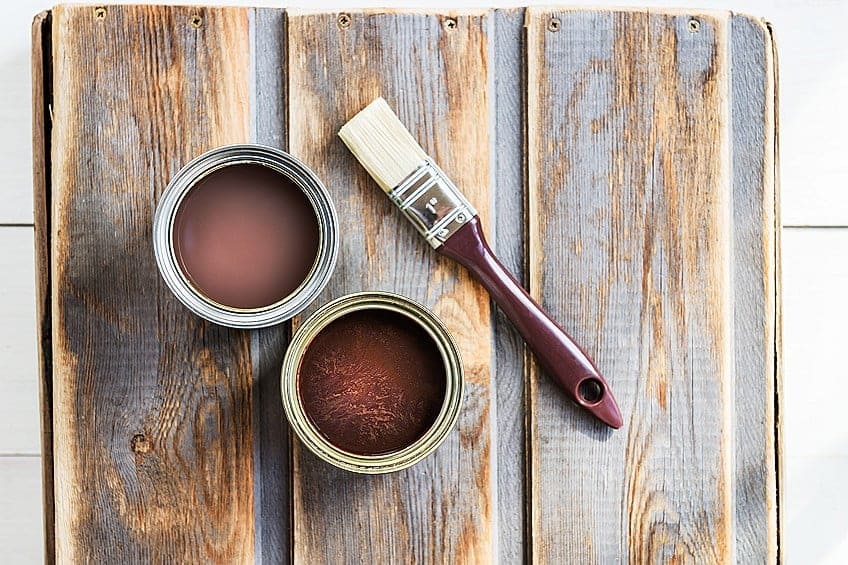
Mix Your Wood Stains Together
Now for the simple part of the process. Much like mixing epoxy resin, combine the tinted wood stain and natural wood stain in a 1:1 ratio. This will result in the natural wood stain only slightly lightening the overall hue of the mixture and in no way oversaturating it.
If you are dealing with a large workpiece then combining the entire container of stain to mix your desired color works well. However, if you are dealing with a smaller workpiece, you can just use a measuring cup and combine equal portions of each wood stain into it. combine well until you create a lighter version of the tinted wood stain you began with.
Test Your Lightened Wood Stain
You do not want to be in a situation where the wood stain you have worked so hard applying is sub-par. To avoid this from happening all you need to do is get a spare board of the same type as your workpiece and apply the newly formed wood stain. Allow time for the stain to set and cure (consult the manufacturer’s instructions to determine the required curing time) and you will be able to see what the treatment will look like on your actual workpiece.
If you are not fond of the finished product, just modify the mixed batch, you can do so by adding more natural wood stain to lighten the mixture. Alternatively, if you wish to darken the mixture you can add some tinted wood stain. Ensure that you mix the final product thoroughly before you move on to the following step.
What Are the Consequences of Using Bleach on Your Wood?
While it is good to know how to lighten the wood stain, you may have wondered what impact other treatments like chlorine and bleach have on your wood board. In your quest to lighten the wood stain, you run the risk of causing damage to your wood if you are not careful. Just because bleach is used in everyday settings, does not make it harmless. Bleach is highly corrosive and should be used with great care and removed completely from your wood once you have achieved the desired effect on your stain.
Keep in mind that if chlorine bleach is allowed to stay on wood it will have a terrible impact on the natural fibers that bond the wood boards together, it will break down the lignin in the wood fibers, which over time, can result in the board deteriorating.
While you can use bleach to lighten your wooden surface, there is a risk that it can result in blotchy discoloration, due to chlorine crystals forming on the surface of the wood. An uneven result can be particularly hard to get rid of. Ultimately, if not done with great care, your mission to make your wood stain lighter can end up with you having to sand the entire surface back to its raw state.
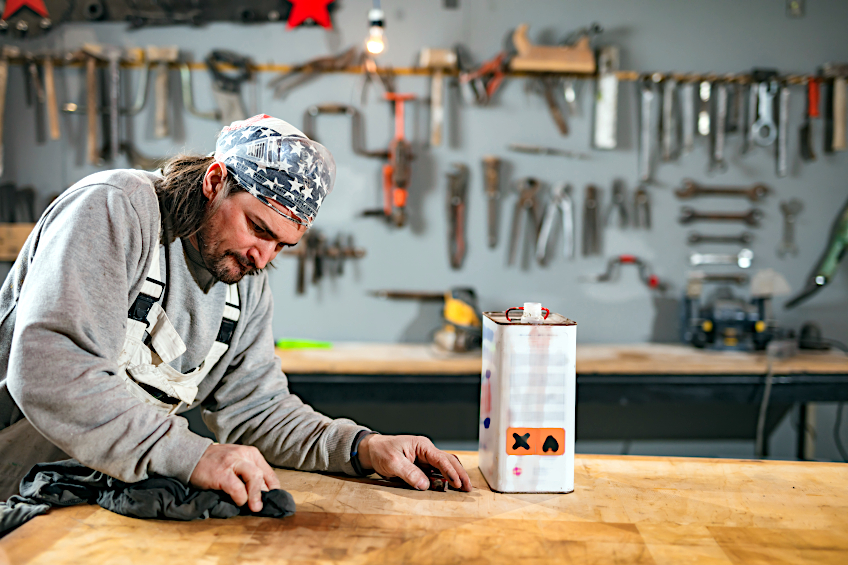
Is Staining Wood Dangerous?
This all depends on what your definition of danger is, at the end of the day everything is dangerous under the right (or wrong) circumstances. Can staining wood be hazardous to your health? Absolutely! Standard wood stains normally have a lot of chemicals known as volatile organic chemicals (VOCs). It is a known fact that these chemicals are quite bad for the environment, but they also pose a significant risk to your respiratory system and have the potential to cause significant discomfort should they come into contact with your skin.
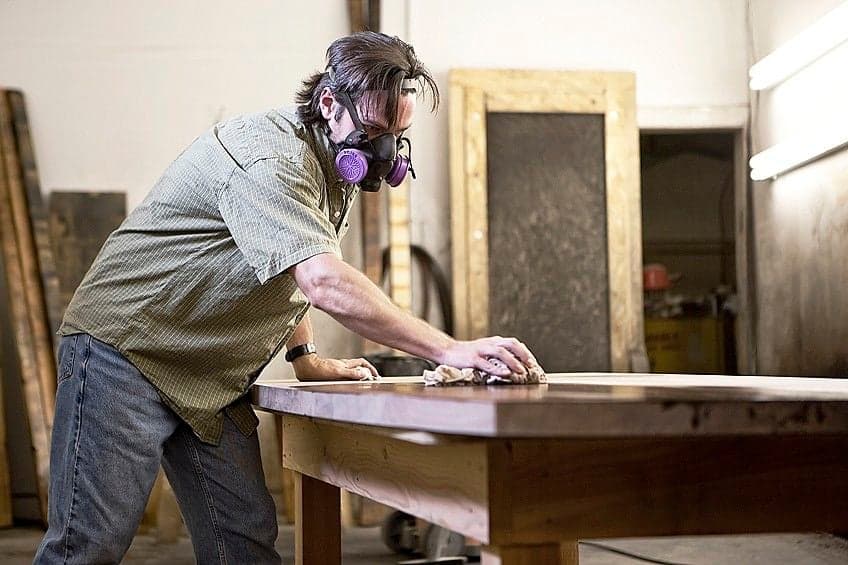
Standard wood treatments are not only toxic but are also very flammable. In particular, oil-based wood stains should only be dealt with in a well-ventilated space and under no circumstances should be exposed to open flames.
It is not only the wood stain that you should handle with care, any tools or belongings that have been exposed to wood stain will become highly flammable too. It is therefore important that you dispose of any brushes, rags, or other applicators appropriately when you have finished staining your board.
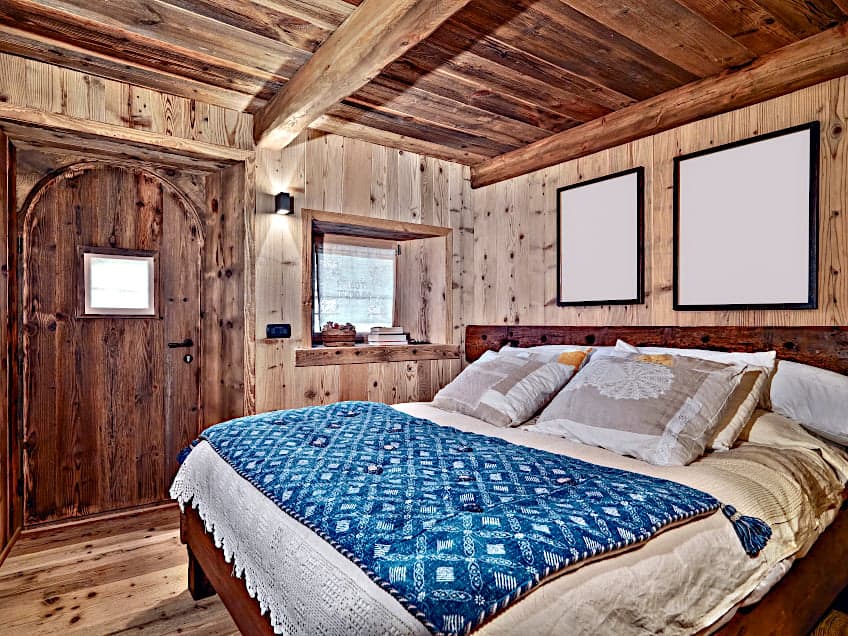
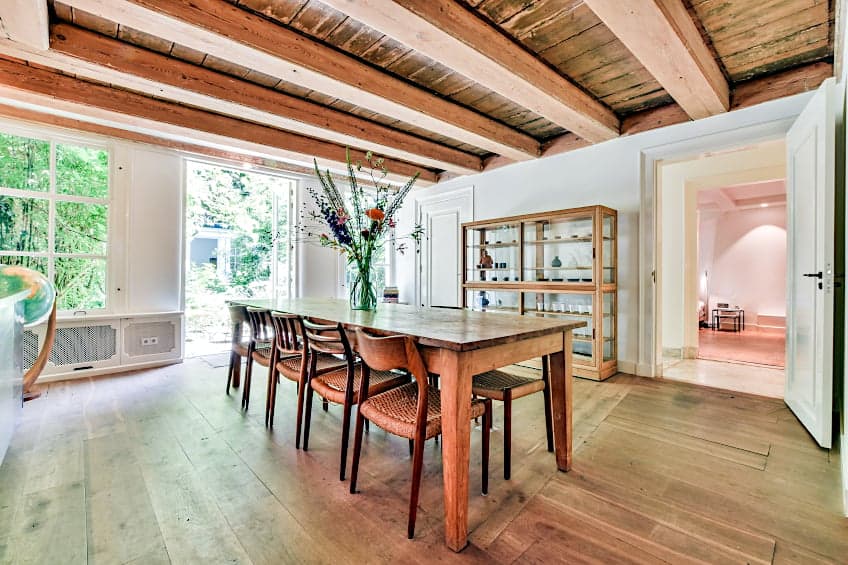
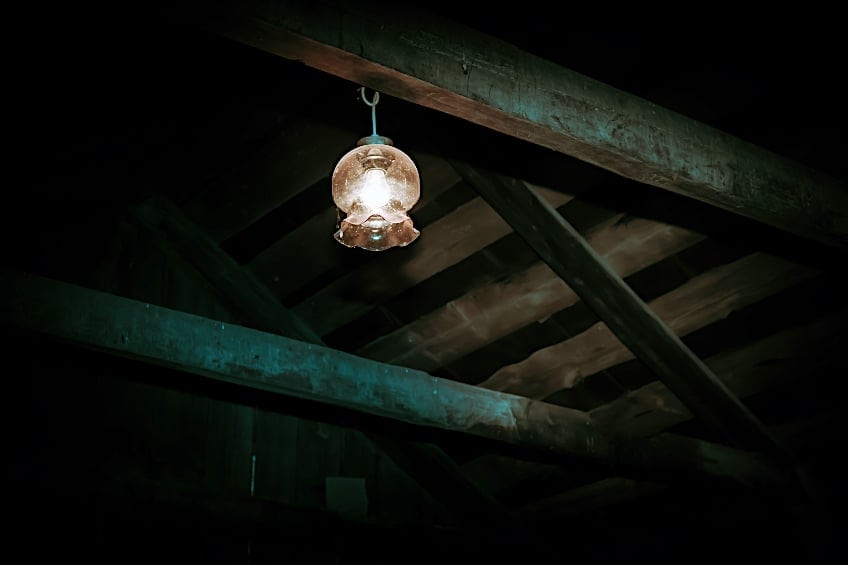
How to Lighten Wood Stain on Overhead Beams
We do not give much thought to ceilings in general, but if your home was fitted out with those dark wooden ceiling beams that were trendy in the 80’s, then lightening the color of those beams will completely change the look and feel of your room. You can transform your space from medieval dungeon to Scandi heaven just by switching out the shade of stain on the wood. While this will be a messy and time-consuming project, it will still cost you far less than having all those beams removed.
In addition, retaining the grain of the wood will give you far more visual impact than simply painting your beams with white paint ever could.
Prepare Your Workspace
When you are applying any kind of wood treatment or coating, or you are working with a wood stain you will need to cover everything up. Take a tarp and lay it over the area you will be working in can assist you when you are staining overhead beams, whether you are working in your attic or you are working with exposed beams in your home.
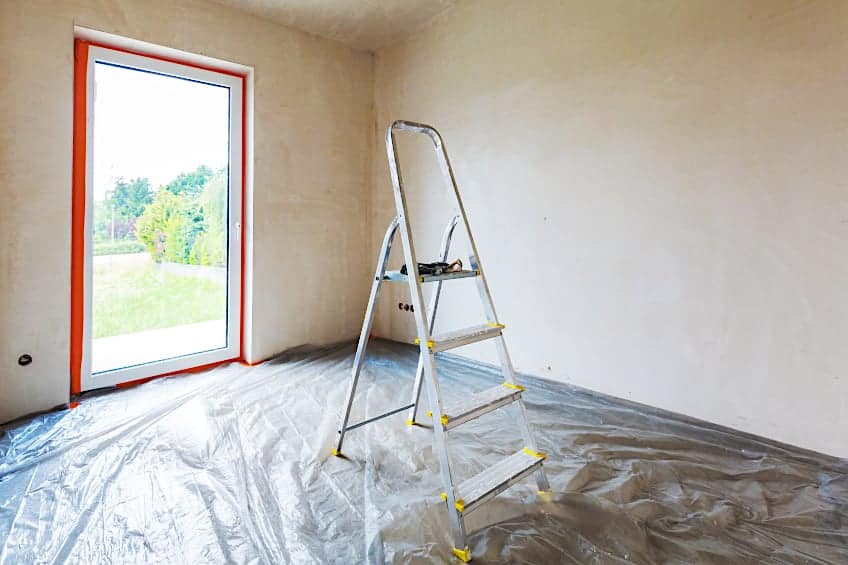
Next, you need to ensure you have adequate ventilation in your work area and that you are wearing the relevant safety gear including gloves graded for use with VOCs and a face mask. Before you continue to the following step ensure that your ladder or any other means of elevation, you’ll be using to reach your ceiling is locked and secure in position.
Scrape the Old Coating Off Your Wooden Beams
This can prove to be challenging. Scrape off any surface coating such as paint or wood stain still on the wooden beams. This is when you will use your scraper, make sure that you remove every small piece of surface coating from the beams, be careful while you are working, and watch your step on the ladder.
When you have finished removing all the previous coatings, just wipe down the workpiece using a clean cloth and ensure that any residue has been removed. Normally, at this stage, you would have to sand down the surface of your workpiece, but this is not necessary when working with overhead beams.
Next, you will apply an easy surface prep undercoat (known as ESP) to form a barrier between the stain and the wood stain you will be applying. This will stop the old stain and the new stain from contaminating one another. Ensure that the coating has sufficient time to dry, in line with the manufacturer’s recommended period before you progress to the following step in the process.
Mix and Test Your Wood Stain
When your work area has been adequately prepared you can put on your mask and gloves and you can mix your wood stain. Combine your colored wood stain and natural wood stain using a ratio of 1:1 as you would with any standard lighting procedure, but this time combine everything in one container.
Ensure that you combine them in almost the same quantities to avoid any mix-ups, you can purchase the same volumes of each wood stain so you will not waste any time with measuring cups. When they have been decanted into the same container, mix them thoroughly and allow time for the mixture to breathe for a minute so you can view the results.
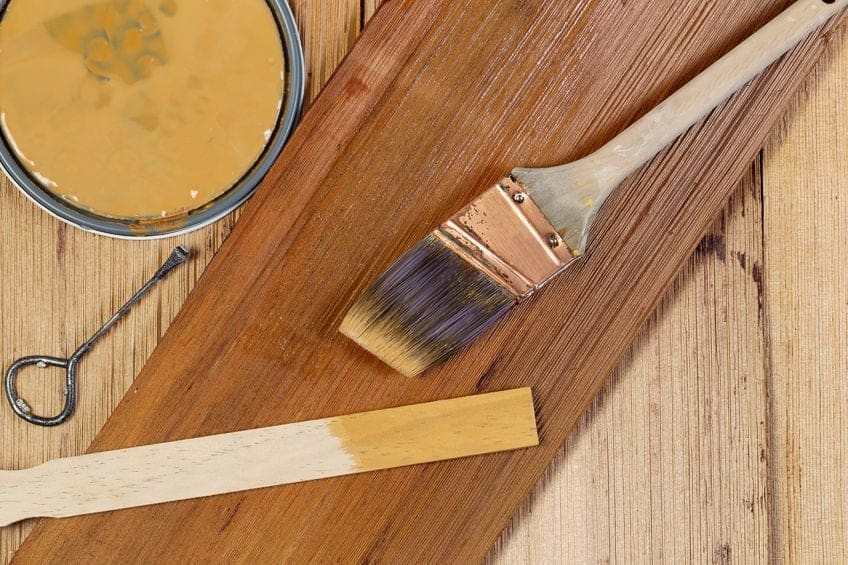
You aren’t quite ready to apply your wood stain just yet, first, you will need to rest the wood stain on a spare board before you begin to apply it to your workpiece. While the color might look good in its wet consistency, wood stains often take on a different consistency and overall hue when it has had a chance to bond with the wood’s fibers.
Apply some of the wood stains to the spare board and allow time for it to set and cure for the manufacturer’s recommended time frame. This will allow you to see what the finished product will look like.
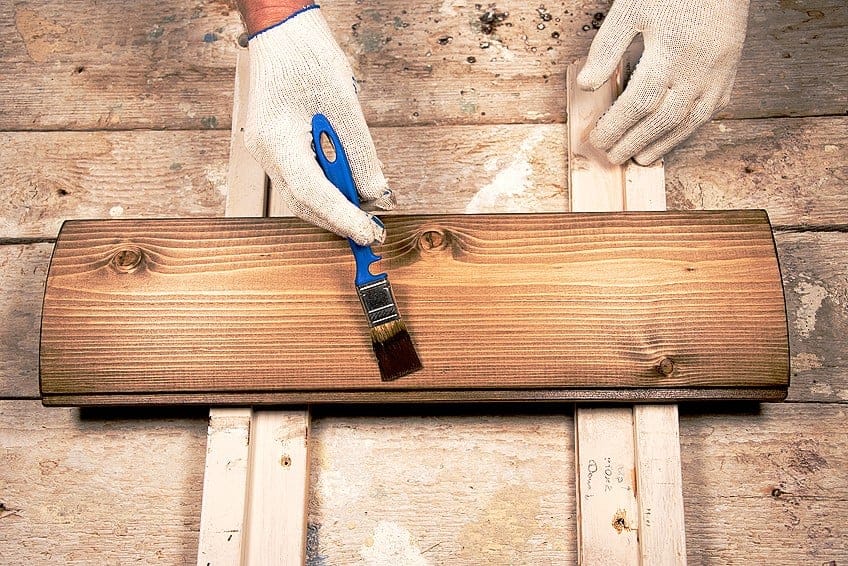
Apply Your Wood Stain
Now that you have finished preparing the surface, you can begin to apply your wood stain. Take your brush and be certain that the stain container is secured if you are working on an elevated platform. When you have begun, you will need to paint by following the board’s length. This will ensure an even application. A good idea is to apply multiple thin coats. This ensures that the finish has adequate time to develop as each coat dries and cures.
This will enable you to control the finish’s hue while applying the stain in increments to the surface of the board. When you are happy with your finish, allow time for the wood stain to dry and cure. To determine the required drying time, consult your manufacturer’s recommended period.
You will be able to further protect your workpiece’s surface by applying a polyurethane finish. This will offer protection from insect infestation, moisture, abrasion, excessive heat, and impact damage.
Now that you have the relevant knowledge to know how to lighten stained wood, how to lighten wood without having to sand the surface down, how to lighten the wood stain, how to lighten wood using chlorine or bleach, how to lighten wood stain without sanding, how to lighten dark wood furniture, and the impact that these chemicals can have on your wood’s structure, it’s time to get going and apply your new-found knowledge. Remember it is important to ensure your work area has great ventilation and that when working with the chemicals you are always wearing the relevant safety gear.
Frequently Asked Questions
How to Lighten Wood Without Stain?
If you are looking for a way to lighten wood without stain, you can’t go wrong using some wood bleach. By using wood bleach, you will be able to maintain your wood’s natural color without having to use any artificial color on your wooden fibers.
How to Lighten Dark-Stained Wood Furniture?
You may wonder how to lighten dark-stained wood furniture? The easiest method for lightening dark wood furniture is to use mineral spirits or turpentine on the surface of the board. This method will effectively make the board’s surface lighter without removing the finish completely. If the finish of your board is polyurethane, it will need to be removed before you can treat your wood with the aforementioned wood treatments.
Can You Lighten Stained Wood?
Can you lighten stained wood? Why of course you can, there are several methods you can use to lighten stained wood. The more common methods make use of wood bleach to bleach the surface of your board, sanding the surface of your board, using steel wool, and using a combination of color wood stain and natural wood stain.