Glow in the Dark Epoxy – Helpful Guide for Glow Powder in Resin
This post may contain affiliate links. We may earn a small commission from purchases made through them, at no additional cost to you. You help to support resin-expert.com
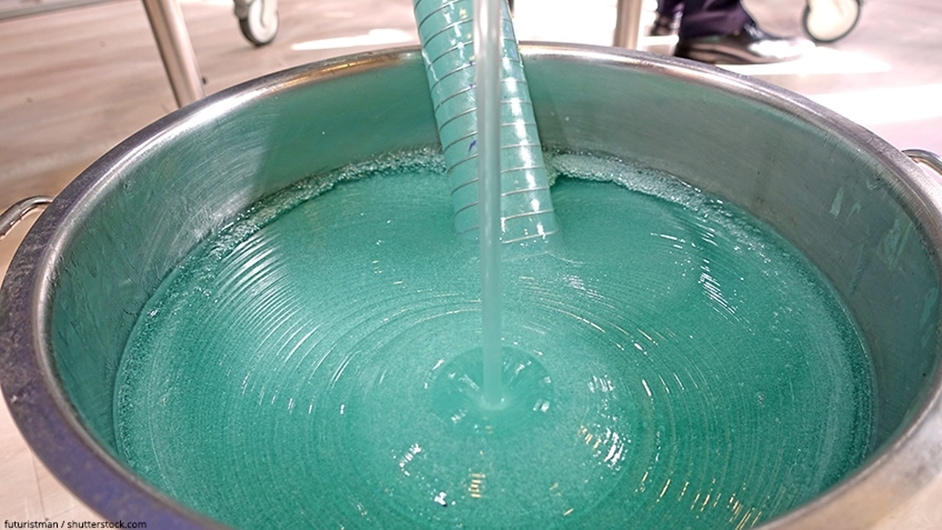
You can add an assortment of colors to resin, a great option is to add glow powder. Also, glow powder added to resin will create a glow in the dark epoxy which is stunning to see. We will assist you with the process required to achieve glow in the dark resin.
Table of Contents
Preparations of your mixture
When selecting your mold there is an assortment of options, you can purchase your mold online or from your local craft shop. Another option is you can choose to make your own Resin mold. The most important thing when selecting what mold to use is to ensure it is flexible (a good option is a plastic or silicone mold) Your best option is a silicone mold.
Once you have selected your mold your next step is to work out the total amount of resin you will require to fill your mold. If you are lucky some molds say how much resin is required, however, this is not the case with all molds.
A very easy thing is to use our Resin calculator. Once you have successfully calculated the volume of casting material required you can then divide that amount in half and you will then know how much of each part of the casting mixture you need.
This is, of course, assuming that you are using a two-part resin with equal portions of the two substances. You can, of course, make the necessary changes to the calculation if the resin you are using asks for different portions of each part.
Next, you will need to spray your mold with a mold release spray. Once sprayed, please allow the spray to dry for the recommended amount of time. Please do not forget this step as you do not want to damage your mold when you remove the finished piece from it.
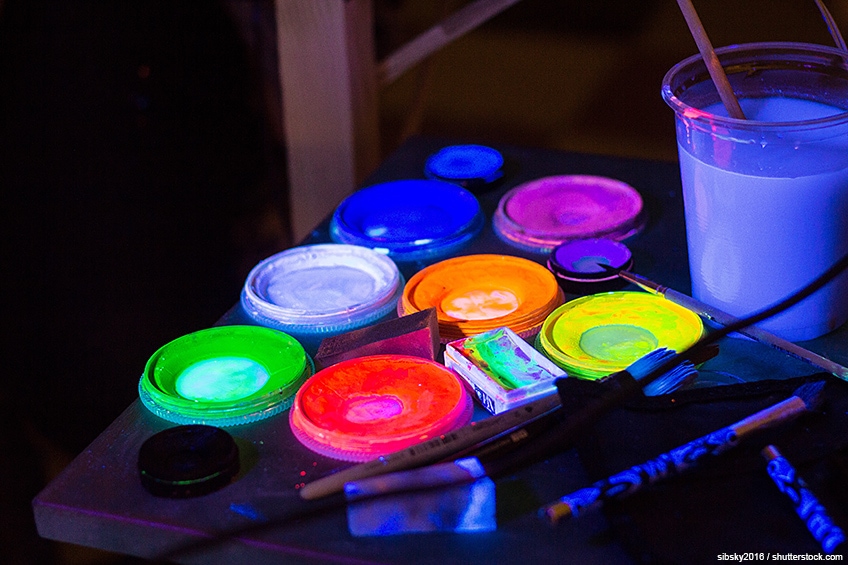
If you wish to have a single glow color or two or even more colors, this is the time where you should make that decision. We strongly suggest using at least two colors, as it adds a stunning element to your finished piece. In using two or more colors, you also take away the problem of potential soft spots in your casting. This is thanks to the extra mixing step.
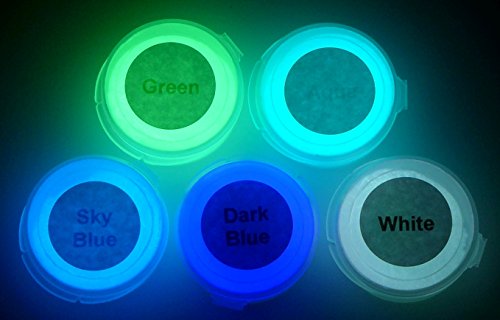
- High-quality Green, Aqua, Sky Blue, Dark Blue, and White Glow in the dark powder
- Coated strontium aluminate glow powder - the best material for the brightest glowing effect
- Products are made from natural elements and are non-toxic / non-radioactive

- Set with 10 different Pigments
- They glow in the dark and are non-toxic
- Suitable for alle kinds of Resin
Going forward we will assume that you will be using two colors. It is, however, easy to use more or fewer colors by either adding an additional cup or by simply skipping the second mixing step.
To begin you need to lay out all the items you will require for the project, this ensures you will be able to work efficiently and won’t have to constantly stop what you are doing to look for an item.
This is a very important step, when working with resin you will have to work quickly as the substance can begin to set quickly. You will need to have the following items ready, a mixing cup, two plastic measuring cups, wooden mixing sticks and then two or more additional mixing cups these are only necessary if you intend to use more than one color.
Getting Started
To begin you will need to divide the resin accordingly into the plastic measuring cups.
Your next step is to then pour into your first mixing cup and then mix as instructed on the product’s box. When you are certain the product is adequately combined you can then split the resin mixture into two different mixing cups in the portion of each color that you want to use in your final piece.
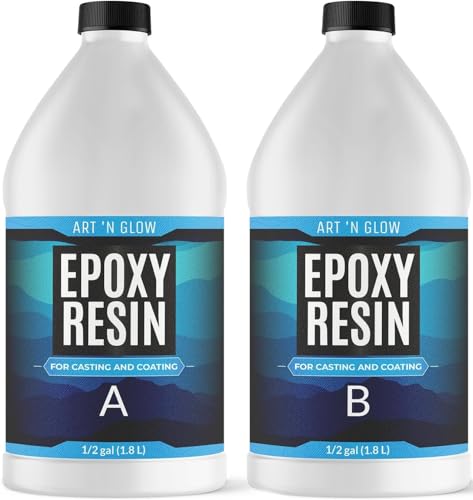
- Cures crystal clear, resists yellowing, high gloss finish
- 1:1 Mixing Ratio, Self-leveling
- VOC and BPA free, FDA approved, low odor
So, if you wish for half your item to be one color and the other half to be the second color you would split the amount equally. But if you wish your item to be ¾ one color then you would only pour ¼ of the mixture into one cup and leave the remaining in the other cup.
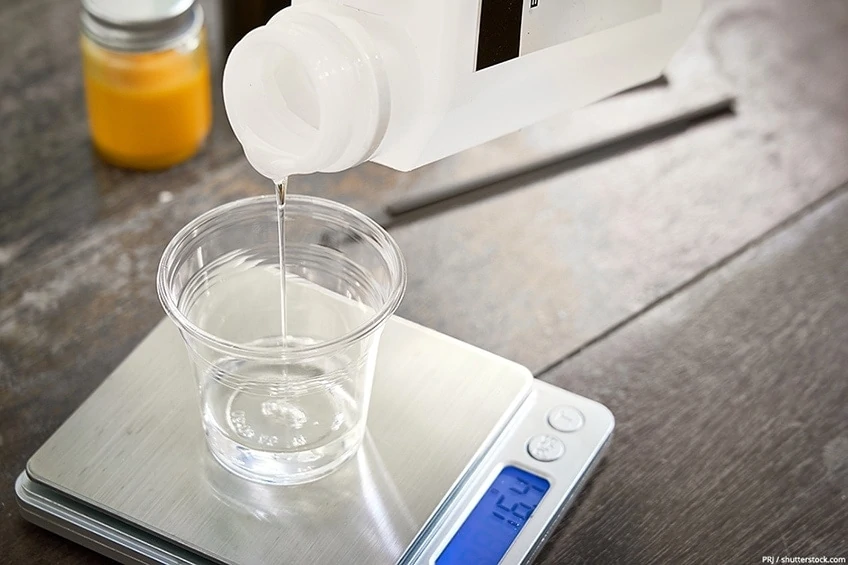
The next thing you will need to do is weigh the resin in each of the cups and find out how many grams are in each cup. Otherwise, you could use the volume of resin to work out the right portion of glow powder you will need to add. The best portioning to use is 1-part glow powder to 5 parts resin. While you do not have to be completely accurate, as more or less will not be a problem, this measurement with get you the best results without causing you to waste any glow powder.
You can use the following formula to ensure you get the portions right:
4 x (volume or weight of resin) / 20 = this will give you the volume or weight of powder to use.
So as an example, if you have 30 grams of resin, the calculation would be as follows:
4 x 30/20 = 6g of glow powder
If you will be using volume instead of weight the calculation remains the same, the only change is the units used. If you then have 40 milliliters of resin your calculation will be as follows:
4 x 40ml/20 = 8ml of glow powder
We suggest you rather work with a resin which allows for at least a 30-minute working time. This will allow you enough time to do all the work you need to do. If you however only have a resin or epoxy with a much shorter working time, we suggest you do any calculations and get the glow powder ready before you begin mixing the two parts of the resin.
Mixing process
You have now reached the stage where you can mix the glow powder into the resin mixture. Carefully add the relevant color powder to each of the measuring cups of resin mixture and stir. It is very important to stir slowly to avoid making bubbles and to ensure the mixture is adequately combined. It is not a problem if you add a little too much or even too little of the glow powder as the calculations listed above are just guidelines. You would need to add a significant amount to cause any problems.
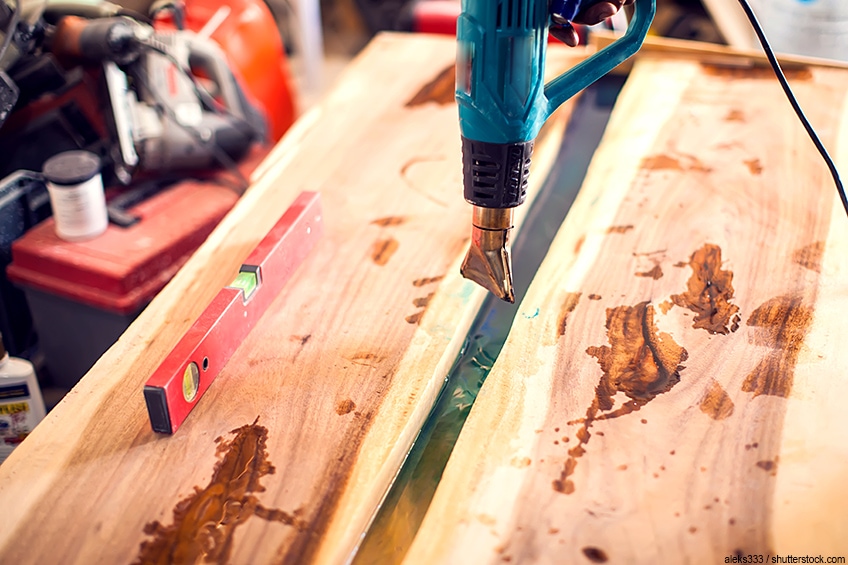
Getting rid of air bubbles
Unfortunately, during the curing process bubbles often form, particularly towards the top and edges of the epoxy or resin. This is a normal reaction and is in no way an indication that you have mixed anything incorrectly. To solve this problem, we suggest using some form of a heat source such as a small propane torch, a candle lighter, or a heat gun on low fan setting, over the top of the resin as it is setting. The heat will cause the bubbles to pop. It is important to note that the heat itself isn’t causing the bubbles to pop, but rather the carbon dioxide.
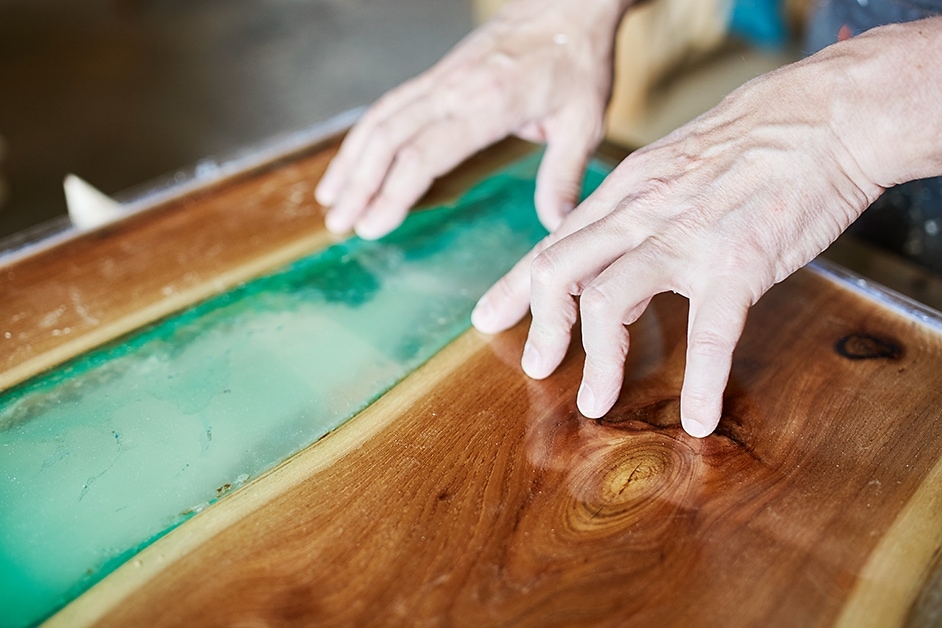
When you have finished mixing the two colors you are now ready to pour your glow in the dark epoxy or glow in the dark resin into the mold. You might notice that the resin has begun to thicken a little bit but this is ok. This can be a good thing, as it helps to stop all the glow powder sinking to the bottom on the mold.
When you have finished filling the mold up to the top allow it to rest for about 10 to 15 minutes. After allowing it to rest you can then take a toothpick or any other sharp pointed object to remove the bubbles that may have formed before the resin hardens.
You want to then leave your mold to allow the resin to completely cure and harden. We suggest covering the mold to stop any dust or bugs getting on the resin. Depending on the resin you use and the size of your mold you may need to leave it for 24 to 48 hours to harden.
Once it has hardened you can then remove it from the mold. If you have difficulty removing it from the mold, we suggest popping the whole mold into the freezer and leaving it for half an hour and then try to remove it from the mold again. Remember, be patient you don’t want to damage your item when removing it from the mold.
Finishing
You may find that on the part of the resin which was exposed to air will require a little bit of sanding to make it smooth. We suggest placing a thin layer of water on top of some waterproof sandpaper. You can then rub the area of the mold you wish to make smooth, remember to use a figure 8 movement. It will also help to turn the item a quarter turn in your hand every few cycles. Using water helps prevent any dust from flying up. In using the figure 8 motion you can guarantee the piece is sanded evenly.
You can begin by using a 120 grit sandpaper and work your way up to 180, 220, 320 and finally 400 grit sandpaper depending on what is required.
When sanding ensure you use consistent pressure, this allows you to sand each area equally. This will help you avoid making raised or lowered spots on the surface. If you need to remove any sharp edges we suggest using finer sandpaper, wet and then rounding the edges by hand.
If you would like to attempt to polish your resin for a crystal-clear finish, we suggest you initially sand and then afterward you polish the surface.
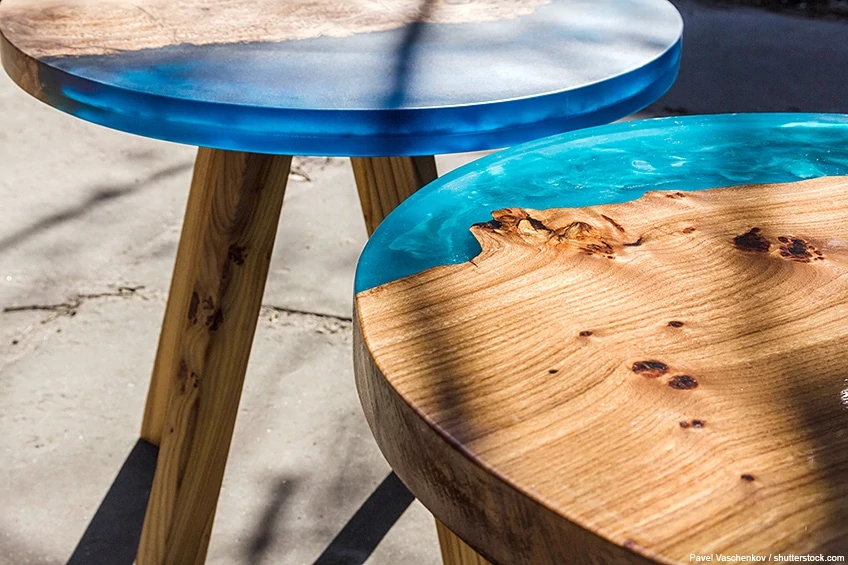
Well done you have now completed your glow epoxy or glow in the dark resin item!
Questions and Answers
What’s the mixing ratio for Epoxy Resin and Glow in the Dark piments?
The ideal ratio when mixing pigments is 1:5, or one part of pigment to five parts of resin or epoxy, by weight. You can mix pigment into either part of your two-part epoxy resin and can do so before mixing or you can rather add to both parts when you combine them.
You must be careful to ensure you mix the pigment and both parts very well to make sure you end up with the best outcome. You have roughly 20 minutes working time before the resin dries, but this can vary if you have chosen to use fast cast resin or quick-drying resin. If you use the fast-drying option, you will have about three minutes of work time before they begin to set.
Is it possible to sprinkle glow powder into the resin?
You can add the glow powder to the resin, however, you will need to wait until the resin has begun to form a gel-like texture. This texture will ensure that the glow powder does not sink to the bottom of the mold (that is assuming that you don’t want it to sink to the bottom of the mold).
Another option is to sprinkle some of the glow powder on the inside of the mold where you want it to be, before pouring in the resin.
Can I mix glow powder and mica in epoxy to achieve a picture by day and by night?
You are more than welcome to try mixing different ratios to try and achieve the color you are looking for, for daytime and the glowing effect.
We suggest using 1 gram of pearl powder per ounce of medium for the desired opaque effect. In this case, therefore, you may want to try using only ¼ gram or even less and then slowly add more as needed. However, you do want the mixture to stay a little transparent to ensure the glow powder can charge and shine through.
What about Pigment Settling while curing?
If you use pigments that are above fifteen microns they will settle towards the bottom of the resin. If you are using the resin to coat an item such as a bar top, tabletop, or engraved sign, then this isn’t a problem.
In these cases, the pigment will settle into the grooves and still have a layer of resin over which is sufficient to plane, buff, or sand off.
If you use pigments under fifteen microns, once you mix them, they will remain suspended and result in an even consistency. If you use bigger particle sizes, they can absorb and store light and this means they will be able to glow longer. These are available in the likes of blues, aqua and greens.
