Epoxy Resin Art – Create your own Resin Paintings
This post may contain affiliate links. We may earn a small commission from purchases made through them, at no additional cost to you. You help to support resin-expert.com
Create Artworks and paintings with Epoxy Resin is absolutely trendy. Almost everyone has heard about the possibility of making jewellery or various decorative elements from the synthetic resin. Somewhat less common is still the fact that wonderful, expressive epoxy resin art or paintings can be created from Epoxy Resin. In the following article you will learn about the application of resin in the fine arts, learn some important basics about the material and what should be considered when working with this resin. We also show you where to buy the material you need for resin art and give you step-by-step instructions for your first epoxy resin painting.
Table of Contents
- What is Resin Art?
- How Resin is used in Art
- The Best Epoxy Resin for Epoxy Resin Art
- What is the ideal Painting Ground for Resin Art?
- Which Colors and Additives are Suitable for Resin Art?
- Epoxy Resin Art Techniques
- How to create beautiful Cells in Resin Paintings?
- How to achieve Beautiful Effects in Resin Art
- How to use Resin for Resin Art
- Resin Art for Beginners – How to start
- How to make Resin Art – Step by Step Tutorial
- Casting of Further Resin Layers
- How to clean your Tools
- Damaged Areas in the Epoxy Resin Painting – What to do?
- Safety Measures for the Processing of Resin
- Resin Art ideas
- Conclusion on Epoxy Resin Art
What is Resin Art?
Epoxy resin, which is now frequently used in the DIY scene, is a two-component system of resin and hardener. Mixing these two components causes a chemical reaction, which in turn results in the liquid resin gradually turning into a solid plastic with a clear, high-gloss surface. Creating art with this epoxy resin is called resin art.
How Resin is used in Art
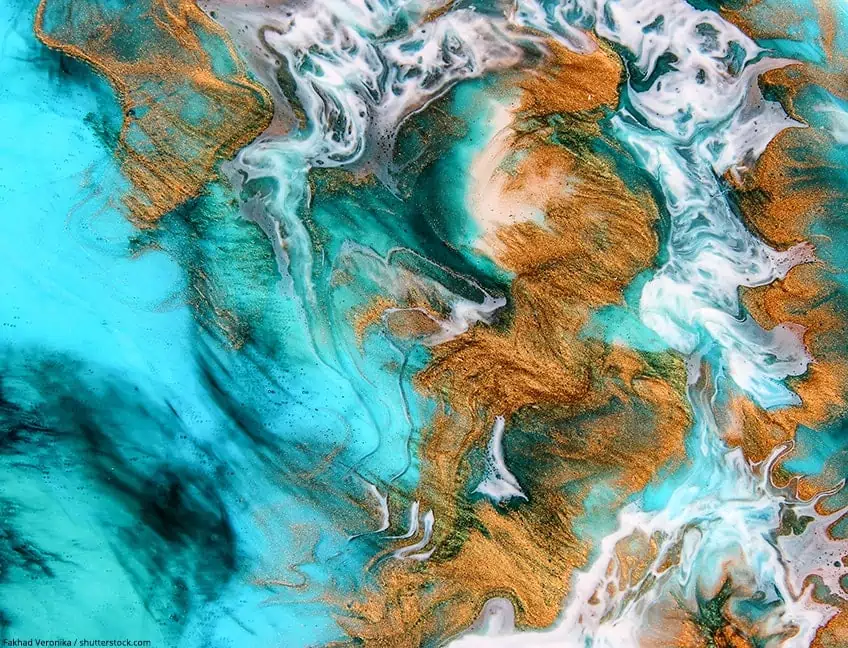
In Europe until recently still largely unknown, the artistic work with the synthetic resin has enjoyed great popularity in Australia, Canada and the USA for years. Artworks created with the help of epoxy resin inspire with their brilliance, gloss, depth and clarity.
For this purpose, color pigments and other additives such as glitter particles are added to the resin. With this technique, you have the possibility to achieve different effects depending on the choice of colors or additives, the type of casting and the painting ground. Even very experienced resin artists learn with every painting.
Hint: Epoxy resin also gives paintings, drawings and photos made of different materials such as ink, watercolor, acrylic, oil etc. a beautiful shine as a finish and also protects them from damage by external influences or UV light.
The Best Epoxy Resin for Epoxy Resin Art
The resin brands available in Europe are subject to strict quality standards. They are considered non-toxic in the cured state. They are non-flammable, odorless, contain no solvents and emit hardly any vapors. In addition, high-quality resin types cure crystal clear and are also usually UV-resistant. Cheaper brands, however, often tend to yellow. When buying epoxy resin, there are some things to consider.
We would like to present some resins that we use for our own artworks and can therefore also recommend, with their different properties:
Price / Performance Recommendation: PRO MARINE ProArt Resin
ProMarine has developed an Epoxy Resin, especially for Art applications. Its perfect consistency makes it easy to create beautiful Resin Art Paintings and coat all kinds of Art, as well as creating resin jewelry.

- Specifically designed for art projects, excellent color stability
- Very easy to use with 1 : 1 mixing ratio, 100% solids, hard-shell finish
- High gloss and crystal clear, your all-seal solution, excellent air release
Premium Quality Recommendation: STONE COAT Art Coat Resin
Stone Coat is well-known for the high-quality epoxy resin they offer. The company now has created a new product for artists, that unites so many features: A very high UV-resistance, food-safe and perfectly made for Resin Art Paintings and all coating applications.
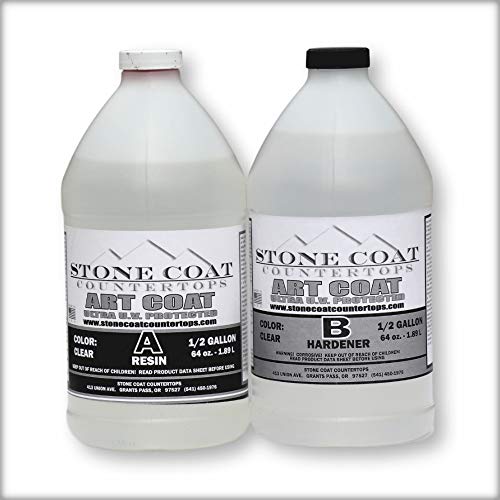
- Specifically designed for art projects, developed with professional artists
- Heat resistant, scratch resistant, food safe, maximum UV resistant, water resistant
- Compatible with alcohol inks, acrylics, silicone oils, metallics, dyes, pigments
What is the ideal Painting Ground for Resin Art?
Basically, most smooth surfaces are optimally suited for Resin Art. This includes e.g. metal, wood, glass, plexiglass or concrete. The prerequisite is that the painting surface used does not have a porous or absorbent surface. Canvases are equally unsuitable.
Here the resin would converge in the center, as the canvas could not bear the weight of the resin and would therefore sag. Exceptions are very small stretcher frame formats up to 15 x 15 cm. Also well suited for working with Epoxy Resin are floors, furniture or kitchen covers, if the epoxy resin is suitable.

- 4 high-quality wooden panels
- ideal for your Resin Epoxy Art
- Available in different sizes
Which Colors and Additives are Suitable for Resin Art?
There are no limits to the creativity in the processing of Resin in the choice of color. Possible are inks, inks, spray paints, liquid acrylic paints, color pigments in powder form. For liquid colors, we can recommend the so-called ResiTint colors. These are particularly color intensive and only a few drops are needed.
The market has meanwhile adapted to the increased use of epoxy resin, so that many companies offer highly pigmented paints. These are very well suited for use in resin. What does not belong as an additive in the paints is water. It does not allow the resin to harden completely and instead of being crystal clear, it gives a milky appearance.
Hint: Before you make a big Resin Pour Art, you should experiment a little with the different colors on small surfaces. This way you can get an idea of how they will combine with the resin and finally have an effect. For beautiful effects the paint must be stirred into the resin very thoroughly but carefully.
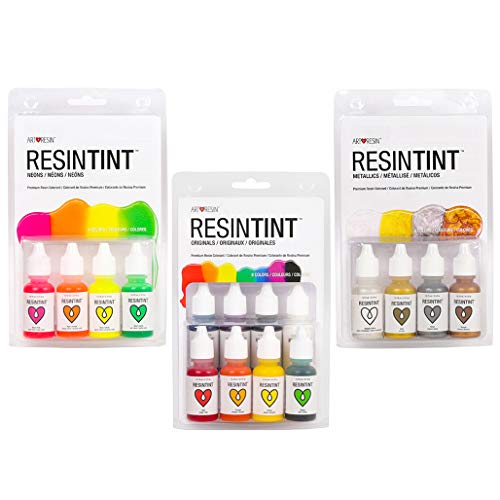
- Non-toxic when used as directed.
- Non-flammable when torched in resin.
- 16 brilliant colors including Originals, Metallics, and Neons. Each bottle contains 14.79 ml / 0.5 fl oz.

- Hemway is producing high-quality pigments
- Metallic Pigments for some sparkling in your Art
- Suitable for all Epoxy Resins

- 15 Vibrant Colors, usable with all kinds of epoxy resin
- Non-toxic and odorless
- High Concentrated Resin Pigment, easy to use
Epoxy Resin Art Techniques
Basically you can use the same techniques as in other fluid painting techniques, for example Acrylic Pouring. There is a wide variety of techniques which will get you fascinating effects and paintings like Dirty Pour, Air Swipe, Swipe and others.
How to create beautiful Cells in Resin Paintings?
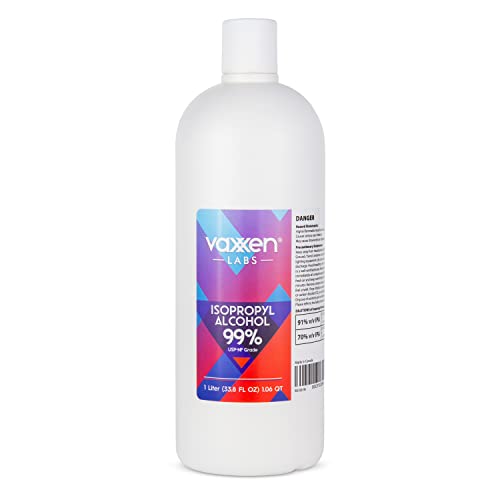
Special fluid painting techniques such as Air Swipe or Dirty Pour can be used to create cells in epoxy resin paintings. Isopropanol alcohol, silicone oil or Resi-Blast is used for this purpose. The latter can alternatively be dripped into the freshly epoxy resin. Please note here: Resi-Blast cannot unfold its effect if you wait too long with the further processing after the addition.
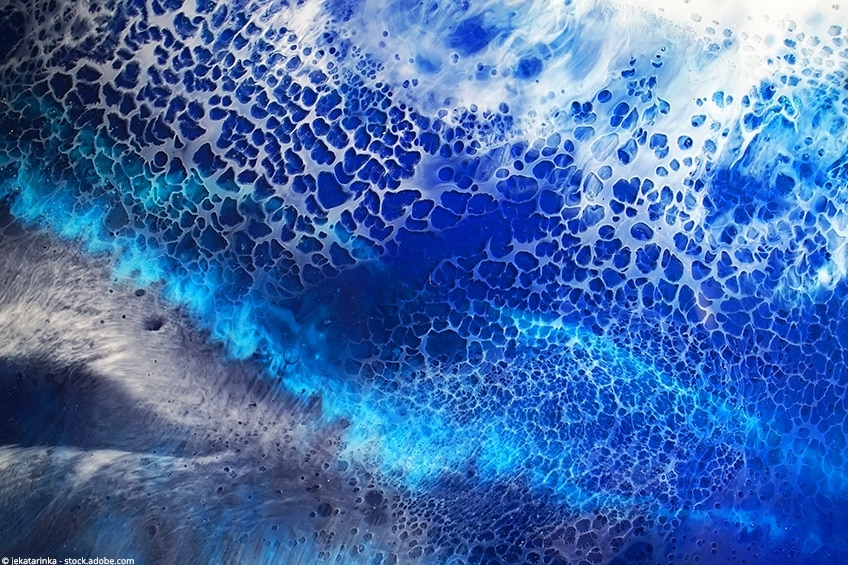 By adding some silicone oil, isopropanol or Resi-Blast to the dyed resin, spectacular cells can be created. Another possibility is to drop the additive into the cast resin afterward.

- Helps forming cells in liquid epoxy resin
- Apply it, before the epoxy resin is becoming a chewy consistency
- Forms cells and beautiful effects in your resin artworks
- Just sprinkle it on your fluid epoxy paintings
- Easily removes epoxy resin from your hands and tools
How to achieve Beautiful Effects in Resin Art
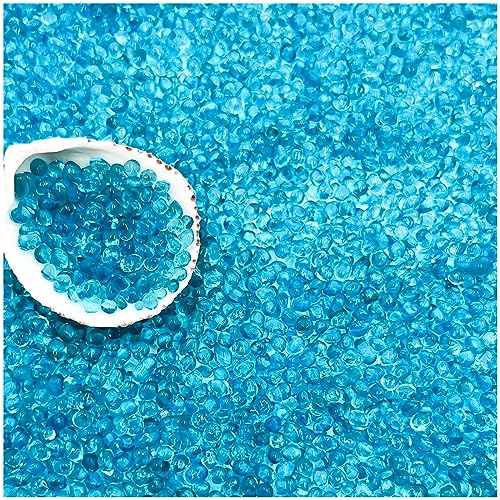
To create sparkling effects on the epoxy resin paintings, decorative stones, glitter or real crystals can be added to the resin. Metallic colors or pigments also look extremely precious in combination with resin. For example, the currently very trendy resin geodes can also be created in this way. Additional accents can then be added to the cured epoxy resin geodes using suitable markers.
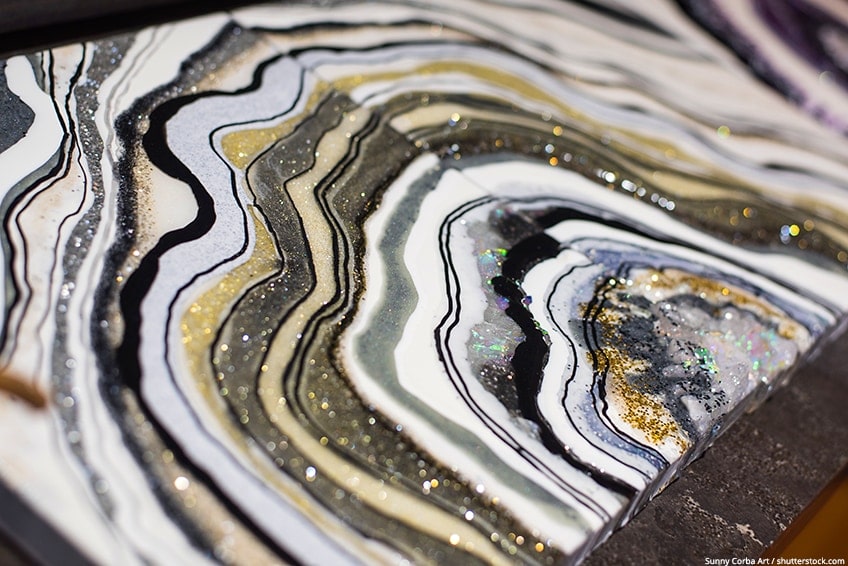
The beautiful, sparkling resin geodes enchant the viewer by the added glitter particles, metallic colors and the shimmering decorative or semi-precious stones.

How to use Resin for Resin Art
As beautiful as working with resin and the subsequent results are, this technique also has some disadvantages. First and foremost, the cost factor must be mentioned here. For a good and appealing result you should always choose a resin of good quality.
And unfortunately, this is not available at a bargain price. Depending on the size of the area to be cast and how many layers are to be poured for an exciting look, the cost of the resin can make quite a hole in the household budget. On top of this, there are the expenses for the purchase of appropriate safety measures such as protective goggles and breathing masks. For the sake of health, these should not be dispensed with under any circumstances.
Moreover, this technique is not for people with a high need for cleanliness. Working with resin is sometimes a very messy business. We also do not want to conceal the fact that working with resin is not easy at first. But the beautiful, finished epoxy resin art pays for the high effort afterward.
Besides the above-mentioned rather negative aspects when working with resin, there can also be various complications when working with this material. Here we would like to briefly explain the most common ones and also give you some suggestions for solutions:
How to Remove Air Bubbles from Resin
The formation of air bubbles in the resin during mixing is practically unavoidable. However, they can be easily removed with a few simple tricks. Firstly, you should stir the mixture only carefully and relatively slowly, so that not too many bubbles are created at all.
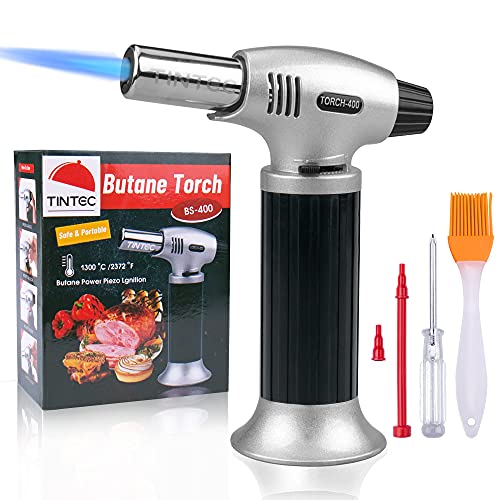
If you have already cast a resin layer, you can warm it up briefly with the help of a Torch or a hot-air blow-dryer. This way the bubbles rise to the surface and burst there. This procedure should be used with caution. The heat source should be far enough (about 10 cm) from the painting surface and moved quickly back and forth.

- Two temperature settings 750ᵒ F and 1000ᵒ F
- Heat gun for moving liquid epoxy in your paintings
- Can remove air bubbles
Hint: If one part of the painting is exposed to the intense heat for too long, the resin begins to boil and clump together. If this happens, there is nothing else you can do but remove the clumped epoxy resin from the surface and pour it again.
How to avoid Resin to get extremely hot
Resin can develop a very strong heat, especially in combination with metallic inks of if you cast thicker layers. If the room temperature is still very high at the same time, the epoxy resin starts to “boil” very quickly. You can recognize this by the fact that the resin in the vessel is very hot and hard.
Processing is no longer possible here. Pour the boiling resin onto a foil to cool down. In summer, work with epoxy resin should be carried out in the cellar or in the cool morning hours. Also, make sure to only mix as much resin as is actually needed. This will ensure that there is no residue left over that could possibly boil.
Different Brands – different Processing Times
Depending on the manufacturer, the resin used can have significantly different processing times. For example, some resin brands for artistic applications have a working time of 15 to 30 minutes, others up to 24 hours. The processing time is the time until the resin starts to dry or harden.
Resin Art for Beginners – How to start
Unlike other techniques, when working with epoxy resin, you should already have a fairly accurate picture in mind of what the later work of art will look like. Why? Once the mixture of resin and hardener is ready, you only have a very limited time to create the Epoxy Resin Artwork before the mass slowly hardens. Considerations on how to proceed cost valuable working time.
How to make Resin Art – Step by Step Tutorial
Work with Resin – Preparations
- The workplace should be clean and dust-free and the work area well ventilated. To protect the workplace and the immediate surroundings, you should lay out foils. Then lay all necessary equipment and materials within easy reach.
- Now tape the surface on the back with a firm painter’s adhesive tape. In this way you can easily remove any drops of resin on the surface the next day together with the adhesive tape. If necessary, you can also tape the sides.
- Since the back of the painting support can stick to the table or work surface due to resin flowing down, you should place it slightly raised, e.g. on an upside-down container or several cups.
If the painting surface is not flat on the worktop, the epoxy resin will melt and after a short time the cast motif will no longer be visible. Therefore check with a spirit level whether the surface is absolutely straight. - For your own safety wear long-sleeved clothing and disposable nitrile gloves. (Latex or vinyl gloves are NOT suitable!)
Mixing and coloring Epoxy Resin
- First, the two components resin and hardener must be mixed in the correct ratio for approx. 3 minutes (follow the manufacturer’s instructions on the packaging). Important: This ratio does not refer to the weight, but to the volume. The use of a plastic spatula has proven to be helpful when mixing. The two components must be mixed very thoroughly, otherwise the compound will remain sticky and will not harden completely.

- Often, Epoxy Resin is measured by weight
- Digital scale to measure the optimal amount of resin and hardener
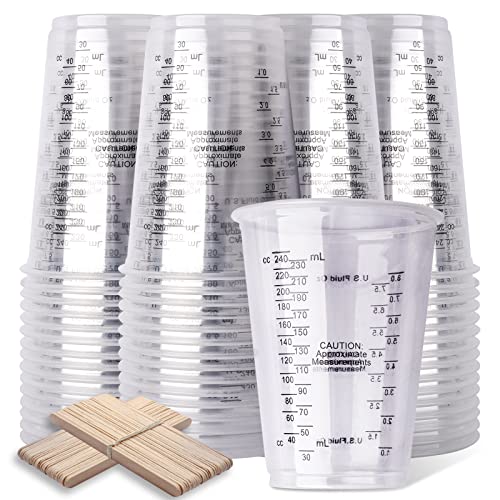
- 50 disposable resin mixing cups and 50 wooden stirring sticks
- Measuring cups are of clear, thick, sturdy, durable, and crack resistant plastic
- Cups include two units of measurement, 1-8oz, and 30-240ml
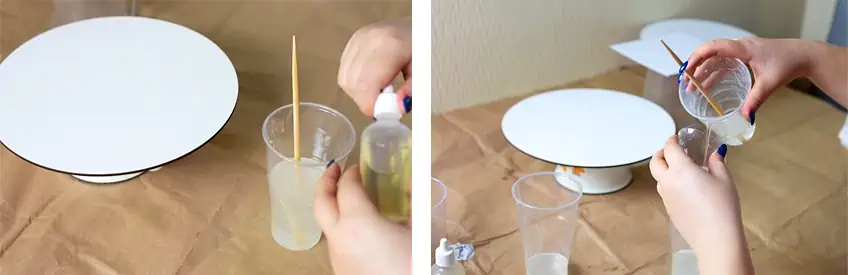
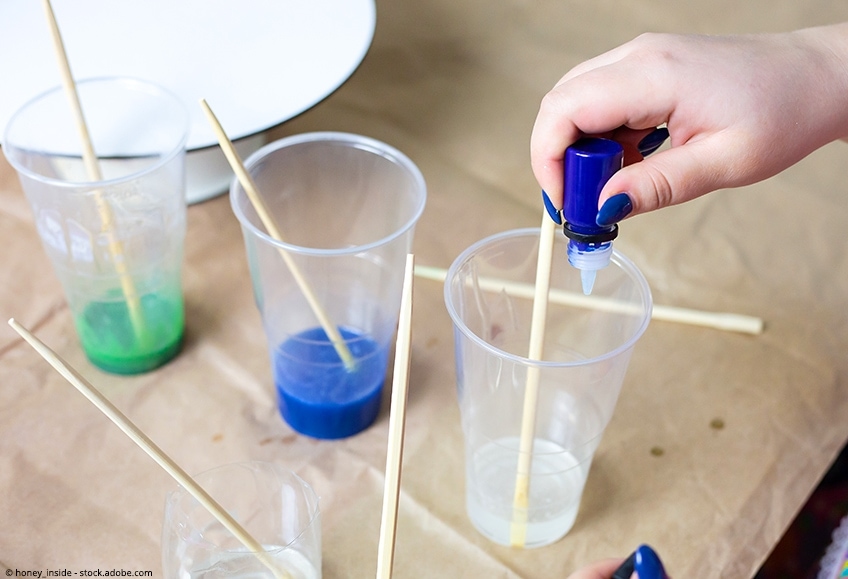
- Now you can color the resin into your liking, e.g. with the help of disposable cups. Usually, a few drops of liquid paint or some pigment powder are enough to obtain brilliant colours.
Pouring Artwork from Epoxy Resin
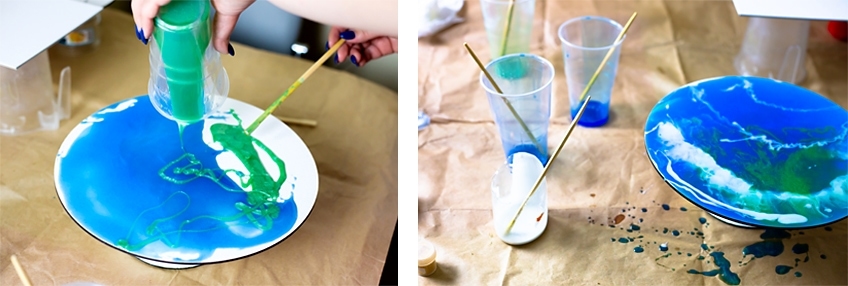
- Now you have two options for further processing. Either you pour the colored resin cups individually onto the base, or you use a pouring technique such as Dirty Pour, Air Swipe, Puddle Pour, Swirl or Flip Cup.
- For cell formation you can add some Resi-Blast or silicone oil to the colored resin. Alternatively, the cell additive can be dripped onto the cast Epoxy Painting afterwards.
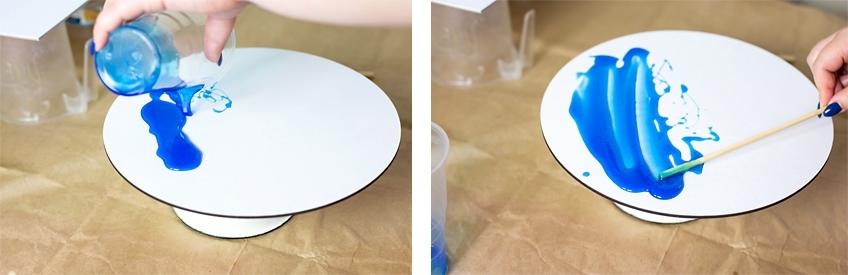
- With the help of a spatula, painting knife, brush, foam roller or by tilting the surface you can influence the course of the resin on the painting surface.
- Make sure that no air bubbles are created in the painting. If you do discover any, they can be removed with a hot air dryer or Butane Torch as described above. (Please heat up only very briefly!)
Curing Process
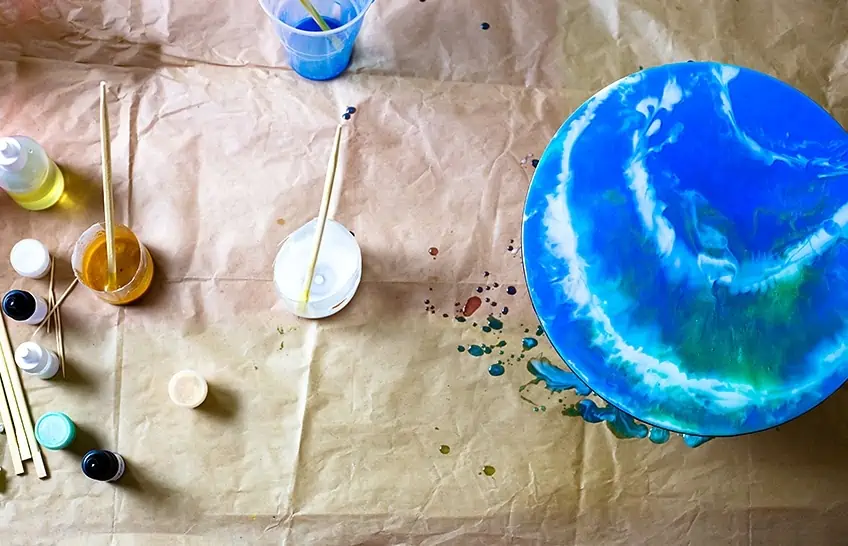
- After a certain time (depending on the manufacturer) the resin starts to dry, becomes viscous and pulls threads. This means that the resin loses its ability to self-level. This process can be slightly delayed by heating. Therefore the work should not be changed now.
- Hair, dust and other foreign particles should be removed with tweezers to prevent them from sticking to the pouring surface.
- Once the finished painting has been cleaned of any foreign particles and air bubbles, it should be covered to protect it from dust. You can use a large cardboard plate, which is placed slightly raised on four bottles. After about 24 hours the resin painting is already hardened, but still very sensitive. It takes about three days until it is completely hardened. During this time the movement should not be exposed to extreme temperature fluctuations.
 Bilder Anleitung: Little honey / shutterstock.com
Casting of Further Resin Layers
If the resin is already slightly dried but still sticky (depending on the resin this is the case about 5 hours after applying the first layer) another layer can be poured. This procedure has the advantage that the newly cast resin can bond very well with the still somewhat sticky substrate. Alternatively, if the surface is already completely hardened, you can slightly roughen it with a fine grain sandpaper.
In this way, a good adhesive base is also created. Afterwards, the Resin painting must be very thoroughly cleaned of any sanding residues. This is best done with a moistened microfibre cloth. Due to the dust formation, you should not sand in the same room where you pour the layers. Otherwise there is a risk that the fine dust particles will settle on your workpiece. Pouring several layers on top of each other gives your work an interesting depth. You can learn more about this topic in our guide to sanding epoxy resin.
How to clean your Tools
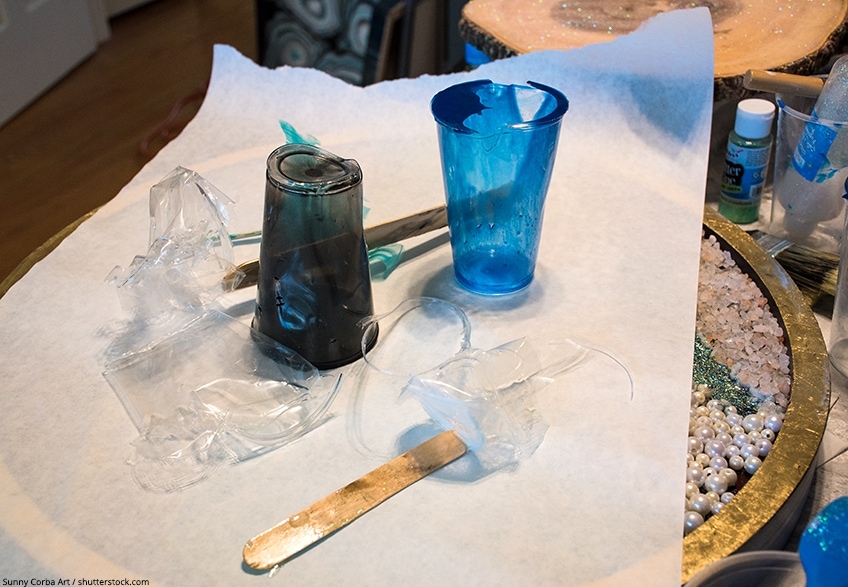
Just as important as the thorough processing of the epoxy resin is the subsequent cleaning of the utensils and tools used. Any remaining resin can be used for smaller decorative objects or for experiments with the material.
The empty resin cups are placed on a plastic foil with the opening facing downwards, so that the excess resin that has run out can be easily separated from the cup the next day. The spatula used can be cleaned very easily with vinegar or a cloth soaked in isopropanol. You can also clean all other utensils that may have come into contact with the resin, such as a hot air dryer, torch or tweezers, with an alcohol-soaked cloth.
Damaged Areas in the Epoxy Resin Painting – What to do?
If you notice dents or holes in your resin artwork after drying, this can have several reasons. Firstly, it is possible that you have not used enough epoxy resin. Secondly, too much of the resin may have run off the surface.
If you have used a special additive or silicone oil for cell formation, this could also be a reason for the formation of dents in your artwork. If this is the case, there is unfortunately nothing else you can do but carefully sand the picture down and apply a new layer of resin. If silicone oil or another additive was used, you should also clean the picture thoroughly with alcohol before applying a new layer.
Safety Measures for the Processing of Resin
Resin is a material that cures completely in a relatively short time. Therefore, when working with this material, you should take great care to ensure that appropriate safety precautions are taken to protect your health, clothing and furniture. Of course, your health has priority here. Equip yourself with a breathing mask, eye protection, and disposable nitrile gloves, and be sure to wear long-sleeved clothing.

- Use nitrile gloves to protect your hands from liquid epoxy resin
- Nitrile gloves provide greater protection than rubber
- Available in different sizes

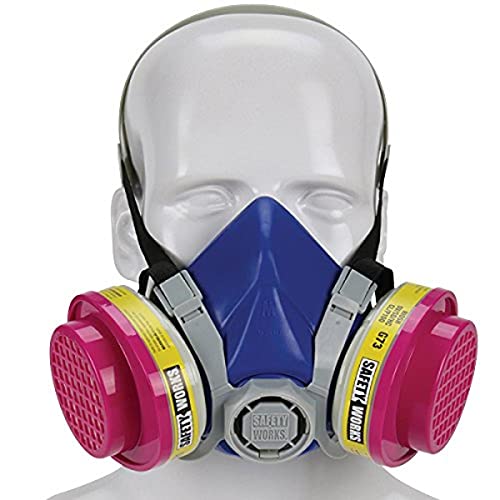
- Always a respirator if you work with resin
- Protects against wet resin fumes and cured resin dust
Hint: You should avoid eating and drinking in the immediate vicinity of the Harz Mountains. The same applies to smoking, as epoxy resin can be highly flammable under certain circumstances.
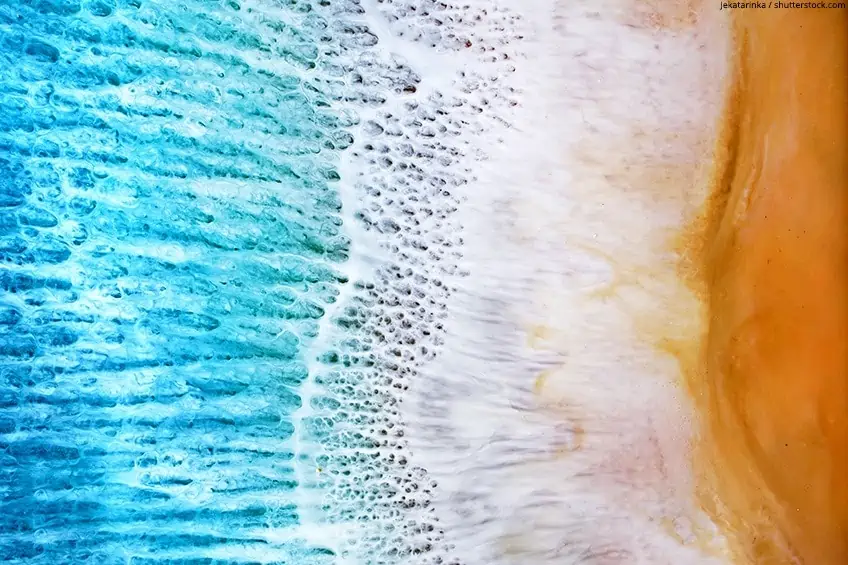
An extremely fascinating variant of resin art is the creation of so-called beach pictures. The unmistakable ocean look is created with the help of a hairdryer and additives.
Resin Art ideas
We have compiled a list of interesting resin art ideas to get creative right away:
- Resin Jewelry
- Resin Dices
- Resin Rings
- Preserve Flowers in Resin
- Resin Geodes
- Resin Geodes
- Resin Tables
Conclusion on Epoxy Resin Art
The production of an exclusive resin painting is actually quite complex and not so easy. Besides, there are a lot of preparations to be made before the actual work can begin. Nevertheless, the creation of a resin artwork is a worthwhile thing for every hobby artist, because the breathtaking result compensates you for any effort.
