Resin Paper – A Guide on How to Seal Paper Art with Resin
This post may contain affiliate links. We may earn a small commission from purchases made through them, at no additional cost to you. You help to support resin-expert.com
Resin paper is a wonderful alternative to framing, and it can also be used as a way to preserve your paper-based art pieces. When you use resin to case your paper pieces, you can create a stunning piece of artwork that will last for a long time and will also protect your work. We will assist you in creating a gorgeous resin-coated paper with this article.
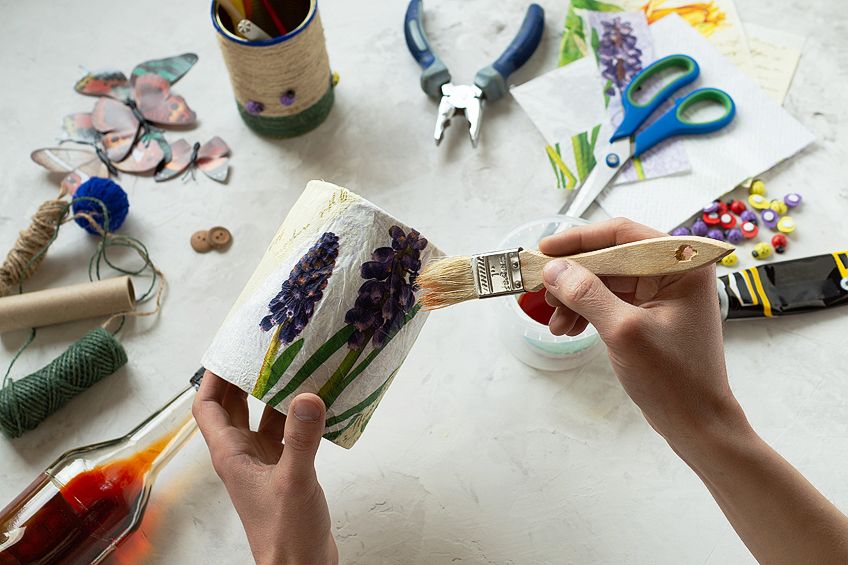
Table of Contents
What Is Resin Paper?
Paper that has been coated with epoxy resin is called resin paper. You can do this for an assortment of reasons, as a very durable substance resin will enhance your artwork while also offering great protection. The crystal-clear surface of the art-specific resin is glossy and is perfect for using paper to create collages, coasters, bookmarks, jewelry, and more. If the paper has been sealed first, you can use any kind of paper with resin, such as book pages, photographs, tissue paper, cardboard, and stickers. You will create additional depth to your paper art by using resin over it and provide a stunning finish.
Ideas for Resin-Coated Paper
You can use resin-coated paper in several ways, either as something decorative or as a functional piece there are countless possibilities.
- Apply resin instead of framing your artwork
- Tissue paper collage
- Preserving important letters, cards, and wrapping paper
- Bookmarks made from resin paper
- Paper decorations and die-cut flowers
- Trinket trays or resin-coated paper coasters
- Jewelry pendant’s backing

How to Seal Paper for Resin
To ensure that the epoxy does not soak into the paper you will have to learn how to seal the paper for resin first. Paper is similar to wood in that it is porous to it is very susceptible to absorbing liquids, if the paper is not sealed the resin will seep through the paper like water. To stop the resin from causing stains, dark spots, or uneven patches on the paper you have to seal the paper before you apply any epoxy. There are two options when it comes to sealing paper art, either using decoupage glue or sealer spray. Which option you use is dependent on what type of paper you are using.
Tip: You might notice that thinner pages may curl or wrinkle when you have sealed your paper pages. When your sealer has dried take a heavy book and place the paper pieces in the book and leave them overnight to flatten them out.
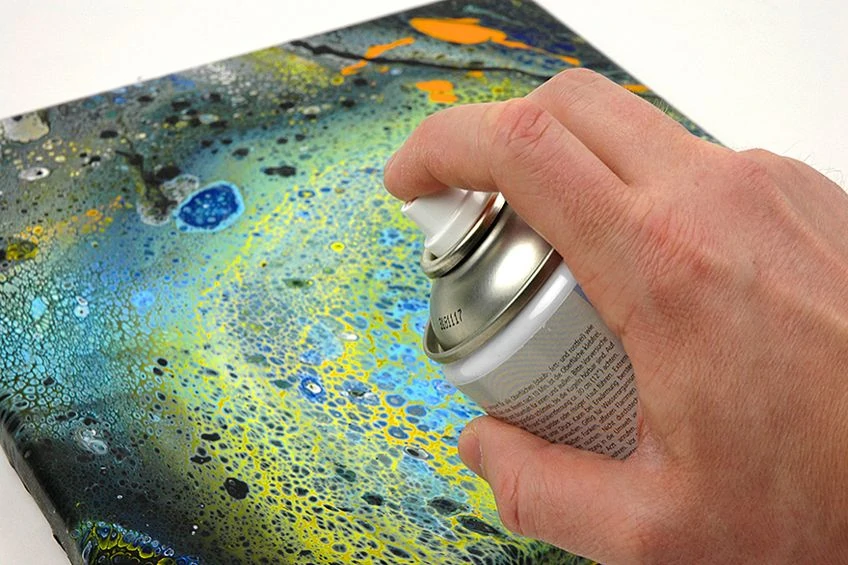
Using Spray Sealer to Seal Paper
The spray sealer comes in an aerosol can and can be sprayed directly over the piece of paper on both sides. You may need several coats of sealer, especially when working with paper that is thicker. Spray sealers are best used on delicate, thin, or printed papers like magazine pages, photographs, books, and stamps. If you were to brush the glue on you would potentially smear the ink or wrinkle the pages. You are provided with a thin and even coverage when using a spray sealer.
KRYLON Gallery Artists Series UV-Resistant Clear Acrylic Coating
This top-rated sealing spray is perfect for your paper projects and can also be used on ceramic, wood, metal, glass, and an assortment of other surfaces. It offers a fade-proof and moisture-resistant formulation that will seal and protect your art piece with a glossy, crystal-clear finish. You will improve the contrast of your artworks and photographs when you use this spray. It takes about 10 minutes to dry to the touch and can be handled within just a few hours. The coat will not yellow over time and offers a long-lasting glossy coat, making it perfect for your art pieces.

- Protects against harmful UV light rays and will not cause yellowing
- A permanent coating that resists fading and is moisture-resistant
- Dries within minutes and can be used on multiple surfaces
PROS
- Simple to use
- Resistant to moisture
- Great value for money
- Your art will not fade
- Will not yellow
- Glossy crystal-clear finish
- Dries quickly
- The contrast of the image is improved
CONS
- Slight odor
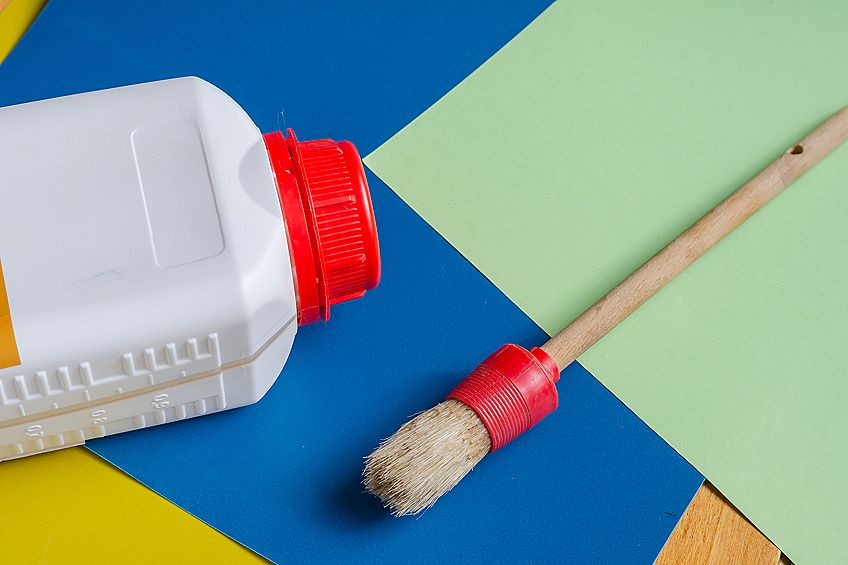
How to Seal paper Art Using Either Decoupage or Clear Glue
If you have to seal thicker paper (like sticker paper or cardstock) art glue or decoupage is a great option. When dried the sealant provides a clear and thick protective surface on the paper that allows for the edges to be sealed as well. You should not use this sealant on thin paper as it is very heavy and if used on photographs will cause the ink to be smeared.
When sealing your paper using resin you might be worried about the dried bits of glue that can stick off the edges of your paper but do not be concerned as you can simply remove them using scissors.
MOD PODGE Water-Based Sealer, Glue, and Finish for Paper
Mod Podge is known for being the best decoupage glue on the market for use with paper and other porous materials. The sealer is formulated for paper and is simple to use and provides an all-in-one sealer, glue, and overall finish. The glue is non-toxic, will not yellow, and is acid-free. As a water-based glue, it will dry with a clear matte finish regardless of how many layers you apply. It is easy to clean up and will dry quickly thanks to it being water-based. You will have to apply it with a brush so you do run the risk of leaving behind brush strokes.

- An all-in-one glue, sealer, and finish for long-lasting durability
- Mod Podge dries clear and quickly for easy build-up of coats
- Comes in a variety of finishes such as gloss, matte, and more
PROS
- Resistant to yellowing
- Simple to use
- All-in-one sealer, glue, and finish
- Dries quickly
- Acid-free and non-toxic
CONS
- Brushstrokes may be left behind
The Best Resin for Paper
When you have selected the sealant, you wish to use for your project you will need to find the ideal epoxy resin to resin-coat your paper project. You will get two liquid parts when purchasing epoxy resin, namely the hardener and the resin. Once you have combined the two parts it will cause a chemical reaction to occur, thus causing the resin to cure into a hardened substance.
You want to select a resin that has been manufactured specifically for art-related projects, as this will ensure you are left with a crystal-clear, long-lasting layer that will protect your piece. Despite selecting a resin that is resistant to yellowing, please note that papers that are lighter in color are still susceptible to yellowing over time.
PROMARINE SUPPLIES ProArt Resin
This art resin offers you great protection against wear and tear and gives a stunning glossy shine to your piece. This well-known brand creates a premium-quality resin that will protect your art piece for a long time. As a safe product to use it is non-toxic and once cured is even food-safe. This product will not yellow over time thanks to a UV-resistant formula and it allows you a significant working time of between 35 to 40 minutes, and then the resin will level out automatically. You will have a durable piece that is resistant to high temperatures once the resin has cured. It is super easy to use as you require a simple 1:1 mixing ratio.

- Premium-quality, non-toxic, and clear art resin is 100% safe
- Features a self-leveling, UV-resistant formula for quality protection
- Easy to use with a simple 1:1 ratio and the perfect texture
PROS
- Intense shiny finish with a high-gloss
- Non-yellowing
- Non-toxic
- UV-resistant
- Self-leveling
- 1:1 mixing ratio
- 35 to 40 minutes working time
CONS
- Can be difficult to pour as a result of the size of the bottles it comes in
- Gives off an odor
How to Make Your Own Resin Paper
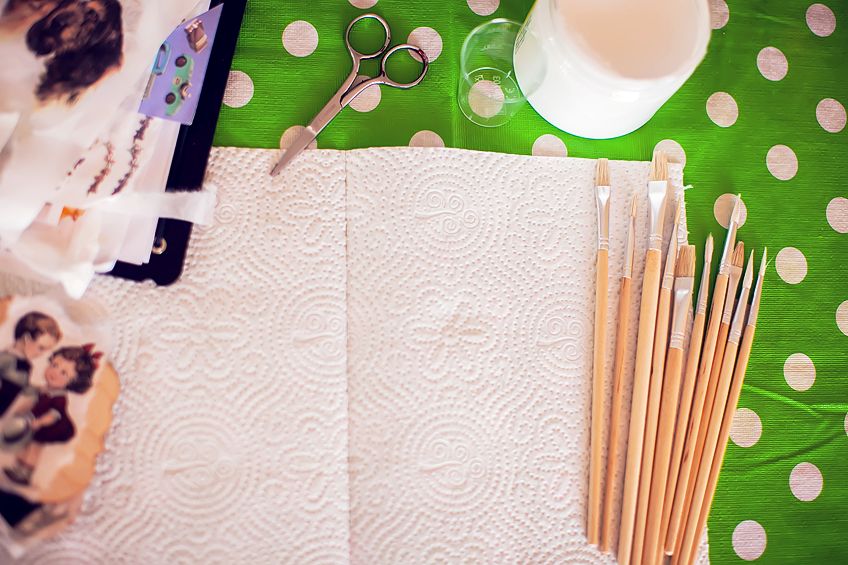
When creating your resin-coated paper there are several steps involved, we will assist you with them with this guide, to begin, you will require the following supplies:
- Toothpicks (to remove any bubbles)
- Heat gun
- Your selected paper
- Suitable resin mold
- Craft knife, scissors, or craft punch so you can cut the paper
- Mixing tools and cups for mixing and measuring the resin
- Your selected sealer (either decoupage glue or spray)
- Your selected resin
- Small containers (that you can decant the glue into)
- Plastic work surface
- Paintbrushes (to be used to apply the glue)
Preparing the Paper
Take your chosen paper and cut it into a variety of shapes, depending on what you are looking to make. You could cut out small circles using a craft punch to be used as a backing for your jewelry or you can create a paper collage.
- You can use any type of paper. We recommend book pages, cardstocks, wrapping paper, tissue paper, and photographs, but at the end of the day, you can choose any type of paper.
- Trace the size of the resin mold onto the paper if you are making jewelry. This will ensure you cut the right size to ensure it fits into the mold.
- Cut out your shapes using a craft knife or scissors. Alternatively, you can use a craft punch if you are looking for quick shapes such as stars and circles.
Tip: Cut out a lot of shapes all at once so that you can seal them all at the same time and have pre-sealed papers to select from.
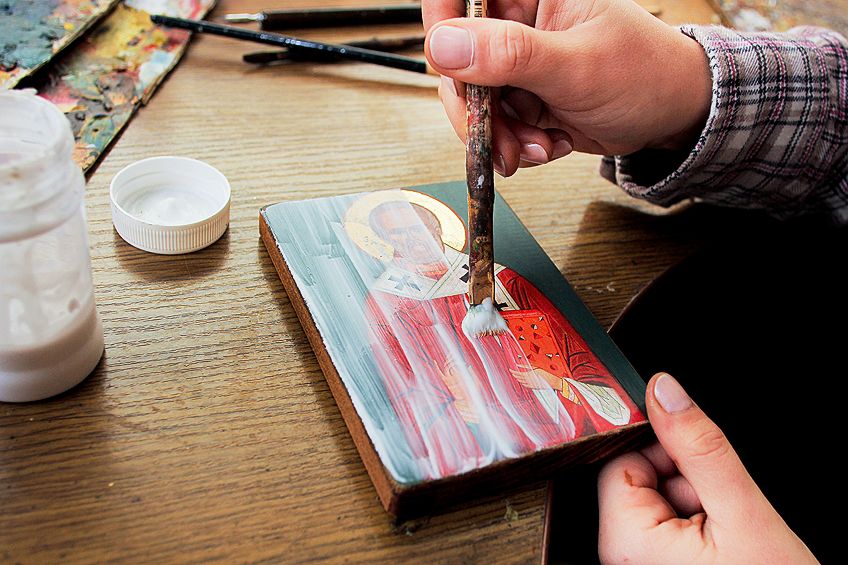
Seal the Paper
This is the most important step in the process – if your image is not sealed before adding the resin, you could end up with splotches and uneven dark spots and marks. The paper should be sealed properly with no unsealed areas that could be negatively affected by the resin. Begin by placing the paper on a plastic surface.
- Start with one side of the paper and seal it completely, allowing it to dry fully before you turn the paper over.
- When using a spray sealant, use a steady and long vertical movement to apply the sealant to the paper. You will need to apply several coats. Ensure that you are applying even coats and that the whole page, including the edges, is covered.
- When using a brush-on sealer, decant a small portion into another container for easy access. Using a clean brush to apply coats of glue evenly over the page.
- To stop the image from slipping when you apply the initial coat of glue, we recommend using a popsicle or toothpick to hold the image in place.
- Ensure that you coat all the edges of the paper. Work from the outer edge towards the center when brushing the page.
Do not be scared to apply thicker layers!
- When you have finished applying the sealant to the first side of the paper, lift the page and place it with care on another area of the plastic surface. This will stop the page from sticking to the surface when drying, making it difficult to remove.
- Often, thinner paper will become curled and warped as a result of the sealant. If glues are hanging off the edges, do not worry about them at this stage.
- Only turn the paper over when the first side has dried, and then repeat the process on the other side, after which you can allow the paper to dry.
- When completely dry, you can trim off any glue hanging over the edges by using scissors. If your page has curled, you can place it overnight in a heavy book to allow it to flatten.
Applying Resin
Your paper has been sealed, so it is time to prepare the resin and apply it. Try to follow the instructions with care, as epoxy resin can be difficult to work with, especially since it needs precise quantities when mixed. If you have not mixed the two parts thoroughly, you will face issues with your resin later on.
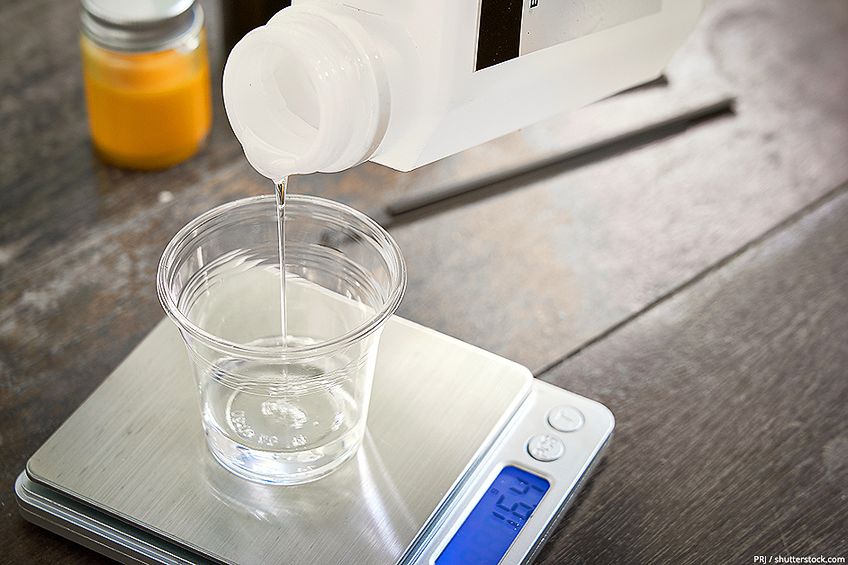
- Ensure that you are wearing the correct protective gear, including nitrile gloves, goggles, and perhaps a respirator mask – depending on the products you are working with. Always make sure that you are working in a well-ventilated space. Even if the resin states that it is non-toxic and safe, you should always take protective measures, as all resin is toxic in its liquid form.
- Measure your resin out carefully with the accurate volumes in plastic mixing cups. Always consult the manufacturer’s instructions for the correct mixing ratio and amount of time for which the hardener and resin must be mixed.
- Mix the hardener and resin for about 3 to 5 minutes, scraping the edges and bottom of the container when doing so.
- Decant the resin onto the center of the paper (or the mold) and spread it out towards the edges. You can do this with a popsicle stick or a plastic spreader. Note the working time of the resin, as you will only have so much time to work with it while it is in a liquid state.
- Using a hairdryer or heat torch, blow hot air over the surface of the resin to remove any bubbles. This works by causing them to rise to the surface. When the bubbles have moved to the surface, you can pop the bubbles using a toothpick.
- Place a box over the piece to prevent any dust or dirt from blowing onto the piece before it dries, and then allow it to cure for the amount of time stipulated.
- You may need multiple layers of resin; this depends on the project you are doing. You will achieve a thin, laminate-like piece when you use a light coat of resin, while a thicker coat will give you a much stiffer piece.
Frequently Asked Questions
Can Photos Be Covered in Resin?
You can cover photo paper in resin but it often results in the photo ink being smudged. We suggest sealing the photo first using several coats of a spray sealer. When you have finished sealing the photo, you can apply the resin without smearing or smudging the photo in any way.
How Do You Seal Paper for Resin?
Place the piece of paper on a protected plastic surface and, using your chosen sealant, apply a couple of layers to one side of the page. Spray sealers are ideal for photographs and thin paper and will need several layers. Brush-on sealants like decoupage glue are perfect for use with thicker paper, and you will only need to apply a few layers. When the front of your paper has been sealed and has dried completely, turn the paper over and do the same to seal the other side. When dried, any curled-up or crinkled pieces can be placed overnight in a heavy book to flatten out.
Can You Use Paper in Resin?
In short, yes, but due to paper being porous, the fibers will absorb the liquid if you pour the resin over the page directly, which will cause dark patches and stains on your paper. You can stop this from occurring by sealing the paper first by using decoupage glue or a spray sealant.
