Best Deep Pour Epoxy – Your Guide to Deep Casting Resin
This post may contain affiliate links. We may earn a small commission from purchases made through them, at no additional cost to you. You help to support resin-expert.com
There are various types of epoxy resins on the market, and each type has its specific purpose. However, we will be focusing more on the deep pour epoxy resin or deep casting resin. These types of pourable epoxy have been specially developed for casting into molds or whatever other application you have in mind. For example, some are used for making jewelry pieces. However, we are going to look at the deep casting resin that is used for river tables or other larger applications. Let us now take you through the process that will help you choose and apply the best deep casting resin.
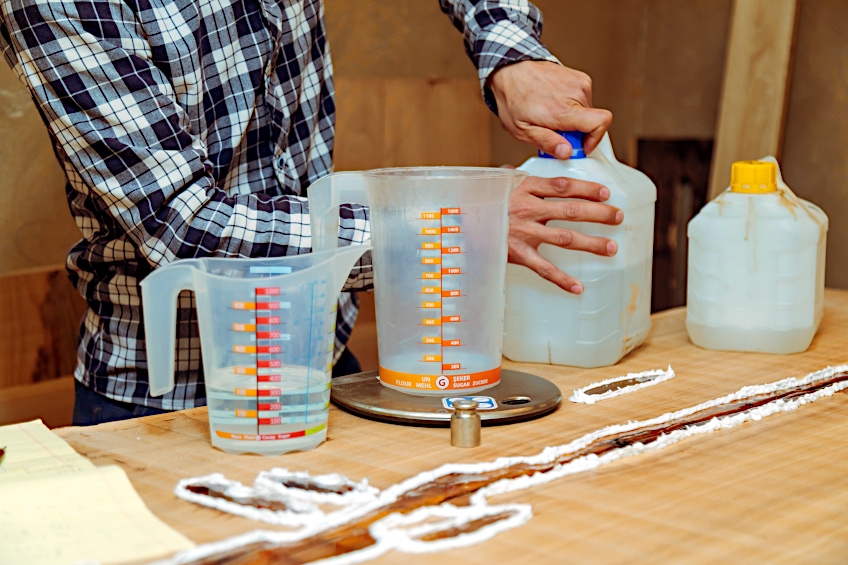
Table of Contents
How Does Epoxy Resin Differ From Casting Resin?
There is a large variety of different types of resins available, and unfortunately, most of the manufacturers make use of different terms when distinguishing between pouring or casting epoxy and epoxy resin. Some of the more common terms include those of topcoat, gel coat, laminating, or coating resin. These terms might cause some confusion, which may result in you purchasing the incorrect type of resin for your project.
Your project could be ruined if you choose the incorrect resin, some of the resins are for thin pours, while others need to have a longer curing time. This means that if you pour a thin epoxy coat too thick, you will automatically accelerate its drying time, which could lead to fish eyes, yellowing, or cracking. Some epoxies use the simple ratio of 1:1 (equal parts) when mixing, while others require a different mixing ratio. So, you must follow the mixing instructions precisely.
The terms “casting epoxy” and “epoxy resin” cannot be used interchangeably, the main difference between these two compounds is the proposed use; epoxy resins are used for coating, sealing, or bonding applications on various surfaces while pouring or casting epoxy is intended to be used for deeper pours like river tables, jewelry making, or encapsulating certain objects, where a mold is often used.

Epoxy Resin
Epoxy resin is the more versatile of all of the resins, as it has a variety of different uses. Epoxy resin can be used for different projects, depending on the application process you want to pursue. The resin is very durable and dries fairly quickly, and it allows you to apply a couple of layers, making sure you allow it to dry between layers. This type of resin is fairly inexpensive but does not perform well where there is high humidity. The resin may also yellow over time if placed in direct sunlight. Here are some of the characteristics of epoxy resin:
- Fairly thick viscosity
- Used mainly for coating applications requiring thin pours or layers (maximum of 3/4 of an inch)
- Quick-drying or curing time
- Easy to mix
- Fairly short working time
- Water-resistant and more suitable for use on rougher surfaces
- Able to add color to the resin by using alcohol ink, color pigments, or color paste
Pouring or Casting Epoxy
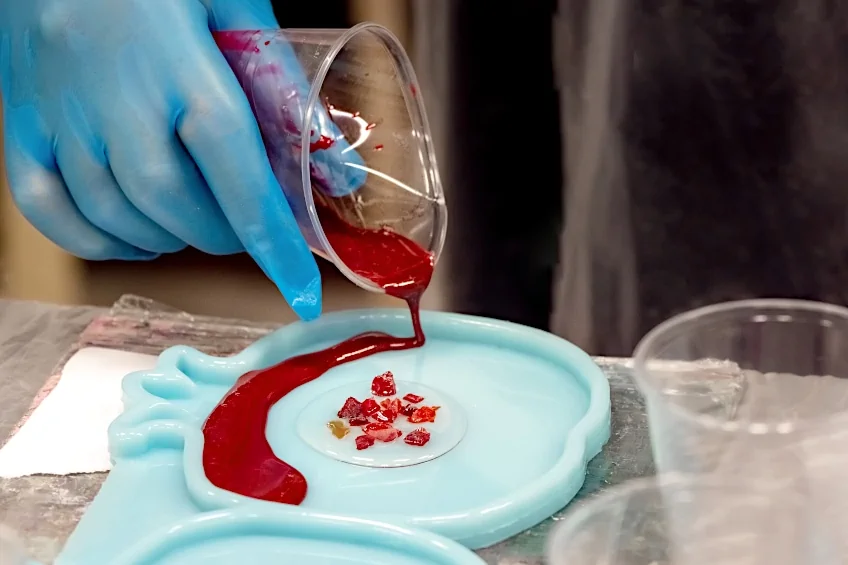
Pouring resin has a very low viscosity making it easy to pour. However, this thin consistency does tend to increase its drying time. This type of pourable epoxy is ideal for use in making river tables or pouring into hollow areas to fill up gaps. You can also use it by submerging or embedding any type of item into the casting resin to preserve it.
- Thinner viscosity
- Slow curing time
- Long working time
- Can pour thicker layers of up to two inches
- Mixing ratios can vary
- Able to penetrate and fill any small or large gaps or cavities
- You can add color to the resin by using alcohol ink, color pigments, or color paste
- Thin viscosity allows you to mix colors quicker and easier
Other Types of Resin
There are a few different types of resins available, all of which can be used for various projects. All of these types of resins also range in price and have a range of applications, which is why it is important to understand what resin you need for your specific project.
Coating Resin
The coating resin is the type of resin that you would use to effectively coat or cover the surface of an item and it can provide a protective finish to that surface. You get a high gloss finish that is also ideal for sealing concrete floors.
UV Resin
The UV resin has similar properties to that of the epoxy resin with one major difference, it only has one component instead of two, and it requires a UV light that will cure the resin. Its drying time is much faster than other types of resin and only starts to set once the UV light is applied, which gives you a longer work time. The main disadvantages of this type of resin are the shelf-life, as it only lasts for six months. This resin is also very expensive and only allows you to pour thin layers, making it unsuitable for large areas.

Polyester Resin
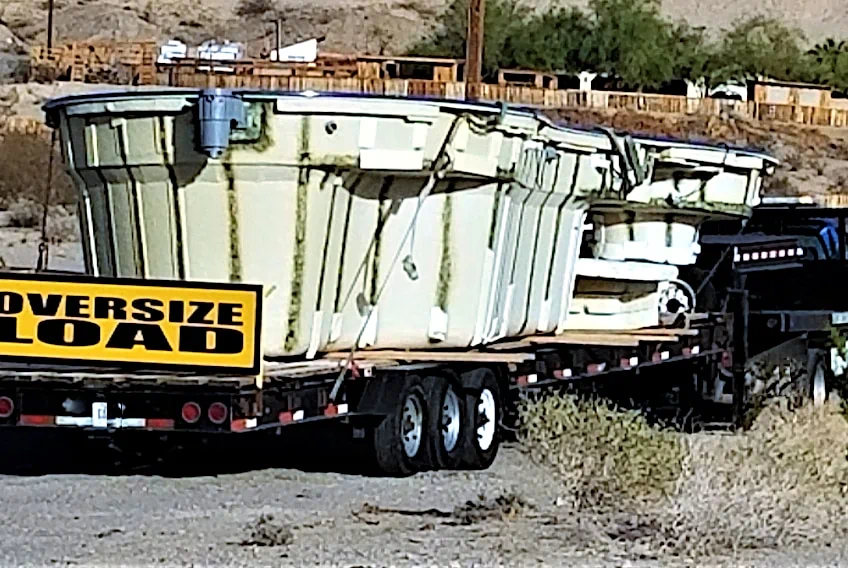
Polyester resin requires you to mix the resin and the hardener at the correct ratio. This means that you can determine the curing time yourself by adjusting the amount of hardener you add to the resin. This type of resin is ideal for use when building boats, ponds, or swimming pools as it is very strong as well as water-resistant. This resin is cheaper than other options, but it has a very strong smell.
Polyurethane Resin
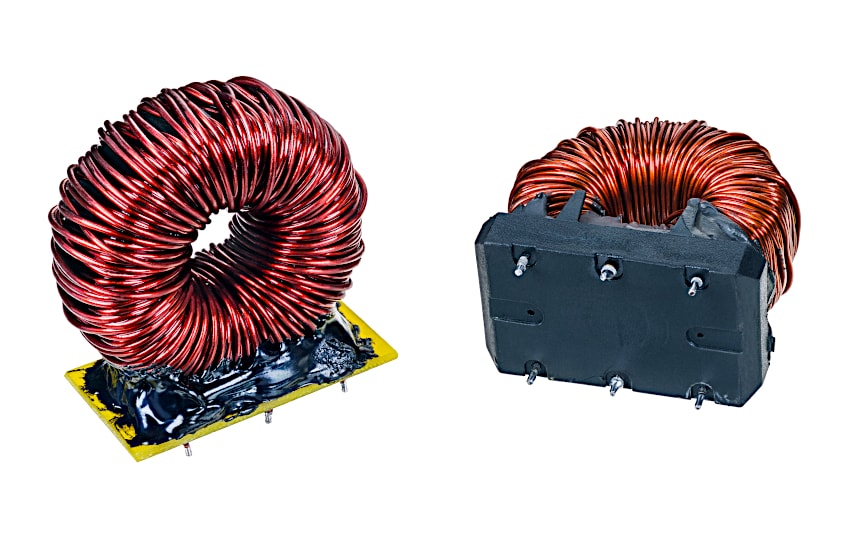
Polyurethane resin is a very versatile resin and can be found within certain appliances. This resin is also used in the automotive industry as well as to encapsulate electrical components. When applying heat, the resin sets and becomes very hard and durable as well as heat resistant. The setting time is fast, it has a very strong adhesive property, and good flow, making it ideal for molds. However, it is very sensitive to moisture and gives off a strong odor when mixed.
Best Deep Pour Epoxy Resin
Choosing the correct product for your deep pour epoxy resin project is vital, as once you have poured your resin, the process cannot be reversed. This means that hours of hard work can be ruined in an instant and you lose money. We suggest you buy a good-quality resin that is best for your specific project. So, below are some of the best deep pour epoxy products for you.
Best Value for Money Deep Pouring Epoxy: INCREDIBLE SOLUTIONS Deep Pour Clear Casting Resin
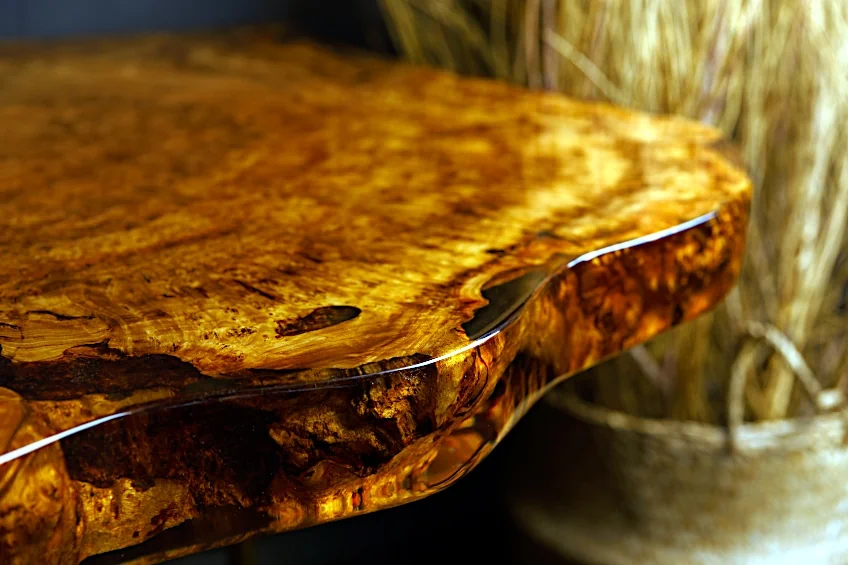
This Pourable Plastic Deep Pour Clear Casting Resin is a product that is specially designed for deep pouring projects such as river tables, live edges, jewelry, figurines as well as encapsulating various items for preservation. Some resins and epoxies require only ⅛-inch to ¼-inch thick pours per application, but this pourable epoxy resin can do two inches thick pours per application.
This casting resin has a very slow curing time, which allows you more working time. The resin also has minimal shrinkage and dries rock hard, so it is not flexible. You, therefore, need to support your project properly to avoid any cracking taking place. The resin has a fairly quick drying time, so your project should be dry within 18 to 24 hours. Once cured, it gives you a tough and water-resistant coating.
The plastic deep pouring resin goes on very smoothly, eliminating fish eyes or other imperfections. The product is specially formulated to produce the minimum number of bubbles. It dries to a crystal clear finish, has a low odor, and when properly cured, is also food safe. One of the major advantages of this resin is that there is no yellowing over time as it contains UV inhibitors. However, it is not advisable to leave it in direct sunlight, as this may result in slight yellowing.
This deep pouring resin is also compatible with coloring agents like color pigments and pastes, but it is not advisable to mix it with any oil-based products or apply it over any oil-based surfaces. It is also advisable to mix and work with this pouring resin in temperatures ranging between 75 to 85 degrees Fahrenheit as warmer temperatures may cause the resin to bubble.

- Thick pours up to 2" per application, low viscosity and long working time
- Super clear results, compatible with pigments and dyes
- 2 : 1 mix ratio by volume (100 A to 44 B by weight)
- Fairly quick drying within 18 to 24 hours
- Food safe once cured
- Water-resistant
- Contains UV inhibitors, making it UV-resistant
- Dries to a crystal-clear finish
- Can be mixed with color pastes and pigments
- Best epoxy for deep pour
- When working in warm temperatures, it may cause some bubbling
- Cannot be mixed with oil-based products or applied over an oil-based finish
Basic Deep Casting Resin Tutorial
You may have watched numerous videos on pouring resin into molds, shapes, or forms, and you would like to try it yourself. So, we are going to take you through a step-by-step tutorial of the entire process to ensure the best results.
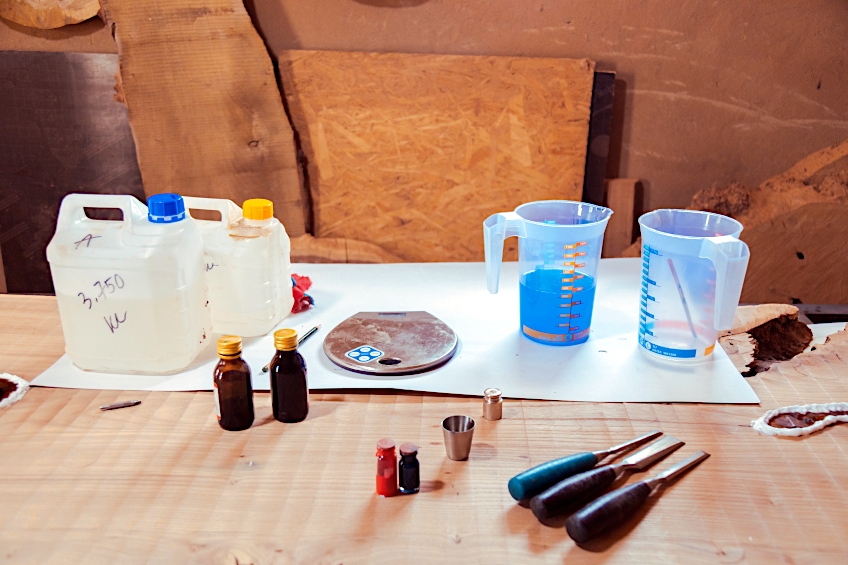
Preparation of Equipment and Supplies
You first need to make sure you have all materials and equipment ready and close at hand so that you do not have to stop in the middle of the process and look for something you need. The process is the same for pouring your resin into ready-made molds, shapes, or forms that you can make yourself.
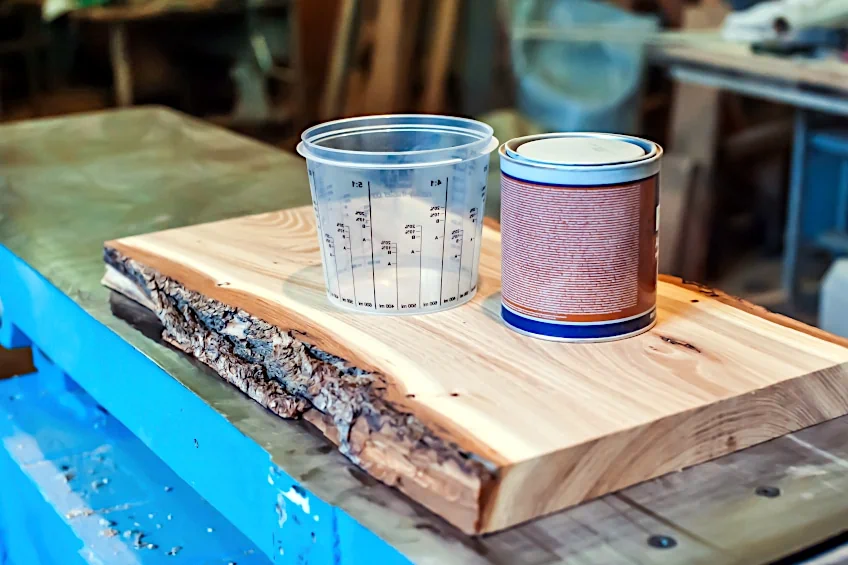
Resin
When you buy the resin, it comes with detailed manufacturer working and safety instructions concerning the process. You need to read these very carefully before you start with the actual work of pouring the resin. This is because some of the manufacturers have different properties for their products and the process could be different, this part of the procedure is extremely important.
The epoxy resin is very versatile and can stick to virtually any surface; however, it is important to understand that the surface, especially if it is wood, needs to be prepared before you start by sanding the wood and making sure the surface is dust free and clean. You also need to ensure that the room temperature you are working in is within the manufacturer’s requirements; this is to ensure your resin cures at the correct rate.
Mold, Shape, or Form
If you are using a pre-manufactured mold or shape, then you can select the one you want to use. However, if you are going to make your mold, shape, or form, then you will need to get all the materials you will require close at hand.
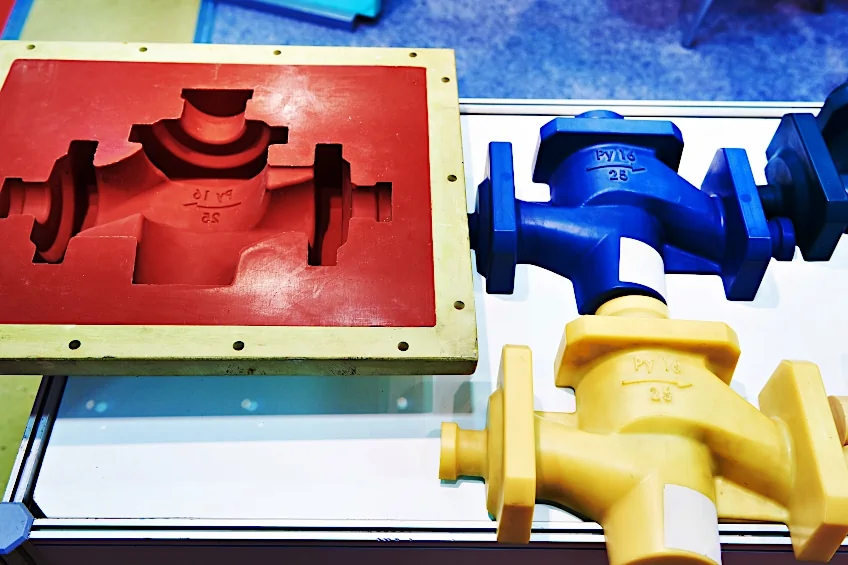
You will need to have a positive form or shape that you want your finished product to look like, such as a ball, heart, or any other shape. However, if you want to do a larger river pour, you need to build a box from wood in such a way that it will be able to contain your epoxy resin when you pour it.
For making your molds, you need to use a two-part liquid silicone, as this is the best material to use for mold making, as it hardens without any shrinkage, requires no heat for pouring, and will not stick to your epoxy, making it very easy to remove. Other materials that you will need include, syringes used for measuring the hardener and epoxy, a container to mix the silicone in, a stick to stir with, a level to ensure the epoxy remains flat, and safety gear like gloves, goggles, and a mask.
Safety Precautions when Working with Epoxy
Using deep pouring epoxy is a wonderful way of making a river table, repairing your countertops, or creating jewelry or other arts and crafts. However, you need to be aware of the safety precautions to preserve your health.
Ensure Good Ventilation
You must make sure that there is good airflow where you are working. This helps to clear the air of any strong or dangerous fumes from the epoxy. You could do this by making sure that the cross-ventilation in the room is effective by opening a window on either side of the room. If you have a ceiling fan, turn it on and this will draw any strong fumes away from where you are working. You can also plug in a small fan to draw out the fumes from the room.

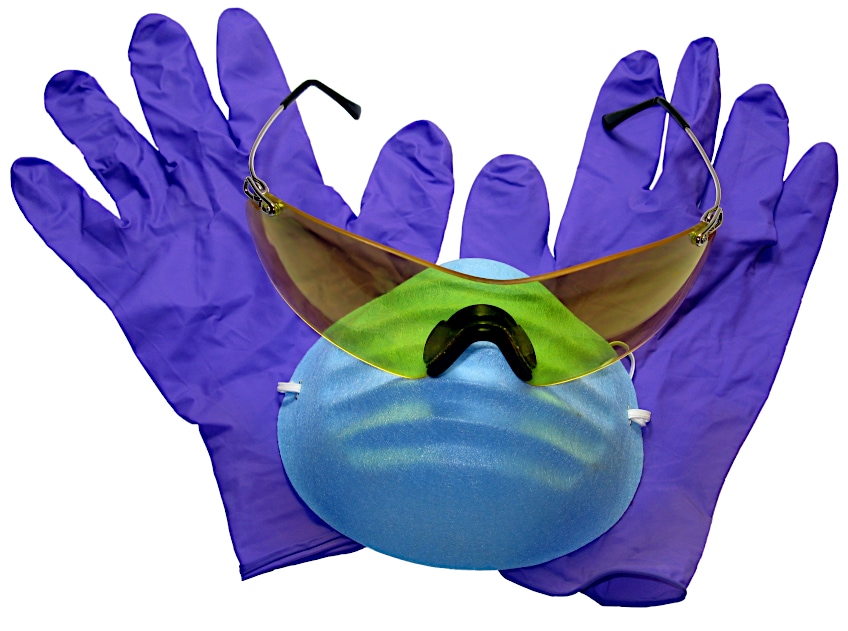
Make use of Gloves and Safety Glasses
You must protect your hands from coming into direct contact with the resin and hardener. Nitrile gloves are the best for this purpose as they are not likely to react with the resin or your skin. Latex gloves can, at times, react with your silicone resin and can also inhibit proper curing.
If you accidentally allow some epoxy to come into contact with your skin, then using baby wipes can effectively remove the resin but you need to do it immediately before it cures. If that does not do the trick, then try some soap and warm water or a pumice stone. Never use alcohol, solvent, or acid as this may aggravate the reaction of the resin. It is not very often where resin gets into your eyes; however, for complete safety, it is advisable to wear safety goggles to keep your eyes safe.
Use an Apron
Whenever you are working with epoxy, you will invariably have some spills which can ruin your new shirt or trousers. A cheap, plastic apron is ideal for this purpose as it will protect your clothing. If you do spill some epoxy on the apron, you can easily wipe it off or wait for it to harden and then peel it off.

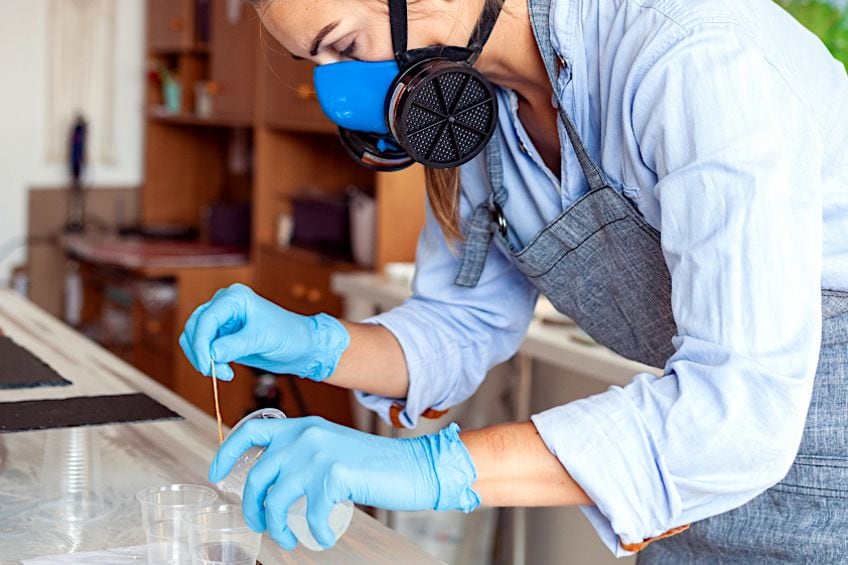
Make Use of a Respirator
Many of the resins do not require the use of a respirator, and this information can be found on the safety data sheet of your product. However, for safety’s sake, we do recommend that you wear a respirator when handling a large amount of epoxy or when working with any form of chemical, to prevent any noxious fumes from being inhaled.

Remember, that most of these problems can be avoided if you purchase the correct type of epoxy that is certified as non-toxic and food-safe. All the important information can be checked on the manufacturer’s label, which you need to read carefully.
Mixing Your Epoxy
The mixing process is a vital part of the whole process. When mixing, you must follow the instructions to ensure that your project comes out as you intended, and there are no surprises or problems that could occur.
Use the Correct Mixing Ratio
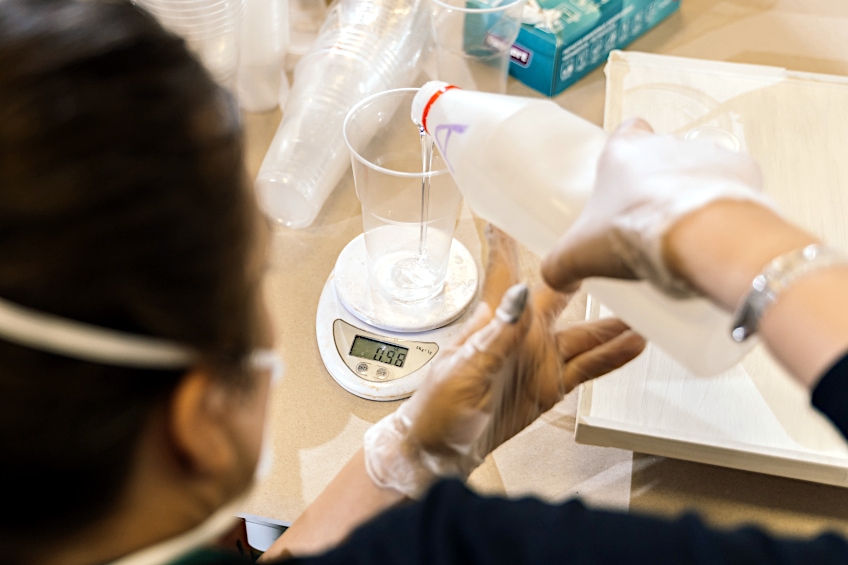
Remember that each product that you purchase may have different mixing ratios of resin and hardener. Some require a 1:1 ratio, while others specify a 2:1 ratio, and there are even some that have a 100:45 ratio. This information can be obtained on the packaging details of the product, which needs to be followed carefully. The mixing ratio needs to be followed precisely or else the resin will not harden and your whole project will be lost, the use of an epoxy resin calculator comes in handy in this instance.
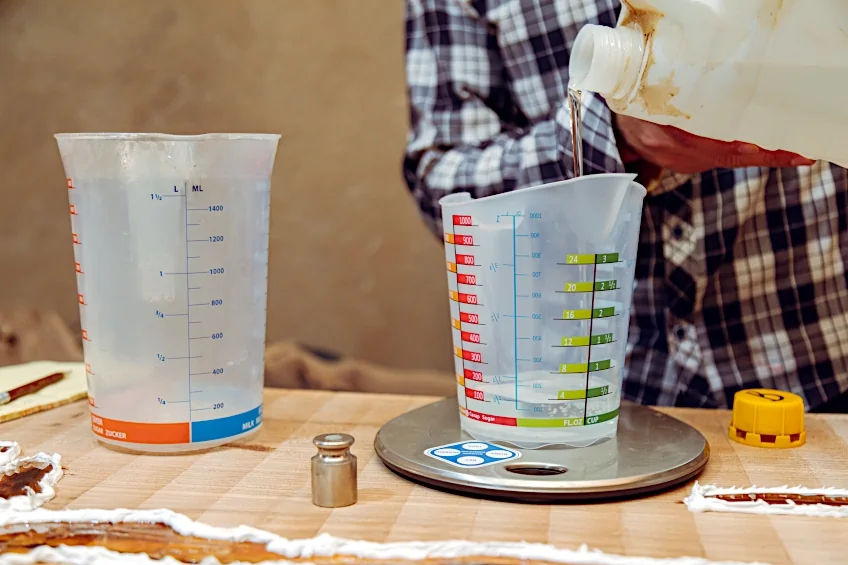
For you to obtain this ratio, the resin as well as the hardener need to be calculated by the volume and cannot be worked out by weight. If you calculate the ratio by weight and use a scale to weigh out the hardener and resin on a 1:1 mixing ratio, it will be incorrect as the weight of the hardener and resin are different. The more resin you mix, the more of a problem you will create. Therefore, to obtain your mixing ratio exactly, it needs to be calculated by volume using a measuring cup, then the density of the two materials is irrelevant.
Consider Temperature and Humidity
A very important factor to consider is that epoxy reacts to temperature changes, and heat is a major factor during the curing process. If you mix the resin and hardener at temperatures below 68 degrees Fahrenheit, you will slow the curing time of your resin considerably, and the resin may also crystallize when the temperature goes too low. If you mix your resin and hardener at temperatures above 68 degrees Fahrenheit, then the curing process will speed up, but it will also reduce your working time.

Hardeners react very quickly when they come into contact with air, so it is very important not to open the bottle when your humidity is above 65 percent. Also, the hardener will become ineffective if not used immediately. You need to ensure that the humidity remains below 65 percent during the entire mixing and pouring process.
Warming Your Epoxy Resin
Store your resin for 12 hours before you use it at room temperature, which is 71 degrees Fahrenheit. You could also place the resin in some warm water. Heating the resin improves its flow properties, and if the resin is too cold, it can produce bubbles that can be very difficult to remove.

Not only is it important to warm the resin, but you also need to ensure that the surface of your mold or form is not too cold as this will impair the curing time.
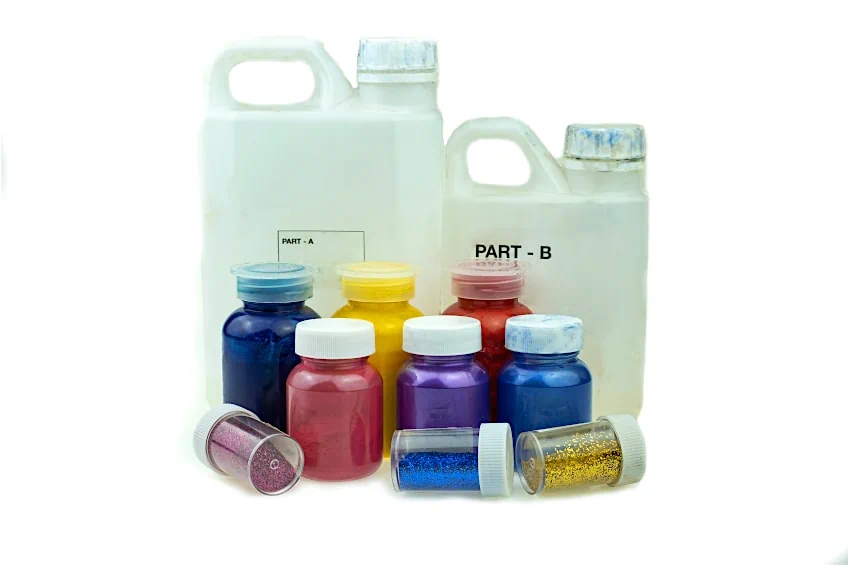
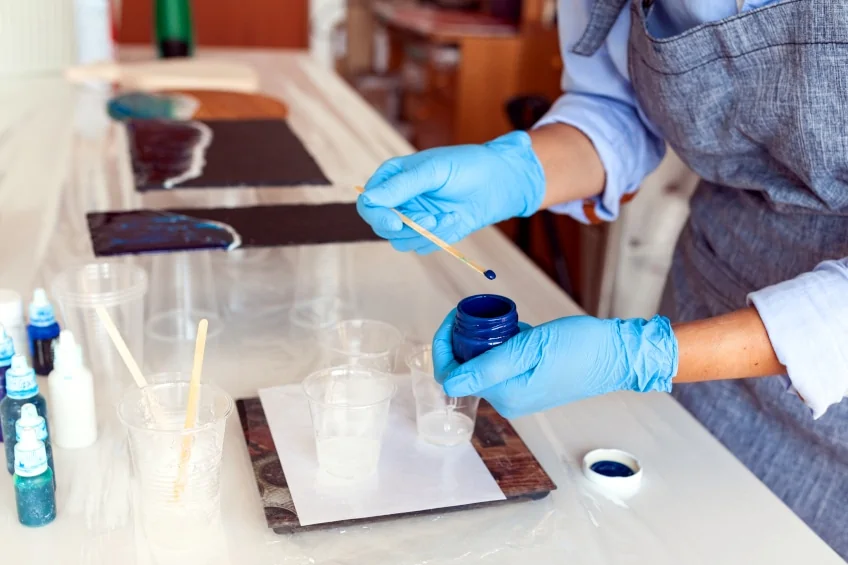
Adding Colors to Your Resin
You may want to color your resin, but you need to be careful, as not all color mediums are compatible with epoxy resin. So, ensure the color paste, color pigment or alcohol inks are compatible with your epoxy resin.
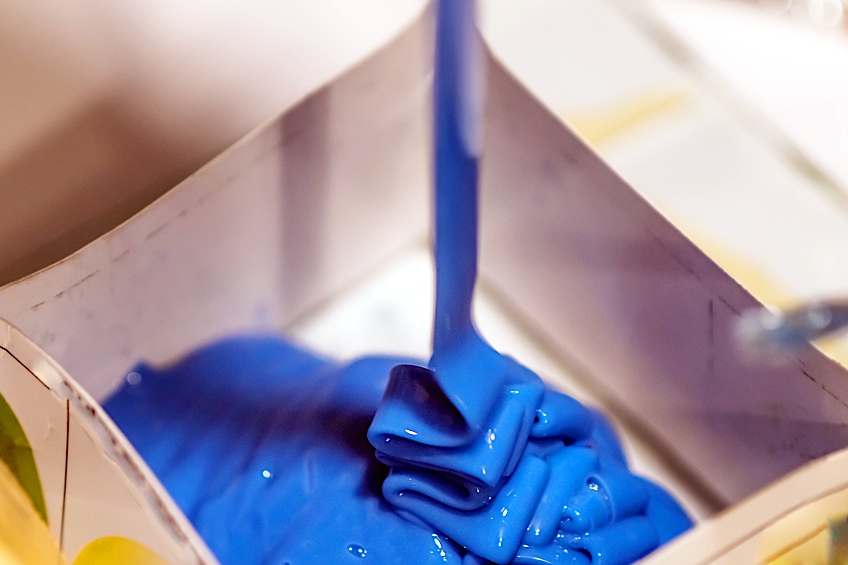
Careful Mixing
When mixing your hardener and resin, it must be mixed thoroughly as too little mixing can result in your epoxy not curing completely and you will also have problems with the hardness of your material. The resin and hardener have been specially formulated to mix, so it is not advisable to mix different brands from different manufactures together as this may result in a chemical reaction where the heat becomes extreme.

Water and Epoxy Resin
Moisture or water does not work with resin when in a liquid state, so ensure that all your mixing tools and equipment remain moisture-free after cleaning. Any moisture found in your epoxy mixture can ruin your project.
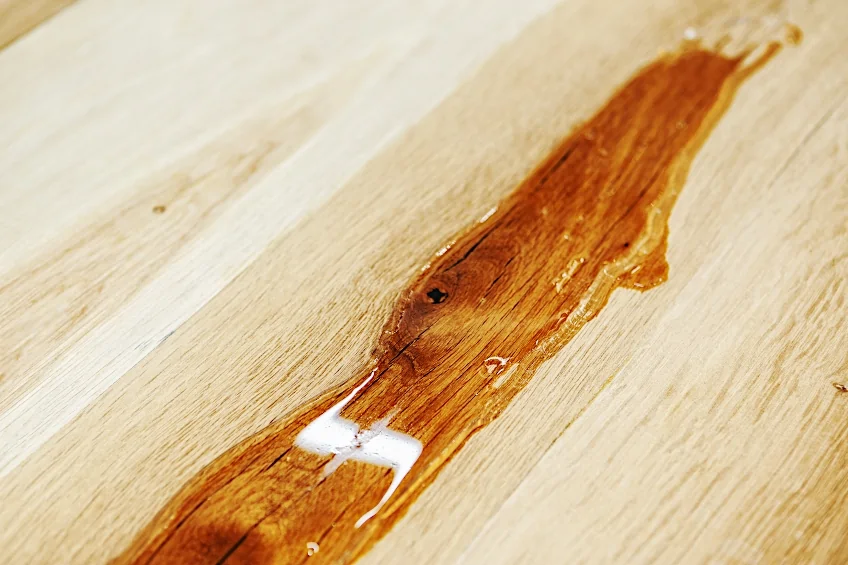
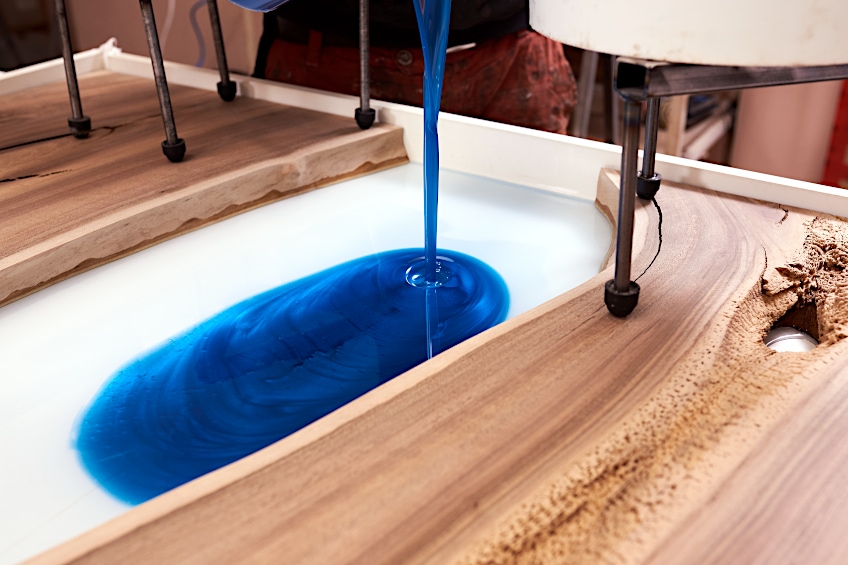
How to Pour Resin
Ensure that the areas you are working in, as well as the surface of your item, are dust-free and clean. For large river pours, start by pouring the mixture into the center of your form. Ensure that as you pour, it runs into all the corners and edges.
If you are pouring your resin mixture into a smaller mold for art projects, allow it to self-level first, and then use a sponge or plastic spreader to move the epoxy mixture around to where you want it to be. If you want to add an item for encapsulation, first allow the first layer of resin to cure, and then you can add your items.
Once you have poured your resin, you normally have around 45 minutes to work with your resin before it starts to harden. However, many factors can affect the curing time, and a good idea is to leave a small amount of the resin in your pouring cup, which you can use to test the curing time without upsetting your project.
Preventing Bubbles
It is very difficult to pour your resin without creating air bubbles, but there are some factors to consider that will help to reduce or prevent air bubbles from forming. When using your mold form, the material you use to make your form can contain air pockets, for example, a wood form. So, if your surface area dries too fast, it will expand the air in the material and push the air bubbles up. Below are a few more suggestions that can help prevent air bubbles from forming in your resin pour.
- If you are pouring into a mold or form, you need to buy a resin that has a thin viscosity to reduce the effect of air bubbles forming.
- Pour your resin at room temperature around 75 degrees Fahrenheit. Use a heater to warm your room or make use of a resin hot box.
- Before you start to pour, warm your resin and hardener in some warm water for about eight to ten minutes, which helps to reduce bubbles. Remember that this will also decrease your working time by about 15minutes.
- When mixing your resin, try to do it slowly and then pour it slowly down the side of your form and this will fill up from the bottom, which should bring the bubbles to the surface.
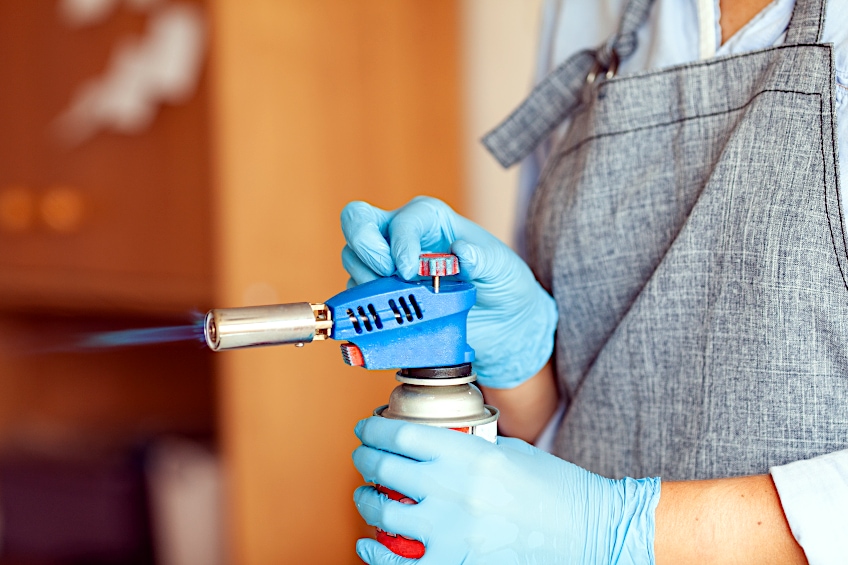
- If bubbles develop, you need to apply heat to bring them up to the surface before the resin begins to harden. Make use of a heat gun or a propane torch, holding it about two inches from the surface of the epoxy, which will cause the bubbles to rise to the surface.
- Once the bubbles are at the surface, you can use a toothpick to pop them, or you can use a drinking straw to blow on the surface until the bubbles pop.
Curing Your Epoxy
Allow the epoxy to cure properly for as long as it takes, do not be in a hurry. Most epoxy resins cure within 24 hours, but some may take as long as a week. The item must be properly cured before you start using it.
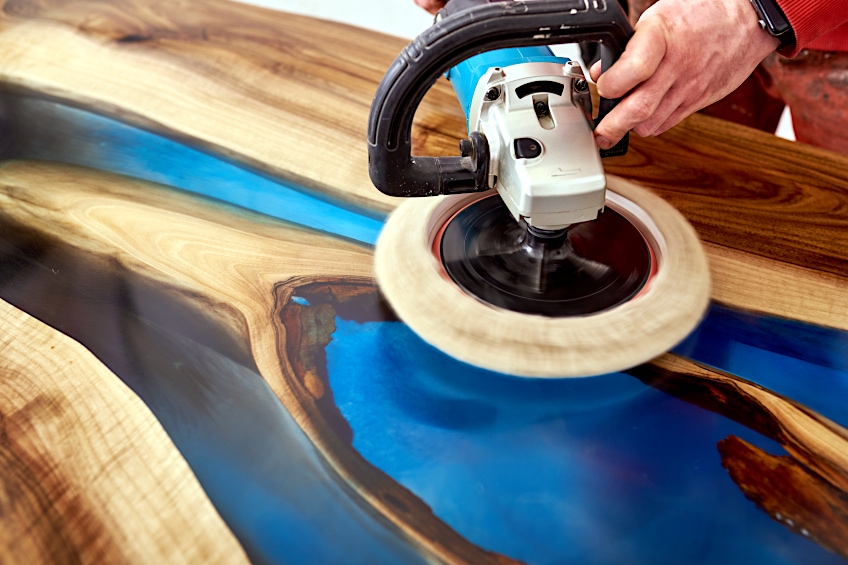
Finishing Your Epoxy
To get the desired finish, you need to remove any excess from the surface area. You can do this with sandpaper, starting with 80-grit and working up to 4000-grit, which will leave you with a polished glass finish. If your epoxy is a large river pour, then you can make use of a planer to remove most of the excess.
Once the planning and sanding are complete, you can add a finishing coat to help preserve your project. If your project is going to come into contact with food, then we suggest you use mineral oil, or if it is non-food related, you can use polyurethane or wax oil. Here are some deep pouring applications that you can consider.
- Coasters
- Ashtrays
- River tables
- Countertops
- Candleholders
- Jewelry
- Artwork
- Cutting boards
- 3D paintings
- Pendants
- Drawer knobs
- Key chains
- Charcuterie boards
Whatever project you have decided to tackle, be it river tables, jewelry, or an art project, it is important to follow all the steps provided. The two main aspects you should pay special attention to include choosing the correct type of epoxy resin, and secondly, you need to follow the mixing instructions exactly. We wish you all the success with your next deep pour epoxy resin project.
Frequently Asked Questions
Does Temperature Play a Role When Working With Epoxy Resin?
Since epoxy resin is very sensitive to heat, you need to ensure that you work at a constant room temperature, around 68 degrees Fahrenheit. If the temperature is cooler, then the resin will thicken causing it to cure at a slower rate, or if the temperature is warmer, then the resin will become thinner causing the resin to set quicker.
How Long Does It Take for Deep Pouring Epoxy to Harden?
Most of the brands all have different curing times, so you need to read the instructions carefully. However, deep pouring epoxy usually takes about 24 to 48 hours to harden, and you can only use the item in about one week when the epoxy cures completely.
How Thick Can You Pour Epoxy Resin?
All of the regular epoxy resins require thin pours of 1/8 inches to 1/4 inches, but deep pouring epoxy resin can pour up to two inches thick in a single application.
How Do You Pour Resin?
Silicone molds are best suited for smaller projects, but for larger projects, the epoxy can be poured into your own wooden constructed form. When it comes to how to pour resin, you need to start at the center of your form if it is a large project, and then work to the edges, ensuring your epoxy gets into all the corners. When pouring smaller projects start pouring down the side of your mold or form and pour very slowly, this process will help to produce fewer bubbles that you need to get rid of.
How Much Deep Pouring Epoxy Is Required for a River Table?
You first need to measure the depth, width, and length of the gap you want to pour your epoxy into, and then we suggest that you make use of an epoxy resin calculator to assist you in calculating the correct amount of epoxy resin you will need.
