How to Seal Acrylic Paint on Wood – Clear Sealants for Wood
This post may contain affiliate links. We may earn a small commission from purchases made through them, at no additional cost to you. You help to support resin-expert.com
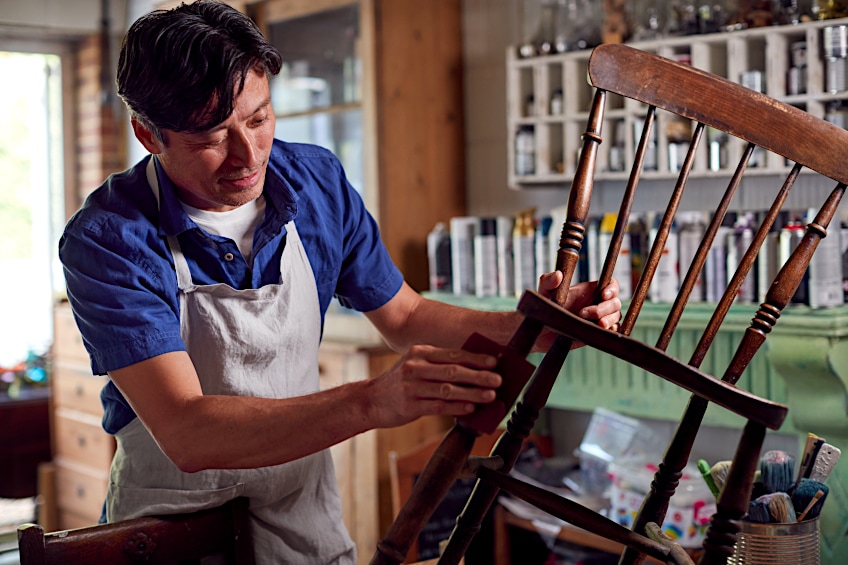
You have just completed a wood-crafted masterpiece, painted it the perfect color, and now you wish to ensure its longevity. The best way to do this is to learn how to seal acrylic paint on wood. Sealing acrylic paint on wood is not the hardest job in the world to complete, but it is definitely something that you have to do correctly. Just like baking, you cannot miss a step or the cake will fail to rise properly. In this tutorial, we will teach you how to seal acrylic paint on wood for outdoor projects as well as indoor ones. Not only that but we will also talk about waterproof acrylic sealers for crafts at home, and whether or not sealing painted wood is necessary. Keep reading for a comprehensive lesson on how to seal acrylic paint on wood.
Table of Contents
How Necessary Is Sealing Wood?
When using sealant, make sure to adhere to the instructions for use provided on the product label. Getting a good paint job requires a bit of elbow grease and care. You will have to repeat the process sooner than you’d like if you do it wrong the first time round. Wood is typically a highly absorbent and porous material, so it will help the adhesion of the paint if you prime it with a coat of sealant first. If the wood is painted with colorful acrylic paint, you will need to apply another topcoat of sealer that will protect the color for a long time. Sun and other harsh weather conditions are not friends of any pigmented paints, and you will find it will fade and peel rapidly after application is not done well or sealed properly. What should you use for sealing painted wood?

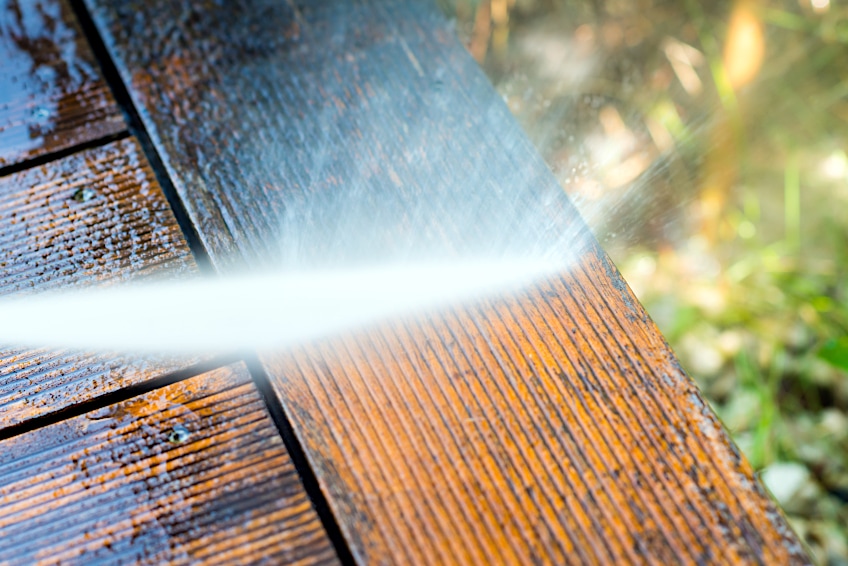
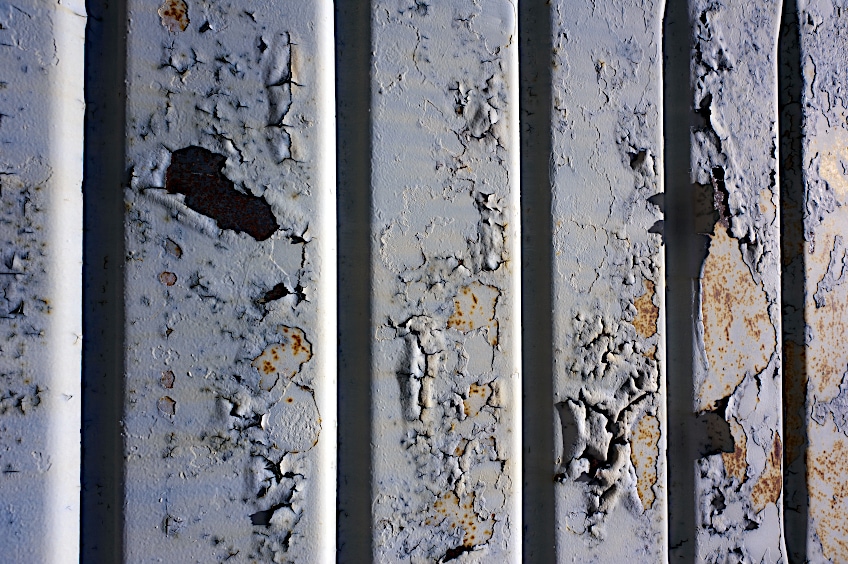
If you want to preserve the wood’s natural beauty while protecting it from environmental deterioration, a clear sealant for wood is suitable for use with acrylic paint. Waterproof acrylic sealer for crafts that are outside is essential to protect it from the elements. Improperly sealed wood will absorb moisture, causing it to swell and rot.
It is common for wood to contain certain impure elements, which, if not sealed, will cause the wood and the paint on it to discolor and fade. While you can apply paint directly to raw wood, keep in mind that wood is porous, which means that the wood will absorb a lot of the paint. As a result, you will be using more paint and applying more layers of paint to achieve the desired results. In addition, the liquid that is absorbed into the wood’s pores can cause the wood swell, and ultimately rot. You will then have to either replace those pieces of the wood, or rebuild whatever it was from scratch.
Types of Acrylic Paint Sealers
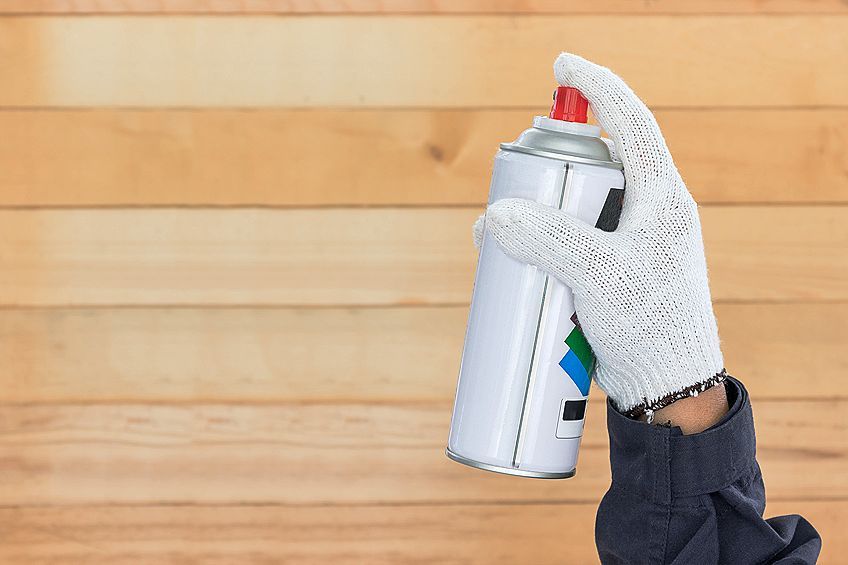
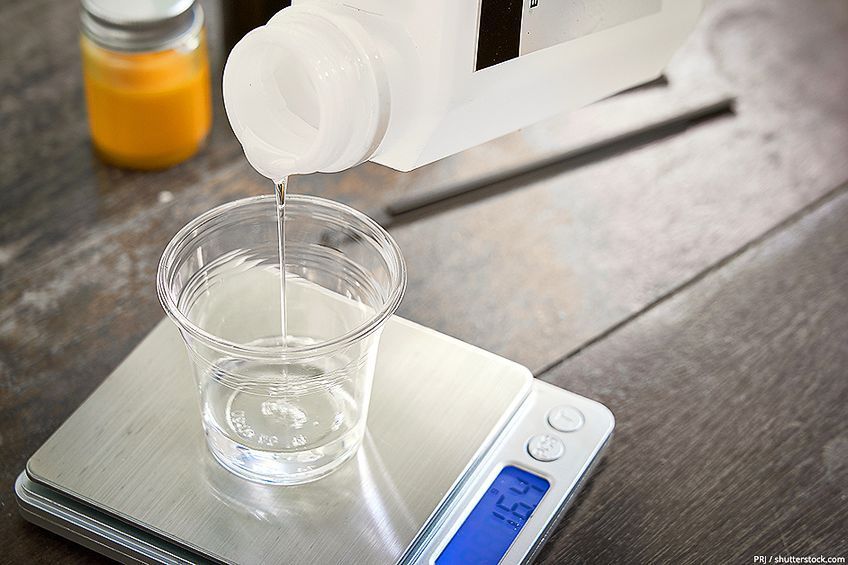
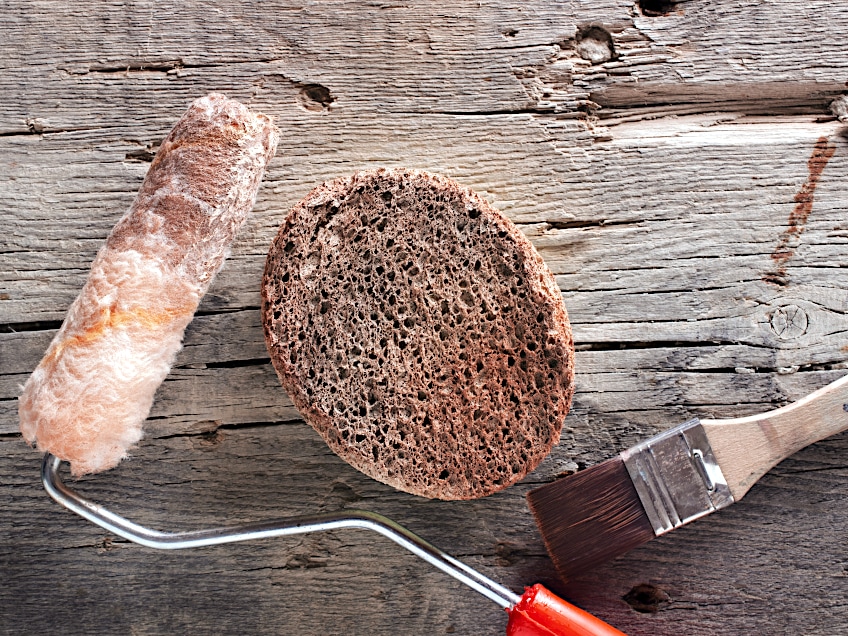
Always choose the highest quality sealer if you want the best outcome. This will ensure your wooden item lasts longer than if you used lower-quality products. There are a few types of products produced by various manufacturers, like sealing painted wood with a liquid product that needs to be applied with a brush or a roller, or you can use an acrylic paint sealer spray. An acrylic sealant spray will make the process that much quicker. For your benefit, we have listed a few of the options that you can choose from.
Polyurethane
When it comes to wood sealants, this is a transparent and long-lasting option that can be coated over previously stained or painted wood as well as give it a glossy finish. In addition, it provides protection from sun exposure, scratches, and fading. Make sure you choose the right type, because there are a few variations of protections that you can give to your wood. Oil-based polyurethane forms a strong and long-lasting coat, but it is not a clear option. The yellow tinge is suitable for some applications, according to the preference of the person applying it. The yellow might intensify over time, but it still provides a strong layer of protection.
The second type is also a polyurethane that is water-based and is transparent, unlike the oil-based polyurethane. Its toxicity level is much lower, and it will also have a shorter drying time. With all of this convenience, there must be a catch. That is right, you guessed it. It is more costly than the oil-based polyurethane counterpart, but worth every penny all the same.
Polyurethane sealants are not to be taken lightly, they are the factor that will lend make your project durability, and keep you from needing to make any unnecessary fixes.
How to Seal Acrylic Paint on Wood for Outdoors With Polyurethane
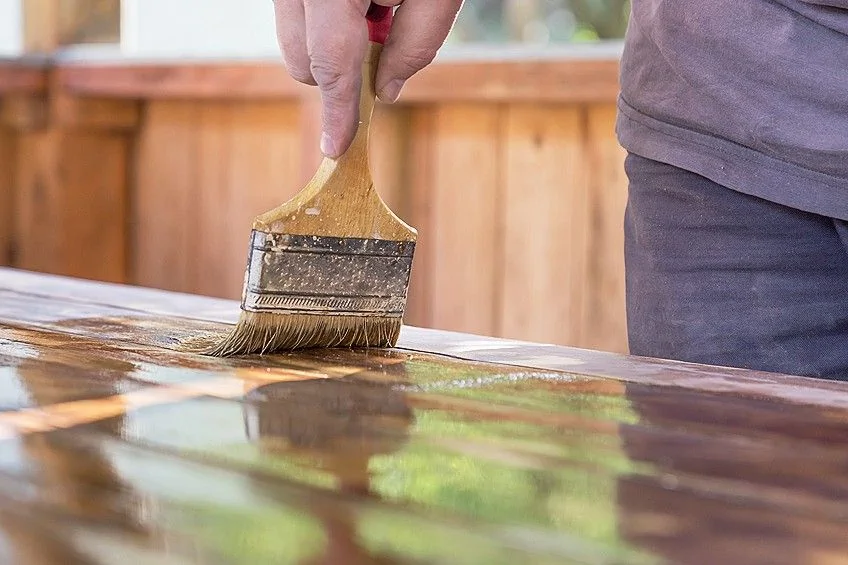
The first thing to note is that just because the polyurethane sealant is also water-based, does not mean that it is not a waterproof acrylic sealer for crafts. Sealing painted wood with a polyurethane sealer is great for outdoor projects so if you are learning how to seal acrylic paint on wood outdoors, this is a great option to try out. It will protect the wood and the acrylic paint that is applied over the wood from harmful UV rays from the sun, as well as other weather conditions like high humidity, or extreme dryness.
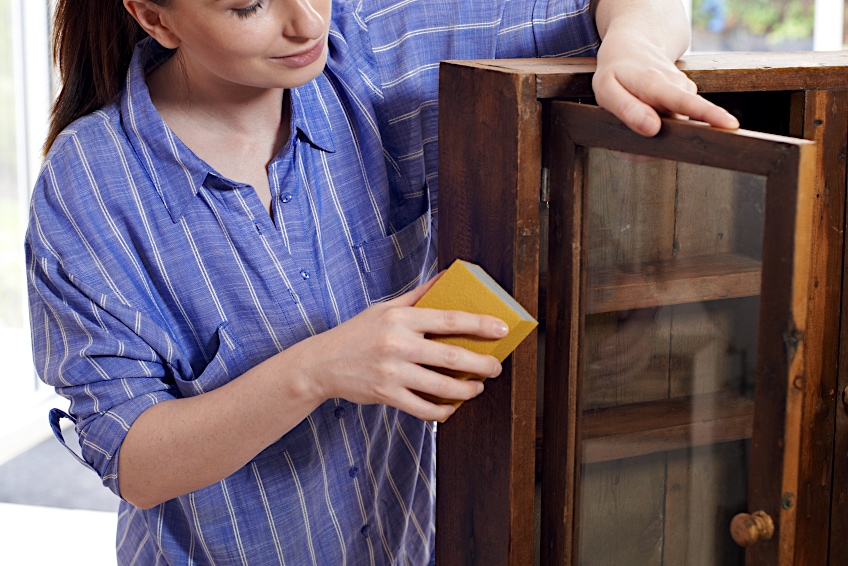
This is where we teach you how to seal acrylic paint on wood outdoors, so here goes! First clean the surface of the wood of all dust, grease, or grime. This will ensure its longevity. Once the surface has dried, you must sand it down lightly. When that is complete you will have to clear the surface of the sanding residue so that the primer or the polyurethane sealant will adhere to the surface properly without peeling off later. Once that has dried, you can begin sealing painted wood with polyurethane.
Furniture Wax
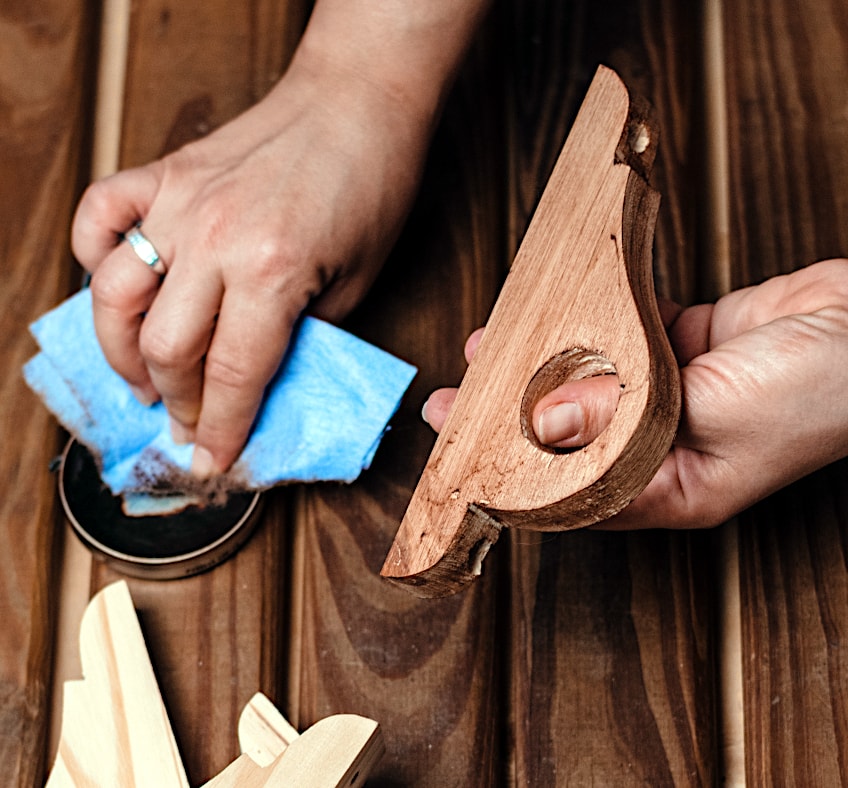
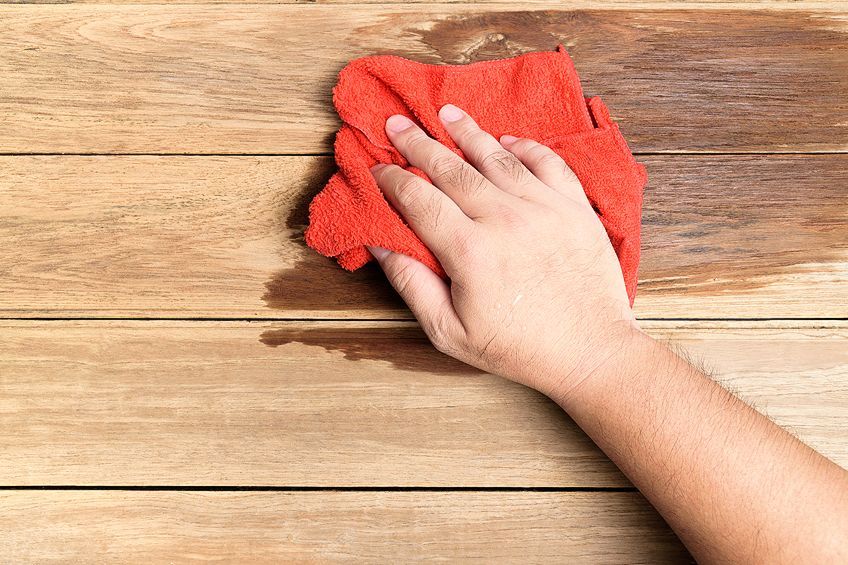
If you are looking for an easy and natural way to seal acrylic paint on wood, then the easiest way to apply wax to wooden surfaces is to apply a small amount of wax to a cloth, and then apply the wax to your wooden surface. To make it look amazingly professional, use the cloth that is free of lint to polish or buff it so it is shiny.
Polyacrylic Sealant
This is a great option for outdoor objects because it is highly durable and able to fend off the threats of weather conditions, no matter the climate you are based in. While it has low toxicity, we do recommend using some protective gear, and ensure you have good ventilation when using it. This comes in either a liquid form, or an acrylic paint sealer spray, and both are just as effective, but the acrylic sealant spray is smoother than the paint.
Polyacrylic sealer is impressively strong and long-lasting, with a hardiness that is appreciated by many professional painters and woodworkers. It has a low odor because it is water-based, which also means that it is not as toxic as some of the other sealant variations out there. This product is available a few finishes ranging from a satin to a gloss and a matte finish.
When you apply this over the wood’s surface, make sure you have cleaned it properly. This means getting out those rags and cleaning the wood with some soap that will remove the grease. This will ensure sufficient adhesion of the sealer to the wood’s surface. When that has dried, make sure you sand down the surface with sandpaper of about 220 grit. This will give it more texture and also add to the adhesion. Make sure you have read the instructions of the label so that you know how long to wait for the product to dry before you think about a second coat.
Transparent Sealer for Wood
Clear sealant for wood is one of the best options to use if you are trying to maintain the natural beauty of the wood. It will also enhance the color a lot of the time, but that means there is a treatment included in the mixture as well. Make sure you read the instructions carefully but we recommend spraying from a ruler’s length away from the surface. That is about 30cm. One thing you will really appreciate with this is that it will not fade to a yellow color after some time. You will need to apply a few coats of this, and if you are using the spray-on method, make sure you have your protective gear and the windows are wide open.
Varnish
This is definitely one of the most well-known sealers for wooden surfaces. It is often used to protect the outside wooden decking, which is necessary, particularly if there is a lot of foot traffic. Varnish has a lot of variations as well, and you can choose from a transparent varnish, opaque, or even tinged with a wood color so that the natural colors deepen as if you are treating the wood. You can choose from dark varnish colors, medium varnishes, all the way to a clear varnish. If you are wanting to seal in a paint job with a top coat, we recommend using a clear varnish so that you do not affect the color of the paint.
Varnish has a tendency to be quite toxic, so make sure you have adorned yourself with your finest protective gear. This includes a respiratory mask because prolonged exposure to the fumes can cause dizziness and headaches. There is a selection of finishes with a varnish topcoat or pre-sealer. You can choose from a glossy finish, a satin finish, or even a matte one. Make sure that you have read the instructions of the label to avoid recoating before the first coat has fully dried.
Glaze
The glaze is a type of medium that can be applied to wood that has been stained. In addition to providing a high-gloss finish, it also offers some protection when applied. It is not the perfect product to use for wooden items that will live outside, because it does not offer much protection from the heat of the sun. This is more of an inside sealant, and it only really needs one coat. Typical drying time for glaze is about half an hour.
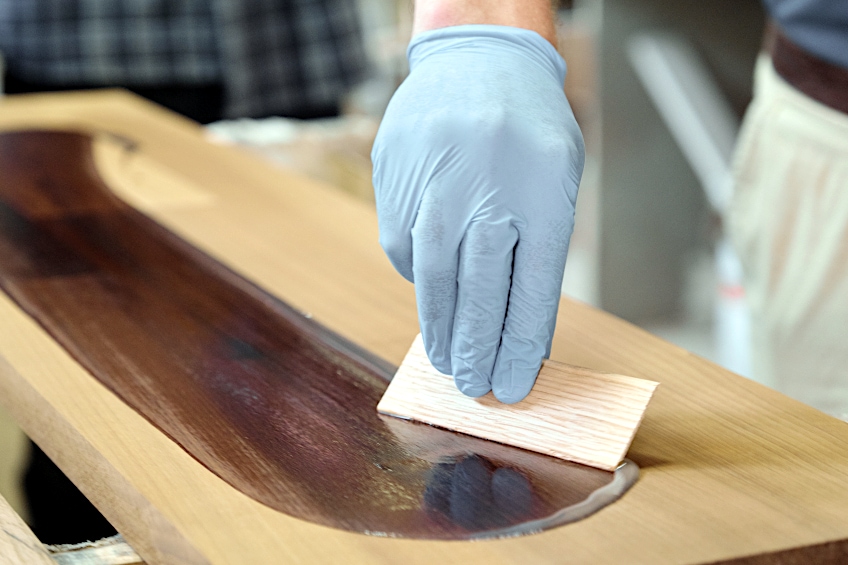
Epoxy Resin
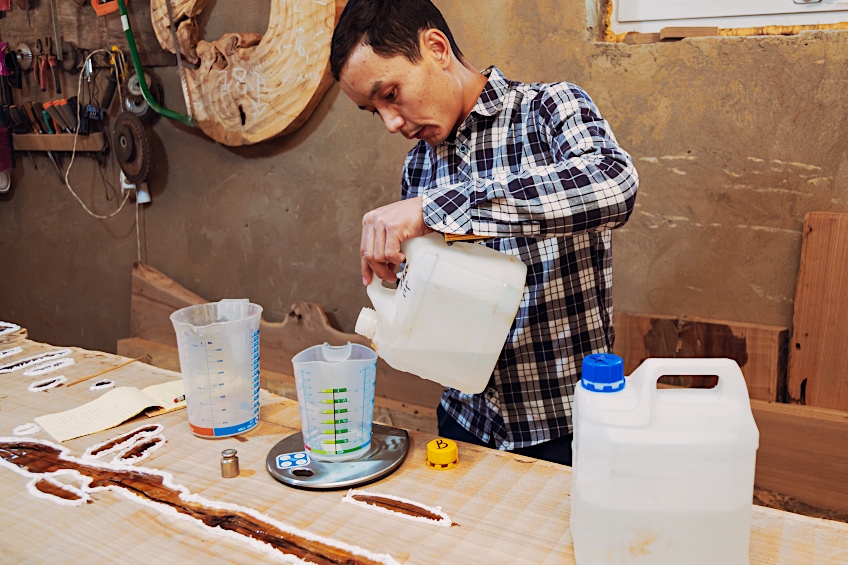
Epoxy resin is a great option for sealing wood, and it provides a resilience that other sealants cannot match. Ultimately, epoxy resin is made up of thermosetting polymers. When you buy epoxy resin as a sealant, it will come in two parts, the resin itself, and the hardener. When these two are mixed together, the reaction is that the substance becomes hard like plastic but more durable.
This is definitely the most durable of all sealers out there. According to most woodwork professionals, this is the type they prefer to use. This is mostly because it is a resin product, so it is almost as if it preserves the wood. This is what you will need to complete the task:
- Epoxy resin sealer
- Protective gloves
- stick for stirring
- A spatula for leveling the epoxy
- Measuring cups
- Mixing cup
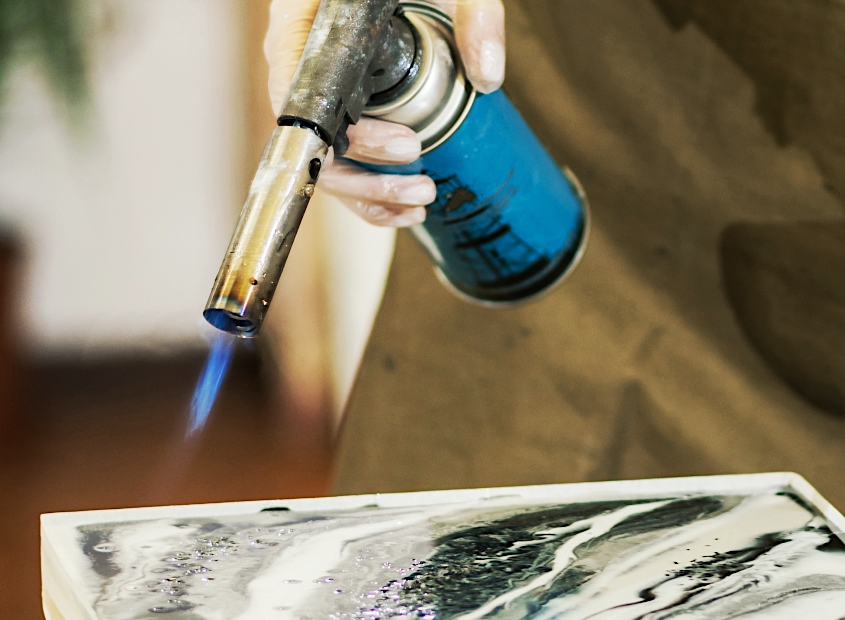
- Heat gun or torch
- Toothpicks
- Protective cover for the drying
- Plastic tarp to protect the work area
Prepare your workspace so that you are not surrounded by clutter, which can make the process difficult. Make sure you have waited for the paint to dry fully before you apply the sealer or the paint job itself will be ruined.
We always recommend sealing or priming wood before you apply any paint. This will prevent those annoying bubbles from forming and ruining the flush look of the paint job. The same applies to the epoxy resin sealer; a different sealer might need to be applied first. This is especially important if you are using a transparent epoxy resin, any bubbles emanating from the porous wood will be visible on the surface, and that is not exactly everyone’s cup of tea.
Epoxy resin sealers will come in two parts. The hardener and the resin. Read the instructions before you mix them so that you know the ratio of hardener to resin. The more hardener you add, the faster it will dry so make sure you do not skip that step, or mix them carelessly. You can use the mixing cups and sticks to mix stir your epoxy. Ensure that your components are thoroughly mixed before use.
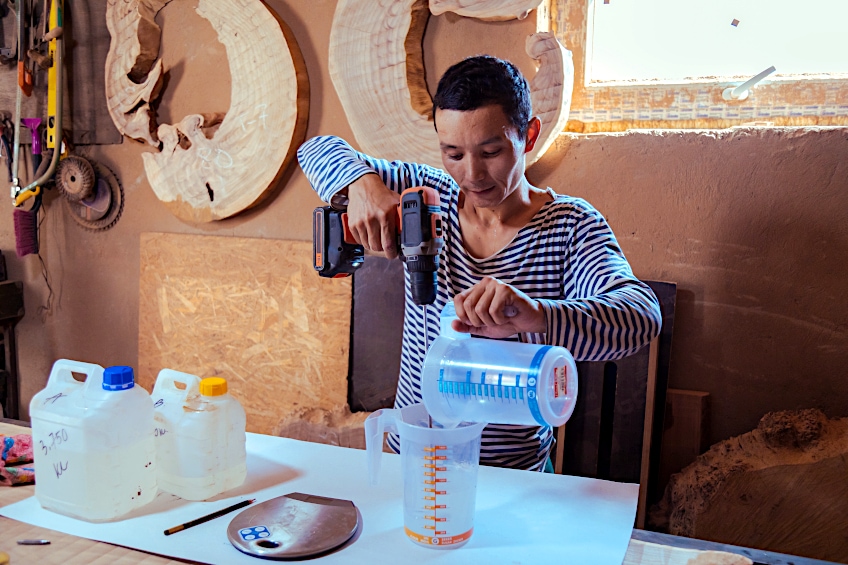
Typically, the manufacturers will instruct you to mix in equal amounts of both the resin and the hardener That will create the perfect consistency. Once the mixture is mixed properly together, you can then pour it onto the surface. If you want, you can use tape to prevent the resin sealer from spreading to places where you do not want it. You can also just allow the resin to spill over the edges of the wooden item and cover the sides that way. Make sure that you have laid down a plastic tarp so that none of the epoxy resin spills on the floor.

If there are any bubbles, you can use the heating gun to work them out. Otherwise, if a heating gun is not available, you can use a toothpick to pop each bubble individually.
You should not spend too much time working on a specific area. This will allow the epoxy resin to start drying in the areas that you have not smoothed out yet. If there are any hairs or dust on the space, make sure to remove them as well. Read the instructions provided by the manufacturer so that you know how long the product needs to cure properly.
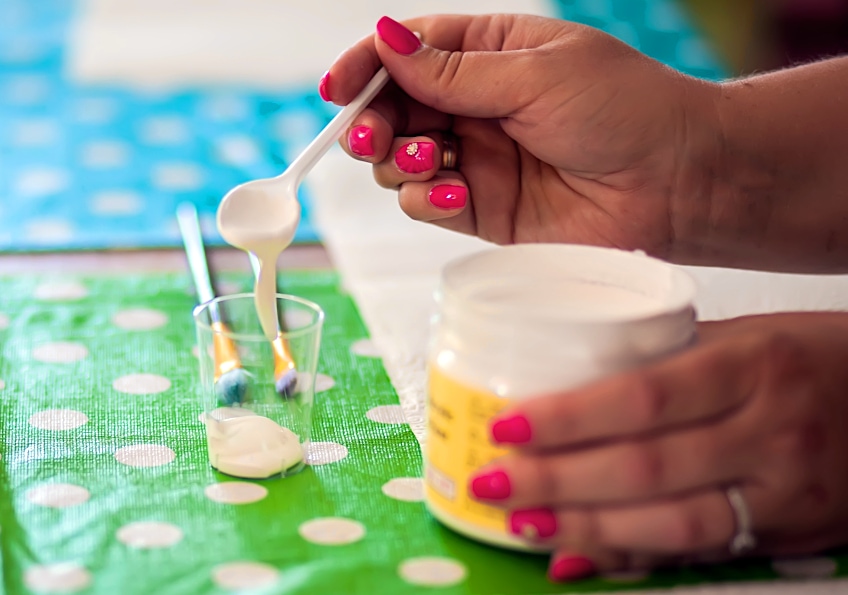
Gel Medium
This product is also a great way to seal your wooden item before you paint. It can also be used to seal paint that has already been applied to the wood. This is an epic topcoat that will prevent the annoying fingerprint marks from being left behind by curious toddlers, or careless adults.
Mod Podge
One of the most popular clear, waterproof acrylic sealers for crafts is this one. The application for this is quite simple, and you have a selection of finishes like the glossy finish or a matte one. One benefit is that its color will not fade to a yellow tinge when exposed to weather conditions and other threatening elements and variables.
Each coat of mod podge will need about 20 minutes to dry before you can apply the next one, so make sure you have set that time for yourself or it will ruin the professionality of the project. You will know it is dry when the coat goes clear. use a roller to apply it so that there are no visible brush strokes.
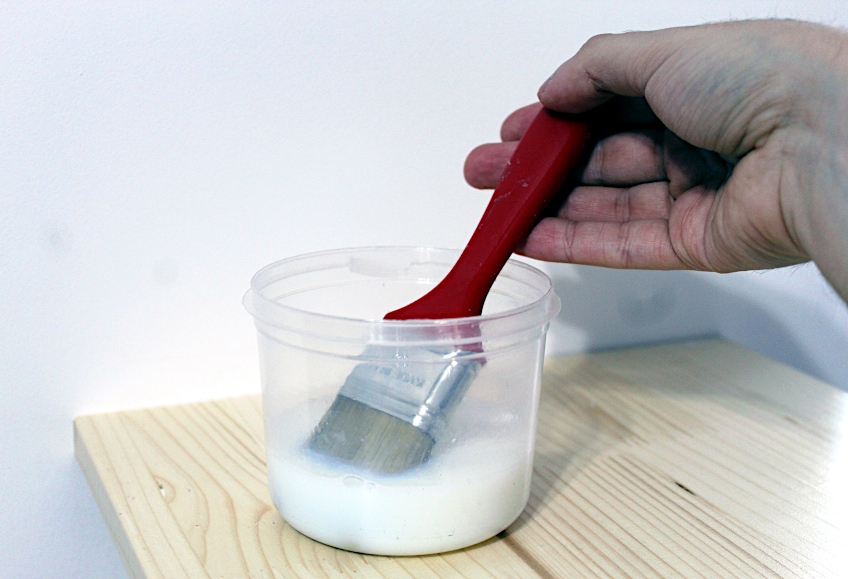
PVA Glue
The use of a PVA (polyvinyl acetate) glue product is a more affordable and easy method of sealing acrylic paint. In order to use this method, you will want to mix in some water with the glue, to thin out the consistency. Use a brush to apply it to the surface.
For your benefit, we have created a table for you so that you can see the differences between the different types of products you can use for sealing acrylic paint on wood.
| Type of Acrylic Paint Sealer | Finish | Cost | Application |
| Polyurethane | transparent with a choice of finishes | Expensive in terms of the water-based version | Tricky application |
| Polyacrylic Sealant | transparent with a choice of finishes | Cheaper than polyurethane | Simpler than polyurethane |
| Furniture Wax | Satin finish | Can
Costly expensive |
Applies easily |
| Clear Sealant for Wood | Gloss and matte finishes | Cheaper | Applies easily |
| Glaze | transparent gloss finish | Cheaper | Applies easily |
| Varnish | choice of finishes | Cheaper | Applies easily |
| Epoxy | High gloss, clear sealant for wood | Costly | Tricky application |
| Mod Podge | Gloss, matte, and satin finishes | Cheaper | Applies easily |
| Gel Medium | Satin finish | Cheaper | Applies easily |
| PVA Glue | Clear sealant for wood | Cheaper | Applies easily |
Sealing Wood Before Painting
It may seem tempting to take the lazy route and not apply a sealer to wood. It may be even more tempting to skip that step and apply acrylic paint directly to wood. The acrylic paint will not only be absorbed by the wood, but impurities in the wood can be detrimental to durability of your paint job. To make the paint job last longer, as well as the actual wood of the piece you are painting, you will need to seal before the paint goes onto the surface. A waterproof acrylic sealer for crafts can be used for outdoor purposes.
Sealers Versus Primers
If you apply a sealer before painting, the sealer will help protect the wood beneath the paint. Should you use primer, remember that it is more like a foundation coat to make the paint adhere to the wood. In most cases, bare wood can be sealed with two coats.
Following this, the primer can be applied, which will not only aid in paint adhesion but also provide a surface on which the colors of the acrylic paint will last long in their vibrant state. The first thing you want to do before choosing a sealant is to fully understand what it is going to do. Where will the wooden item be situated, indoors or outdoors? Will it be frequently used and handled, or is it purely decorative? These are just a few of the things you must keep in mind before you choose the type of sealer you use.
Sealing Wood With Acrylic Paint
If you wish to seal with acrylic paint, that is entirely up to you. If this is the route you wish to take, bear in mind that you will need to seal the wood before the paint is applied. This will require the normal process of cleaning, sanding, and removing any other residue to prepare the wood.
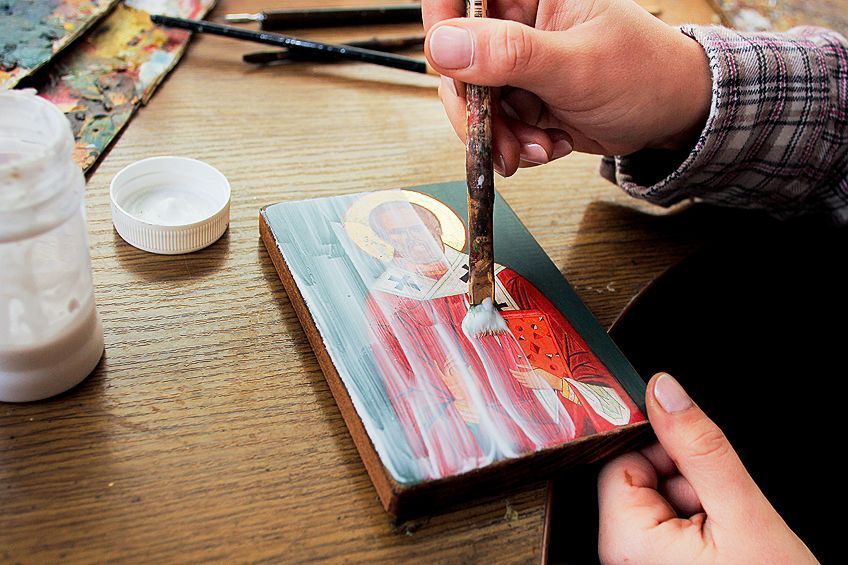
Painting and Applying the Acrylic Paint Sealer
This next section is all about how to seal acrylic paint on wood. Keep reading for some detailed instructions. The first step in any crafting or construction job is to get your workspace set up and ready for the task at hand. This involves cleaning the space, and decluttering so that you have more space to move around without knocking anything over. Make sure that the windows in the room you are working in are wide open for sufficient ventilation. Regardless of the airflow, you will also need some protective gear like a respiratory mask and some gloves for your hands. Here is a list of the equipment you will need for sealing acrylic paint on wood:
- Protective gear
- The primer for wood
- Cloths and rags
- The acrylic paint of your choice
- Sandpaper with a grit of 220
- The sealant of your choosing
- Brush or roller
Cleaning cloths and rags are essential because the first step in the process is all about cleaning the surface of the wood. If you do not clean the surface, the dust will ruin the smoothness of the wood’s surface and you will have tiny little bumps everywhere. Not only that, but the grease or grime will prevent the sealer, the acrylic paint, and even the primer from sticking properly. You will notice it flaking and peeling off and you will have to redo the whole process earlier than you would have to, had you cleaned the surface.
Once the surface is clean you can get sandpaper with a grit of 220 and sand down the surface lightly. This is obviously to be done only after the surface has dried from the cleaning process. Then you can use a small vacuum, or a hand-held brush and pan to clean up the dust from the sanding, and then clean the surface again so there is no residue left.
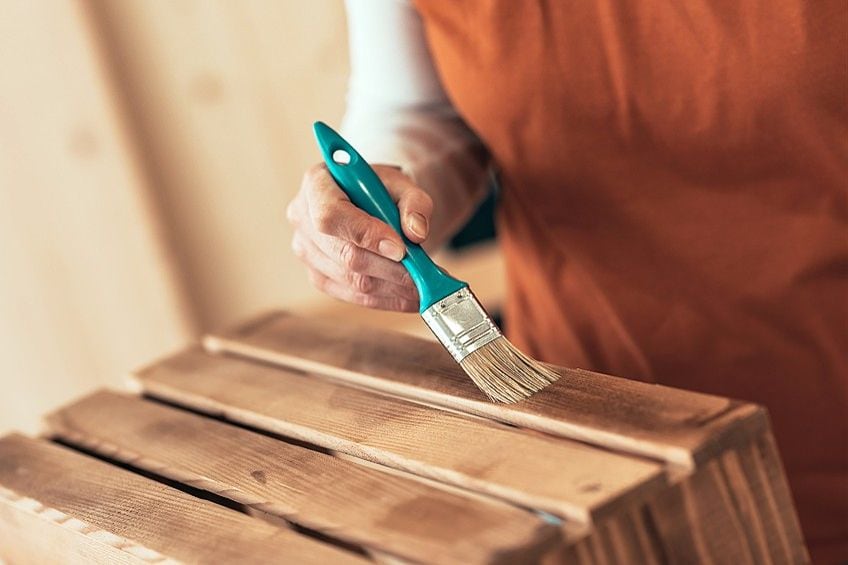
When it comes to actually applying the primer, you can use a brush or a roller, or even a sponge. If the surface is flat, use a brush, but if the surface has grooves, a sponge may be more effective. Larger areas will benefit from a roller applying the primer because it will cover more space in less time. A gesso of high quality is a great option to choose from. Once the primer has dried properly you can sand it down again, but very lightly. Use the same grit sandpaper for this. If you want to, a second coat can be applied for extra protection for the wood.
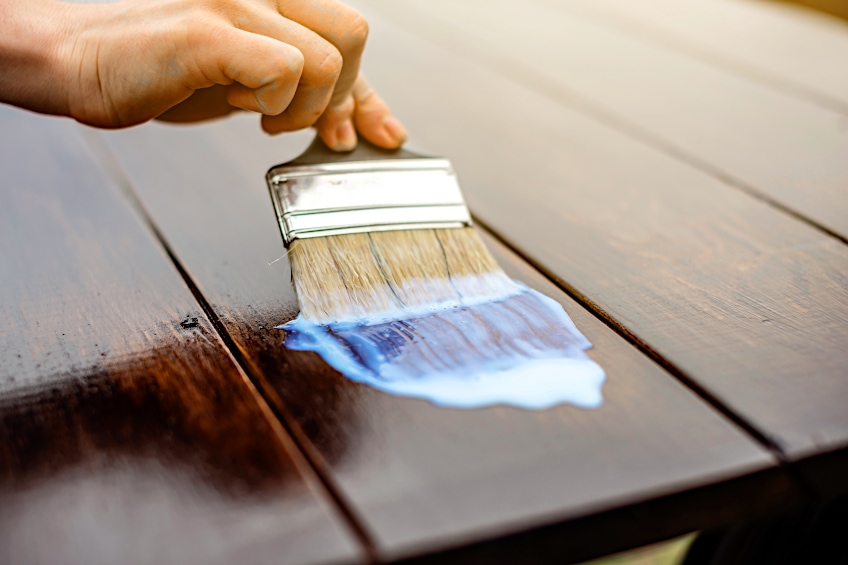
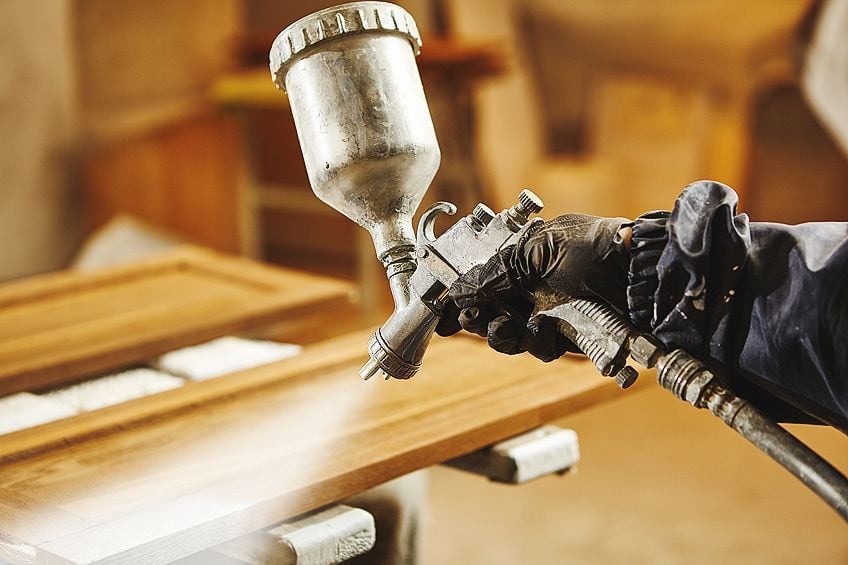
The final step is applying the acrylic paint sealer, or the acrylic paint sealer spray – the choice is yours. If you are using the acrylic sealant spray, make sure you read the instructions on the product packaging (the manufacturer’s instructions) which will explain how to do it. These instructions will include how far away the nozzle must be from the surface as you spray, and how long it will take to dry. Make sure you use smooth motions, for an even finish.
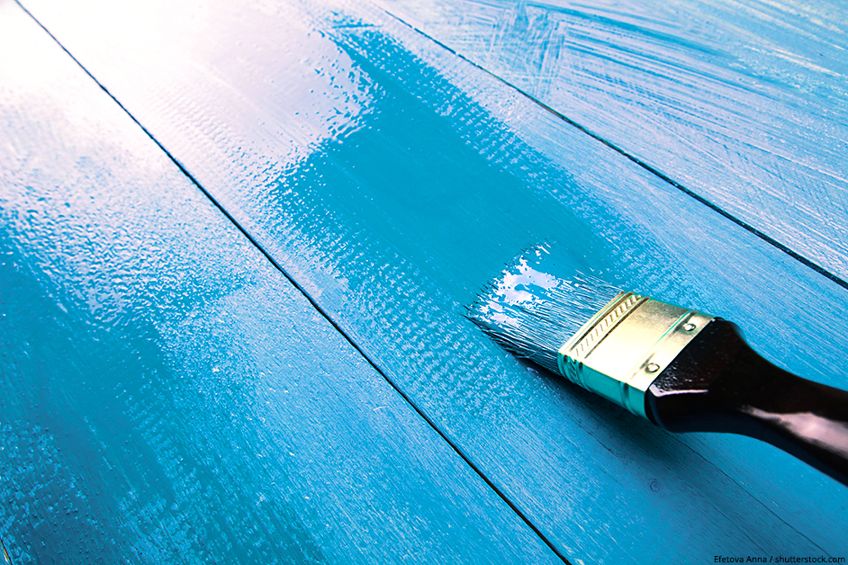
If you are going to seal with acrylic paint, then a brush or a roller will need to be used. Just like with the primer, the roller is better for large spaces, and a brush is best for a flat surface. A sponge can be used if the surface has grooves. Apply as many layers as you see fit, but the recommended number of layers should be about three. Make sure you wait for each layer to dry before applying the next, and sand down the surface in between each layer to optimize the adhesion or the acrylic sealant spray.
Final Suggestions for Sealing Painted Wood
After everything you have learned about sealing your wooden item, we have some final suggestions for you that will make the process so much simpler.
- If you are choosing a sealant, you will find that most high gloss sealants are extremely durable but the decision is yours.
- You may not need to apply a sealant topcoat on all wood items. In some cases, the paint used to paint walls has a high gloss finish and is sufficiently durable. There are also some items that stay indoors and are not handled at all that do not require a sealant to be applied.
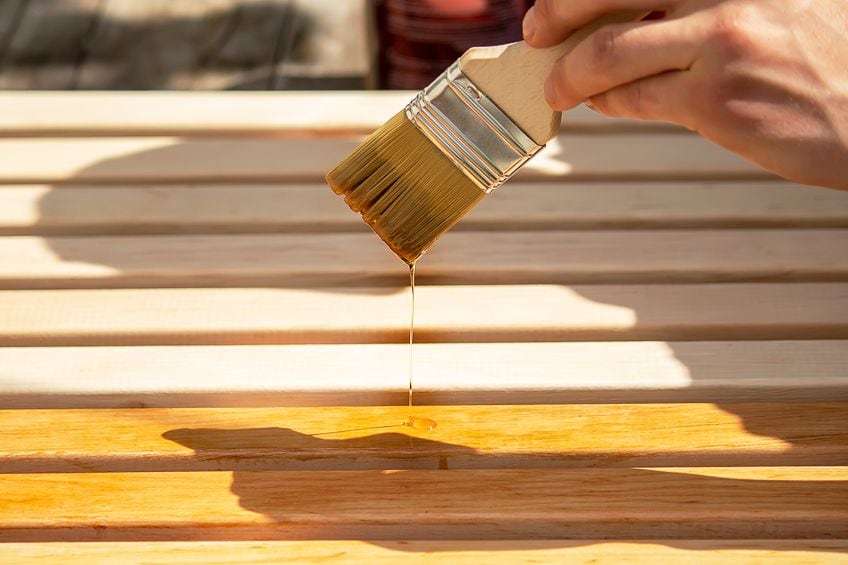
- Make sure that you apply the sealant in thin layers. You are better off applying a few more thin coats rather than one or two thick ones.
- In order to reduce the number of dust particles floating around in your workspace before applying a sealant, you might want to spray some water in the air before you apply it.
- It may take several weeks for some sealants to cure completely before you can handle the item. All you need is some patience
- If you are going to be applying resin, you might want to test out the sealants, paint, and resin before you eventually apply it to the wood’s surface.
- Make sure you check the nozzle of the acrylic sealant spray regularly in order to make sure it does not get clogged.
- If you shake the spray products as suggested, the better the finish will be.
Sealing wood need not be a difficult-to-understand process and, with the correct know-how, it is not very difficult to tackle this job on your own! Whether you are resealing an old wooden table or applying a sealant to some new shelves, we are sure you are now equipped with all the know-how. Happy sealing!
Frequently Asked Questions
What Is the Most Effective Way to Seal Acrylic Paint on Wood?
You need to seal acrylic paint on wood for outdoor use with something that strong enough to withstand the weather conditions outside without damaging the surface of the paint. If you are thinking of using acrylic paint on wood, you should check out polyurethane and polyacrylic, which are both water-based.
Is It Necessary to Seal Painted Wood?
It is necessary if you would like to protect the coat of paint for a long time. Paint can fade in color, chip, and flake due to the sun and weather conditions. If you want to extend the life of your paint job it is necessary to seal it.
How Fast Does Mod Podge Dry?
It may take about an hour for the mod podge to dry. Once your mod podge is touch dry, you can apply your next coat.
Is It a Good Idea to Pre-Seal Wood Before Painting?
Pre-sealing wood to prevent future discoloration, rotting, or wood stains from seeping through can help avoid future paint damage. Additionally, pre-sealing can also provide the best surface for painting thanks to preventing future discoloration, rotting, and wood stains.