How to Cut in Paint – Painting Edges and Corners With Ease
This post may contain affiliate links. We may earn a small commission from purchases made through them, at no additional cost to you. You help to support resin-expert.com
Painting any surface can be tricky. Between awkward angles and low surface friction, there are many things that seem to get in the way of you achieving the perfect finish on your workpiece. This can be annoying, but cutting your corners and trimming beforehand can save you lots of time and effort when it comes to painting the primary surface. If you are new to painting or simply want to improve your paint-cutting ability, we’ve prepared a short tutorial showing you what it means to cut in paint, how to go about it, and what type of brush is best suited to the job.
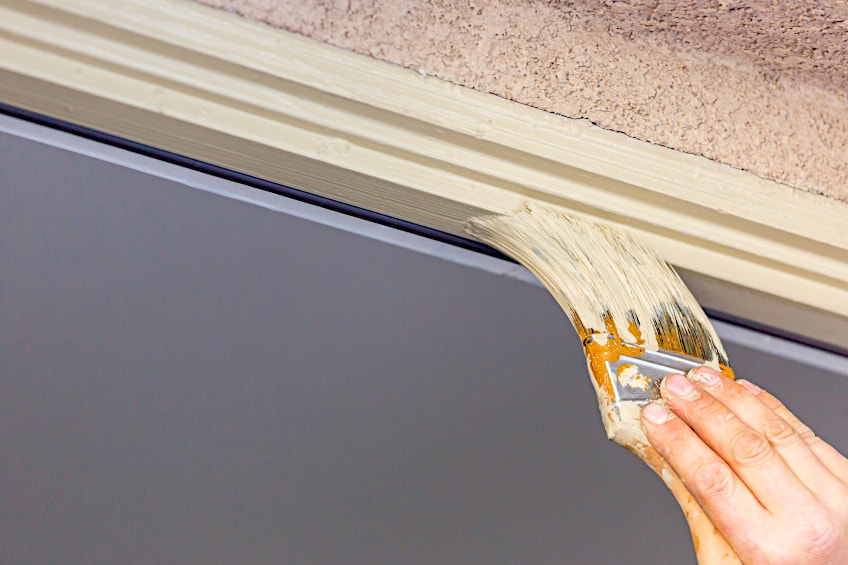
Table of Contents
What Is Cutting in Paint?
If you are entirely new to painting the concept of cutting in paint might seem like some specialized technique that you learn by attending a special class. In reality, cutting in paint is easy, so before we show you how to cut in paint, we thought we’d go over exactly what cutting in paint is and why it’s done in the first place.
Cutting in paint is essentially the practice of outlining the perimeter of your primary surface before it is painted.
It can also refer to any painting where you need to achieve a straight neat edge, such as when painting trim. The tip of a brush is dipped into a small amount of paint and used to outline the primary surface of the workpiece you are painting. This often involves painting the area where the wall and trim pieces meet to ensure that the trim pieces aren’t stained when painting with a roller or sprayer.
This is the primary reason behind cutting in paint when painting certain items. Other than preventing you from ruining your trim, getting the cutting work out of the way first grants you some peace of mind. Once the primary surface has been painted you won’t have to undertake the somewhat tedious task of cutting around a bunch of wet paint afterward.
Cutting also allows you to tackle particularly hard-to-reach areas of a workpiece/surface first. This often takes the most time, requiring a steady hand and attention to detail, a stark contrast to painting the primary surface of a wall for example. Getting this done first makes sense considering it takes the most amount of concentration and time.
Cutting is usually done with a small amount of paint and a thin brush. This ensures that you don’t over-apply paint, or cause your paint to run over the surface of your workpiece. It also grants you greater control over your brush, ensuring it is as light as possible, and that the tip can be flicked in any direction you require without causing any mishaps.
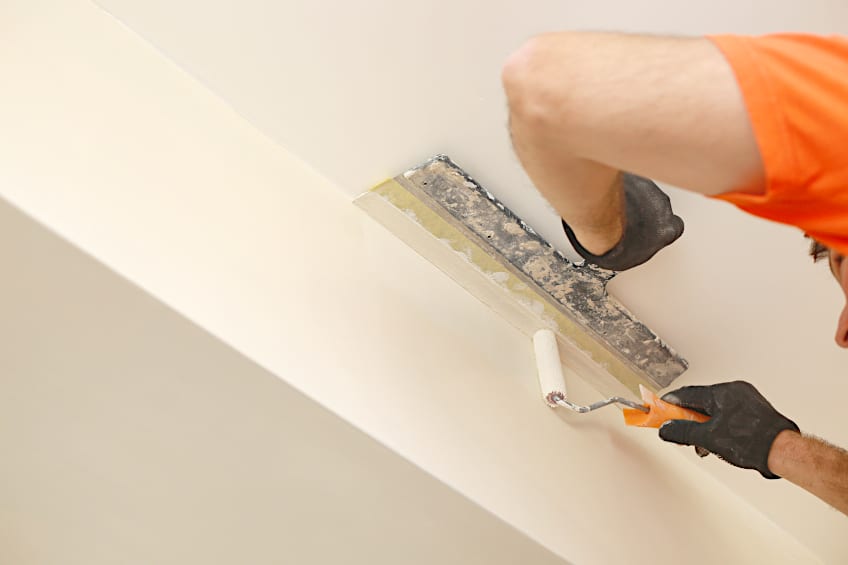
Cutting paint is a technique as old as the art of painting. A logical development of techniques over time has made the lives of professional painters and DIY weekend warriors a lot easier. Even with the advent of paint sprayers, cutting in tight spots with a brush or even an airbrush is still very much a part of the craft today. If you use a plasterer’s finishing spatula edged with some painter’s tape, you can even cut in with a small roller.
What Do You Need to Cut in Paint?
Before we show you how to cut in paint, we thought we’d cover some things you’ll need. While it might seem like cutting in paint can be done with any old tools you will need some specific tools to get the job done correctly. What will you need, you ask? We’ve prepared a short list of things you will need to cut in paint as well as why they’re needed for this tedious task.
Keep in mind that while some of the tools here are always needed, some may not be depending on the size and shape of your workpiece or surface.
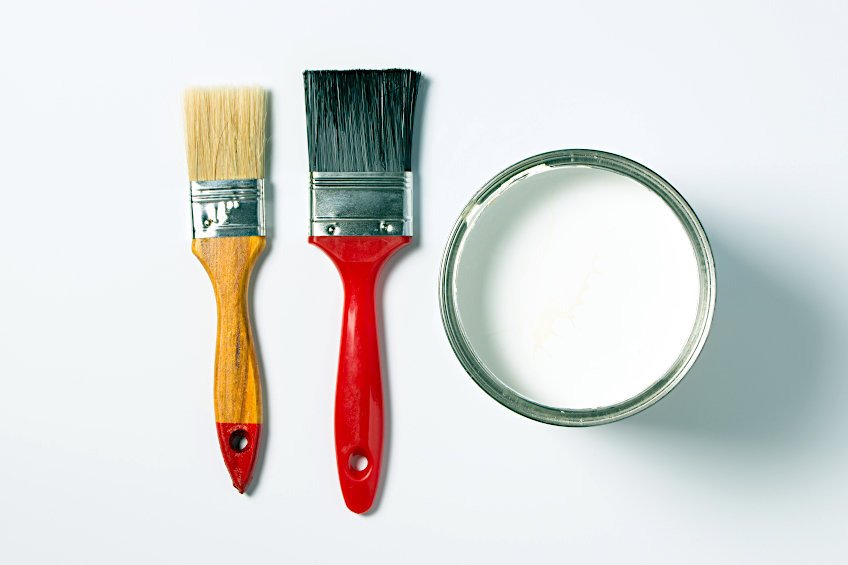
A Slash Paint Brush (2 ½ Inch)
You’re going to need a special paintbrush to get into those hard-to-reach areas. Particularly one that’s able to apply paint at the right angle, which is why the 2 ½ inch slash brush is the perfect tool for the job. These are relatively easy to find and tend to be available at most home improvement stores, crafting stores, and online.
A Drop Cloth
A drop cloth is an invaluable tool on any paint job, and cutting in painting is no exception. Drop cloths are usually made of large plastic sheeting that can be placed on the ground or on any other objects you don’t want to accidentally get paint on.
If you don’t have a drop cloth or simply don’t want to purchase one, you could simply use some old newspaper.
Five-in-One Painter’s Tool
While mountaineers and survivalists have their Swiss Army knives, painters have their five-in-one tools. These can be used for a number of applications, whether it’s smoothing out painter’s tape or scraping off raised paint flakes.
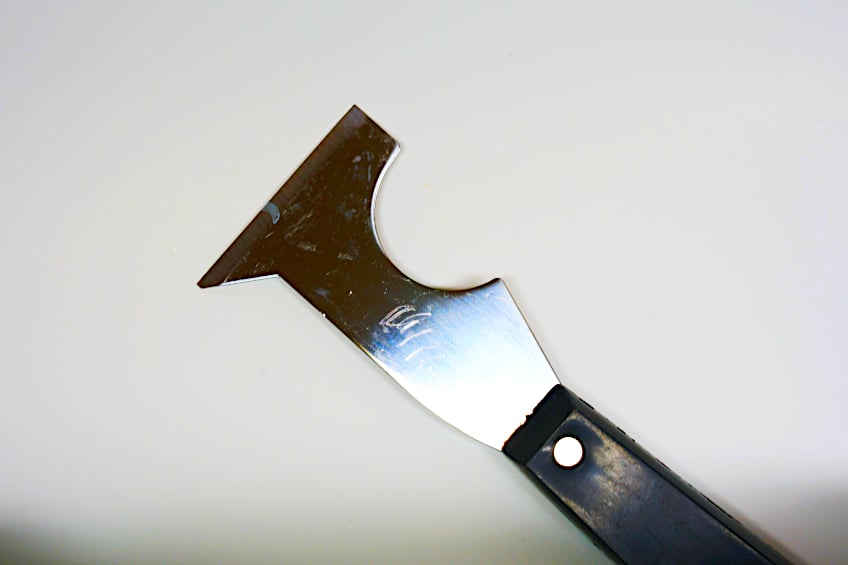
These can also be found at home improvement stores, hobby stores, and online. Despite what you might think, they are also relatively inexpensive.
Acrylic Paint
Cutting in painting is usually done indoors, and one of the best paint types for indoor surfaces happens to be acrylic paint. There are various types, colors, and finishes of acrylic paint for you to choose from, and its consistency makes it quite easy when cutting in painting.
Acrylic paint is quite popular so you’re sure to find it pretty much anywhere paint is sold.
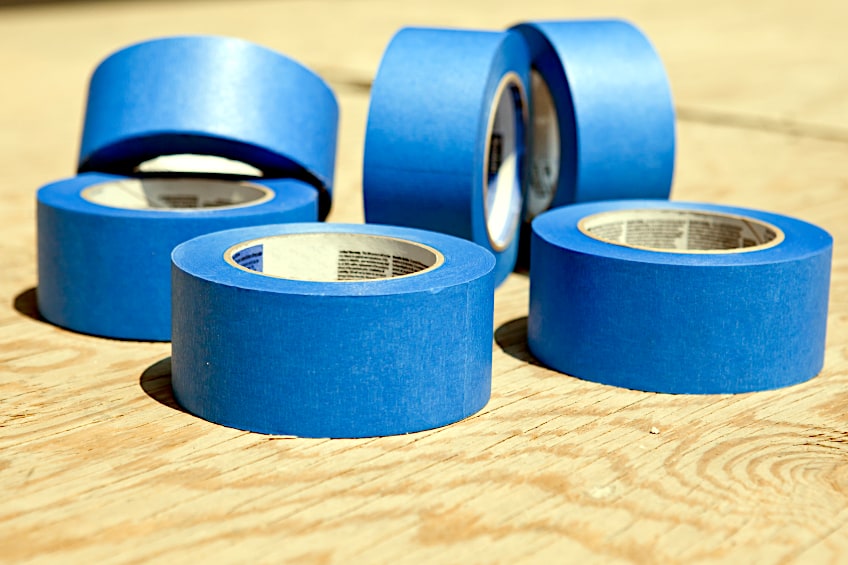
Some Low-Tack Masking Tape
A crucial tool needed when cutting in paint is masking tape. Not only will this be used to secure your trap and/or newspaper but it is also used to ensure that the surfaces you don’t want to be painted are protected. It’s usually used to cover trim and other surfaces by attaching it to the surface and smoothing it out with a putty knife or multipurpose tool.
A Small Paint Container or Palette
Since you won’t be painting the primary surface of your workpiece it would be pretty inconvenient to carry around a full-sized paint try. Instead, you should consider getting yourself a small, easily portable container and/or a pallet.
Ease of use and range of motion is the name of the game when it comes to cutting paint.
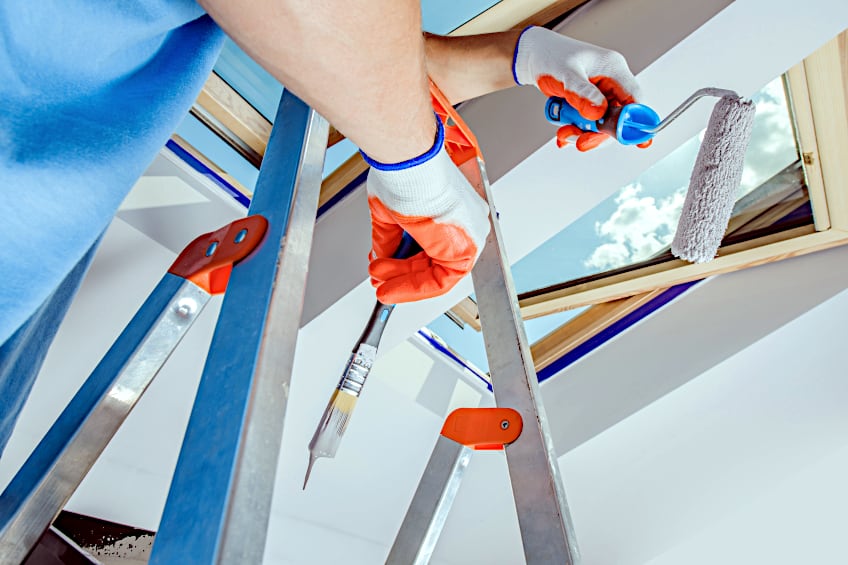
A Stepladder
Remember that there’s trim at the top and the bottom of walls. You’re going to need some means of elevation, and while standing on a chair might seem like a good idea at first, it’s best not to risk life and limb for the sake of convenience. Stepladders are inexpensive and can be purchased pretty much anywhere, but if you don’t feel like buying one, why not ask someone if they would be kind enough to lend you theirs?
How to Cut in Paint
Knowing what you need to get the job done is only half the battle. That’s why we thought we’d show you both how to prepare your surface for the cutting process as well as what techniques you can use to achieve the best results.
To make things a bit easier for yourself, ensure that all your tools are in your immediate vicinity before you begin the preparation process.
Prepare Your Workspace
Before you begin cutting in your paint, you’ll need to ensure that your workspace is prepared. The best way to prepare your workspace is to ensure that it is ready for the painting process and is safe for you to be in while you work. How do you do this? Well, you could start off by ensuring that your workspace is well-ventilated and has adequate airflow throughout the space.
Next, you’re going to want to make use of your tarp. Place your tarps on any surface you don’t want paint splattering onto including your floor, furniture, and things like lamps and light fixtures.
You can secure your tarp using some painter’s tape to ensure that it doesn’t move around while you’re working, as this could accidentally cause you to slip and fall.

Lay Down Your Tarp and Protect Yourself
Once your tarp has been laid down and your workspace has decent airflow it’s time for you to ensure that you are prepared. Since you’ll be working with paint it’s best to wear a pair of gloves and a respirator mask to ensure that you don’t accidentally inhale any fumes produced by the paint when you’re applying it and while it degasses.
Finally, before you begin the paint cutting process, you should make sure that you have all of your tools nearby for immediate use. If your tools are in reach and nicely organized, it can save you a ton of time during the painting process to ensure that all of your tools are ready to be used as soon as you need to use them.
Wash Your Surface
Now that the surrounding area has been nicely cleaned it’s time for you to clean the surface of your workpiece. For most surfaces, this can be done with a little bit of soap and a considerable amount of water. If you’re painting an interior wall all you need to do is scrub the surface thoroughly and wait for them to dry before moving on.
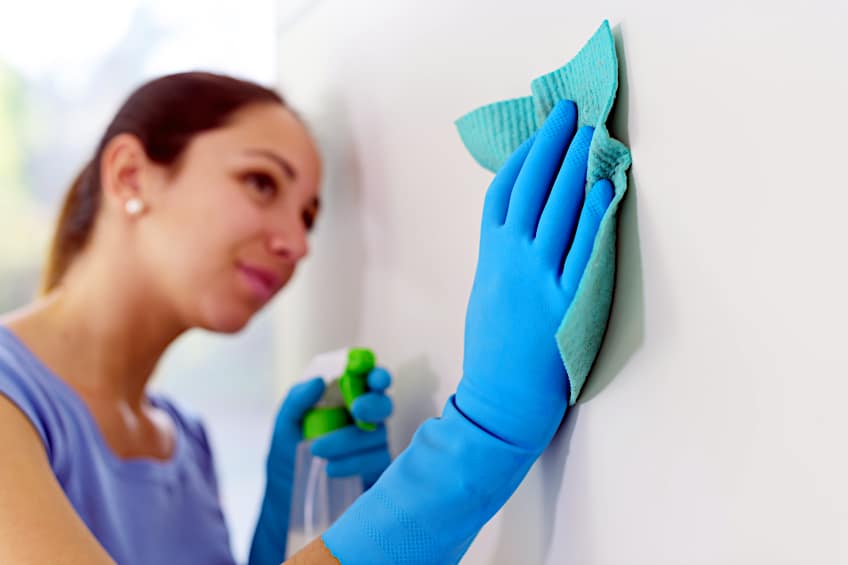
This is an important part of the process because it ensures that the edges that you will be painting don’t lift and peel away over time. Remember that dirt and grime build up over time and can prevent your paint from adhering to the edges of your workpiece correctly.
This is how a simple and thorough clean can ensure that your paint-cutting job goes off without a hitch.
Sand Your Surface
While you might think that this isn’t necessary, cutting in paint is practically the same as just straight-up painting a surface. Therefore, the best practices that apply to painting still apply to cutting in paint, sanding is one of the most important. You should sand the entire surface you intend to paint, as sanding only the edges would simply make more work for you later on.
Generally, cutting in paint is done when painting walls, and if your walls need to be sanded the best tool for the job is a random orbital sander.
Use your sander to evenly and methodically sand the surface of your workpiece, starting at one end of the surface and slowly working to the other end. Once you are done, remove any excess material using a clean cloth or some compressed air if you have access to it.
Apply Your Painters Tape
The application of your painter’s tape will ensure that the surfaces of your trim are not affected by the painting process. Therefore, ensuring that your painter’s tape is applied and secured correctly is rather important when cutting in edges. Now you might be asking yourself how one applied painter’s tape when cutting in edges.
It’s quite simple. Apply tape to the edge of your trim, specifically the edge that meets the wall.
If you can get it done with one bit of paint that’s great, but it’s more likely that you’ll need to use multiple strips, in which case you will have to ensure that they overlap with one another once you’ve positioned and cut them. Repeat this process until all applicable surfaces have been nicely covered up.
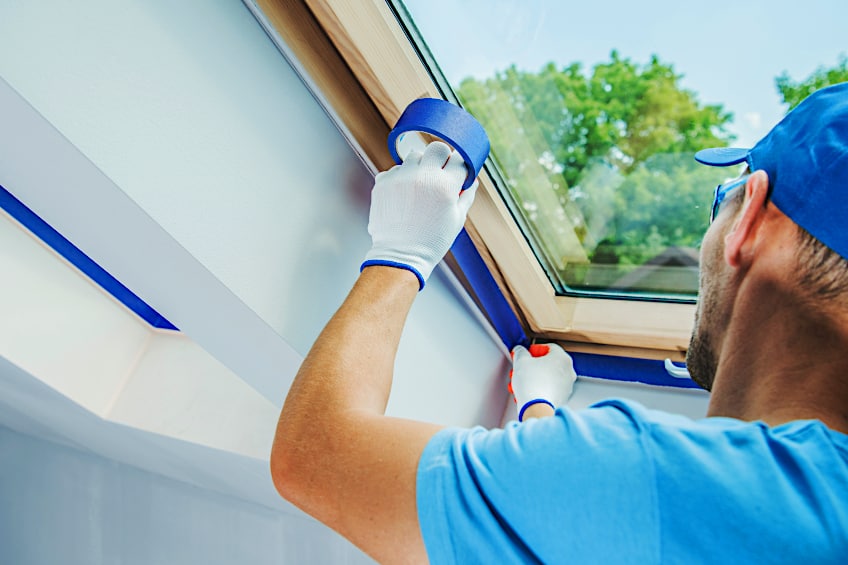
Now, before we cover the best way to cut in paint, we need to ensure that the tape has been secured so that your trim pieces and any other surfaces you don’t want getting paint on them are safe. Using your five-in-one painting too, use a sharp edge at a 45-degree angle to press and drag along the taped surfaces and ensure they are as flat as possible.
Cutting In Your Corners
There are a number of ways for you to cut in the corners of a workpiece, but as with most things in painting the simplest method is often the best. Ensure that you have all of your tools and that you work slowly and methodically to avoid even the smallest hiccup that could ruin the look of your surface once you’re done. Here’s what is arguably the best way to cut in paint.
Load Your Brush
Ensuring that you have the right amount of paint on your brush is important. Loading your brush is simple, all that you need to do is pour some paint out into a smaller, separate container to ensure that you have just the right amount to work with when cutting. How much paint should you use when cutting in paint then?
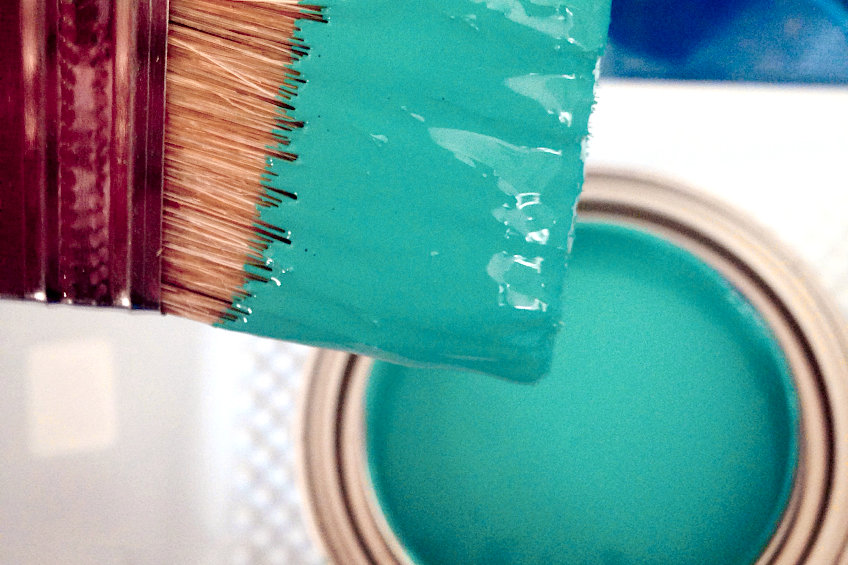
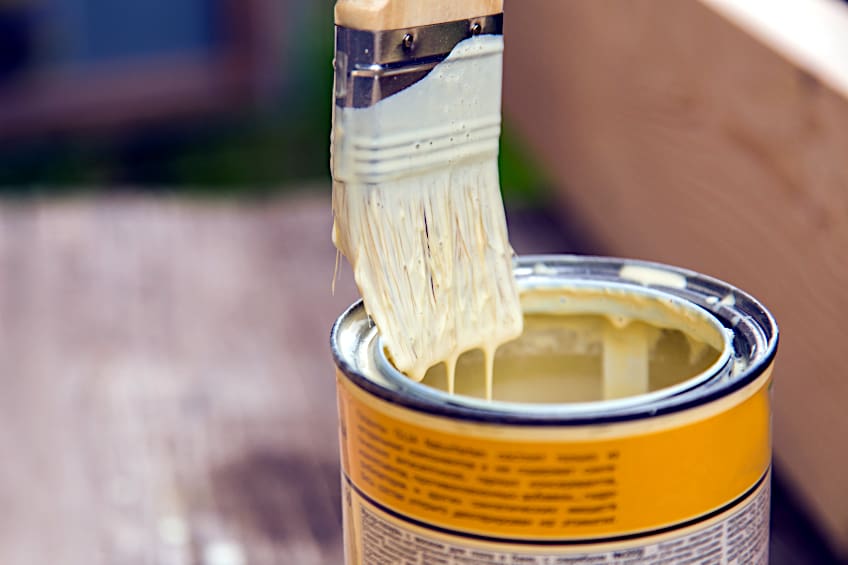
Pour around 2 inches of paint into a small container and give it a stir with a stick. Next, get your brush and hold it in a pencil grip (index finger and thumb toward the neck of the brush) and dip it into the paint.
You want to get about halfway up the length of the bristles of the brush and then tape the brush on the edge of the container to remove any excess paint.
The goal here is to use only as much paint as you need to ensure that it doesn’t drip or run while you are working. With that being said, once you are ready and sure that you have just enough paint on your brush you can position your step ladder and ensure that it has been secured correctly before you attempt to climb up and begin painting.
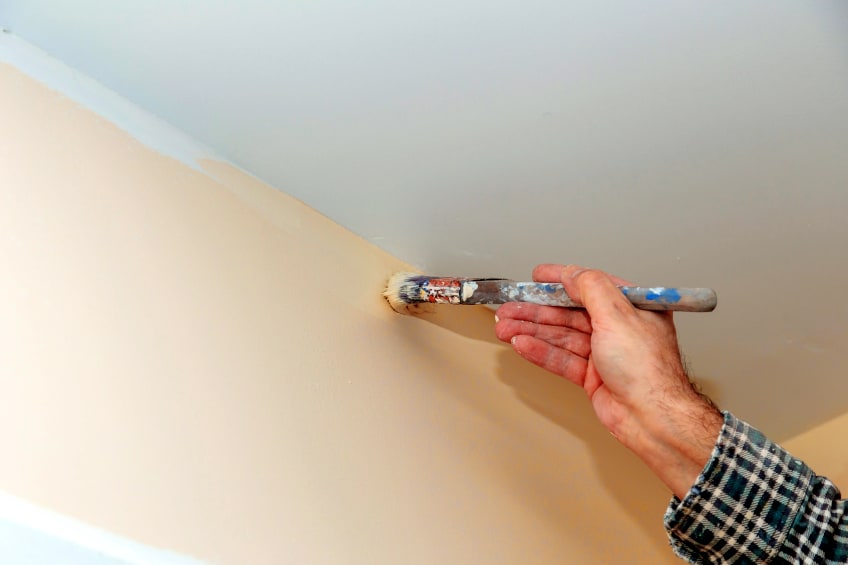
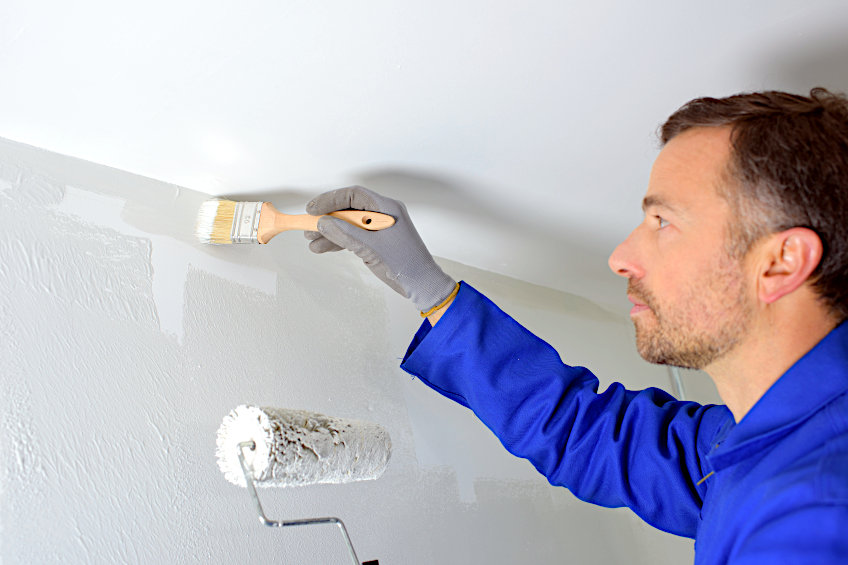
Apply Your Paint
It’s finally time for you to begin applying your paint. Start by painting just off the edge you intend to cover, around one inch away from the intended area. If you are painting an edge horizontal to the ceiling, start by painting a 12-inch-long stripe from left to right or right to left depending on where you have started out. It’s as simple as that.
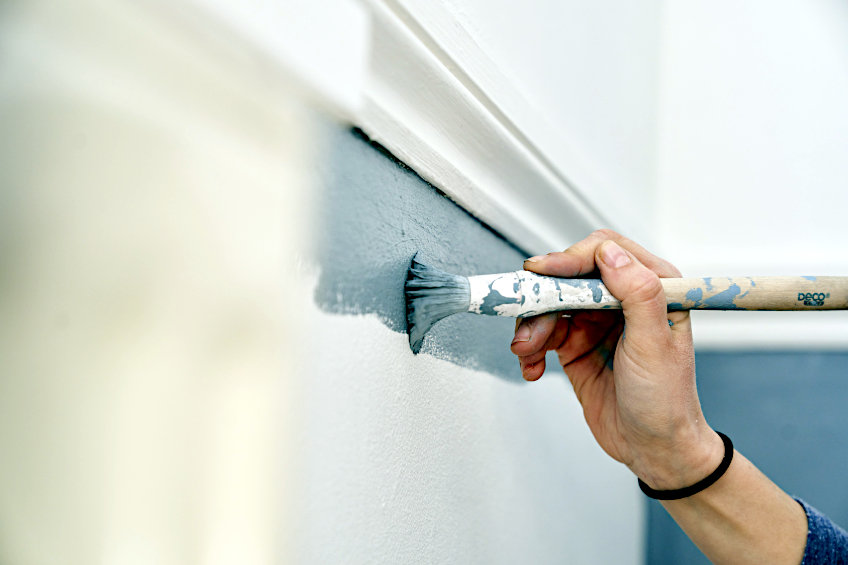
If you are painting the edges that are vertical to the floor, hold the brush horizontally when painting and apply the same 12-inch-wide stripe down the intended area about an inch away from the actual point of contact between the wall and the edge. Once one side of your brush runs dry simply flip the brush around.
Once you have a fair amount of paint down and you have gotten a feel for the technique you can adjust the amount of paint you use as you see fit. You can also begin to use some longer strokes as you go along.
As you can see it’s pretty easy, as long as you apply some concentration and remain consistent with your technique.
Your pencil grip should give you maximum control and ensure that you are able to get right up against the edge of your workpiece. Continue with this method until all of your edges have been nicely cut in, and if you do stray away from the straight line while cutting, don’t worry too much about it, as you’ll be painting over the primary surface anyway.
Cover Your Brushstrokes
As you were painting the edges you may have noticed that you left behind some brush strokes as you were going along. This might concern you, but there’s an easy way to fix this. Since your paint is still wet, all you need to do is go over the affected areas again but with your brush facing the opposite direction of the direction you painted initially.
For example, for the vertical stripes you painted, hold the brush horizontally and paint along the affected lines. For the horizontal lines you painted, you’re going to do the same thing but just a bit differently. Still holding the brush horizontally, paint little stripes upward or downward depending on your preference to get rid of any brush strokes present.
Repeat this technique until all of the painted surfaces have no brush strokes present.
Don’t be afraid of loading your brush when it gets dry, and if you spill or drip any paint on the surface of your trim, you can simply wipe it away using a damp cloth since you are using acrylic paint. This can be labor intensive so be sure to take a break once in a while.
Common Mistakes to Avoid
As you can probably tell, cutting paint can take some practice and dedication to become proficient at, so it’s best not to expect too much on your first go. To help you along we thought we would show you some things that you should avoid doing in order to achieve the best finish possible.
Remember that mistakes are easy to correct, so don’t feel too bad if you hit a hiccup here and there.
Don’t Be Heavy-Handed
An easy mistake to make is thinking that cutting is like painting a primary surface in terms of pressure. In order to accurately apply your paint, you should ensure that you paint lightly, especially when painting little corners and intricately shaped edges.
Keep your pressure light and consistent throughout the process for the best results.
Avoid Using Too Much Paint
One of the most common mistakes made by newcomers to cutting in paint is the over-application of paint. It can be challenging to gauge how much paint you need, so it’s best to start off with a conservative amount and then simply top up your brush as you move along.
Aside from using too much paint, applying too much pressure and accidentally dispensing too much paint should also be avoided.
Opt for a Good Quality Brush
One of the most important tools you will need when cutting your corners is a good-quality brush. A brush with good quality bristles positioned at a conducive angle should ensure that you have the ability to effortlessly paint your corners and edges. If you’re unsure about what type of brush to use, simply ask a shop assistant for help and/or check out reviews online for one you’re interested in.
That’s pretty much all you need to know about cutting in paint on corners and edges. Be careful not to get any paint on your hands or accidentally smudge it against the wall, and don’t wait too long after your edges have been cut to paint the main surface. Once you are done, allow all of the painted surfaces to completely dry before placing anything in contact with the wall.
Frequently Asked Questions
What Is Cutting in Paint?
Lots of painting tutorials reference cutting in paint. What is cutting in paint, though? Essentially, cutting in paint involves outlining the primary surface you intend to paint in an effort to avoid accidentally painting trim pieces. This is done with a thinly bristled paintbrush instead of a less detail-oriented tool like a roller or sprayer.
What Is the Best Cutting in Painting Technique?
Are you looking for the best cutting in painting technique? Arguably the best way to go about cutting in paint is to paint vertical and horizontal lines along the edge about an inch away from the other surface. Your painted strips should be around 12 inches wide to achieve the best results. To remove brush strokes, simply paint over these sections (lightly) in the opposite direction.
Is Cutting in Paint Difficult?
Trying out anything for the first time can prove to be difficult, but with a bit of practice, you can develop your skills to a decent degree. Luckily, cutting in paint isn’t too challenging and doesn’t take an awful lot of practice to become somewhat proficient at.