How to Paint Trim – Tips for Finishing Trim Like an Expert
This post may contain affiliate links. We may earn a small commission from purchases made through them, at no additional cost to you. You help to support resin-expert.com
Whether you’re an avid DIY enthusiast or simply need to get some painting done soon, finishing a space can seem like a massive undertaking. However, painting can be loads of fun and with the right planning and tools, you’ll find that your painting exercise can go quite smoothly. It’s important for you to take everything into consideration though, and an aspect that people tend to forget most often, is the painting of wall trim. Well-painted trim can bring a space together, but doing a bad job can ruin it, so let’s have a look at how to paint trim, what some of the tools you need are, and what exactly trim is and why it’s needed to begin with.
Table of Contents
What Is Trim?
Before we get into the best way to go about painting trim it’s important that we understand exactly what it is. So, what is trim? Trim is essentially a decorative element consisting of a thin board that runs along the bottom edges of interior space. These boards are there to take up space between the wall and floor in an effort to make the visual transition less harsh.
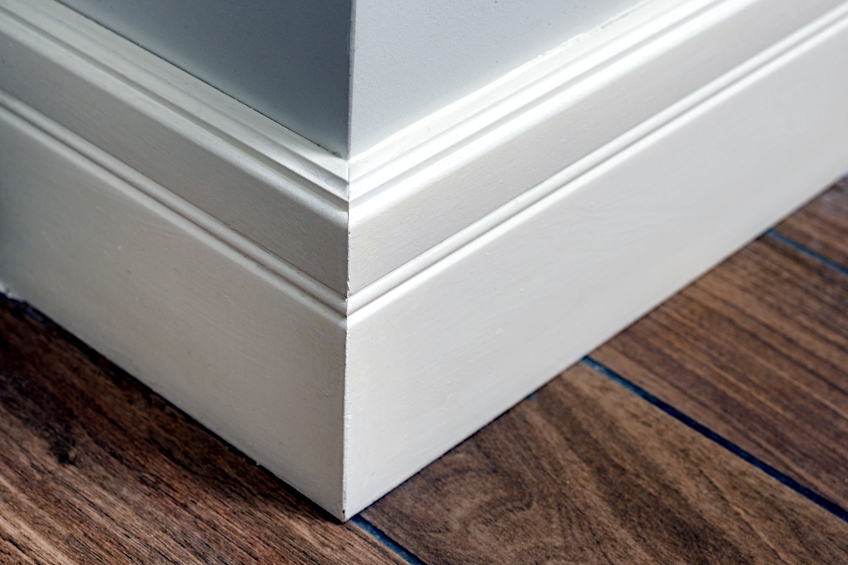
While it is entirely possible to decorate a space without using trip near the floor or ceiling it can look quite plain, and trim really helps bring a given space together visually which is why most DIY enthusiasts and professional interior designers tend to recommend the use of trim when adding finishing touches to space.
What is wall trim made of though? This is a great question as the materials that trim is made of have changed as years went on and new materials were discovered. Initially, trim was made out of relatively inexpensive wood that could be sourced easily while being readily available. This led to the use of wood species like pine and hemlock in hundreds (if not thousands) of homes all over the US.
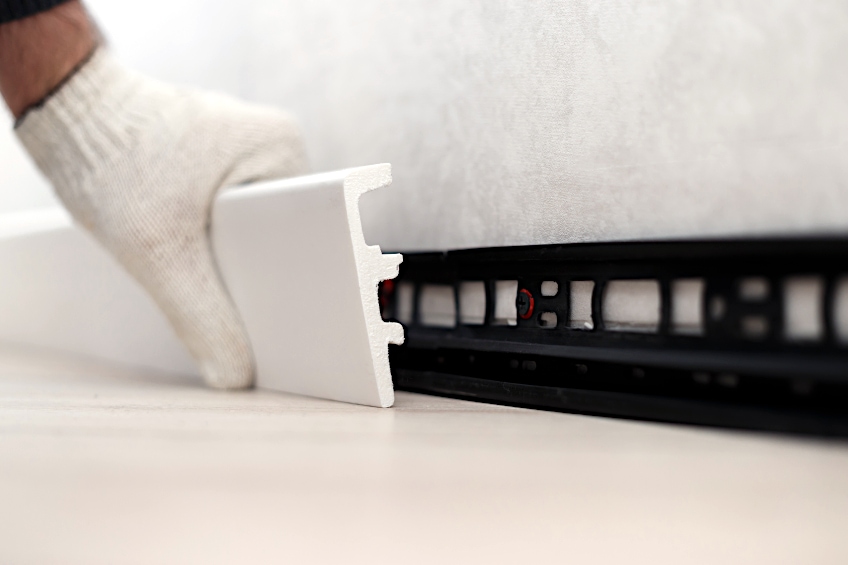
These days we don’t rely on wood for trim as much, or at least not as much as we used to, thanks to synthetic materials. As a result, we have other materials that we can make ceiling and floor trim out of, these materials include but are not limited to Styrofoam, plastics, PVC, and similar synthetic materials. These are often far more durable and require less maintenance than conventional materials.
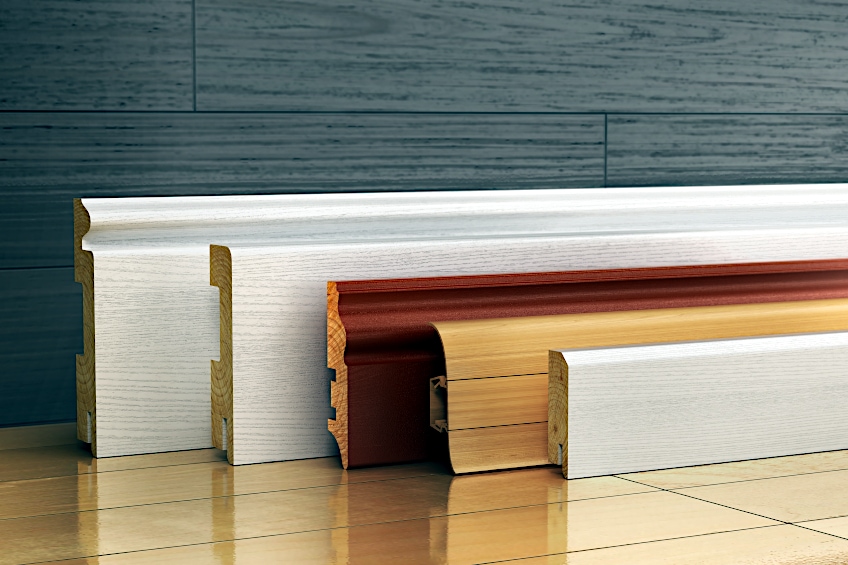
In addition to different materials, there are also different designs you can use to spruce up the look of a space using trims. There are various patterns, thicknesses, styles, engravings, and even color patterns to choose from selecting a trim for your space. Many are pre-made, and if none of those suits you taste you can have a design custom-made for your project.

If you’re going to go with a custom design, it will likely cost you a bit more than the store-bought variety, but the aesthetic impact is often well worth the extra cost in our opinion. You can then either choose to have the trim finished by the designer or do it yourself. If you’re using wood for your trim it’s important to know how to stain or paint trim so you don’t ruin it.
How to Paint Trim
As we mentioned previously, trim can really bring a space together but if they’re painted incorrectly the results can be less than ideal. This being said, let’s have a look at the best way to paint trim as well as a few tips and tricks you can implement in case you have to paint trim without tape, or if you find yourself needing to paint around your trim. Below is a short tutorial detailing how to prepare both your trim, your paint, and your workspace for the painting process.
Prepare Your Workspace and Gather Your Tools
Regardless of what you’ll be painting, it’s super important to prepare both your space and your workpiece adequately. Not only will this affect the quality of the finish, but it will also affect the flow of your work, so be sure to gather all of the things you’ll need throughout the process and place them where they will be easiest to reach.
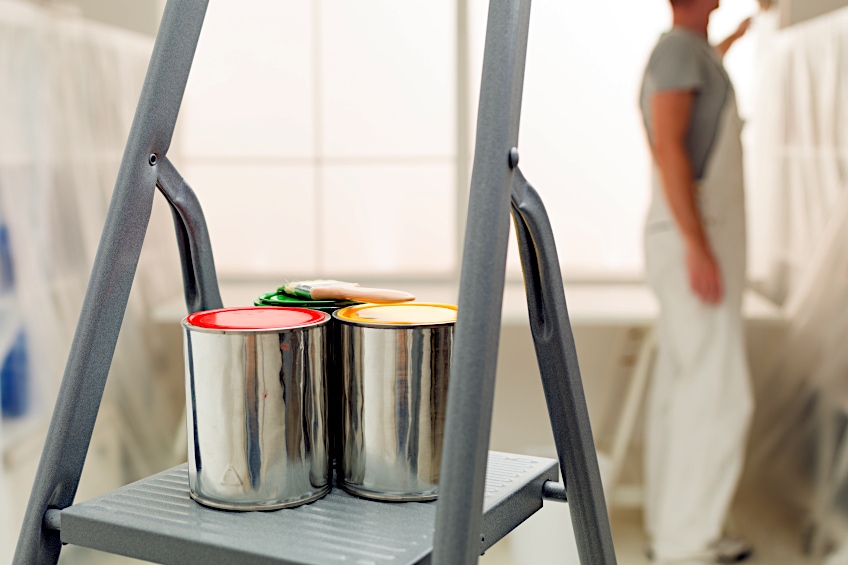
The best way to go about this is to place all of your tools like your paint, paintbrushes, paint tray, and painter’s tape on the side of your dominant hand. This works because you’ll always know exactly where all your tools are and the area directly in front of you will be clear of obstacles, so whenever you’re done painting a trim board and move on to the next wall ensure that you collect your tools and reposition them in the same manner at your new spot.
It should go without saying that if you’re working with paint, you should prepare your workspace too, so use a tarp or some old newspaper as a drop cloth to prevent any spills or splatter from ruining your floor. Ensure that your drop cloth is of adequate size and thickness, so no paint has a chance of leaking through in the event of a spill.
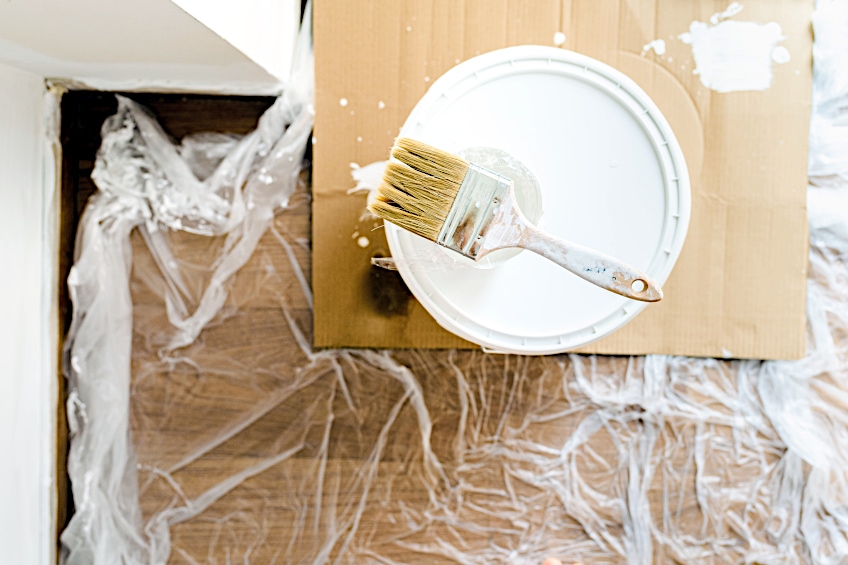
You should ensure that you are prepared for the painting process before you begin. While you don’t need a full overall set, you should ensure that your knees, torso, hands, and eyes are protected from any potential splatter and/or spills. Also, wear a mask when you’re painting indoors, especially if the paint you’re using is oil-based or acrylic-based.
These paints contain volatile organic compounds (VOCs) that pose a potential hazard to your respiratory system and should always be used in a well-ventilated area. Once your workspace has been adequately prepared it’s time for you to move on to the next step in the process which involves preparing your trim.
Prepare Your Trim
Before you get to painting, you should get your trim prepared. When painting any surface, it’s important to ensure that the surface is clean to ensure maximum adhesion, and trim is no different. Using a wet cloth and some soapy water scrub away any dirt, grime, or dust that might have built up over time on your trim.
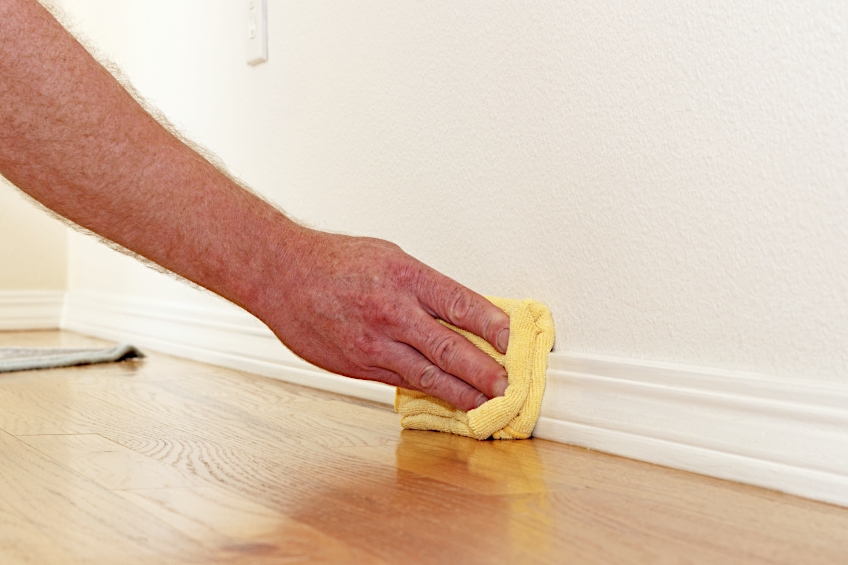
Once your trim has been cleaned and your surface there aren’t any foreign particles present on the surface, allow it to dry completely. Once you’re sure that all surfaces are dry (not damp), it’s time for you to give your trim a good sanding. Not only does sanding remove the old surface from the trim but it provides the paint you’ll be using with better surface friction too.
For the sanding process, we recommend using a sandpaper or sanding block with about 120 grit to ensure that the surface isn’t too rough for the next step in the preparation process. Sand the surface of the trim lightly, following the length of the board to ensure a consistent texture along the trim’s surface. Once you’re satisfied with the job you’ve done, ensure that you give the newly sanded surface a once-over with a clean cloth to ensure any wood dust has been removed.
Repair Your Trim
This step usually only applies when you’re reusing old pieces of trim but newly purchased ones can have imperfections that need to be corrected before they can be painted. This being said, if you see any holes or scratches present on the surface of your workpiece it is extremely important to fill them immediately or they could ruin your finish.
How do you repair holes and scratches in trim? Well, there are many ways to go about it but arguably the easiest way to do so is to use some wood filler. Using a putty knife, apply some wood filler to the affected areas of your workpiece and smoothen it out using the flat side of the knife. Do your best not to over-apply your wood filler at this point in the process.
Once your wood filler has been applied, allow it to dry for the manufacturer’s recommended time period, and do your best to remove any excess with a clean cloth while you wait. Ensure that your wood filler has dried completely before applying your paint to avoid the paint and filler mixing, which could create quite an unsightly mess.
Apply Your Painter’s Tape
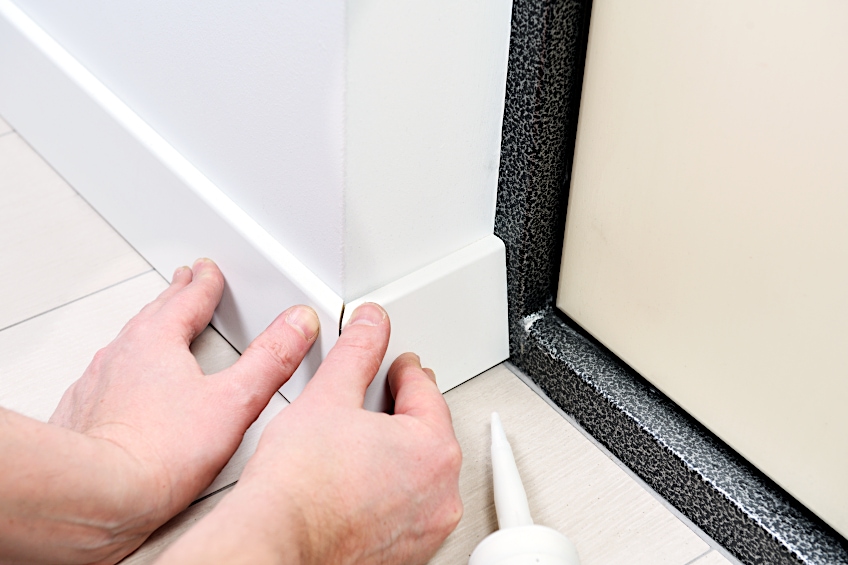
The best way to paint trim is by using painter’s tape. This is especially true if your trim is already attached to the wall, and you didn’t/could not paint it separately. Painter’s tape is there to ensure that you don’t accidentally apply paint to your wall or ceiling during the painting process, which is particularly useful if you intend on painting your trim a different color to your walls and/or ceilings.
Applying painter’s tape can be tough considering that you need to place it perfectly. The goal here is to apply the painter’s tape as close to the edge of the trim as possible without actually touching the trim. If the tape is applied to the trim itself you will have inconsistencies in the paint once it’s been painted, which you will have to touch up later on.
Once you have your painter’s tape applied to the edges around the trim, you should ensure that it is stuck down well. How do you go about this? Well, the best way to go about this is to use a putty knife to press down on the edges of the tape to ensure that they are flush with the wall, ceiling, or floor in question before moving on to the next step in the process.
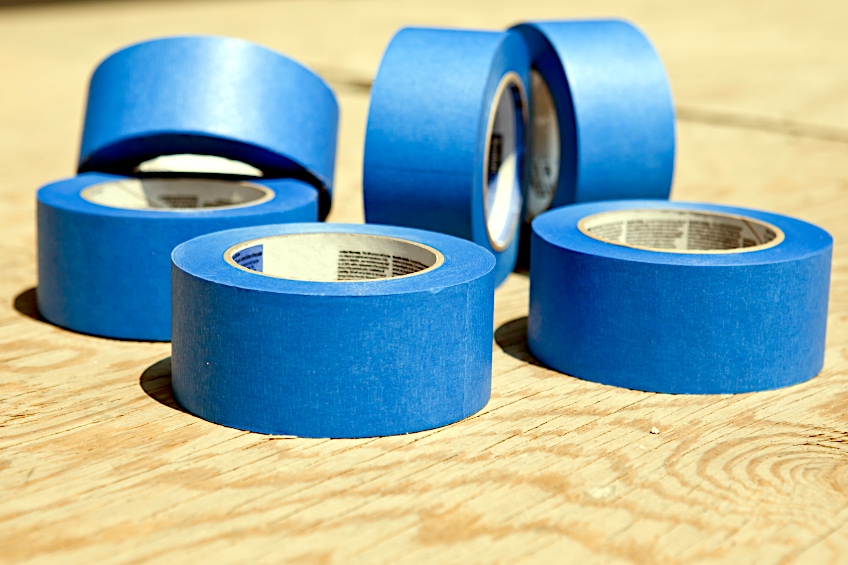
In the interest of continuity (and simplicity), it is often best to use a single long piece of painter’s tape instead of multiple shorter pieces. This will only make things a lot easier for you but it reduces the probability of the tape coming loose during the painting process, while simultaneously eliminating the possibility of paint bleeding through the painter’s tape.
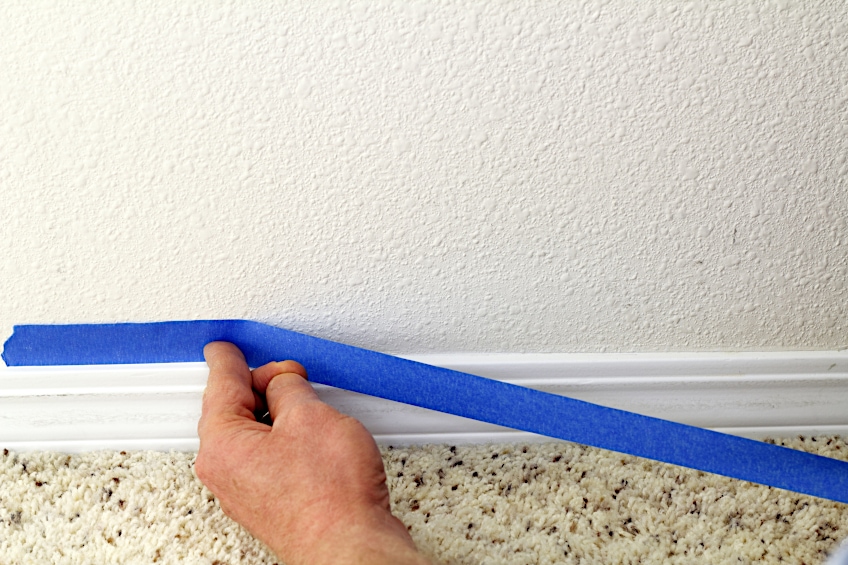
Are you having trouble figuring out how to start applying your painter’s tape? Well, a pro-tip you can use is to peel away a four-inch piece of tape from the roll. Press that piece down firmly with your finger (you could use the putty knife too) and, while holding it down, draw more tape from the reel while flattening it with your other hand or putty knife.
Apply Your Primer
While it can be extremely tempting to skip priming your trim, it could upset your overall finish down the line. Primer is designed not only to ensure that your paint adheres to the surface of your workpiece but also ensures that your paint doesn’t lose any of its luster once it comes into contact with the wood.
This happens when some of the paint is absorbed into the fibers of the trim, especially if you’ve chosen wooden trim to line your walls. This being said, before you pour some primer out and get painting, give it a good shake to ensure the mixture is well balanced. If primer (or paint) is left idle for a long time some of the heavier particles can sink to the bottom of the container, so giving it a good shake and/or stir re-introduce the particles into the mixture.
Once your primer has been mixed thoroughly, it’s time to pour some out into a paint tray. Get some primer on your paintbrush and begin applying it to the surface of your trim. The trick to applying primer is to apply an even layer over the entire surface. Don’t miss any of the areas that you’ve used wood filler or spackle on as these might need special attention.
Once the primer has been applied, ensure that you haven’t missed any spots on the surface of the trim before allowing the primer to dry for the manufacturer’s recommended time period. This usually takes around 16 hours but just to be sure we recommend allowing the primer to dry for a full 24 hours to ensure maximum adhesion.
Once your primer has had a chance to dry (make sure there aren’t any wet spots!), you should give a light sanding before moving on to the next step in the process. A very quick and light sanding can be done with sandpaper or a sanding block with no less than 120 grit. Once you’re done, use a clean dry cloth to remove any dust created by the sanding process.
Paint Your Trim
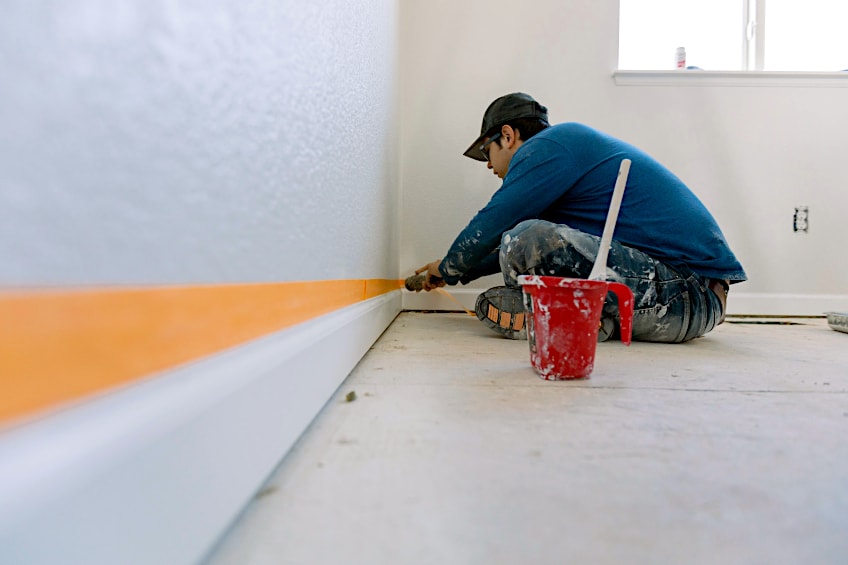
The best way to paint trim is to use short brushstrokes. This will allow you to maximize the consistency of the coating while ensuring that you don’t miss any spots. You might be tempted to paint vertically, since you’ve applied your painter’s tape, but the best way to paint trim is to go in horizontally.
Do your best not to over-paint the surface by adding too much paint to your brush in between passes. Maximize the paint you have on the brush and only dip your brush when you run out, this should ensure an even application along the length of the board while ensuring that no section is oversaturated with paint.
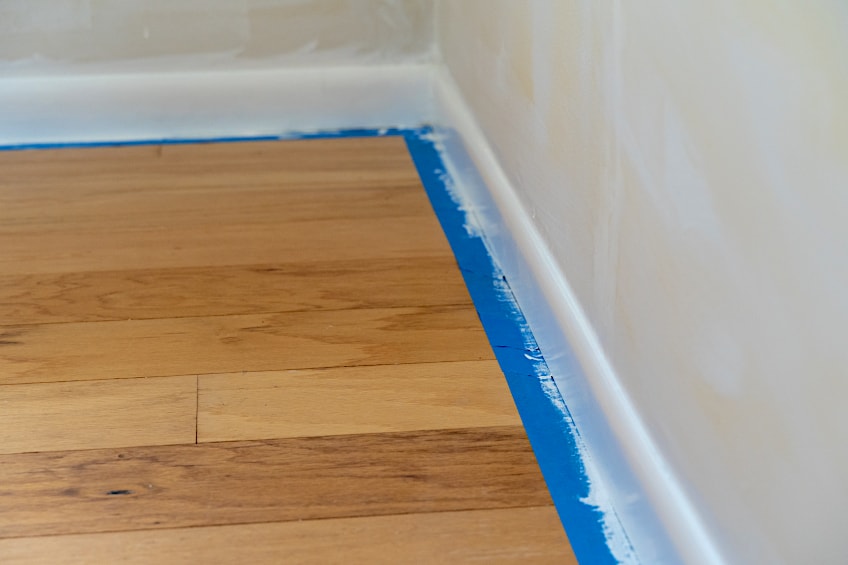
The number of coats you apply really depends on the material your trim is made out of, as wood tends to absorb more paint compared to synthetic materials. If you’d like to apply more than one coat you should allow each coat to dry for the manufacturer’s recommended time period before attempting to apply the next.
This is the easiest way to paint trim. Why? Well, considering that the primer compensates for absorption while ensuring maximum adhesion, and that painting horizontally ensures that you get the most cover per stroke, this is objectively the easiest way to paint trim. Once your first panel is completed, repeat the process on your remaining panels until all of your trim has been painted. If your hand is a bit unsteady, but you don’t have the time to apply mile of painter’s tape, then you can use a trim guard to keep you paint on the trim and away from everything else.
How to Paint Trim Without Tape
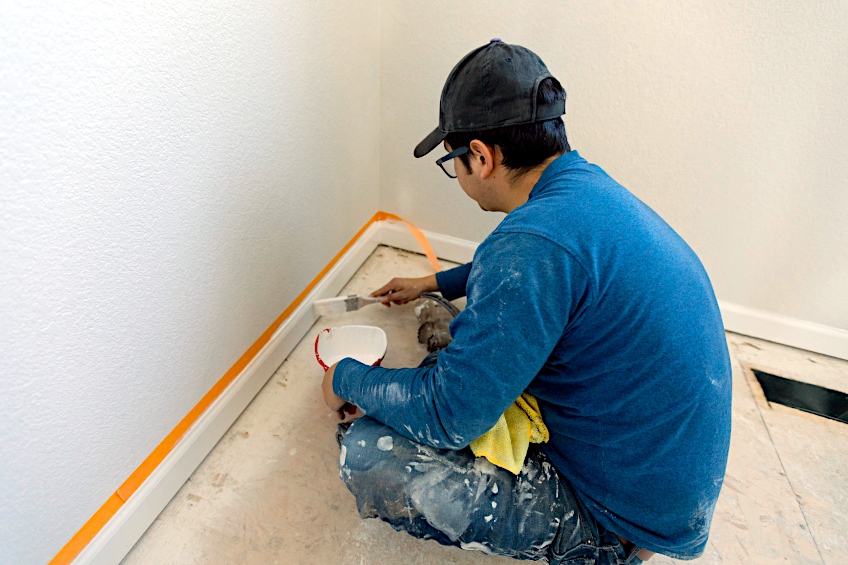
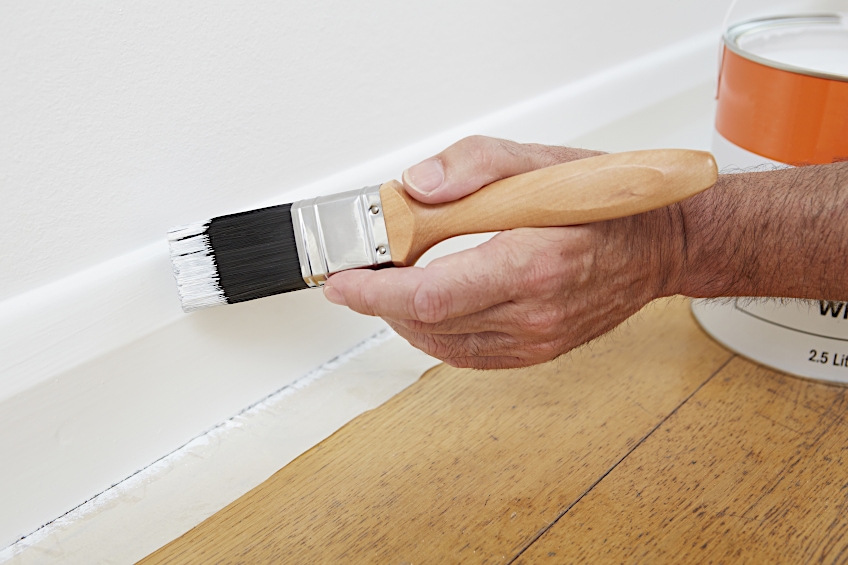
Wondering how to paint trim without tape? It’s actually pretty easy. All it takes is some concentration and the right brush. To paint trim without the use of painter’s tape, you need the help of an angled brush, as it will allow you to make a steady, consistent application of paint without the bristles wandering off on their own and ruining your wall.
An angled brush is best for trim, because it gives you so much more control over the area you’re painting while assisting you greatly when painting at a particular angle. It also allows you to maintain that angle over a distance, which means you won’t break continuity in the middle stroke, ensuring uniformity from the first to last coat.
These paintbrushes are priced a bit higher than conventional ones, but they’re easy to use and can be found at most hardware stores both in actual stores and online. The higher-end angled brushes are usually equipped with flexible handles, which makes them less strenuous on your wrist while you’re painting, which is pretty cool if you ask us.
Although most professionals use painter’s tape, those confident enough to go without it agree that this is how to paint baseboards without tape or using a paint sprayer. If you’re wondering how to paint baseboards without tape and don’t feel like using a brush or sprayer, you can simply have your wood supplier cut and paint your baseboards for you, which might cost a bit more, but it will save you a ton of time and effort.
Now that you know what trim is, what some of the different materials it can be made out of, what function it serves, as well as how to paint it both with and without tape, it’s time for you to get out there and put your newfound knowledge to the test. Remember to always ensure that you have the right tools for the job, and if you aren’t completely sure about using an angled brush to paint your trim, always use some painter’s tape.
Frequently Asked Questions
How to Paint Around Trim?
Wondering how to paint around trim? Well, the best way to paint around trim without tape is the same way you would paint trim without getting any paint onto your wall, which is by using an angled brush. Dipping your brush into some paint, removing the excess, and painting your wall at an angle is the best way to go about it.
How to Tape Trim for Painting?
Trying to figure out how to tape trim for painting? Applying painter’s tape to trim before painting follows the same process as taping up a wall before you paint the trim. Pull around four inches of tape free from the roll and apply it to the wall, then pull the roll along the required length of the wall, ensuring you flatten the tape as you go along (preferably with a putting knife).
Is Trim Worth Painting?
After painting an entire room, you might be a bit reluctant to paint the trim. While this is perfectly understandable, there are benefits to painting your trim as well. Painting your trim can help bring the overall aesthetic of your space together, and if you have wooden trim installed, it can protect it from impact, abrasion, water, and heat damage.