How to Epoxy a Garage Floor – Detailed Instructions
This post may contain affiliate links. We may earn a small commission from purchases made through them, at no additional cost to you. You help to support resin-expert.com
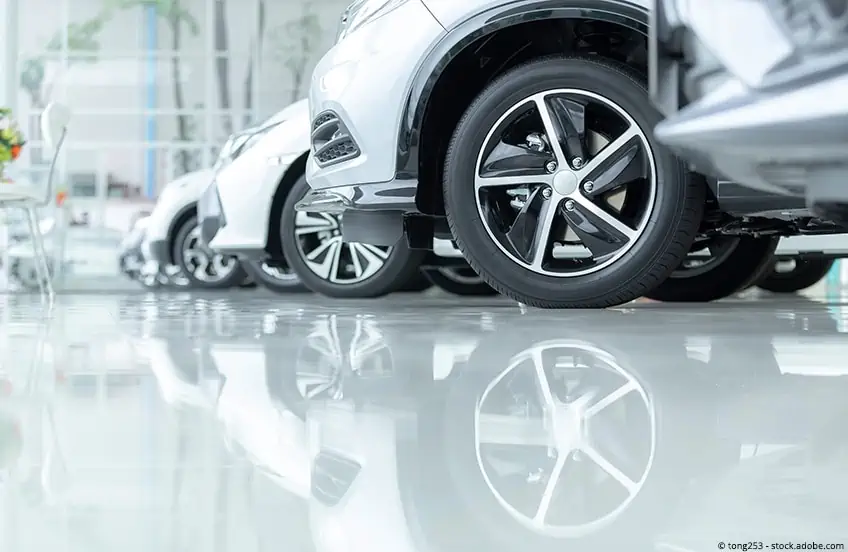
Often the garage is nothing special: a boring concrete floor that serves its purpose – nothing more. If you want to make more out of your home parking space for your car, you can use the garage floor coating with epoxy resin. This allows you to set colourful or impressive accents. In addition, an attractive coating makes subsequent maintenance of the garage easier. This article explains step by step how to apply an epoxy resin floor coating for the garage and what you should pay attention to.
Table of Contents
Why is a 2k gGarage Floor Coating the Ideal Solution?
What is an epoxy resin floor coating? Epoxy resin is a form of plastic that is divided into two components. These combine chemically with each other and form a solid surface after curing. It is also possible to incorporate decorative chips and flakes.
How expensive is a garage floor coated with epoxy resin? The Epoxy garage floor costs depend mainly on whether the coating is carried out in-house or whether a professional takes care of it. In general, prices start at around 24 cents per square feet. For a parking space of about 500 square feet, an epoxy resin coating costs about 120 Dollars.
As soon as a professional company takes over the coating of the floor, a few hundred euros are added. In the end you will pay about 1’000 Dollars for the complete coating of the floor with a professional. The price also varies depending on the layer applied, the area covered and possible travel costs.
Advantages of the garage floor coating made of epoxy resin
What about the advantages of the coating? Coating the garage floor with 2k epoxy resin does not only create a beautiful sight when entering the garage. Especially 2k coatings provide practical, slip-resistant properties due to the additives they contain.
The coating is also useful for long-term protection of the floor. This protection can include various chemicals, oils, liquids, road salt and petrol. As a result, you benefit for a long time from an attractive and easy-care surface for your vehicle.
In summary, the 2k epoxy resin offers numerous advantages as a garage floor coating:
- Quick and easy to process
- Protection against plasticizers from tyres
- Protection against liquids (petrol, oil, chemicals, liquids and condensation with road salt)
- Cery resilient
- Wear-free
- jJointless
- Easy-care
You may find the long drying phase and the time-consuming application procedure to be disadvantages. In addition, coating a complete garage floor with epoxy resin is not necessarily favorable. However, as soon as the coating is finished, the garage floor will be an easy-care, durable and robust base for your vehicle.
Materials needed for your DIY Epoxy Garage Floor
To make sure that the garage floor coating made of epoxy resin is successful, it helps to have instructions ready. Basically, you should only apply the epoxy resin in the quantity you actually need. Once the resin has bonded with the hardener, you should not dawdle any longer! If the coating is not applied quickly enough, the resin will harden before you have finished your work.
With the help of the following step-by-step instructions you can easily coat your garage floor with the 2k epoxy resin. You need the following materials:
- Primer
- Epoxy resin coating for floors
- Brushes
- Nailed shoes
- Agitator
- Sealing
- Roll for sealing
- Bucket
- possibly a vacuum cleaner
- Detergents
- if necessary, hammer, spatula, steel brush
Depending on your personal taste you can also provide decorative chips or glass beads. Here it depends above all on how the floor is to look afterwards.
How to Epoxy Garage Floor
Step 1: Check garage floor for moisture and oil stains
Damage to the floor ensures that the coating cannot be applied completely smoothly. For the epoxy coating to work, the floor in the garage must be completely exposed. At the same time, oil stains and moisture must be detected before the actual work begins.
Porous spots in the concrete are a risk for the coating of the floor. Check with a hammer and steel brush to see if any components come loose from the floor. If this is the case, it is advisable to grind the garage floor before coating. In case of extensive damage, it is usually worth replacing the entire concrete before the epoxy resin is used.
Step 2: Cleaning the garage floor
The inspection of the garage floor usually already reveals weak points. Dirt, dust and oil stains in the garage also play a role. In order for the coating to harden properly later, you must clean the garage floor.
A spatula is helpful for cleaning the floor. This can be used to remove stubborn dirt and dried paint stains. Afterwards, a vacuum cleaner helps to remove dust and loose dirt. Make sure to remove oil stains with a suitable oil stain remover.
Finally, for this step it is recommended to treat the garage floor with a water hose or high-pressure cleaner to remove the remaining dirt. If you then notice dirt in the garage, you can try a special cleaner for concrete floors.
Important: The floor must dry out completely after all cleaning work! An airtight plastic foil indicates condensation water if necessary. Freshly laid concrete floor needs at least 5 weeks to dry. Coating can then begin.
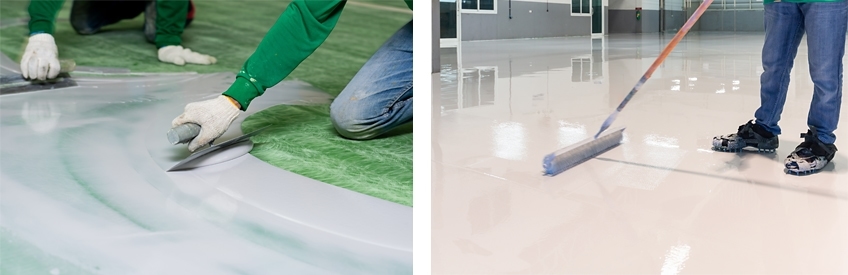
Step 3: How to epoxy garage floor – Priming the garage floor
Epoxy resin as a coating for the garage floor may require a primer. This primer is especially necessary on a substrate that has highly absorbent properties. This procedure ensures that the substrate for the coating is waterproof. How do you proceed?
Use a paint roller to spread the priming coat on the floor as you would when painting. Make sure that the applied strips do not overlap. Once the primer has been applied, wait for a minimum of 12 and a maximum of 48 hours. This is how long the primer needs to dry.
Especially in hot summer, priming the garage floor can be difficult: Warm air naturally contains more moisture than cold air. The garage floor is about 15° C cooler, which in turn can cause condensation. The problem with this is that when the primer dries, the condensation water sometimes causes unsightly stains. To ensure that everything runs smoothly, a temperature of 16 to 23° C is recommended. Caution: The floor should have a temperature of at least 10° C so that the work can be carried out cleanly.
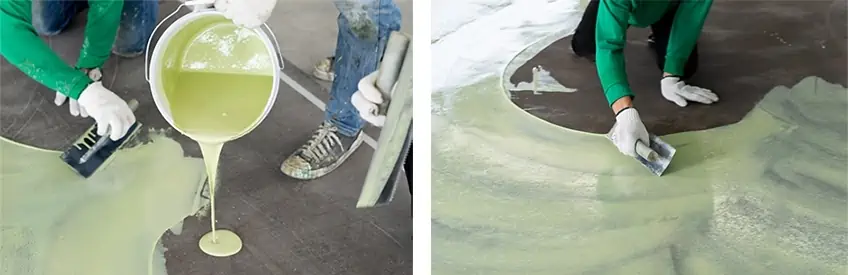 Before coating with epoxy resin we recommend applying a primer. Images: bhakpong – stock.adobe.com
Step 4: Mix epoxy resin
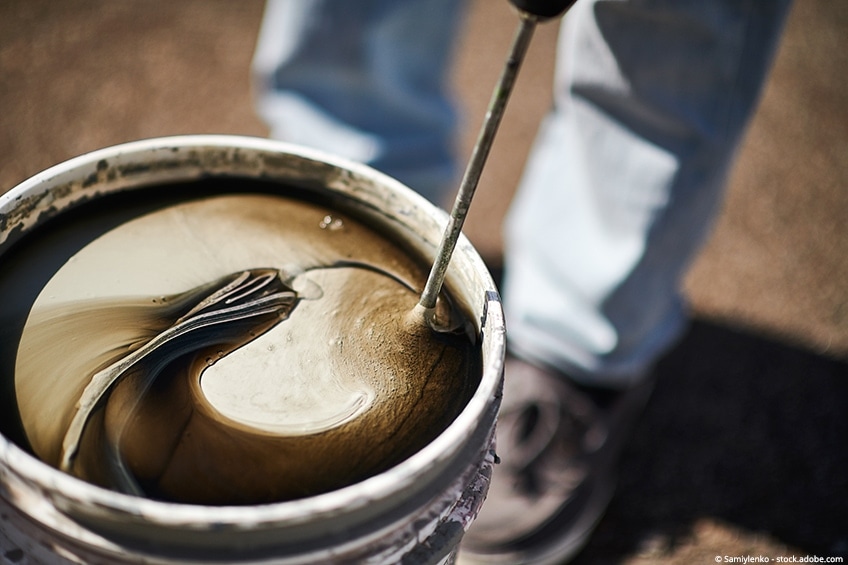
Before you can use the epoxy resin, you must mix it according to your needs. To do this, mix the 2 components of the epoxy resin (resin + hardener) in a ratio of 2:1. A stirrer makes it easier for you to mix the two elements. Stirring is particularly important to ensure that the mixture is uniform and has good resistance at the end.
After mixing the two components, it is advisable to wait 10 minutes. During this time the remaining air will escape from the mixture. This prevents air bubbles from forming in the coating.
Step 5: Apply epoxy resin to the garage floor
Once you have mixed the epoxy resin, time is of the essence. The resin usually has a drip time of 2 hours. During this time you must have spread the mixture on the garage floor to prevent it from hardening before then. A stopwatch or a timer in a mobile phone is suitable for this purpose.
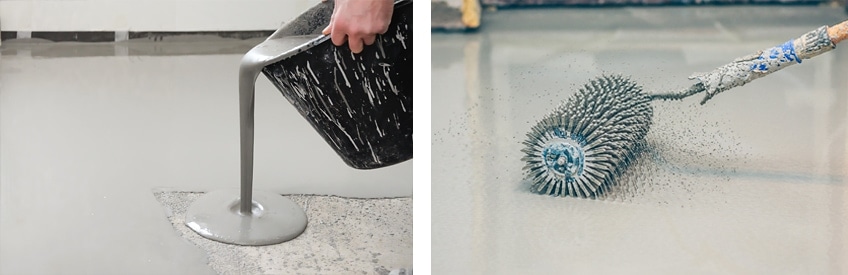
You can apply the mixture in the corners with a brush. For the rest of the garage floor, it is best to use a short-hair roller. The epoxy resin is applied in strips – just like painting a wall. Ideally, these strips should overlap evenly to create a uniform layer. The layer must then dry for 12 hours.
After application of the resin, the floor can optionally be sealed. Images bhakpong – stock.adobe.com
Step 6: Scattering of decorative flakes or chips
Those who find the normal layer of epoxy resin on the floor too inconspicuous can fall back on decorative flakes or colour chips. You will need a pair of gloves for these colour accents.
The scattering of the colour particles takes place directly after the coating. Grab some of the chips with your gloved hand and spread them evenly on the floor. If you like it fancy and have a knack for art, you can also arrange the decorative flakes in a certain pattern. In addition to the colours black and white, the trade offers a large selection of colour chips.

Step 7: After bedding: Sealing the floor
Is a sealing of the garage floor afterwards even necessary? What do you need a sealing layer for? The additional sealing is particularly worthwhile if you have scattered colour chips. But a sealing layer can also be helpful without colour accents in the coating. Because without sealing the epoxy resin layer, sharp edges can remain. These can be softened or even completely smoothed out with the sealing.
Note: Excessive gloss on the layer may indicate that the coating has been applied too thickly. In this case the epoxy resin or sealing compound should be spread further on the floor.
Step 8: Drying and curing
Before you can use the garage floor for yourself and your vehicle, you must wait. The coating must cure completely to make it strong and resistant. An ideal temperature of 20° C is recommended. A relative air humidity of 65% does the rest to make the material harden.
How long does it take before you can walk on the garage floor? The coated floor is generally accessible after 24 hours. But be careful! Walkable means not passable. A car weighs considerably more than a person. Accordingly, the coating of the floor may be sufficiently cured for one person after one day. For a vehicle, this period is not enough.
To ensure that the coating can withstand the load of a car, wait a week. After 7 days at the earliest you can drive a car into the garage. It is better to wait 12 days. This period of time requires some patience. However, it is worth the wait. If you act too early at this point and put too much strain on the floor, you risk unsightly marks and uneven dents in the resin layer.
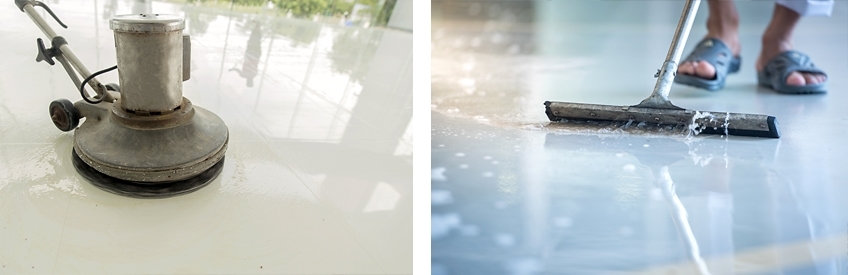
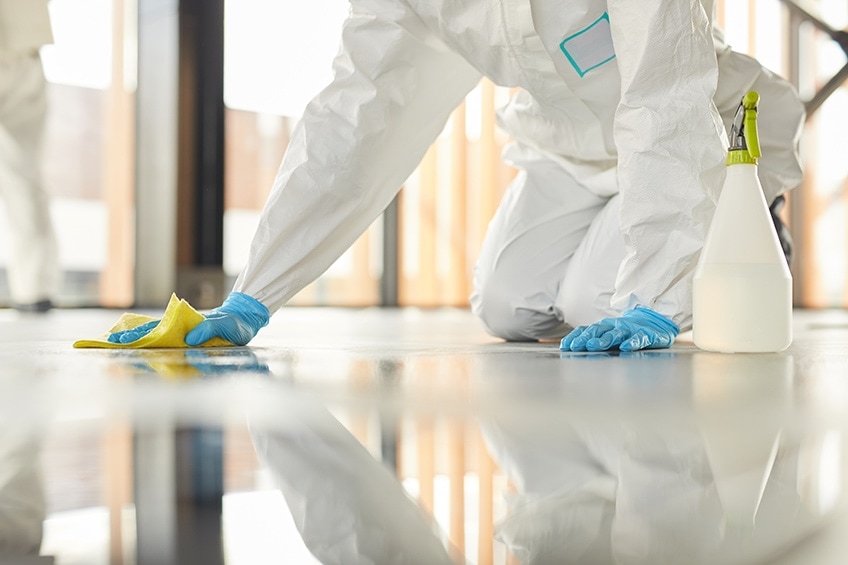
Last step: Maintenance of the finished epoxy resin garage floor
Once you have followed the previous steps, the coating of the garage floor is complete. Under normal use, the coating will last for approximately 4 years. After that it is advisable to renew the coating. In the meantime, you can easily maintain the epoxy resin floor.
Sweeping, wiping, vacuuming as well as cleaning with a high-pressure cleaner is possible without any problems. Sanding the floor in the meantime is usually not necessary. The coated surface reliably repels dirt, oil, water and road salt.

Images: Bannafarsai_Stock, BELL KA PANG / shutterstock.com
Conclusion – floor coating garage epoxy resin
To coat the garage floor with epoxy resin, several work steps are necessary. These instructions have shown how advantageous such a coating can be and how it can best be applied and processed. Especially in cold winters, the easy-care and robustness of the epoxy resin floor is evident.
The coated floor repels dirt and slush, is waterproof and can be cleaned again in a few easy steps. All you need is a cleaning cloth or a high-pressure cleaner. With a little care, speed and patience you can create a beautiful and possibly colourful garage floor.
Is coating your garage floor with Polyurethane a better option?
Over the years, epoxy coatings have been in control of the market, and they are still used today for a variety of applications. However, over the last 10 years, there has been a lot of progress in coating technology. This has resulted in epoxy no longer being the ideal coating option for use on garage floors, due to many factors some mentioned above.
There is now a better option available, one that provides extra UV stability, abrasion resistance, and durability. The option for many is now Polyurethane Resin. Polyurethane offers an extremely hard-wearing coating and is generally used where large commercial operations are being carried out. This type of flooring is necessary for this type of environment and is designed to last for a very long time.
Today, it is common practice to replace old worn-out epoxy flooring with a Polyurethane coating, as it offers a longer-lasting and durable flooring system. Because your garage floor experiences a lot of wear, this type of flooring system is ideal. The floor should last a lifetime, and it requires little to no looking after at all.
As far as the warranties are concerned, a polyurethane flooring system can range from 7 years to a lifetime, depending on what type of flooring system you choose. Always ask for the warranty information before the project commences. Also, make sure the contractor you choose is an approved installer of all the materials they are going to use.
A Polyurethane coated floor costs you withing a range from $5 to $7 per square foot fully installed. This price is subject to the number of coats applied, but most of the Polyurethane Coating Systems always apply 4 coats.
False statements about Epoxy Floor Coating
Having your garage floor epoxy coated by a professional is costly
If your existing concrete floor is in good condition, then having it epoxy-coated by a professional does not have to cost all that much. An epoxy garage floor cost should not be more than $6 per square foot. How much does it cost to epoxy 2 car garage if you do it yourself, we have already mentioned this above.
Epoxy is just something people use for paint, so just cover your garage floor with paint.
Generally speaking, epoxy is paint. Paint is seen as a liquid that once put on a surface becomes a solid film. However, all types of paint are NOT epoxies.
Epoxies consist of resins and hardeners that cure into a solid durable product. If you paint a wall or a floor, the paint thickness may be 2 mm or even less. But once it has dried, it may only be 1 mm thick. The final epoxy coat is a lot heavier than that.
Apart from the thickness, epoxies, polyaspartics, and urethanes are by far superior to paint, for their bond strength, UV resistance, abrasive resistance, and chemical resistance. Epoxies are also far more flexible than any paint.
All you need to do is clean your floor before spreading on the epoxy coating.
This is not the case with your concrete floor surface, as it has to be properly prepared and cleaned. This means that it must be cleaned to a concrete surface profile of at least 2 or more. This is to ensure your epoxy coating is going to bond properly with the concrete floor.
This type of preparation will ensure that all the loose cement paste and other surface contaminants have been removed. It also opens the pores in the concrete and the rough surface allows the epoxy to adhere properly.
Your epoxy garage floor needs to be recoated every 1 to 3 years
This false statement may be true in certain instances such as the following:
- The installers failed to apply the industrial grade of professional coatings.
- If the epoxy coating was done with a general retail store Garage Epoxy Kit.
- The installers failed to set up the surface correctly.
If you have had professional epoxy flooring done, you do not have to be concerned about it for at least 10 years or more.
Costs for a Garage Epoxy Floor
The average colored epoxy floor cost, which has no additives will be around $3 to $5 per square foot. This includes labor and materials where you have an existing concrete slab. As you go higher in price to some of the more decorative epoxy flake systems, the epoxy garage floor cost goes up to around $6 per square foot. That is only if your existing concrete slab is in good condition.
Lastly, on to the more exclusive epoxy coatings. You have the metallic garage floor epoxy where the price starts at about $12 per square foot, depending on how complicated the process is.

