Wallpaper on Textured Walls – Prepare Surfaces for Wallpaper
This post may contain affiliate links. We may earn a small commission from purchases made through them, at no additional cost to you. You help to support resin-expert.com
Wallpaper is an easy and cost-effective way for you to bring that special designer touch the walls of your home or office. It can be a beautiful addition to a space, however, it isn’t always easy and if your walls are conventionally textured it can lead to some hiccups along the way. Wall textures can vary considerably, so let’s have a look at some of the different wall textures you could encounter in your everyday life as well as which wallpapers are a good fit for textured walls.
Table of Contents
Can You Apply Wallpaper to Textured Walls?
Is it possible to use wallpaper on textured walls? Well, while it might be possible to use wallpaper on most textured surfaces it’s not possible on all of them, this being said, let’s have look at a couple of textured surfaces and whether you can use wallpaper on them without the need to fill in some of the inconsistencies first. Remember that it’s always best to use wallpaper on surfaces that are completely flush to prevent tearing and bubbling later on.
Knockdown Texture
What is knockdown texture? It’s a finishing style of drywall that is basically an intense mottled texture. It’s pretty cool and has a really understated feel but its aesthetic impact is noticeable in any space. This being said, it won’t really stop your wallpaper from sticking but it will make it look a bit funny once it’s been attached to your wall.
This is especially annoying when you’re working with wallpaper that needs to be completely flat for its intended effect to work, or it could end up looking really off-putting. So, while it might not be impossible to use wallpaper on a wall with this texture, it does depend on the overall intended aesthetic of the wallpaper you’re using.
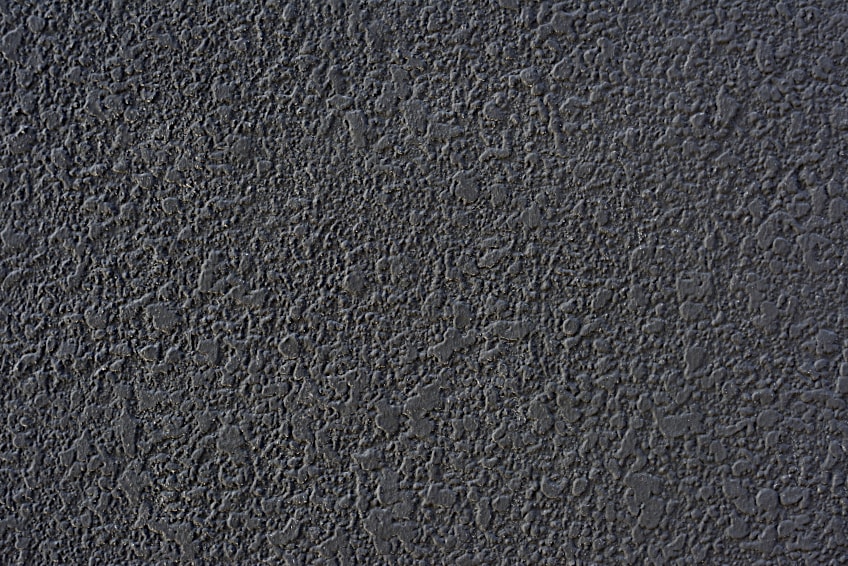
Orange Peel Texture
Using peel-and-stick wallpaper on textured walls, especially walls with an orange peel texture is generally quite easy because orange peel only has slight raises in its surface texture which means not only will your wallpaper stick to the surface of the drywall, but it the texture of the wall will not upset the aesthetic impact of the wallpaper either.
Why is using peel and stick wallpaper so easy when it comes to orange peel textured walls? They’re actually named after the literal peel of an orange, as it has pretty much the same texture. This is as close to a smooth surface as you’re going to get when you’re dealing with wall textures, so count your lucky stars if this is the type of wall texture you’re trying to use wallpaper on.
Popcorn Wall Texture
Why or how this trend came about is a mystery to most, but what we do know is that it is one of the most challenging types of wall finishes to paint and/or use wallpaper over? Why? Popcorn wall texture is essentially speckled, raised points which give the wall a rough feel, but it also makes a wall really challenging to paint (even with a sprayer) and even more challenging to apply wallpaper on.
The speckled raised edges of popcorn texture means that the wallpaper will have a really difficult time sticking to the surface, because as we mentioned earlier, the best surface to apply wallpaper to is a completely flush one. Aside from having a difficult time sticking to the surface, the wallpaper will also look pretty bad on a popcorned textured wall, not to mention that popcorn texture can tear wallpaper if you try to flatten it against the surface.

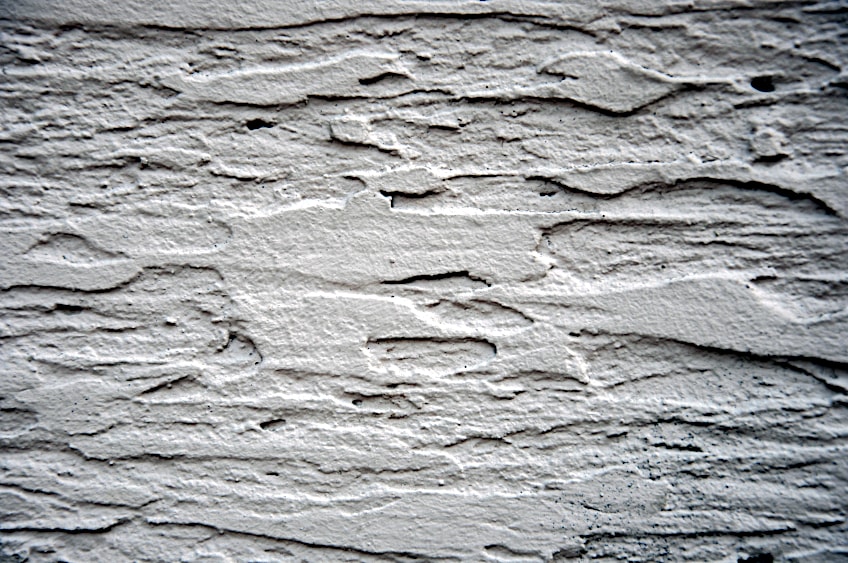
Skip and Trowel Texture
It can be pretty challenging to distinguish this wall texture from the knockdown wall texture. It’s just as common with the only difference being that the raised texture slashes are spaced further apart when this technique is applied. In the fine art community, creating this pattern on canvas using a painting trowel is known as a stucco, which is similar to the impasto technique.
The nice thing about walls with these texture patterns is that they aren’t too challenging to use with wallpaper. In fact, you might even be able to use conventional wallpaper on a wall with this texture as it isn’t too raised and won’t prevent you from flattening the surface of the wallpaper. However, the result still won’t be as good as it would be with a completely flush surface.
Swirl Wall Texture
If you’ve never seen this texture on a wall surface you’re not alone. These are seldom used on wall surfaces, instead of being more commonly found on interior ceilings. This wall texture is characterized as overlapping circles or semi-circles spread out over the surface of the wall or ceiling. It is cheap and easy to achieve, which is why it was so popular at one point.
As you can imagine it’s not exactly the smoothers surface thanks to the long-reaching circular patterns present on the surface of the walls and ceilings they’re used to decorate. If you’re thinking about using conventional wallpaper on these surfaces, you’re going to have a run into quite a bit of resistance so you’re best off using special wallpaper or remodeling the surface completely.
Can You Put Wallpaper on Textured Walls?
Can you put wallpaper on textured walls? Yes! You can put wallpaper on textured walls but there are a few challenges you’ll run into. This being said, let’s look at why it’s challenging to apply wallpaper to textured walls, as well as what you can do to make applying wallpaper to textured walls if you’re ever faced with this scenario.
Challenges of Applying Wallpaper to Textured Walls
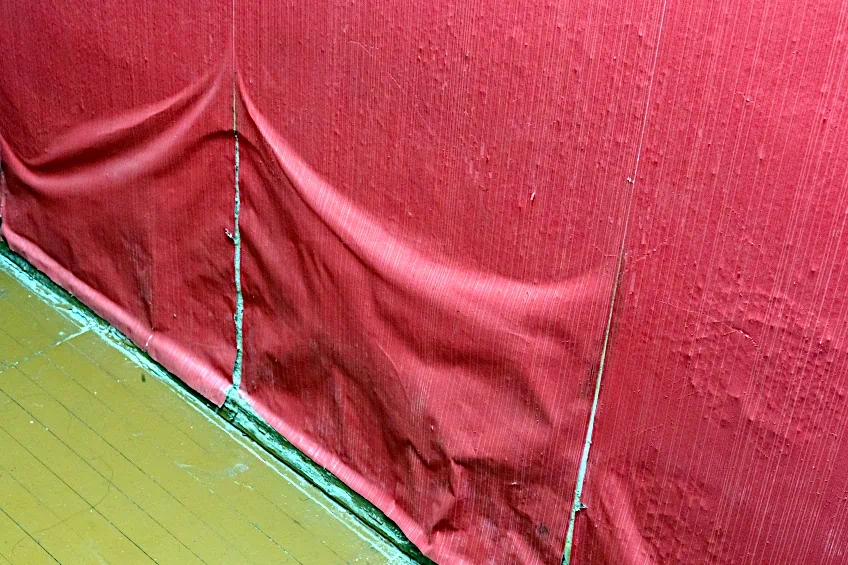
Applying wallpaper to textured walls can be pretty tough, especially if the wall in question is really roughly textured. Think of applying wallpaper to textured walls as trying to wrap a present with ordinary wrapping paper, but the present is shaped like a 3-D star. It can be a difficult process because the coating material (in this case, the wallpaper) is designed to be used with conventionally flat surfaces.
More often than not, if the wall in question is really rough, the wallpaper will bubble and even tear thanks to the uneven surface underneath. This makes smoothing out the wallpaper a near-impossible task, and we say near because there are some tricks you can use to apply wallpaper to a rough surface without too much effort or tearing your wallpaper entirely.
Is There Special Wallpaper for Textured Walls?
Is there wallpaper on textured walls? Well, yes there is, while they haven’t been specially designed for use on rough-textured surfaces, some bright crafters have found through trial and error that they can be used on pretty rough walls. This being said, what are these special wallpapers called and how exactly do they work?
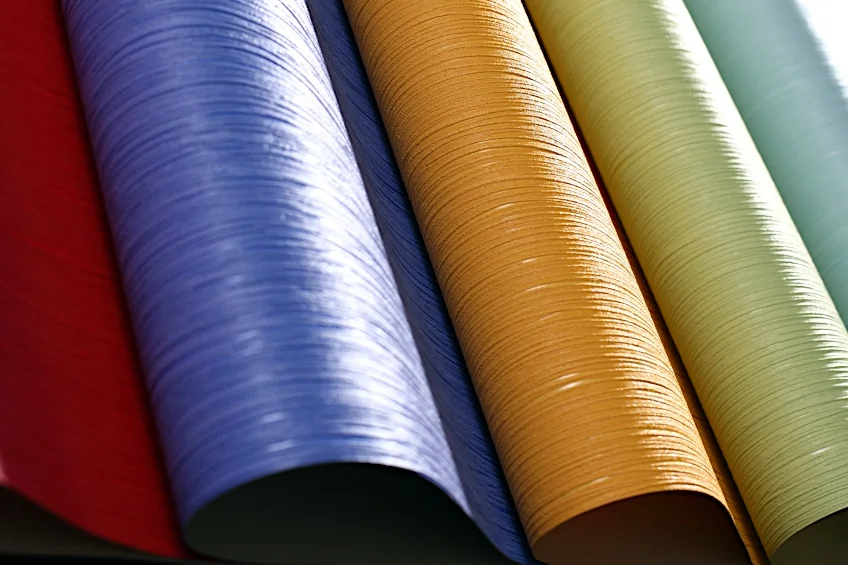
They’re known as removable wallpaper or “peel-and-stick” wallpaper because they can be applied and removed, unlike the conventional kind. They’re typically thicker, which means they don’t rely on the surface they’re being used on for rigidity, which happens to make them the perfect tool for wallpapering rough surfaces!
This wallpaper for rough walls is designed to be a semi-permanent solution for your wall covering needs. Most people use this type of wallpaper as a stopgap before getting their walls refurbished entirely, but this doesn’t mean it cannot be used as a permanent solution. It’s sort of an added bonus that it can be applied and removed with relative ease without damaging the wall or leaving behind any wallpaper pieces.
How does this wallpaper differ from conventional one-use wallpaper then? Well, it’s marginally stickier than its counterpart, and even though most manufacturers of removable wallpaper don’t offer a guarantee that they work on textured walls, these wallpapers are extra thick which means that they aren’t as affected by the uneven surface of the wall they’re being applied to.
This being said, you should ensure that the surface of your textured wall is as prepared as possible when using this type of wallpaper. Just like you would if you were using conventional wallpaper, ensure that the surface in question is clean and that you start applying the wallpaper on a section of the surface with the most surface friction and greatest contact surface. Keep in mind that on a textured wall the adhesive on the paper will only be able to adhere to the raised areas, not the entire surface.
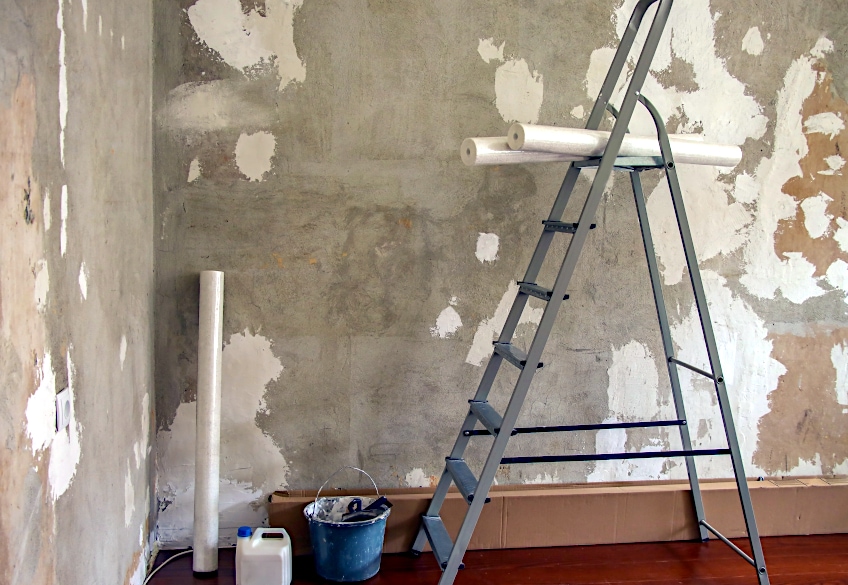
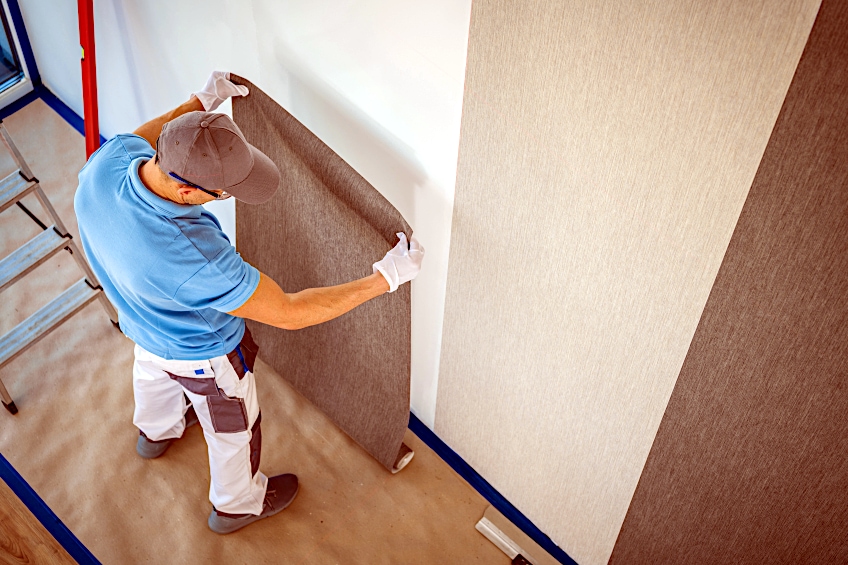
How to Wallpaper Textured Walls
Wondering how to wallpaper textured walls? If you’re really adamant about using conventional wallpaper on textured walls we’ve put together a short tutorial detailing some of the steps, you should take to quite literally make the journey smoother. Remember that unless your wall’s surface is completely even the texture underneath will show through, so keep that in mind if you’re thinking about cutting corners.

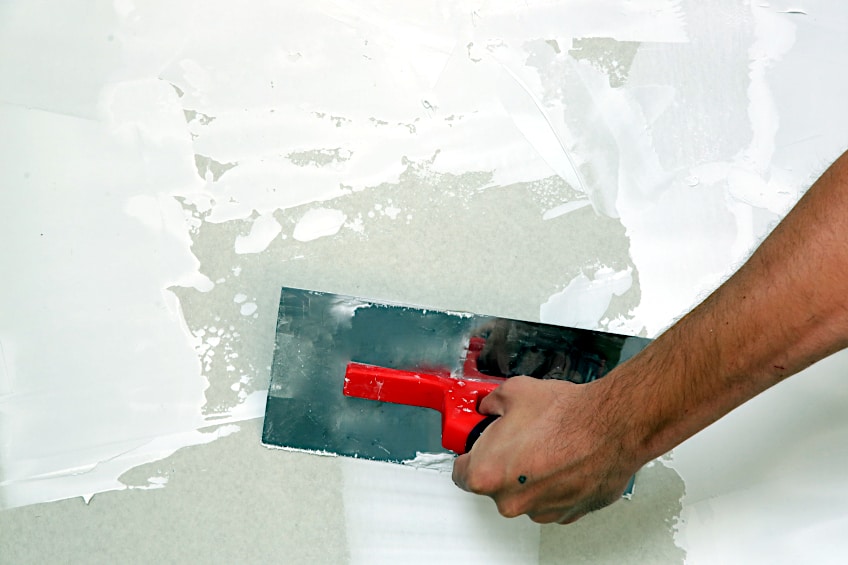
Skim the Wall
The first step regarding how to put wallpaper on rough walls is to skim the surface of the wall you’re working with. This might seem like a big job initially, but it generally goes quite quickly once you’ve gotten started. If done correctly this should completely eliminate any surface blemishes and make your wall ready to receive some wallpaper.
Now, there are many ways you could go about skimming your walls and you could even go so far as to call in a professional which shouldn’t be too pricey either. Although, we’re willing to bet that since you’re reading this, you’re probably leaning towards doing this on your own. So, let’s start with the easiest way to go about it.
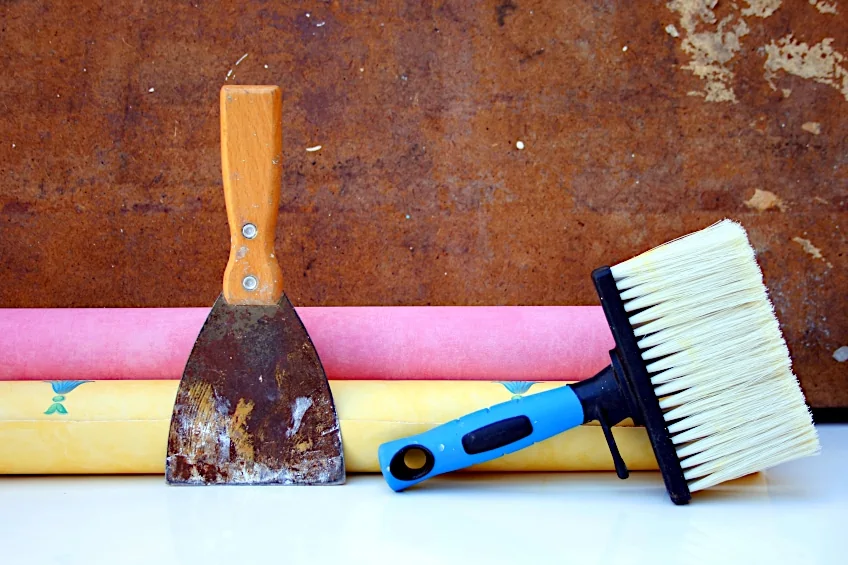
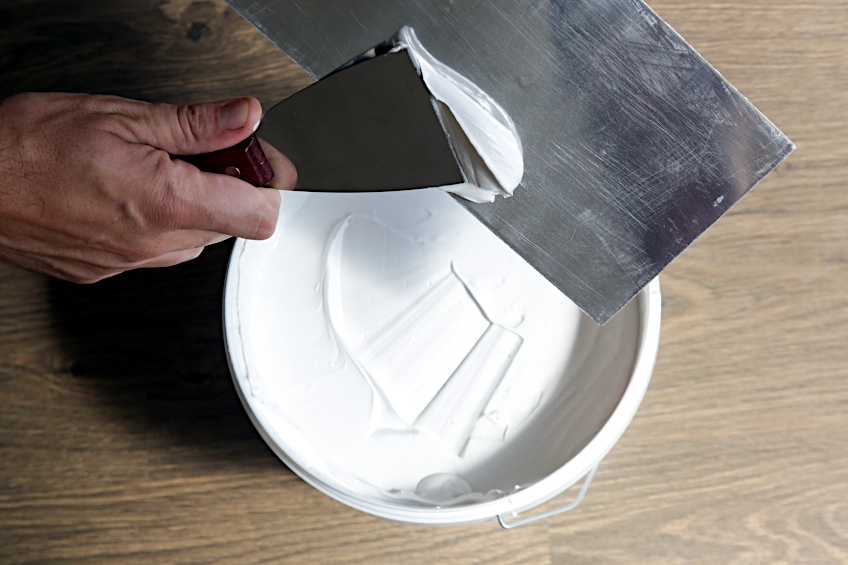
All you need is some joint compound, a paint tray /mud pan, a putty knife, and some sanding paper or a sanding block. Fill your paint tray with some joint compound and mix it together. Using your putty knife, pick some up and apply it to your wall. Repeat this process and use your knife to smooth out the surface and allow the joint compound to dry completely as per the manufacturer’s recommended time period.
Once the joint compound has had a chance to dry completely, it’s time for you to get your sandpaper or sanding block out. Using it, create the smoothest, most even surface you can without removing too much of the joint compound. If you want to ensure that your surface is flush, use the spirit level. Once you’re done sanding, use a clean dry cloth to remove and joint compound dust present on the wall.
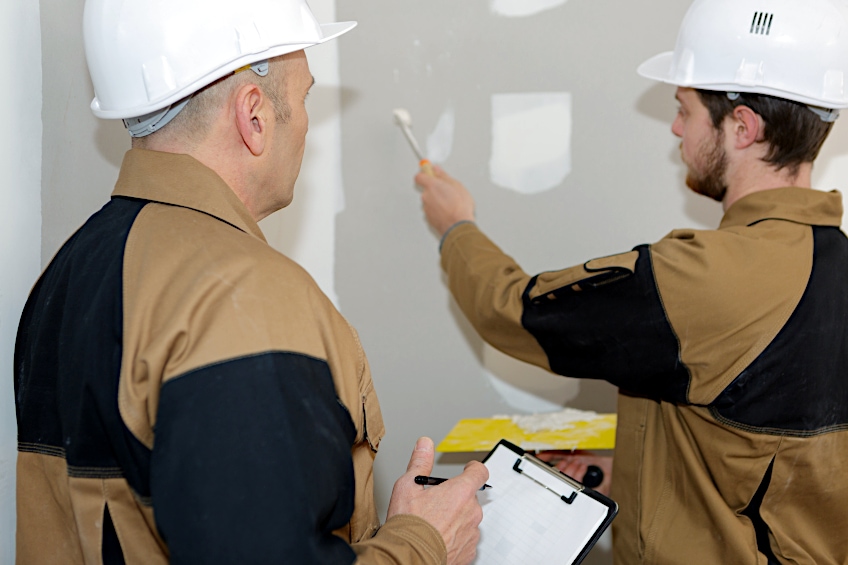
Prepare the Surface
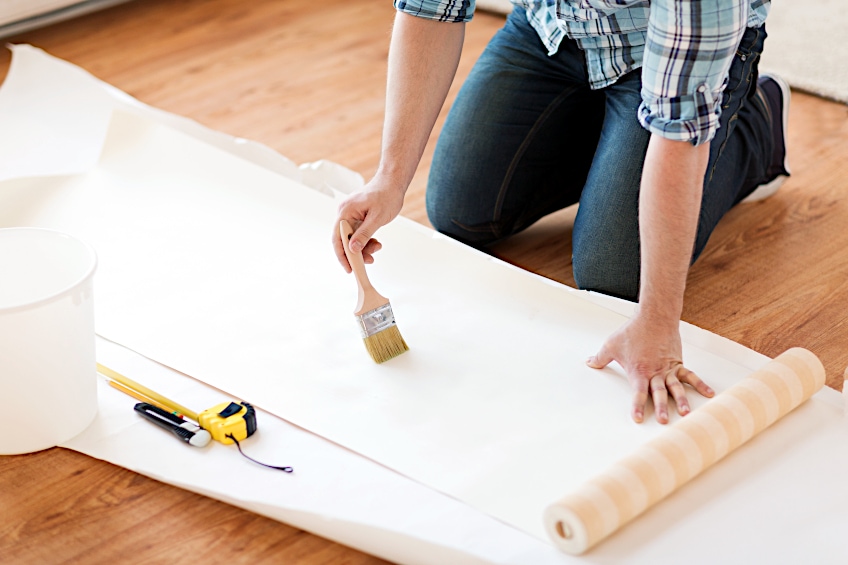
The second step regarding how to put wallpaper on rough walls is to ensure that the surface has been properly prepared to receive the wallpaper. The best way to ensure that your wallpaper sticks are to use a primer on the newly applied joint compound, preferably an oil-based one so the surface is nice and smooth for the wallpaper.
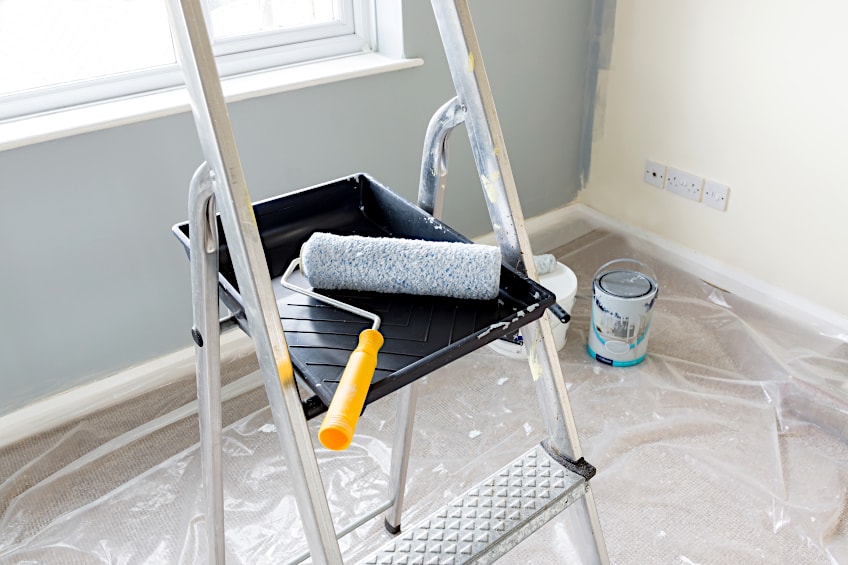
All you need is a can of oil-based primer and a brush to get started. You can either pour some primer out into a paint tray and work from there if it makes it more manageable for you or uses it directly from the can. Start with a thin layer of primer, ensuring that an even amount is spread across the ensured wall surface. Feel free to add more than one coat and allow the primer to dry for the manufacturer’s recommended time period between each coat.
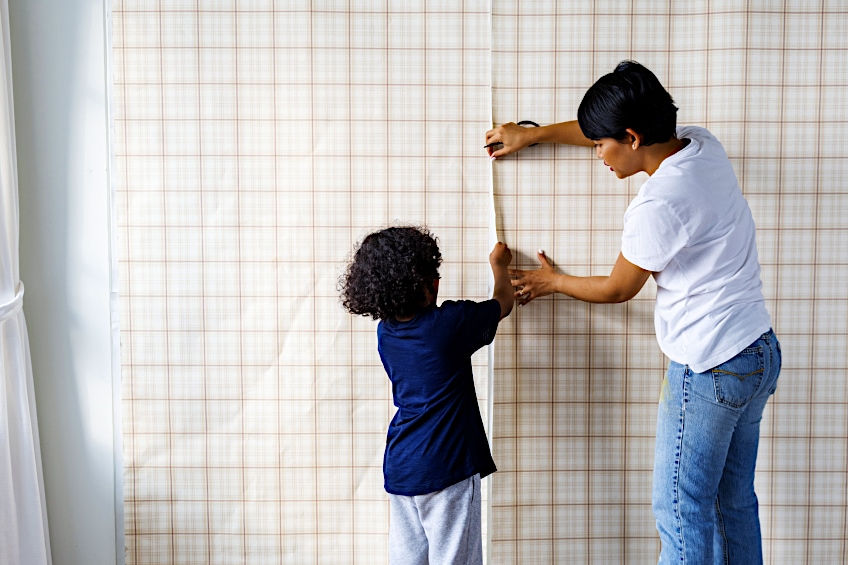
Once your primer has been applied it’s time to mark your wall. Using a pencil and spirit level, mark where each sheet will end and where the next one will begin, which can take some time especially if your room and walls are not conventionally shaped. When dealing with doorways, mark a line with your pencil that is roughly two inches shorter than your wallpaper.
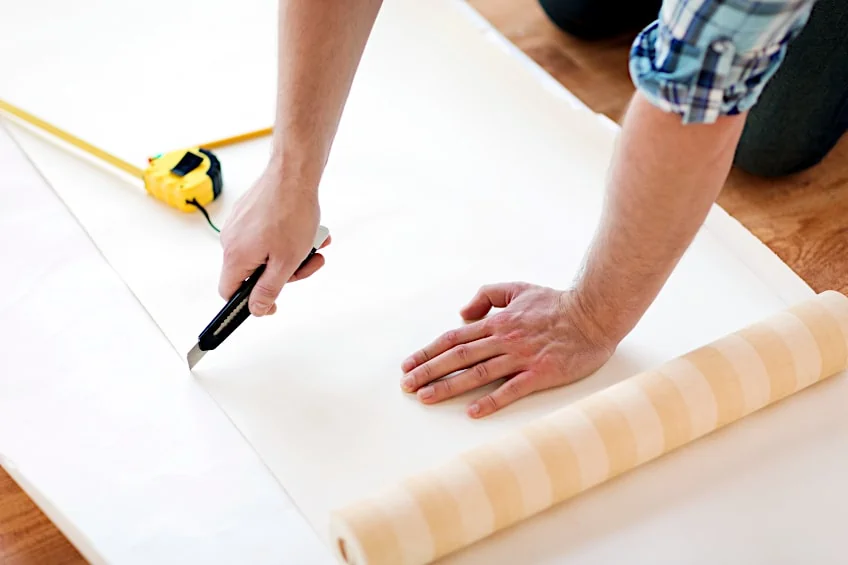
Prepare Your Wallpaper
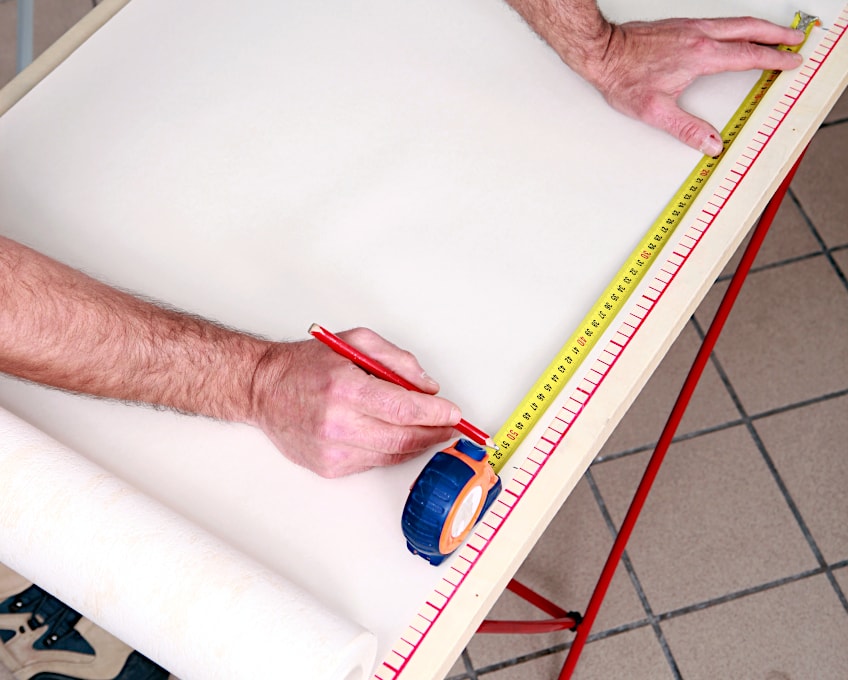
Measure your wallpaper to the appropriate sizes and mark out the sheets that will be intersecting with one another. This is especially important when you are using a wallpaper with a pattern on it. Why? Well, if you execute this step in the process incorrectly you could end up with patterns that don’t line up which could ruin the overall aesthetic of your wallpaper.
Once you’ve marked your wallpaper it’s time to cut them into more manageable sections. The go-to method for sectioning off wallpaper is to divide them into four large squares, which essentially makes the dividing like a big cross. Once your wallpaper has been marked and cut into sections give the surface of your wall one last wipe down with a clean cloth before moving on to the next step in the process.
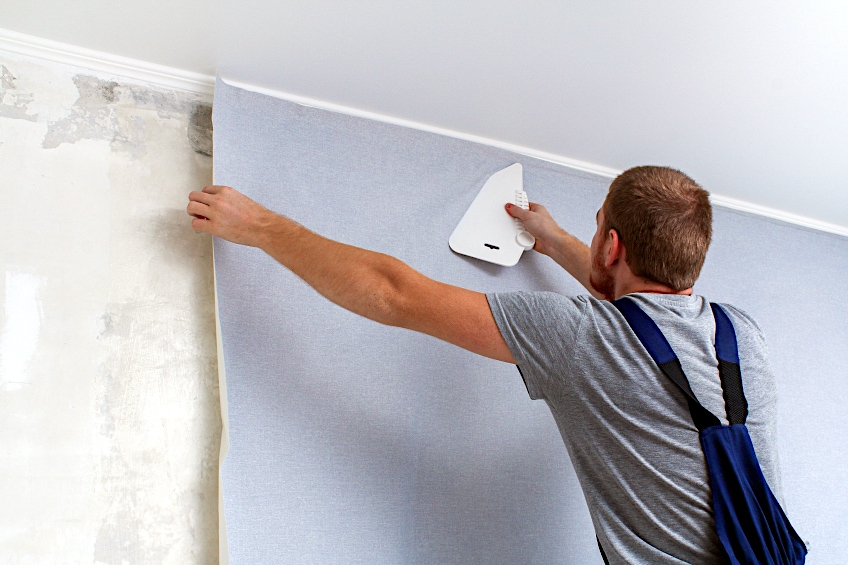
Apply Your Wallpaper
Now for the part you’ve been waiting for. Get your first sheet of wallpaper and (if it is dry back wallpaper) apply your wallpaper glue. Once your glue has been applied, carefully line up your wallpaper with the doorway line drawn earlier, starting at the topmost edge of the wallpaper and allowing smoothing it down as it comes into contact with the wall.
Once the sheet has been applied to the wall firmly, use a wallpaper brush to smooth down the surface of the wallpaper. Failing to do so can result in uneven wallpaper, which kind of defeats the point of making your wall all smooth, so give this your best effort and be as patient as possible (it can get frustrating). The trick is to use the brush from the middle of the wallpaper and spread any bubbles out towards the edges.
As we mentioned previously, do your best to match the patterns, but this shouldn’t really be a problem considering that you measured your wallpaper and marked your wall beforehand. Repeat this process until all of your wallpaper sheets have been applied and remember to remain patient to avoid accidentally tearing any of your neatly cut wallpaper.
Roll Your Seams
At the points where the wallpaper sheets have been joined, use a roller to ensure that they are all flush with the surface of the wall as they do tend to raise at the edges. The goal here is to create a seamless surface so that you or anyone else that has a look at the wallpaper has the impression that it’s all one big, beautiful piece.
Once you have all of the seams flat and flawless, it’s time for the clean-up. You might have noticed that during your rolling process some glue from underneath the wallpaper was squeezed out. Not to worry though, just use a damp sponge with some warm water to remove the excess glue from the surface of the wallpaper.
Now that you know what some of the different types of wall textures you can encounter are, as well as what types of wallpaper are available for use on textured walls, and how to prepare a textured wall for wallpaper, it’s time for you to get out there and put your new-found knowledge to the test. Remember to be patient and plan correctly regardless of the surface or type of wallpaper you find yourself working with.
Frequently Asked Questions
Is There a Wallpaper for Rough Walls?
Is there a wallpaper for rough walls? Well, yes there is but not exclusively. Ideally, you’d want to smoothen out the surface of your wall before you go applying wallpaper to it. Although, if you really wanted to, you could peel-and-stick wallpaper on textured walls as they are stickier and have better adhesion quality.
Is Wallpaper Expensive?
Objectively speaking, the cost of applying wallpaper and the labor costs of having it done by professionals is almost always more expensive compared to slapping on a coat of paint. It probably doesn’t help that the price of wallpaper can range anywhere between $30,00 and $400,00.
Is Wallpaper a Good Idea?
Wallpaper is arguably more visually intricate than paint so it’s never really a bad idea aesthetically. Wallpaper can be used in large or small spaces, has an unlimited amount of color, can be removed with relative ease, and there is a wide variety of patterns, colors, and even textures for you to choose from.