Wall Painting Techniques – Get the Best Finish and Coverage
This post may contain affiliate links. We may earn a small commission from purchases made through them, at no additional cost to you. You help to support resin-expert.com
When it comes to painting, there are a plethora of techniques you can implement. Often, different surfaces and objects require a specific technique when applying paint to a wall, so understanding what techniques are available to you can save you a lot of time and money when painting a new surface. Here are a few wall painting techniques you can use to ensure that you achieve the best finish possible when using a brush and/or roller!
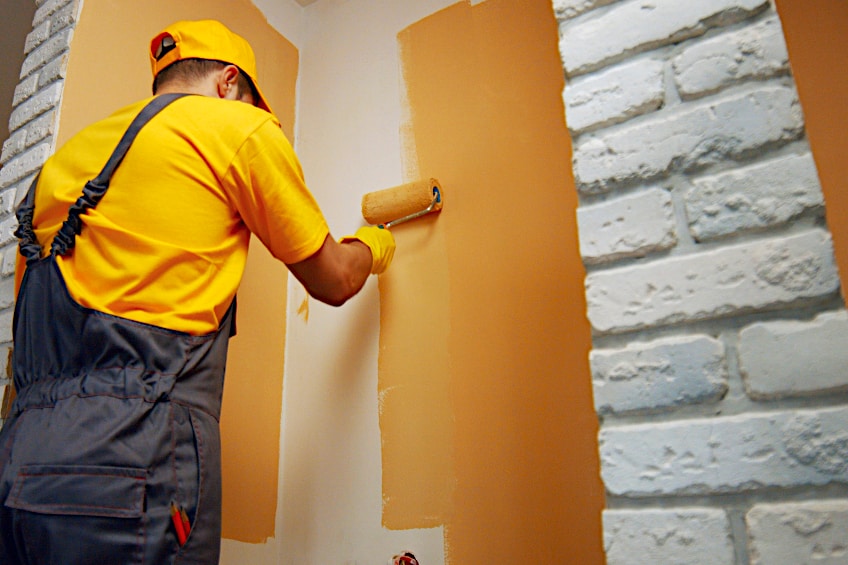
Table of Contents
Types of Wall Painting Techniques
There are various painting techniques for walls depending on whether you are using a brush or roller. Why, though? Put simply, different types of paint and different surfaces might require you to alter your painting technique in order to ensure proper application and finish. Here are some common painting techniques you can follow depending on what tool you’re using to paint.
Brush Painting
Brush painting is one of the oldest painting techniques around. Originally, brushes were made of animal hairs and other natural fibers. These days, most brushes are made of synthetic fibers to accommodate modern paints and surfaces. Before the advent of rollers and sprayers, brushes were used to paint all kinds of surfaces, whether they be large or small.
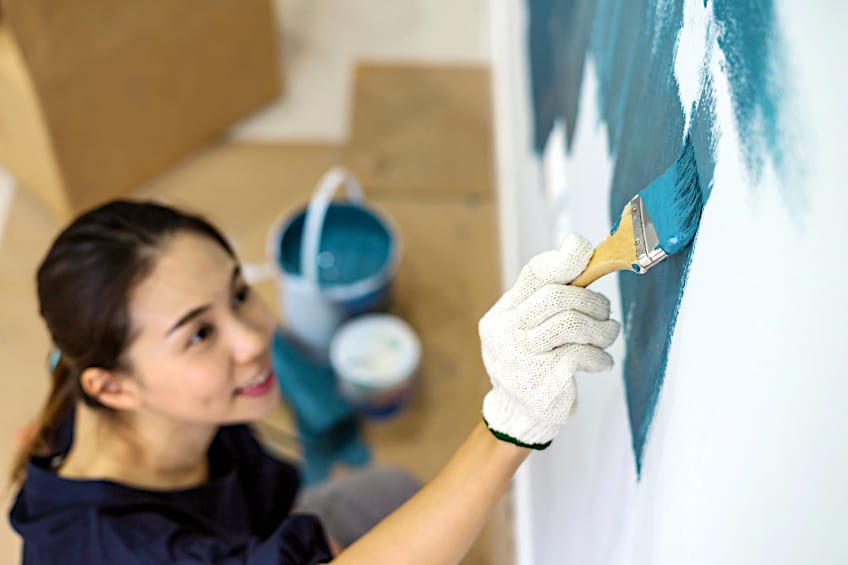
These days, brushes are generally used to cut in corners and edges of workpieces, apply paint to small or irregularly shaped workpieces, or for simple craft painting applications.
Brushes have become far more efficient over time, minimizing drippage and maximizing coverage while you are painting. There are even special brushes for specific paint types and surfaces!
Tips and Tricks for Using a Brush
There are a lot of tricks you can use to ensure that your brush painting experience goes off without a hitch. While most people tend to think that it’s simply a matter of picking up a brush and painting there are many things you can do to ensure that your paint is applied evenly while reducing things like brushstrokes and smudges.
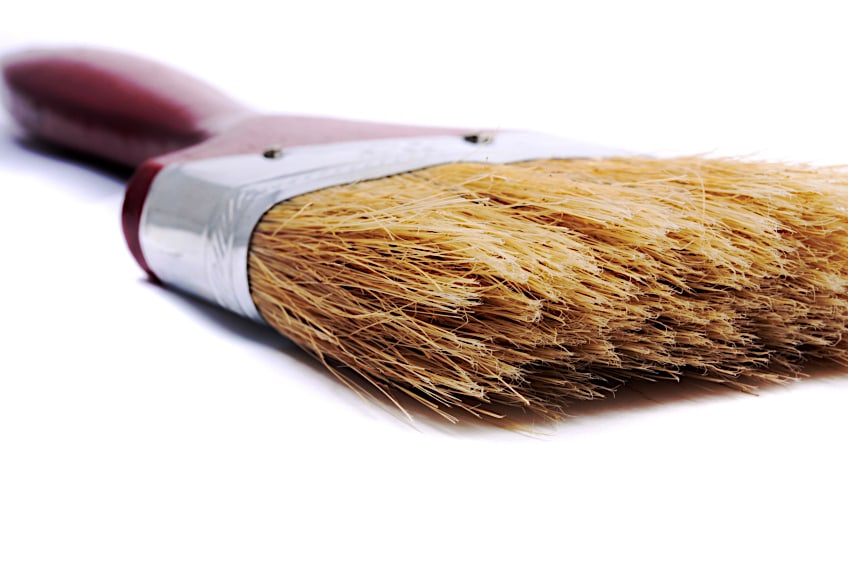
Loosen Your Bristles
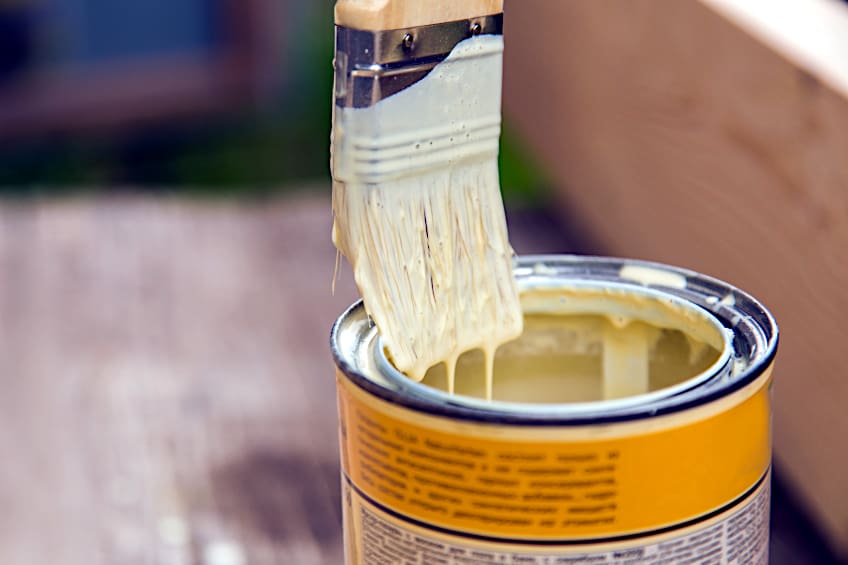
Before you make use of your brush be sure to flick the bristles to loosen them from one another. If you are using water-based paint, be sure to dip the bristles in water, and if you are using an oil-based paint you should dip your bristles in mineral spirits or turpentine. Once you’ve wet the bristles of your brush remove excess liquid before dipping your brush in paint.
Only Dip Half of Your Bristles
When getting paint on the brush, lots of people tend to dip just the tip of all the bristles in paint. The best way to ensure you have enough paint on your bristles while not completely saturating your workpiece is to dip your bristles about halfway up. This should ensure that you have enough paint for the initial application.
Don’t Apply Too Much Pressure When Removing Excess Paint
The consistency of paint can vary considerably by type and quality. This can make it challenging to determine how much paint you’ve got on your brush, often forcing you to remove excess. When doing so, do not apply pressure to the bristles when bleeding excess paint on the edge of the container.
Simply place the bristles in contact with the edge of the container and allow the paint to run.
Work Carefully and Methodically
Contrary to how professionals and seasoned painters make it look, brush painting requires quite a bit of concentration and practice. To apply paint effectively and evenly, professionals often recommend working from the top of your workpiece downward, applying light strokes with your brush, and working into your wet edge.
Know How to Paint a Large Area With a Brush
While it’s never recommended, you might find yourself needing to paint a large area with a brush. If so, start by lathering paint onto the surface in a 19in x 19in area horizontally. This is to spread the paint out effectively, and once you’re done simply paint over the area in long vertical strokes to add uniformity and minimize visible brush strokes.
Cleanup
Cleaning up when painting with a brush is easy. It’s rather challenging to over-apply your paint when using a brush or splatter paint for that matter. Therefore, simply remove the painter’s tape you used to secure your tarp and trim and dispose of them responsibly if you don’t intend on using them again in the near future.
Also, don’t forget to clean and store your brushes and paint appropriately.
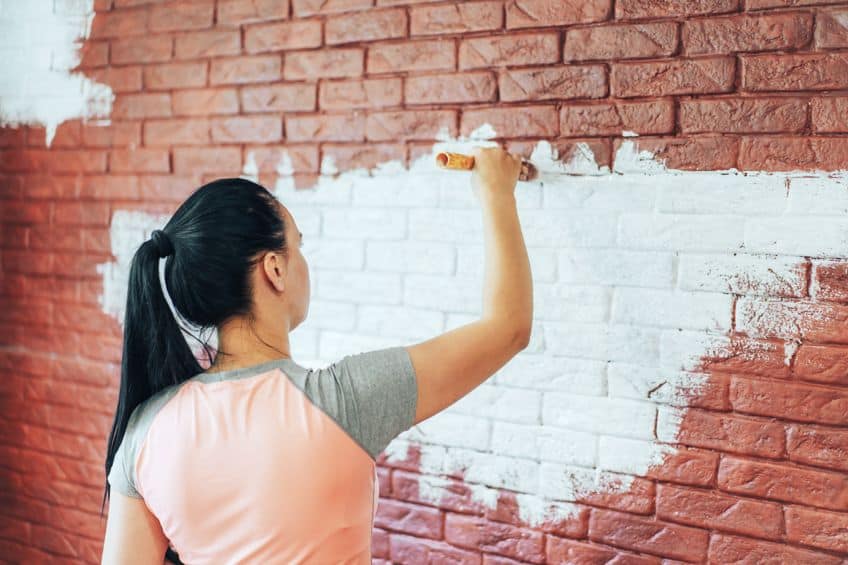
Roller Painting
The paint roller has become a somewhat indispensable part of the painting process for professionals and DIY enthusiasts alike. It was first invented in 1940 by one Normal Breaky, who used a steel pole, cylindrical core, and some plain carpet as the nap for the roller. Although his invention struggled to gain popularity initially, it is extremely well-known and widely used today.
Rollers are used to paint large surfaces as they are capable of distributing more paint and allow the user to extend their reach over the surface area of a given workpiece.
Rollers these days have various naps to accommodate various paint types and surface textures and even have arms that can be extended and retracted to suit your needs, eliminating the need for multiple attachments.
Tips and Tricks for Using a Roller
Like brushes, rollers are fairly rudimentary tools that don’t seem like they take an awful lot of skill or concentration to operate. In reality, rollers can be used ineffectively very easily, so it’s best to know how to use a roller to ensure your finish looks as desired, and to ensure that you don’t waste all your time, effort, money, and paint.
Always Clean Your Roller Before Use
Even if your roller comes in a sealed package be sure to give it a good clean. While it isn’t likely, the roller could have picked up particles during the production and/or packaging process, which could affect the adhesion of your paint and the overall quality of your finish.
You can give the roller a good clean with a fresh cloth before dipping it in primer or paint.
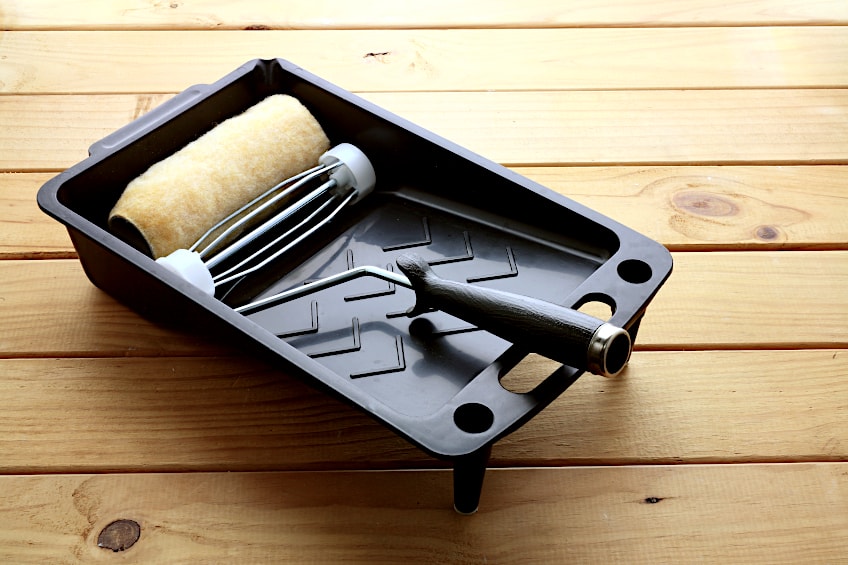
Do Not Overfill Your Reservoir
Paint trays are usually used in conjunction with paint rollers. When filling the reservoir of your paint tray be sure not to overfill as this could result in you saturating the nap of your roller with paint, which could result in an uneven application of paint. It’s usually recommended the tray be filled up either halfway or ¾ of the way full.
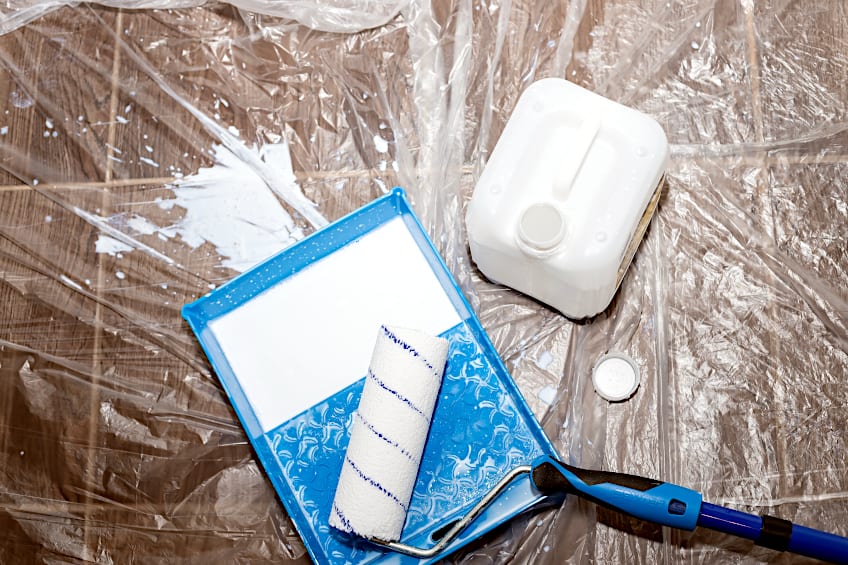
Do Not Submerge the Entire Roller in the Tray
Newcomers can be tempted to submerge the entire roller in the reservoir of the tray. The roller should only ever be half submerged in paint, at which point the excess paint can be removed by running the roller on the ramp of the paint tray. This will prevent you from over-applying paint on your walls and ensure an even finish.
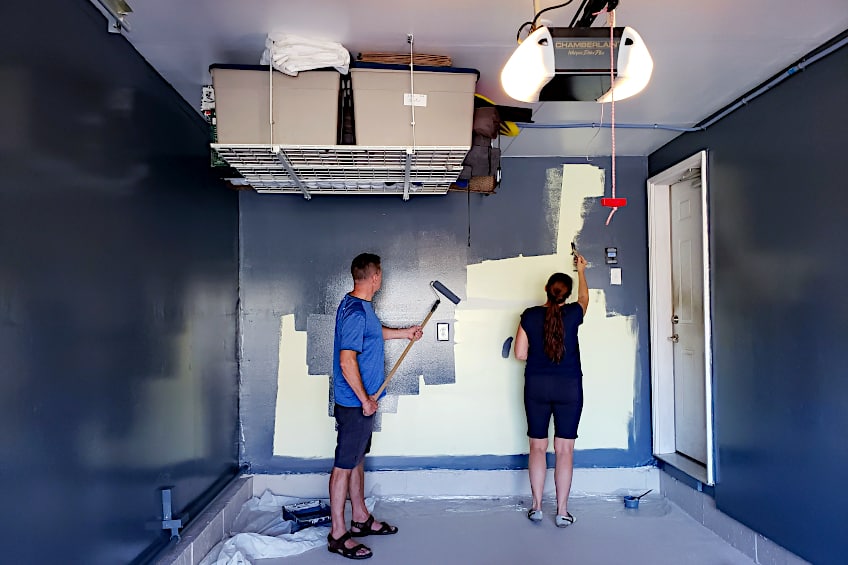
Strategize How You Will Apply Your Paint
While it might seem like a good idea to simply start at one of the walls and work your way to the other, there are more efficient strategies when applying paint using a roller. One tried and true technique is to apply your paint in zigzag patterns and then fill the gaps between these patterns.
Other application techniques include painting in “v” formations and applying diagonal lines.
Never Leave a Roller Exposed With Paint on It
Remember that rollers soak up a lot of paint, and depending on the type of paint you are using the paint could harden on the roller if it is simply left exposed while not being used. The best thing to do is cover your roller with some plastic or a sheath to limit the amount of oxygen it is exposed to, preventing the paint on the roller from drying and hardening.
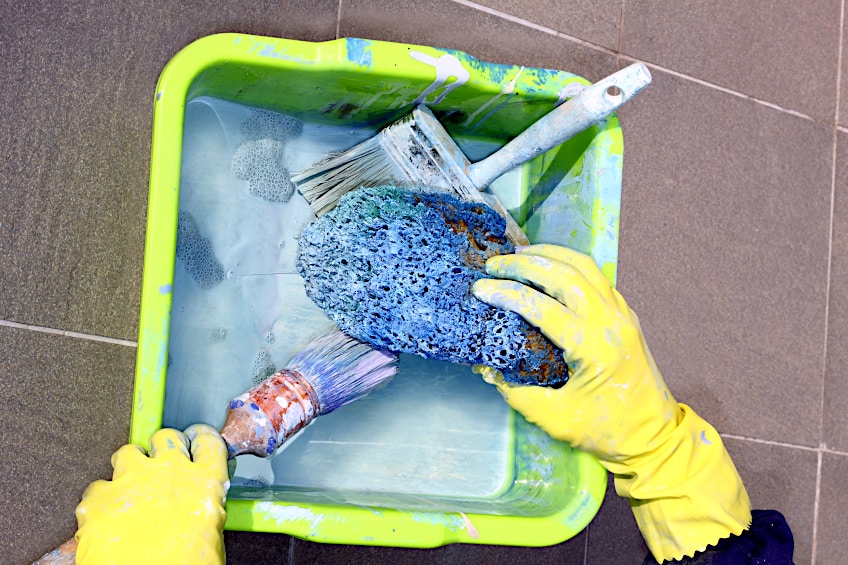
Clean Up
There shouldn’t be much of a cleanup when working with a roller. If you have applied painter’s tape and secured the tarp and/or newspaper over your floor all you will need to do is clean your roller, store it in some plastic, and remove your tarp and painter’s tape.
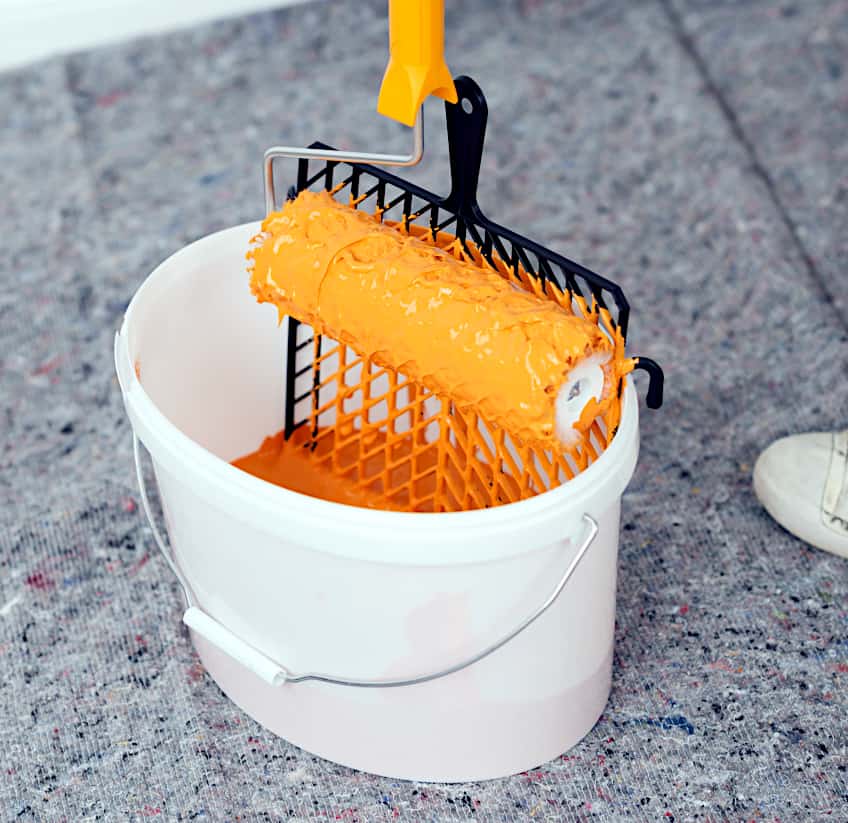
The best way to clean a roller is to use a metal or plastic ring close to the dimension of the roller to squeeze the paint out while rinsing it in water or thinners. Alternatively, you can use same paint grid that removed the excess paint from the roller while painting for cleaning purposes as well.
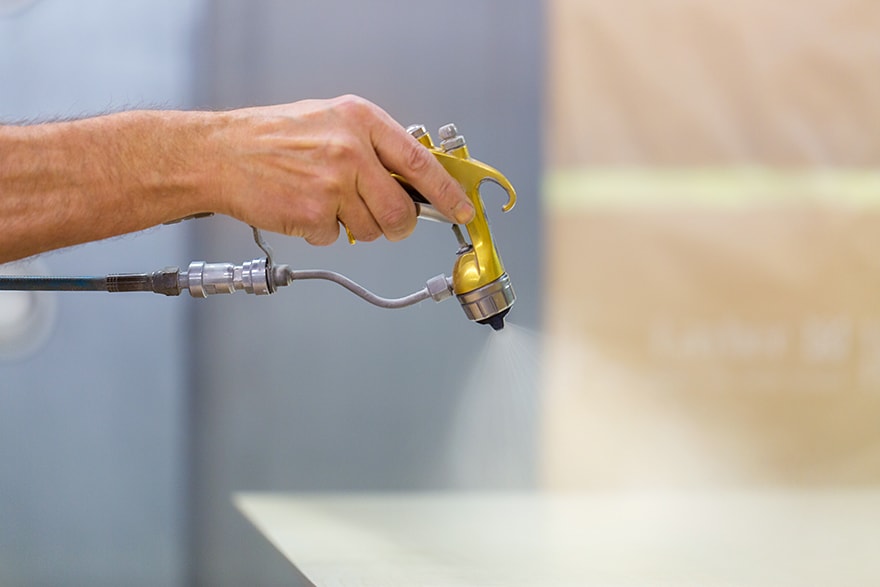
Spray Painting
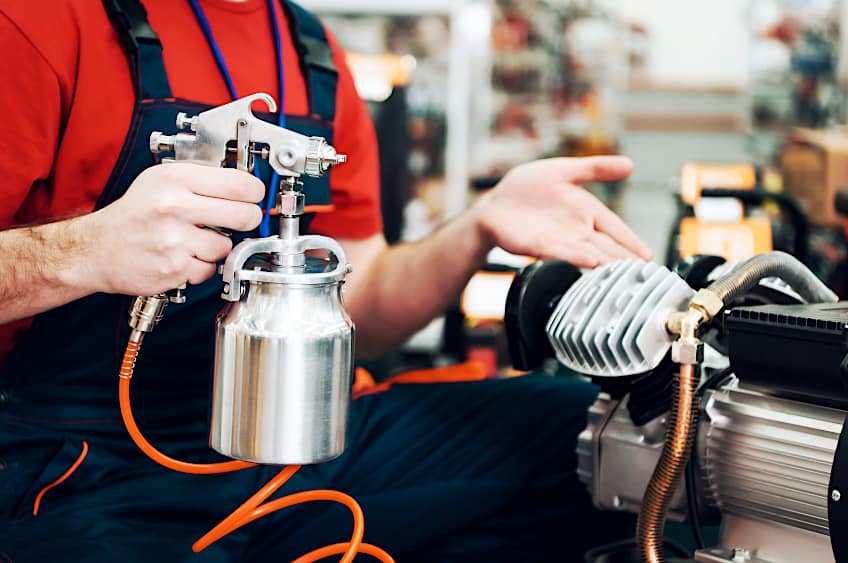
Great inventions usually come about as a response to a need, and when Joseph Blinks needed to whitewash buildings after the Chicago fire in 1887, the first paint sprayer was born. Paint sprayers are designed to apply paint precisely while covering large surface areas. Sprayers can be electronically powered, or they can use compressed air.
There are many ways that paint can be fed to a sprayer. Whether it be from an external tank, a gravity-fed hopper, or a siphon-fed hopper, the paint will eventually be atomized by the spray tip and spread uniformly across the surface of your wall. Sprayers are typically used in scenarios where speed, accuracy, and efficiency are the name of the game.
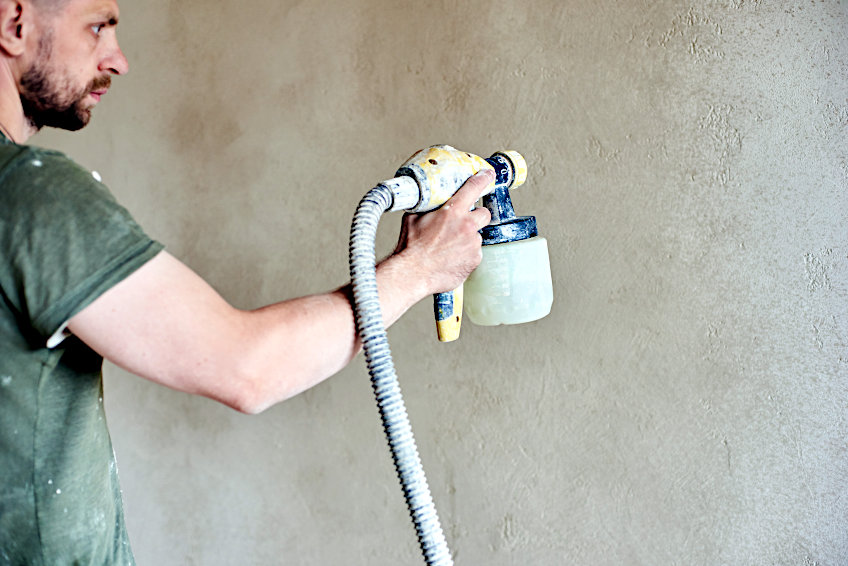
Tips and Tricks for Using a Sprayer
If you have never used a sprayer before it can be an intimidating experience. Thankfully, there are some tips you can implement to ensure that your first time using a sprayer goes off without a hitch. Before you know it you could have an extremely even and efficiently coated workpiece standing before you, so let’s have a look at what things you should look out for.
Ensure You Have the Correct Spray Tip
The spray tip you use will determine how your paint is distributed. Choosing the incorrect type of paint you are using could result in you over or underapplying your paint.
Spray tips determine how paint is atomized once it reaches the nozzle so always ensure that you know what type of distribution you are aiming for beforehand.
Always Test on Spare Material
Sprayers can react differently depending on the type of paint, type of spray tip, and the type of feed being used regardless of your technique. This is why testing how your sprayer will react on some spare material before using it on your walls is standard practice for many professionals.
Testing your sprayer first will also give you a chance to see how your substrate reacts to the paint type you have chosen.
Start Moving Before You Spray
Using a sprayer involves a lot of wrist movement and trigger discipline. Most spray paint tutorials will instruct you to start spraying off the surface of your workpiece with minimal trigger pressure then move your wrist in one smooth, uninterrupted motion across the surface of your workpiece as you gradually increase your trigger pressure.
Moving while spraying will ensure an even application of paint while reducing the probability of splatter.
Spray in a Consistent Speed and Direction
As you build confidence with your sprayer it’s quite easy to lose your rhythm. To ensure that your finish appears uniform, it is best to maintain the speed and direction of your passes. Therefore, if you begin spraying in vertical lines at a moderate speed, maintain this approach for the entirety of the painting process to achieve a good-looking finish.
Overlap Your Strokes
While this might seem obvious considering that it is done with a roller and brush as well, it’s worth mentioning. Ensure that all of your strokes overlap slightly to make sure that one section blends in with the next. This should hide the fact that you have painted the wall section by section, leaving behind a flush, (hopefully) flawless finish.
Cleanup
Cleaning up after using a sprayer isn’t too difficult. To clean your sprayer you’ll need to flush it out either using some water or a dedicated solvent depending on the type of paint you have chosen to use. Be sure to clean off the roller you used to apply your primer (if you didn’t use your sprayer) and store it in some sealed plastic or similar wrapping.
Once your sprayer and roller have been cleaned you can remove your floor tarp and painter’s tape from their surfaces. If you don’t intend to use the tarp any time soon feel free to dispose of both it and the used painter’s tape in a responsible manner.
Preparing Your Walls for Painting
Aside from the technique and tools you use to paint your walls, the degree to which you have prepared your walls can greatly affect the outcome of your finish. Here are a few things you can do to ensure that your walls are well prepared for the painting process, which should allow your paint to adhere correctly and look good once it has cured.
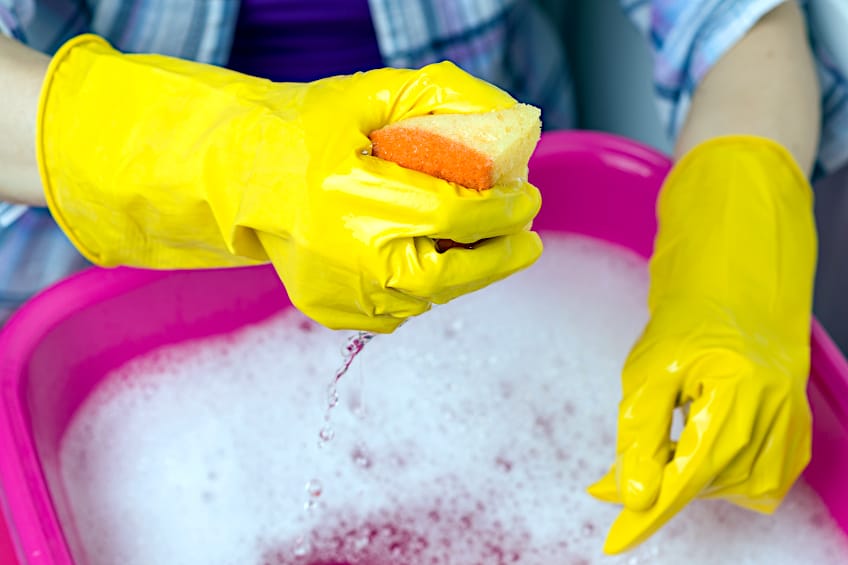
Clean Your Walls
The primer cannot adhere correctly if the surface it’s been applied to is dirty. Therefore, you should take extra care to ensure that your walls are as clean as possible before any primer has been applied. Thankfully, most wall surfaces can be cleaned with some elbow grease and some good old-fashioned soap and water.
However, if you have an existing paint job you will need to remove it first. This could mean using some sandpaper, sanding blocks, or paint remover.
Regardless, once the paint has been stripped you can begin cleaning your wall, and once you are done you should allow the surface of your wall to dry completely before attempting to do anything else.
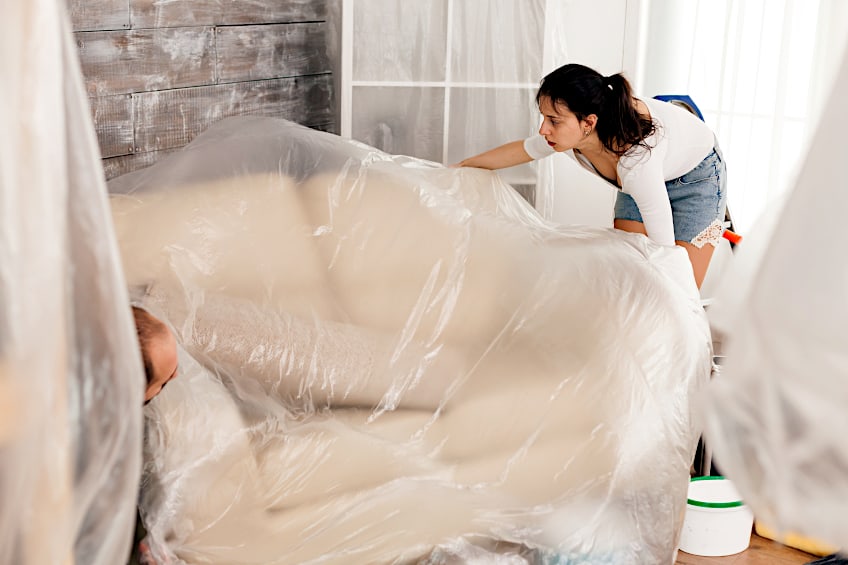
Covering the Floors and Furniture
While this step might seem obvious, it’s quite easy to forget in the heat of the moment. We recommend utilizing a tarp or some old newspaper to protect your floors and furniture. Be sure to secure your coverings with some painter’s tape or equally tough adhesive tape so they don’t move around while you work.
Remember that certain paint types can be exceedingly difficult to remove from surfaces. This is why covering up things that could potentially get damaged is so important.
After all, it’s far easier to lift up some old newspaper or a plastic sheet than it is to get on your hands and knees and scrub some paint off your wooden flooring.
Choose the Right Paint for Your Surface and Application
Choosing the right paint type can be even more important than your application technique. Your paint type should suit your substrate and the area in which your wall is situated. Remember that your paint will be the primary protective layer for your wall, so it needs to be able to withstand any forces your wall will be subjected to.
Paints that do well for exterior applications are oil-based and acrylic-based paints as they are durable and aren’t affected by things like UV light, insects, heat, and cold.
Paints that are better suited for interior use are latex-based paint and even milk-based paints as they get better coverage and don’t need to be as durable as exterior paints.
Apply Primer to Your Walls
Before paint can be applied to your walls you should ensure that your surface has been primed. Primer ensures that your paint has an even color tone once applied and that it adheres to the surface well. Certain paint types need certain primers, often corresponding to their base. For example, oil-based paints need to be used with oil-based primers and water-based paints need to be used with water-based primers.
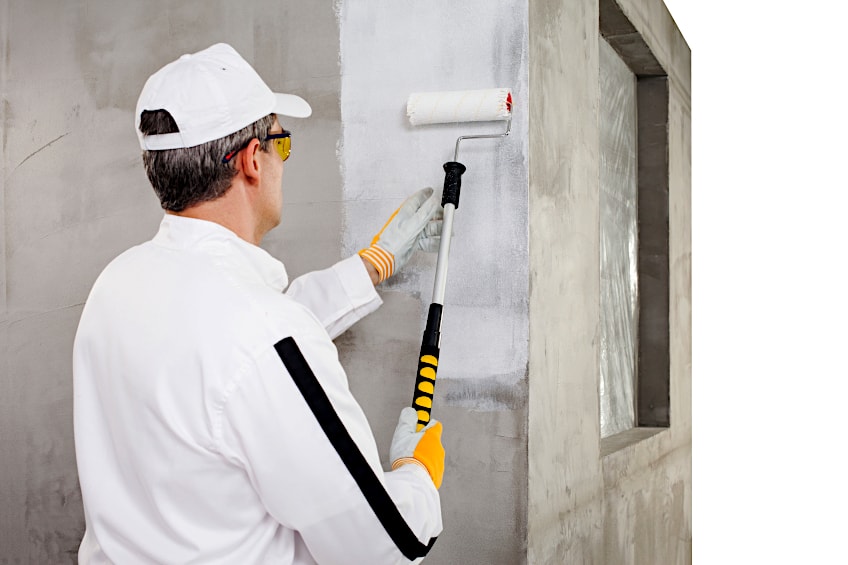
Primer can be applied in the same way that paint is applied. If you are using a brush and roller start by cutting in your corners using a brush and then paint the bulk of the surface using your roller.
If you are using a sprayer, start by spraying off the workpiece and then spraying from one end to the other. While it isn’t aesthetically relevant, be sure to blend each area in with the next to ensure your finish is uniform in texture.
Tips and Tricks for Wall Painting
Knowing how to use your tools is the first step in ensuring your walls have the best paint job possible but refining your skills with a few tips and tricks will allow you to take your finish to the next level. Here are a few things you can do to give you that extra edge whether you are painting your interior or exterior walls.
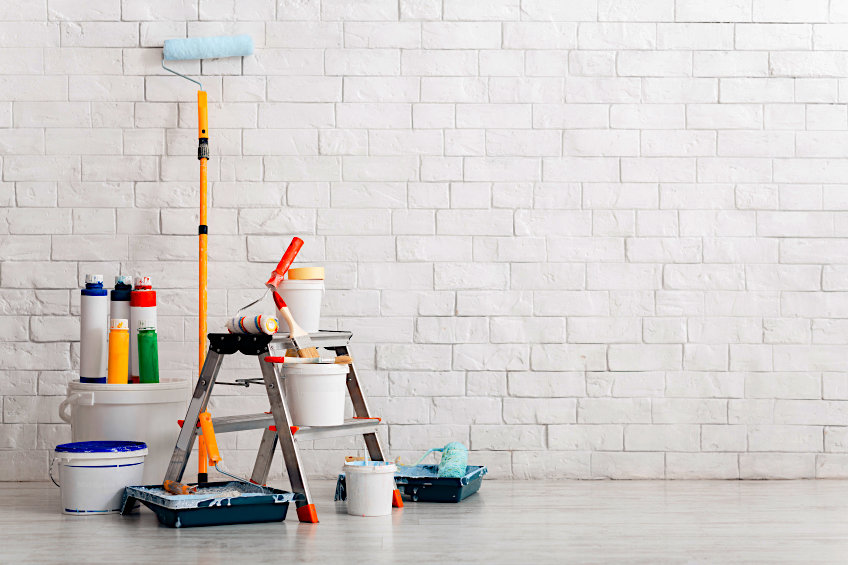
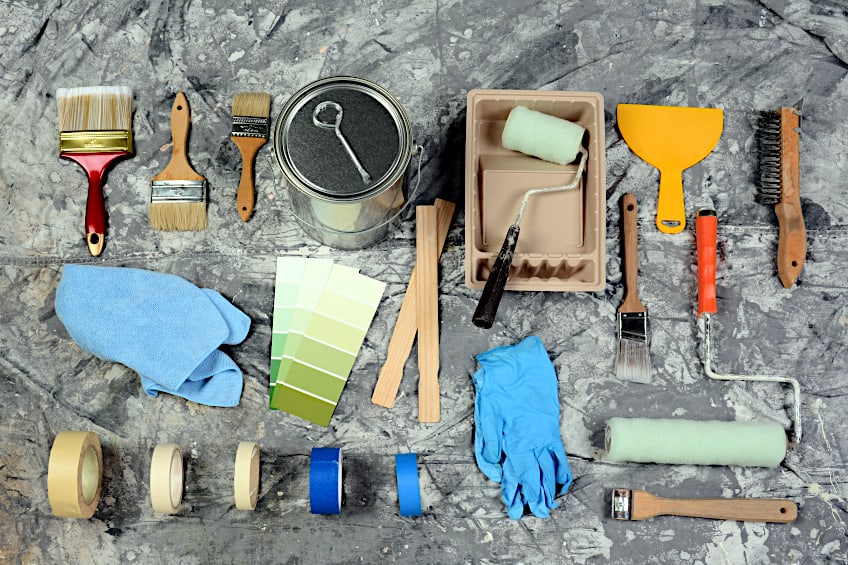
Choose the Right Tools for the Job
Knowing which tools are best suited to your intended application can save you a lot of time, money, and effort in the long run. Pick the right tools for the size and number of walls you intended to paint. Take into account the substrate you will be painting, the type of paint you’ll be applying, how many coats you will be applying, and how much time you have to paint said walls.
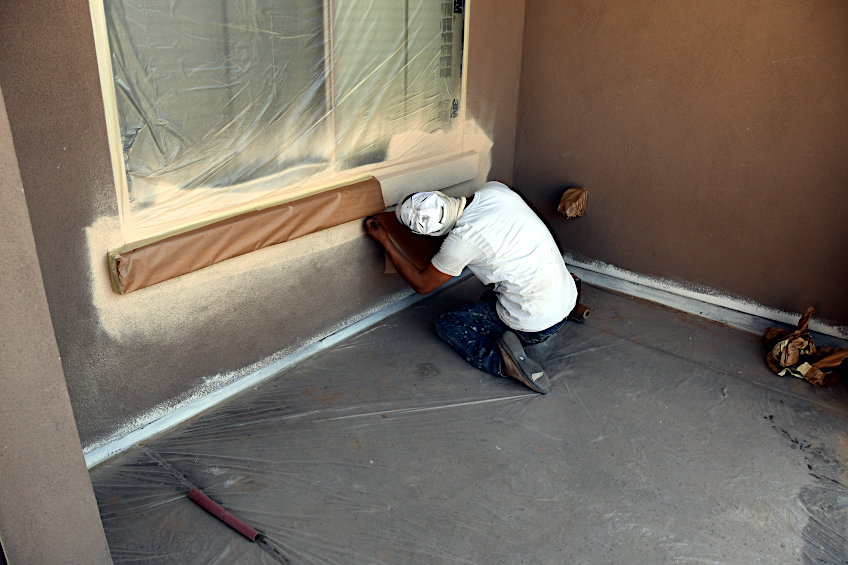
Use Painter’s Tape
No matter what wall you find yourself painting you are going to need to use painter’s tape. Painter’s tape ensures that areas that shouldn’t be painted are protected during the preparation and application process.
Always ensure that the painter’s tape has been firmly secured so that it does not lift, and so aerosolized particles don’t slip underneath it.
Thinking About Mixing and Matching Colors
Trying different paint effects on walls can be fun, but knowing how to do so is important. Whether you are mixing paint colors or altering the texture of an existing paint you need to have an idea of how to achieve your outcome or you could ruin your paint.
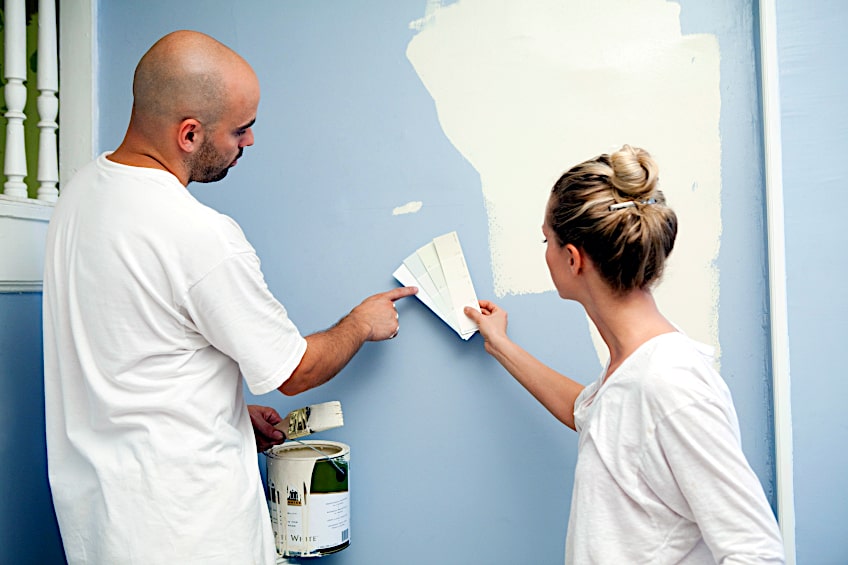
Have a look at mixing tutorials online and test your mixes on spare material before attempting to paint your walls.
Avoid Common Mistakes
Be sure not to fall for common mistakes by planning well. Ensure that your surface is clean, do not try and paint over an existing coat of paint without removing it, do not attempt to paint around trim without the use of painter’s tape, and don’t forget to place and secure a tarp or some old newspaper on your floor or any other objects that shouldn’t get paint on them.
These are all the things that you should know before you attempt to paint your walls. Be sure to test your equipment and paint if you are trying out different paint effects on walls, and always be sure that the type of paint you are using is well-suited to the surface you will be painting. Regardless of which method you choose to paint your walls, be sure to wear a pair of gloves, a face mask, and eye protection, and ensure that your workspace is well-ventilated before you begin painting.
Frequently Asked Questions
Is Color Washing Walls Possible?
If you were wondering, color-washing walls is entirely possible. Color washing is essentially the practice of lightly brushing a surface with watered-down paint. This creates a light-toned paint wash that has become popular in modern interior design aesthetics.
Can You Sponge Paint Walls?
It is entirely possible to sponge paint walls. That being said, sponge painting walls is a great way to quickly paint the surface of interior walls while hiding any imperfections present on the surface of said walls. Sponge painting and color washing often go hand in hand.
Is Painting Interior Walls Difficult?
No, painting interior walls can be challenging, but no more difficult than painting any other surface. Cleaning, priming, and painting a wall can be done with relatively little practice, and your skills can be perfected over a relatively short period of time.