Painting over Wallpaper – Expert Tips for a Flawless Finish
This post may contain affiliate links. We may earn a small commission from purchases made through them, at no additional cost to you. You help to support resin-expert.com
Welcome, DIY enthusiasts, to the colorful world of painting over wallpaper! If you’ve ever stared at your outdated wallpaper and thought, “There’s got to be a better way,” then you’re in for a treat. In this article, we’re diving into the art of transforming your walls from drab to fab without the hassle of stripping. Get ready to brush up on your painting skills and unleash your creativity as we explore the wonderful world of painting over wallpaper. Let’s roll up our sleeves and paint the town… or at least our walls!
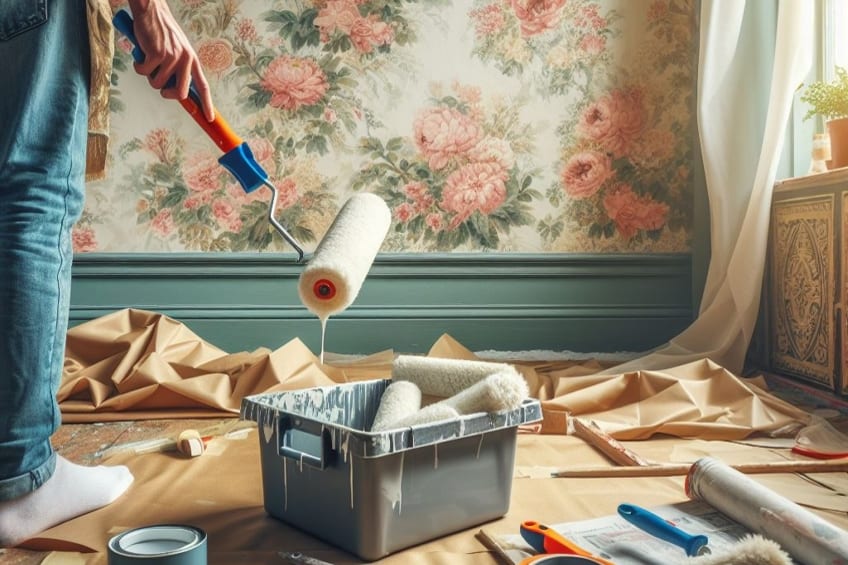
Table of Contents
Key Takeaways
- Painting over wallpaper is a viable option to update a room without removing the wallpaper.
- Proper wall preparation is crucial to ensure the paint adheres well and looks smooth.
- The correct primer and paint selection is essential for a long-lasting finish over wallpaper.
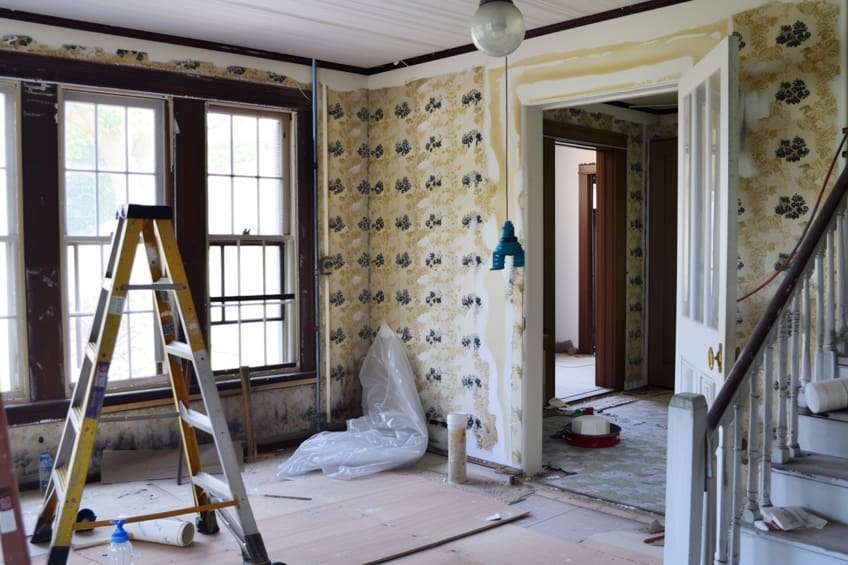
Preparation for Painting Over Wallpaper
When painting over wallpaper, thorough preparation is key to achieving a professional look. The wallpaper must be stable, meaning it shouldn’t be peeling or lifting at the edges. Should any areas be loose, they must be reattached with appropriate adhesive before proceeding.
Below, we have highlighted the following preparation steps that should be followed.
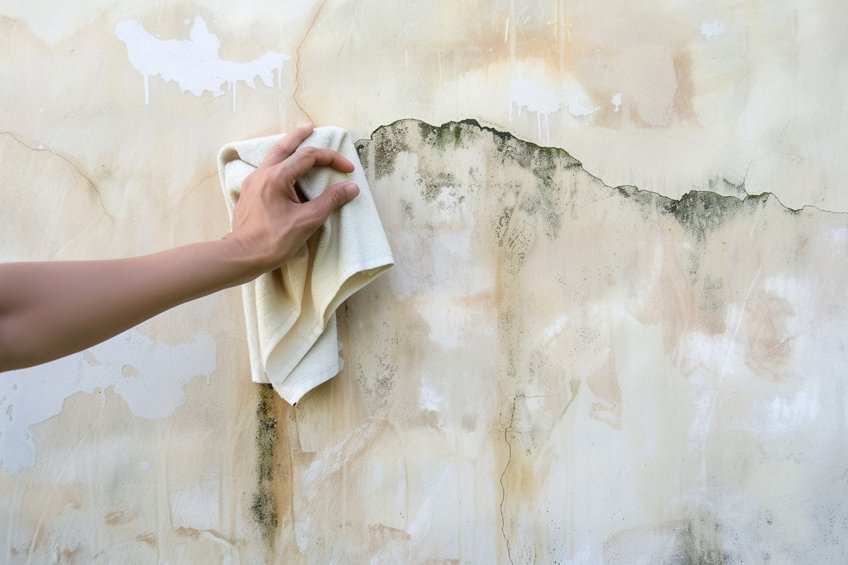
- Clean the wallpaper: Begin with a gentle cleaning using a sponge and a solution of water mixed with a few drops of mild detergent. For more stubborn dirt or grease, trisodium phosphate (TSP) can be used according to the manufacturer’s instructions. After cleaning, allow the walls to dry completely.
- Repair any damage: Inspect the wallpaper for tears or lifting seams. Use wallpaper glue to reattach these areas and allow them to dry thoroughly. Patch any tears with a small piece of matching wallpaper.
- Sanding: Lightly sand the surface of the wallpaper to ensure the primer and paint will adhere properly. Use a fine/medium drywall sanding sponge and be careful not to damage the wallpaper.
- Dealing with seams: Check the seams of the wallpaper to ensure they are flat. If they are raised, they can be glued down, and once dry, sand lightly to blend.
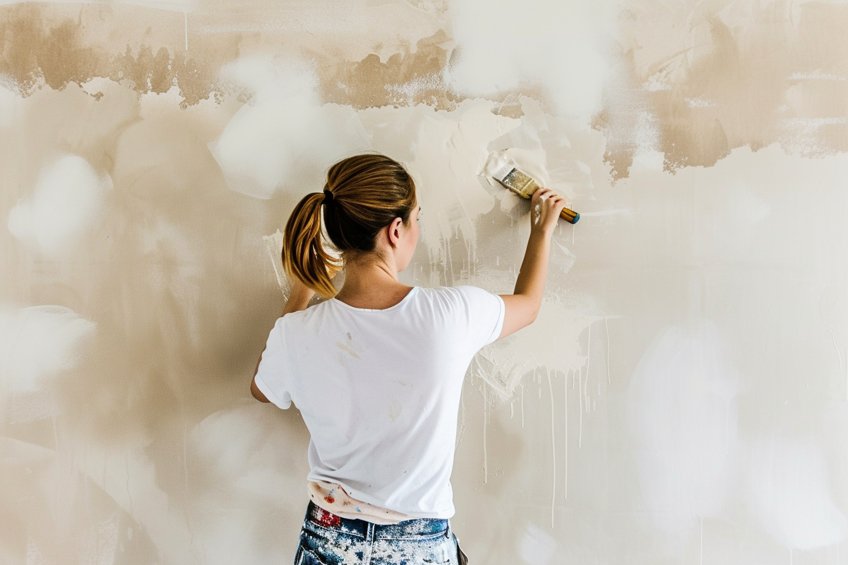
- Apply primer: A quality primer designed for use over wallpaper should be applied to the entire wall. This can help conceal color and pattern and create a smooth surface for painting.
Choosing the Right Primer and Paint
The success of painting over wallpaper hinges on the appropriate selection of primer and paint to ensure excellent adhesion and a beautiful finish.
Selecting a Primer
Choosing the right primer is pivotal to prepare the wallpapered surface for painting. Shellac-based primers like Zinsser B-I-N are exceptional for their stain-blocking capabilities. They offer a flat finish and can cover approximately 300 square feet per gallon. For individuals sensitive to strong odors or looking for a more environmentally friendly option, water-based primers can be considered as well. However, oil-based primers might be necessary for wallpapers that are more susceptible to water damage or if the wallpaper is heavily textured.
Choosing the Paint Type
Once the wallpaper is properly primed, selecting paint entails considering the type of paint as well as the color. Latex paint is frequently recommended for its ease of use and clean-up, whereas oil-based paints are known for their durability. The choice between them should depend on the room’s function and the desired finish.
It’s recommended to opt for a flat or matte paint to minimize the visibility of any imperfections.
Paint Application Techniques
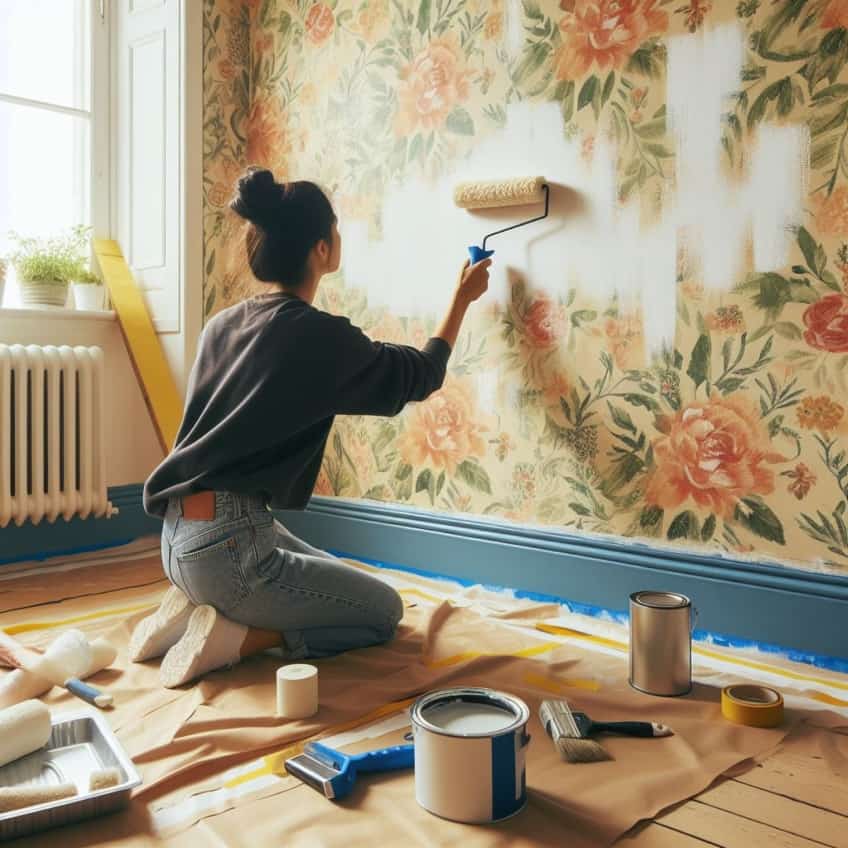
Applying paint over wallpaper requires technique to achieve a professional look. Begin with a roller to evenly coat the wallpaper, covering as much as possible without over-saturation. For corners and edges, a technique called “cut in” with a brush ensures a clean line. Usually, at least two coats of paint may be needed, allowing the first coat to dry completely before applying the second to avoid any peeling or bubbling. It’s imperative not to soak the wallpaper to prevent it from peeling away from the wall. After the second coat, inspect the application and touch up as necessary to achieve a smooth, uniform topcoat.
Dealing With Special Wallpaper Types
Special wallpaper types such as textured, fabric-backed, and coated varieties require specific preparation techniques before painting. It’s important to understand the distinct qualities of each to ensure proper adhesion and a smooth finish.
Textured and Fabric-Backed Wallpapers
For textured wallpapers, repair any damages or loose areas as these imperfections can become more pronounced after painting. Since texture adds a unique depth to the wall surface, use a high-quality primer that’s suitable for textured materials. It helps the paint to adhere and maintains the wallpaper’s textured effect.
Fabric-backed vinyl wallpapers are robust, making them a candidate for painting. However, they must be fully adhered to the wall with no edges peeling off. Due to their heavy-duty nature, ensure that the wallpaper’s surface is clean and free from any dust or oils. A thorough priming is often necessary for the paint to adhere well to the fabric backing.
Painting Over Vinyl and Coated Wallpapers
When dealing with vinyl or coated wallpapers, the key challenge is that these surfaces are not designed to be painted over, as the coating can repel water-based paints. To paint over vinyl or coated wallpapers, lightly sand the surface with fine-grit sandpaper to de-gloss it, allowing the primer to bond effectively. Wipe away any sanding dust before proceeding. Before priming, repair any loose seams or bubbling areas. A quality adhesive may be necessary to reattach loosened sections of wallpaper.
The use of an oil-based or shellac-based primer is crucial for these types of wallpapers, as it will create a surface that the paint can adhere to without the wallpaper’s original coating interfering.
Do the Prep Work
For successful results when painting over wallpaper, meticulous preparation is crucial. The following preparatory steps should be carefully executed to ensure that the painting process goes smoothly.
Check the Seams
First, one should examine the wallpaper seams to ensure they are secure. Loose or peeling seams must be re-adhered to the wall, often with wallpaper glue. It is recommended that all seams lie flat against the wall, as protruding edges may show through the paint.
Invest in the Correct Tools
Having the right tools on hand is essential for prep work. These tools include:
- Wallpaper glue for securing loose seams
- Seam roller to flatten the wallpaper seams
- Spackle and putty knife for patching any holes or imperfections
- Sandpaper (fine-grit) for smoothing patched areas
- Clean cloth and mild detergent for cleaning walls
- Tape for protecting trim and ceiling edges
- Primer specifically designed for use over wallpaper
Painting Over the Wallpaper
Once the wallpaper is secure and the wall is clean, applying a coat of primer is vital. This primer should be suitable for wallpaper and will help the paint adhere more effectively. After the primer dries, one can proceed with painting over the wallpaper using a quality paint, opting for a flat or matte finish to better hide any imperfections.
Finishing Touches and Maintenance
When the painting process is complete, it’s crucial to address the finishing touches and ensure proper maintenance to keep the newly painted wallpaper looking its best.
- Imperfections and repairs: Minor imperfections can become evident after painting. To rectify these, they should lightly sand any rough areas and touch them up with paint. For any lifting or peeling areas of wallpaper, they should use adhesive to reattach them to the wall, followed by a thin layer of joint compound to smooth out the seam.
- Joint compound: After applying joint compound to seams or repaired spots, they must allow it to dry completely, usually for about 24 hours. Another light sanding may be required to ensure a smooth finish before touching up with paint.
- Clean-up: This is essential to maintain the finish. They should use a damp cloth to remove any dust from sanding. Tools such as paintbrushes need washing with soapy water or the appropriate cleaner if using oil-based paint.
- Maintenance tips: Regular maintenance includes gentle cleaning of the walls with mild soap to avoid peeling. For areas with high moisture that could cause the wallpaper adhesive to loosen, they should keep the room well-ventilated.
- Handling loose wallpaper: If the existing wallpaper begins to lift, they should immediately reattach it to prevent further peeling. Using a small paintbrush, they can apply adhesive to the loose area and press the wallpaper back in place.
- Avoiding future damage: They should use a respirator during sanding to avoid inhaling dust. It is also beneficial to keep a small amount of the paint used, allowing for easy touch-ups if necessary.

Congratulations, DIY champs, you’ve conquered the challenge of painting over wallpaper like pros! As we wrap up our colorful adventure, remember that with a little creativity and the right tools, you can transform any room into a masterpiece. Whether you’ve refreshed an old space or added a splash of personality to a new one, take pride in your handiwork and let your walls tell your story. Keep on painting, experimenting, and making your home uniquely yours. Until next time, happy DIY-ing!
Frequently Asked Questions
Is Oil-Based or Latex Primer Better for Preparing Wallpaper Before Painting?
An oil-based primer is typically recommended for preparing wallpaper because it seals the paper and prevents the wallpaper glue from reacting with the paint. It also helps to mask any colors or patterns on the wallpaper, ensuring they do not bleed through the paint.
How Do I Manage Wallpaper Seams When Painting Over Them?
Before painting, one should ensure that the wallpaper seams are properly adhered to the wall. If the seams are peeling or lifting, they must be reattached using wallpaper adhesive. Once the wallpaper is secure, one can apply a thin line of caulk along the seams, smoothing it out to prevent it from being noticeable after painting. After caulking, it is critical to apply a primer to create a smooth, sealed surface for painting.