Paint Bubbling on Wall – Paint Failure Causes and Fixes
This post may contain affiliate links. We may earn a small commission from purchases made through them, at no additional cost to you. You help to support resin-expert.com
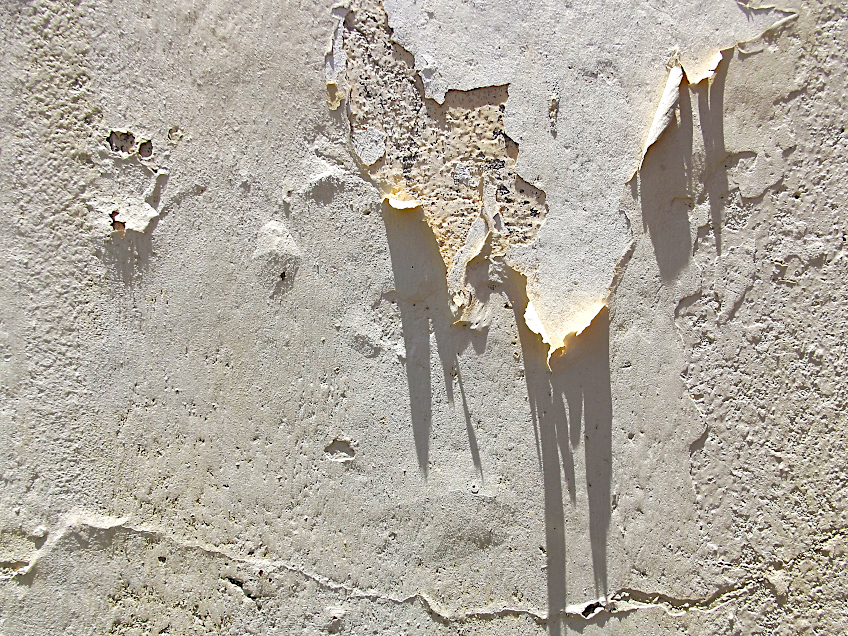
There’s no feeling quite like getting your walls just the right color. After hours of tediously painting and trimming your walls, you sit back to marvel at the work you’ve done knowing that you can finally rest. In the same breath, there’s nothing worse than waking up a few days later only to find that the paint you have applied to your walls has begun to bubble and peel away from the surface. What happened? Can it be fixed? Let’s have a look at paint bubbling on wall surfaces, exactly what causes bubbles in the paint, and a couple of things you can do to rectify this if you ever find yourself in this situation.
Blistering Paint Causes and Solutions
Truthfully, there are many reasons why paint bubbles away from a wall’s surface. The trick is to do some troubleshooting and find out what exactly the reason for the paint bubbling is so that you’re able to implement an effective solution. Below we have listed a couple of scenarios you could encounter involving bubbled-up paint and a few steps you can follow to rectify each instance.
You Painted a Dirty Wall
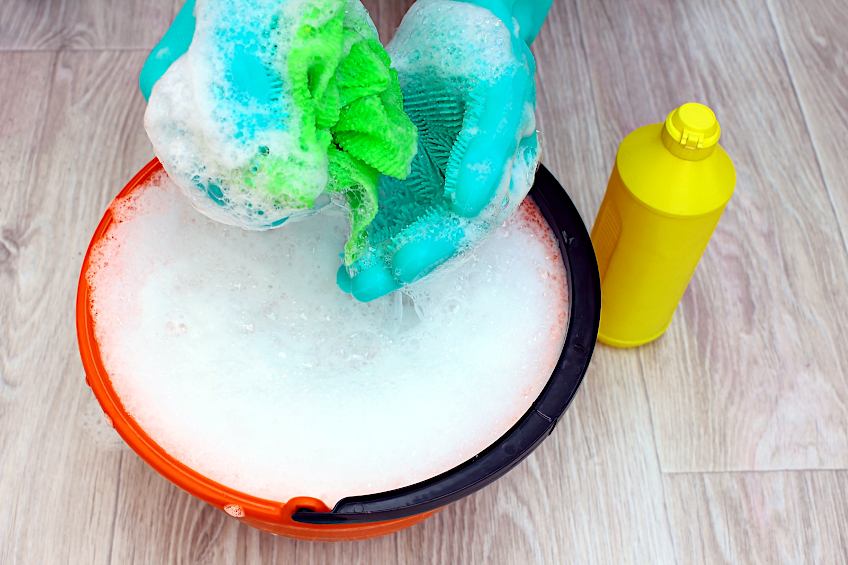
Out of all the possible reasons for paint bubbling on wall surfaces, this is arguably the most common. Paint bubbling away from a wall due to dirt present on the surface at the time of painting is super common and can be one of the most frustrating experiences. Loads of people assume that their walls are squeaky clean without realizing just how much dirt and grime accumulates on these surfaces over the years even under existing paint.

This is why the first step in virtually any painting tutorial is to ensure that your surface is as clean as possible before attempting to sand or prime said surface for painting. Some good old-fashioned soapy water and some elbow grease will get your wall clean in next to no time. Plus, you won’t have to endure stripping the entire wall and repeating the painting process.
How to Rectify This
Well, the most obvious solution is to simply remove the paint from the wall, wash the surface, sand, prime, and paint the surface again. However, this process is labor-intensive and time-consuming, which isn’t ideal if you’re working on a tight schedule. This being said, what other quicker solutions are there to fix this particular problem?
Well, one of the easiest solutions is to use the scrap and patch technique. This involves using a putty knife to scrape off parts of the wall that have been affected by the bubbling. Next, clean the affected areas with some soap and water, allow them to dry completely, and apply primer to the affected areas. Sand the primer so that the surface is flush, and then apply some fresh paint to those affected areas, doing your best to blend them with the rest of the wall.
You Failed to Use Primer
There aren’t many surfaces that can be painted well without the use of primer in the process. What causes bubbles in paint when primer isn’t used? Well, put simply, primer allows paint to adhere to a surface almost perfectly, and when primer is not used the paint can have a hard time consistently sticking to a particular surface even if it is a perfectly clean one.
Besides adhesion, primer functions as a means of increasing the surface friction on a given surface, and when a primer isn’t used the surface friction available to your paint may be insufficient. This results in the paint adhering poorly in certain areas, which presents itself as the paint bubbling away from the surface and raising itself up.
How to Rectify This
Now that you know what causes bubbles in paint when a primer isn’t used, you’re probably wondering how to correct it. It’s effectively the same solution that you would use if you forgot to clean your walls before priming and painting them, which makes sense since the problem in both instances is poor adhesion to the surface of the wall.
The scrape and patch solution works in this instance as well. Using a rigid metal scraper or putty knife remove the sections of paint that have begun to bubble, Next clean the affected areas of any joint compound and allow it to dry completely. Apply primer to the affected areas and allow it to dry for the manufacturer’s recommended time before painting the affected areas once more. Be sure to use the type of primer that corresponds with the type of paint you’ve chosen.
Your Immediate Area Is Excessively Humid/Moisture-Rich
Another factor that can cause blistering paint is the presence of excessive moisture in your immediate environment. Blistering paint results from the paint being unable to properly adhere and even cure in a given environment. This is a pretty common occurrence in parts of the home that houses water sources like kitchens and bathrooms.
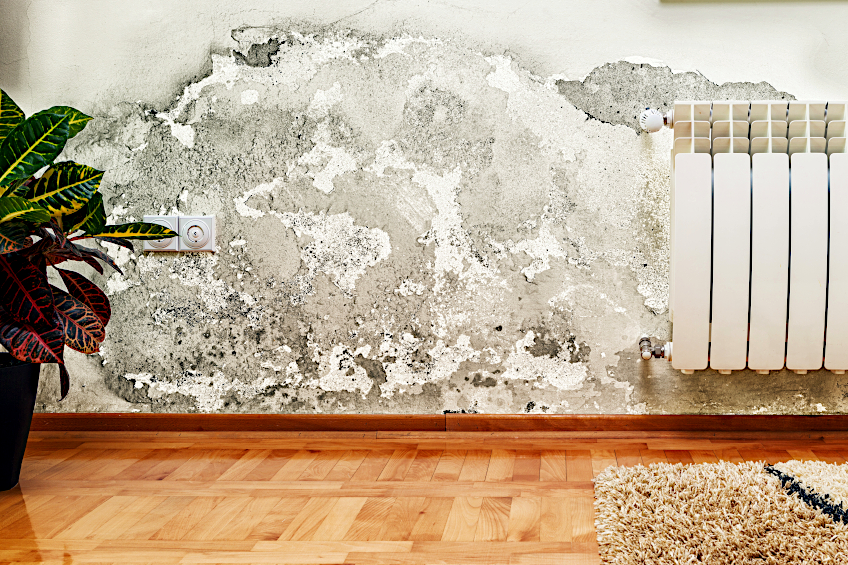
How does moisture cause this to happen? Well, as with some of the scenarios we’ve covered previously it once again boils down to adhesion. When water penetrates the surface layer of paint or small amounts are present on the surface during painting, it can eventually condense undeath a painted surface and form little water “sacks” or bubbles” on the wall’s surface.
How to Rectify This
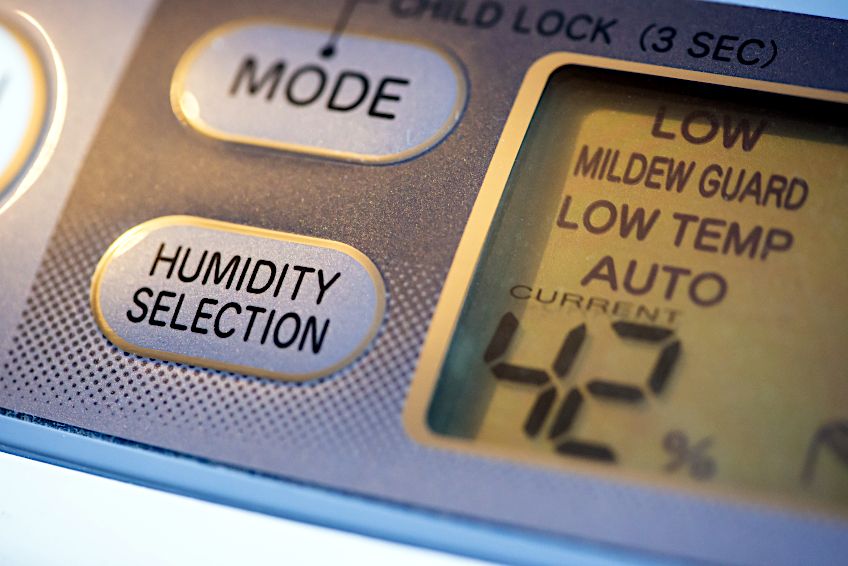
There are a few ways that you can go about correcting this, but most professional crafters will likely advise that you pinpoint the source of the moisture and fix it before even attempting to fix the paint. Arguably the best solution to this issue is to remove the paint from the wall entirely, clean the surface, seal off the room with a dehumidifier inside, and then re-prime and paint your walls.
If your project is time sensitive, you could use the tried-and-true scrape and patch method. Scrape the affected areas and allow them to dry completely. Again, the use of a dehumidifier is recommended especially if you’re working in a bathroom. When the areas are ready, re-prime and re-paint the affected areas doing your best to blend it with the existing paint.
Your Immediate Area Is Too Hot/Warm
Why does paint bubble when the environment is too hot or warm? Well, for once the answer isn’t a lack of adhesion to the wall surface. In parts of the home where an abundance of sunlight or a heating device like a fireplace or space heater is present, paint can sometimes dry unevenly. This means that part of your wall has dried faster than others, resulting in bubbles forming on the surface of the paint.
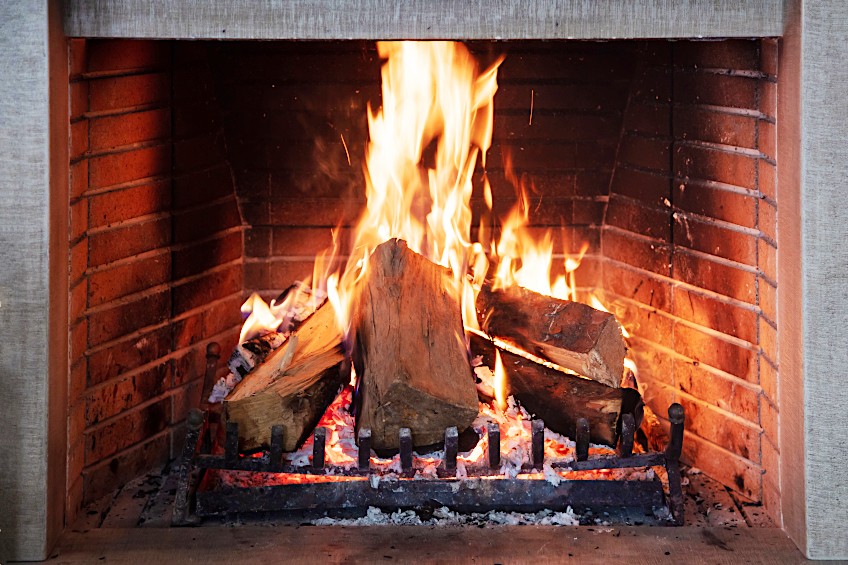
These paint bubbles can look wrinkled and weak unlike those caused by not using a primer or failing to clean a wall before primer and paint are applied. It can be quite unsightly, and as a result, you might want to remove these sections or re-paint your wall entirely. These types of paint bubbles can also occur in kitchens near stove units.
How to Rectify This
As we mentioned previously the best way to rectify situations like these is to identify the cause of the problem before you get into repainting the surface. Why? Well, the last thing you want is to have to re-paint the entire room again because the cause of the issue is still present. We recommend considering heat shielding the source or turning off the source until your paint dries completely.
Again, one of the best solutions to any instance where paint has bubbled up in certain areas is the scrape and patch solution. All that you need to do is remove sections of the paint that have bubbled up using the scraper, and clean the affected areas. Apply primer to the affected areas and allow it to dry for the manufacturer’s recommended time period before re-painting the affected areas. Ensure that your heat source is off until the paint cures and dries completely.
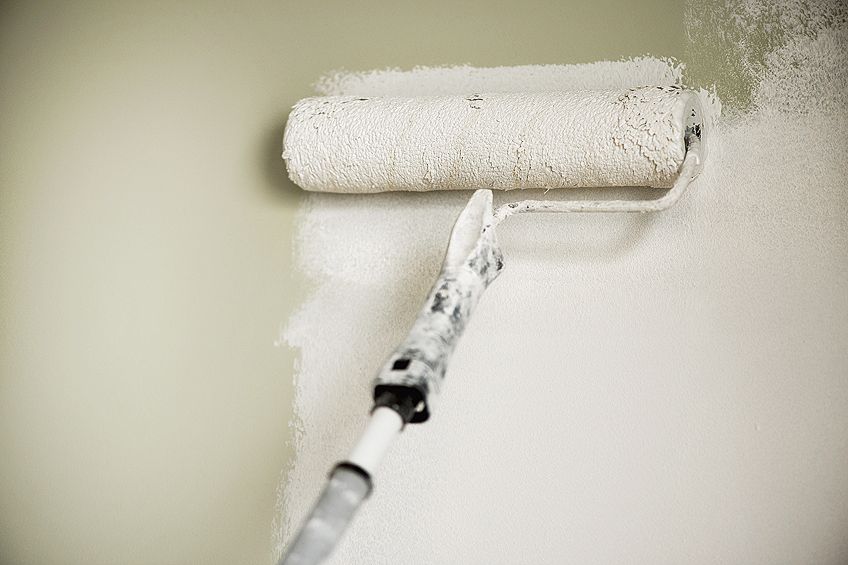
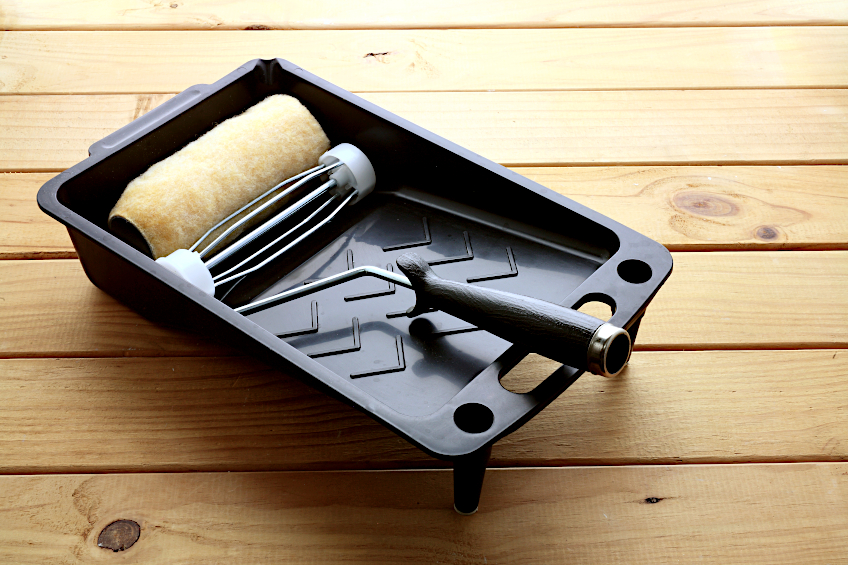
You Have Used the Incorrect Roller Nap
This one is more of an error of judgment than an environmental factor like the others we’ve covered so far. The nap of roller you use is usually designed to paint a certain type of surface or material, and many people that don’t paint professionally and completely unaware of this. Using a roller nap that isn’t conducive to the surface you are painting can create bubbles on the surface of your paint.
Why does paint bubble when a different roller is used? Well, some rollers are designed to paint surfaces with contours and raised bits, and using these to paint flush surfaces means that the paint can (and probably will) be applied unevenly. Since the paint is applied unevenly it will inevitably dry unevenly, leaving you with little pockets of air underneath your paint coat.
How to Rectify This
Now that you know why paint bubbles when the incorrect roller is used you might be wondering how to go about fixing it. Well, it’s back to your old friend the scrape and patch method. Once again, identify the areas that have bubbles and use your scraper to remove the paint in these areas. Once the paint has been removed, ensure that you thoroughly clean these areas.
Once the areas have dried completely, apply your primer, and allow it to set for the manufacturer’s recommended time period before repainting the affected areas. This solution might not be the best if your bubbles are widespread. In this instance, the only alternative is to strip/scrape all the paint off the wall and re-prime, and then repaint the entire wall with the correct roller.
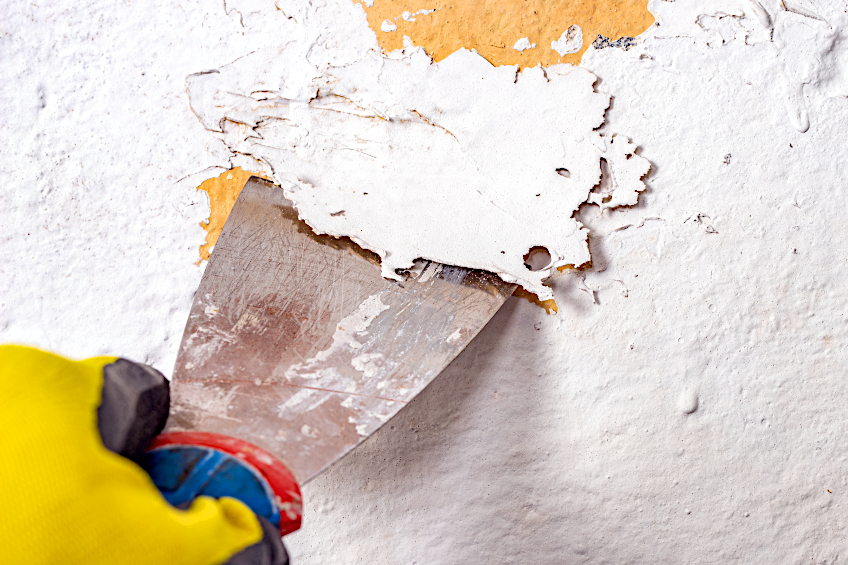
The Scrape-and-Patch Method Explained
The scrape-and-patch technique is really straightforward. All that you really need is a scraper and the tools you have already used to paint the surface (your primer and paint). The technique involves using the scraper to scrape upwards and carefully peel away the paint that has bubbled up the wall’s surface and remove it.

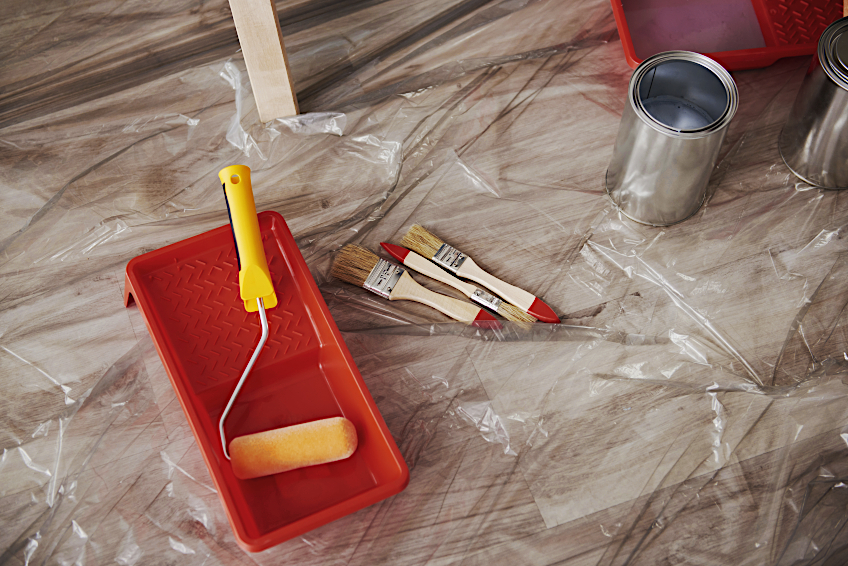
Before you get started, be sure to lay down a tarp or some old newspaper to ensure that you do not dirty your flooring. The trick when using this technique is to work carefully and only remove bits of paint that are absolutely necessary. Once you have removed all of the affected areas of paint, all that you need to do is clean the exposed wall where the paint has been removed.
Next, you need to re-prime and re-paint the section of your walls that has been removed with the scraping technique. You can either re-paint the entire wall or target the sections that have been re-primed, depending on how much time you have and how much effort you’re willing to invest into your project. If you choose to paint the spots only, we recommend that you practice blending beforehand.
Now that you know about blistering paint causes and solutions, as well as one of the most effective techniques to spot-repair bubbled paint, it’s time for you to get out there and put your newfound knowledge to the test. Remember to practice blending and always choose a method that best suits the urgency of your workpiece.
Frequently Asked Questions
How Can One Avoid Air Bubbles When Painting?
If you’re wondering how to avoid air bubbles when painting, it’s simple. Air bubbles can become trapped in the paint thanks to their thick viscosity, but they can be removed by stirring your paint slowly and deliberately.
Can Bubbling Paint Be Fixed?
Wondering how to fix bubbling paint? There are a couple of ways to go about it, but the fastest and most effective solution is to use a putty knife to remove the sections of bubble paint, clean the area, and then re-prime and re-paint the affected area. There are various tutorials regarding how to fix bubbling paint out there, each requiring different tools and varying in length.
Is Bubbling Paint a Bad Thing?
Bubbling paint is considered a bad thing as it means there is either something wrong with your paint or that there is something wrong with your wall. In both instances, the best way to find out is to remove the paint and find out firsthand.