Interior Painting Tips – Paint Like a Pro
This post may contain affiliate links. We may earn a small commission from purchases made through them, at no additional cost to you. You help to support resin-expert.com
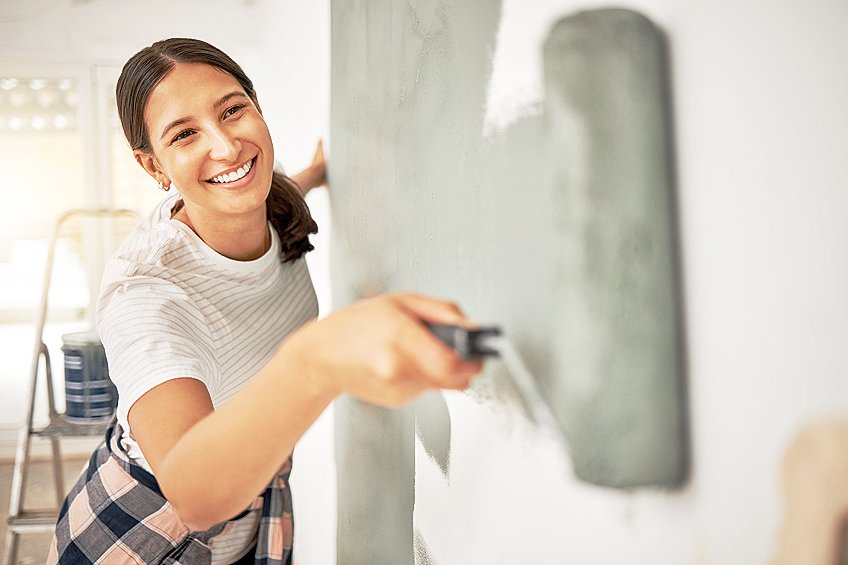
Welcome, budding interior artists and DIY enthusiasts alike, to a colorful journey through the world of interior painting! Whether you’re wielding a roller for the first time or you’re a seasoned brush-wielder seeking new techniques, this article is your palette of possibilities. Get ready to splash, dab, and brush your way to home décor glory with our expert tips and tricks. From selecting the perfect hues to mastering those tricky corners, we’re here to turn your walls into canvases and your rooms into masterpieces. So, grab your paintbrushes, and let’s embark on a vibrant adventure where creativity knows no bounds!
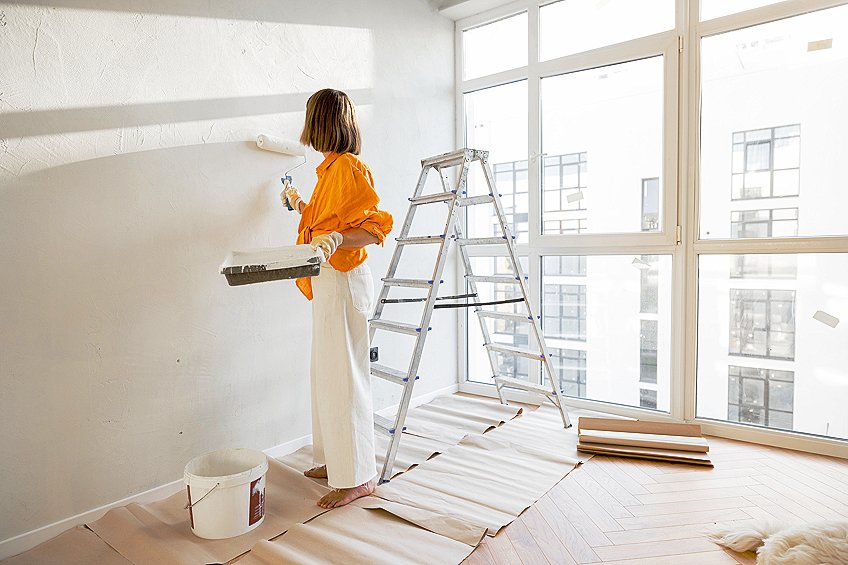
Table of Contents
Key Takeaways
- Proper preparation and high-quality materials are essential for a professional painting result.
- Correct painting techniques are key to achieving an even and lasting finish.
- Regular maintenance and correct clean-up methods extend the life of an interior paint job.
Can You Paint Indoors?
Interior painting is more than just a way to change the color of your walls; it’s a transformation of your space that requires thought, preparation, and the right technique to ensure a professional finish. Whether it’s a fresh coat in the living room, or a bold color change in the kitchen, painting the interior of your home can significantly affect the ambiance and value of your property. It’s a relatively affordable home improvement project that homeowners can undertake, yet it calls for a methodical approach to achieve the desired results.
The process begins with adequate preparation of the painting area to safeguard furniture and flooring and to ensure a smooth canvas for the paint.
Choosing high-quality paint and tools is a pivotal step that can influence not only the look but also the longevity of the paint job. Applying proven painting techniques—such as maintaining a wet edge to avoid lap marks, and using the right brush or roller strokes—will lead to a more even and consistent finish.
Through careful planning and attention to detail during the painting process, the effort can lead to a gratifying transformation of any interior space. Painting indoors can be a gratifying DIY project when executed with care and adherence to best practices.
Preparing Your Space
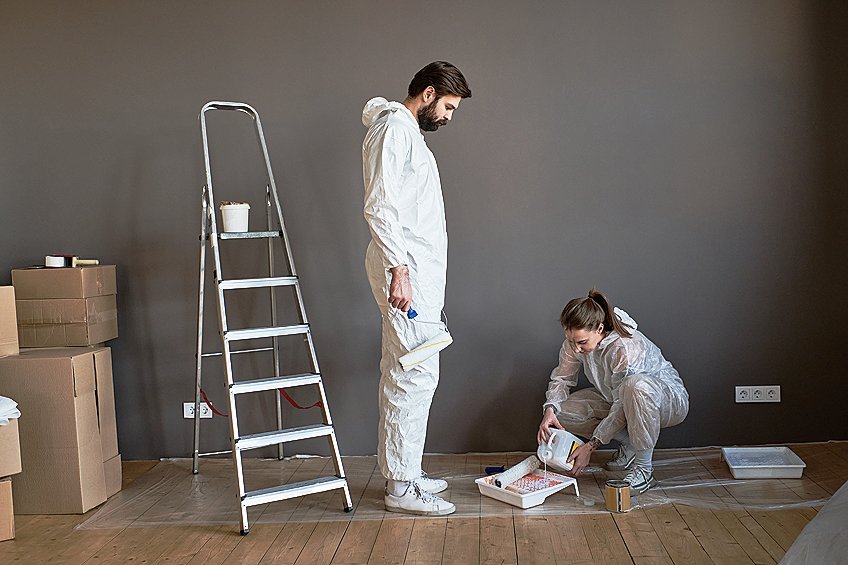
Proper preparation is the foundation of a successful paint job. To ensure a smooth application and a durable finish, it is crucial to methodically prepare the space before opening a single can of paint.
Clear the Space
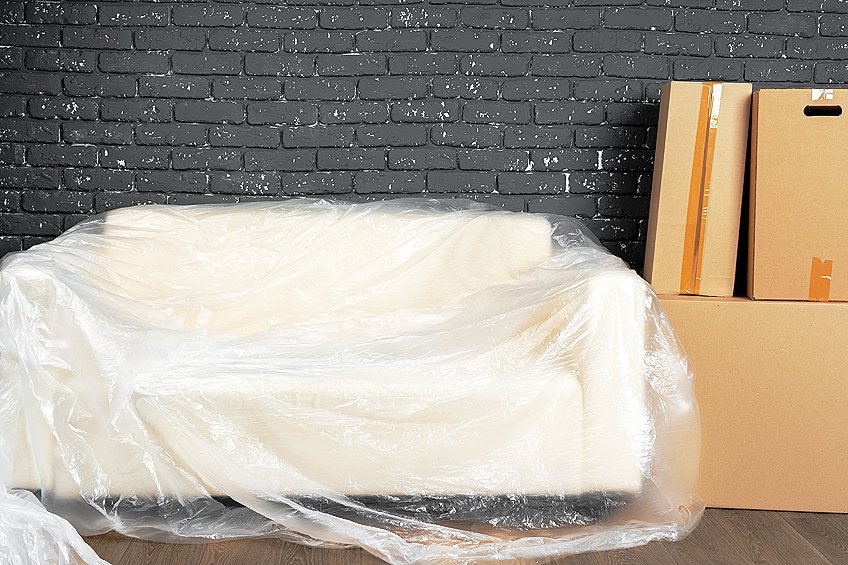
Initially, one should remove all furniture from the room or move it to the center and cover it with plastic sheeting. Small items such as pictures, hooks, and nails need to be taken down and safely stored.
Remove Hardware
It’s essential to remove door knobs, switch plates, and outlet covers. They can be placed in a labeled bag for easy reinstallation. By removing hardware, they ensure a tight seal around these areas when painting.
Protect Floors
Floors must be shielded from spills and drips. They can achieve this by laying drop cloths, prioritizing heavy canvas for carpeted areas and plastic drop cloths for hard floors. Securing the cloths with painter’s tape minimizes slipping risks.
Fill Any Holes or Cracks
Examine the walls for any imperfections. Using spackle and a putty knife, they should fill in all holes and cracks, followed by proper sanding to ensure an even surface. A sanding sponge could offer greater flexibility around tricky textures.
Surface Preparation
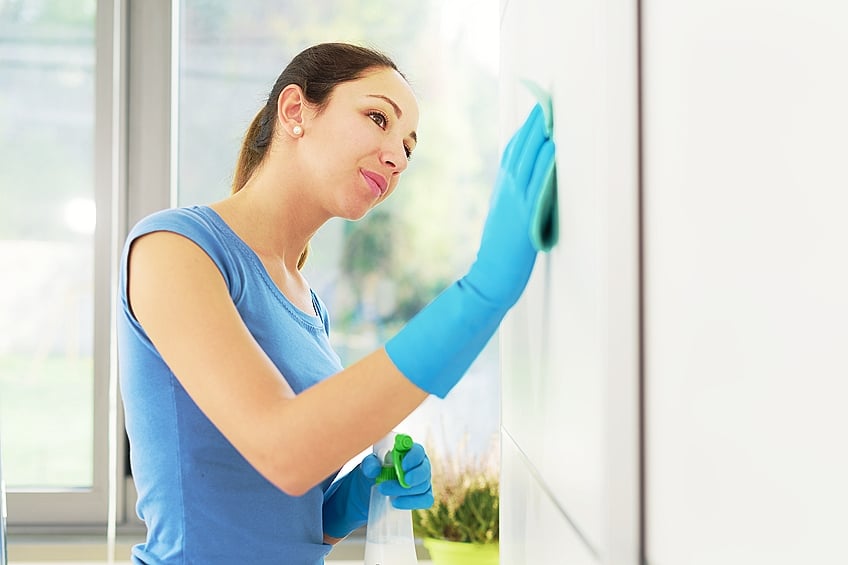
The walls require a thorough cleaning to remove dust and debris. A tack cloth is handy for this purpose, ensuring a clean surface for paint to adhere to. For areas with accumulated grease or dirt, a mild detergent can help but must be rinsed and dried thoroughly.
Choosing the Right Paint and Tools
Before embarking on your interior painting project, selecting the right paint and tools is paramount for achieving a high-quality finish. This will ensure a smoother application process and superior results.
Selecting Paint and Primer
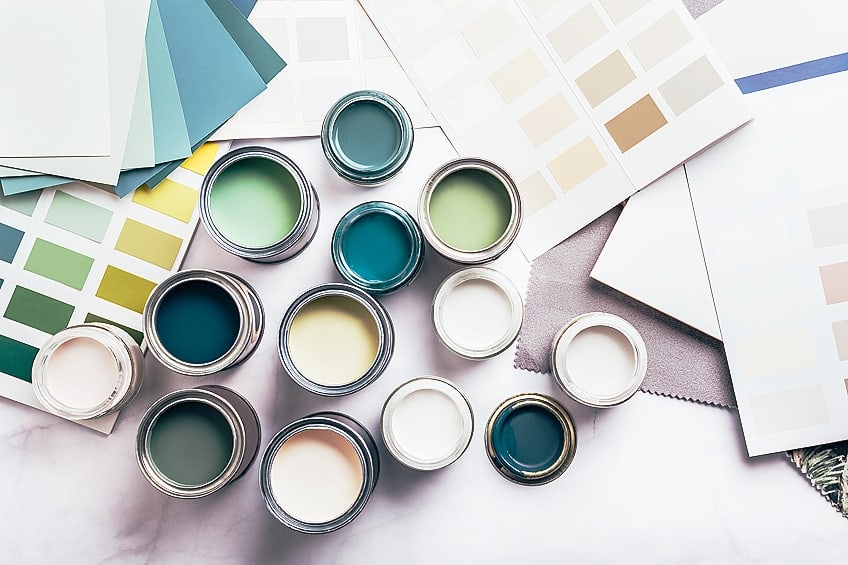
When choosing interior paint, factors such as the room’s function, lighting, and desired ambiance guide one’s paint color choices. Primer is crucial for preparing the surface, creating a cohesive base for the paint to adhere to, and should not be overlooked. For instance, a high-quality latex primer is often recommended for its versatility and ease of use. Paint color samples can be tested directly on walls to observe how different lighting conditions affect the perceived color.
| Paint Characteristics | Ideal Situations |
|---|---|
| Matte Finish | Low-traffic areas, ceilings |
| Eggshell/Satin | General living spaces, easier to clean |
| Semi-Gloss | Kitchens, bathrooms, trim, high moisture areas |
Correct Tools for the Job
The right tools will facilitate a more efficient painting process and better finish. Paintbrushes come in various sizes and bristles types, with angled brushes being optimal for corners and fine details. Rollers help cover larger wall areas more quickly than brushes. A microfiber roller cover can provide a particularly smooth finish.
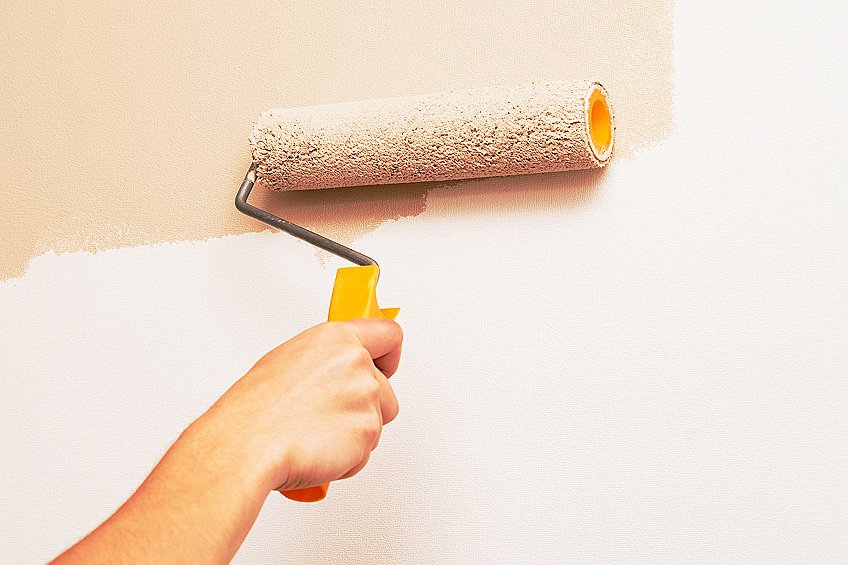
One must maintain a wet edge to avoid lap marks, which entails overlapping each stroke of paint with the next before the paint can dry.
A 5-gallon bucket with a roller grid is more convenient for larger jobs than a traditional tray, and latex or nitrile gloves keep hands clean. For illumination, LED work lights are beneficial to spot imperfections on the surface as one paints. Choosing the correct painting tools ensures not only ease of application but also helps achieve a professional-quality finish. A complete list of painting supplies to consider includes:
- Quality paintbrushes (angled and flat)
- Roller frame and roller covers (microfiber and foam)
- Paint trays and liners
- Extension poles for rollers
- Painter’s tape for clean edges
- Sandpaper for surface preparation
- Drop cloths or plastic sheeting
- Putty knife for filling nail holes
- Ladder for reaching high places
Painting Techniques and Tips
Quality interior painting is about precision and planning. Each step, from preparing the surfaces to applying the final coat, has techniques that help achieve a flawless finish.

What to Paint When
Before starting, one must prioritize the sequence of painting tasks. Ceilings should be tackled first to prevent drips and splatters on freshly painted walls. Next, paint the walls, ensuring a smooth, even application. Finally, focus on trim, doors, and windows, where careful work with a brush can make all the difference.
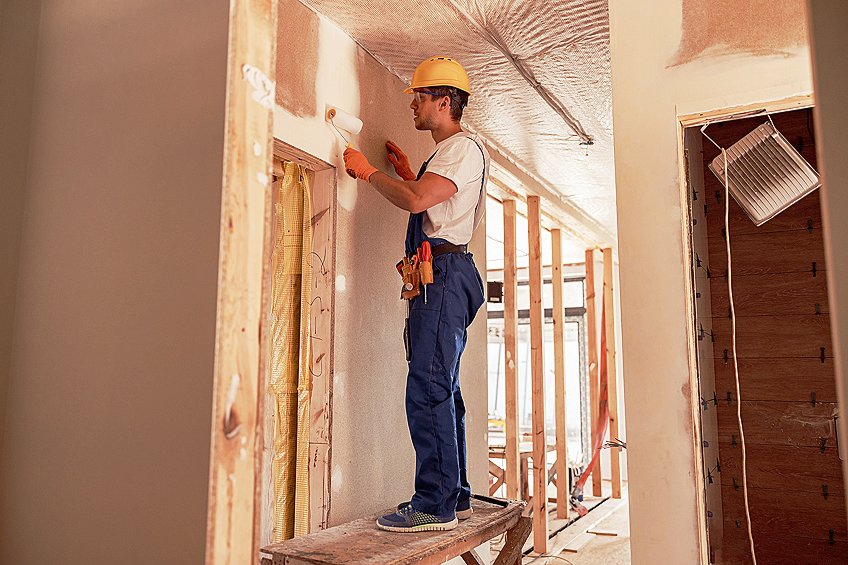
Painting Walls and Ceilings
Painting walls and ceilings is a transformative DIY project that can redefine any space. Preparation is key: clean surfaces, patch holes, and tape edges for crisp lines. Choose paint colors wisely to suit the room’s purpose and lighting. Apply with rollers for large areas and brushes for details. Don’t neglect the ceiling—it’s the fifth wall! A fresh coat overhead can brighten and expand the room. With patience and creativity, painting walls and ceilings can breathe new life into your home.
- Maintaining a wet edge: Always keep a wet edge to avoid lap marks. This means one should overlap the previous stroke with the next stroke before the paint dries.
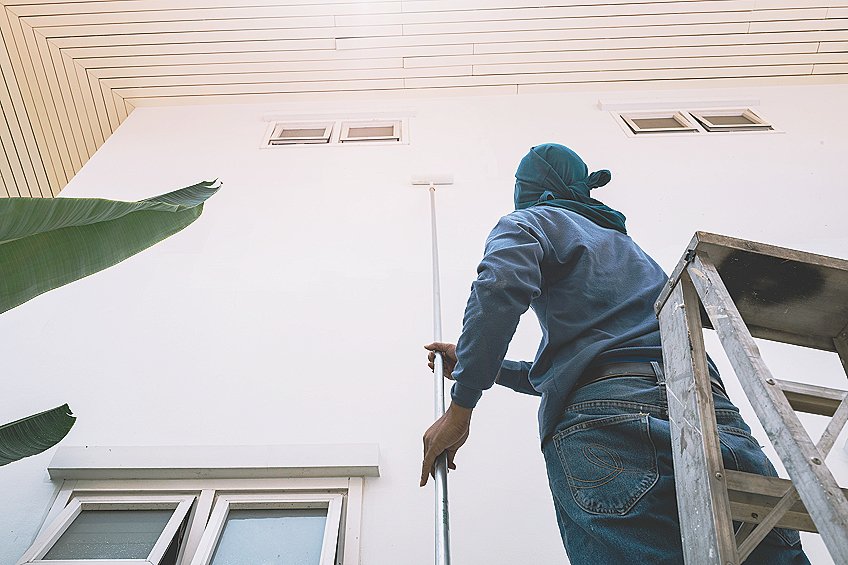
- Rollers and extension poles: Use roller covers suitable for the wall texture and an extension pole to reach higher areas. This allows for more uniform application and helps alleviate physical strain.
- Sand for smoothness: Before painting, sand down any rough areas on the walls for a smoother finish. After the first coat of paint dries, sand lightly again before applying the next coat.
Trim, Doors, and Windows
Trim, doors, and windows add the final touch to any DIY project, elevating a room’s appeal. Choose complementary styles and prepare surfaces meticulously for flawless results. Select colors that harmonize with your decor, adding depth and contrast.
With attention to detail and precision, transforming trim, doors, and windows can redefine your space with style and craftsmanship.
- Painter’s tape: Use painter’s tape to protect surfaces that should not be painted, like window panes. Ensure the tape is pressed down firmly to avoid bleeds for sharp lines.
- Paint choice: High-quality paint tends to yield better results, especially on doors and trim where wear is more apparent. Opt for a paint finish that matches the room’s needs—for example, semi-gloss for moisture resistance in a bathroom.
- Brush technique: For tighter areas, angled brushes work best to maintain control over the stroke. Apply fresh paint smoothly and avoid overworking the paint to prevent brush marks.
Finishing Touches and Maintenance
When applying the final strokes, a decorator must ensure trim and baseboards exhibit the same level of finesse as the walls. Utilizing a paint comb guarantees that excess paint is removed from brushes, promoting cleaner edges and reducing the instance of drips. One should patiently allow paint to dry before assessing the need to patch any imperfections. This is crucial for areas like trim, where adhesion can be tested by everyday wear. If imperfections are found, such as cracks or unevenness, a light application of spackle, followed by sanding, can restore the smoothness of the surface.
Regular maintenance of trim and baseboards is essential to preserve the aesthetic appeal of your space. Make it a habit to inspect them regularly for any chips or peels that may have developed over time. Gently clean them with a damp cloth to prevent dust accumulation and maintain their pristine appearance. For any imperfections, touch up using the original paint color to ensure a consistent and seamless look throughout the room. By following these simple steps, you can keep your trim and baseboards looking fresh and well-maintained for years to come.
Paint Clean-Up Tips
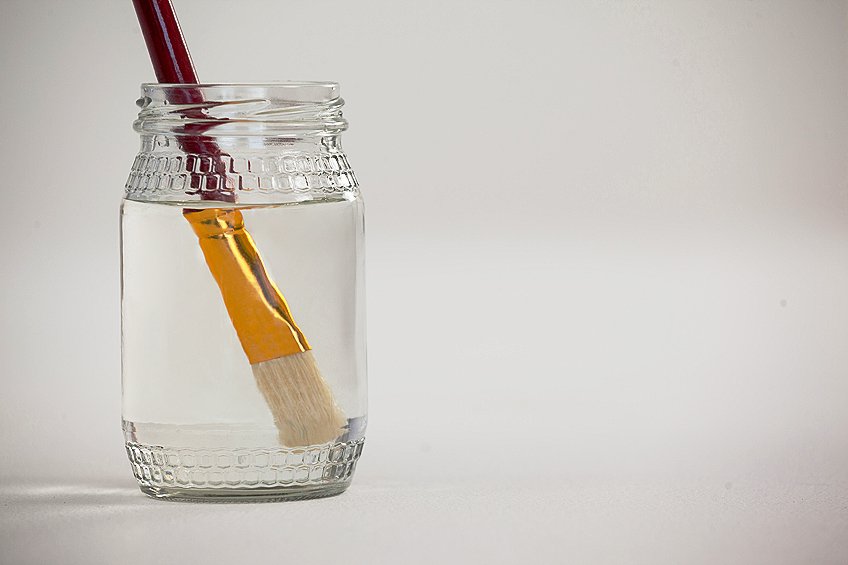
After a painting project, prompt and effective clean-up helps maintain tools and the work environment. Here are tips for a streamlined clean-up process. When dealing with wet paint spills, it’s essential to act swiftly and effectively based on the type of paint involved. For latex or acrylic paints, clean spills immediately using a rag and a bucket of water. Conversely, for oil-based paints, utilize mineral spirits to address the spill, followed by washing with a detergent solution. Proper maintenance of brushes and rollers ensures their longevity and optimal performance.
After each use, rinse brushes with warm water, employing mineral spirits first for oil-based paints.
Gently massage bristles to remove paint residue, shake off excess water, and reshape the brush before hanging it to dry. Similarly, remove excess paint from rollers by rolling on a scrap surface or using a roller scraper, then rinse thoroughly until water runs clear. Cleaning paint trays is a straightforward yet crucial step in maintaining your painting equipment. Wipe out excess paint with a rag or use a liner in the tray before painting. Post-use, wash the tray with soapy water promptly.
When painting, remember to remove hardware and fixtures beforehand and clean them individually. Label hardware and store it in a bucket for easy reinstallation once the painting is complete. Lastly, proper disposal of paint and solvents is essential. Let excess paint dry out in the can or use a paint hardener to solidify it. Adhere to local guidelines for disposing of dried paint and solvents, ensuring environmental responsibility and safety.
As we put the final strokes on our interior painting adventure, remember that transforming your living space is not just about color—it’s about creating a canvas that reflects your personality and style. From choosing the right paint finish to embracing bold accents, we’ve covered the spectrum of possibilities. So, whether you’re aiming for serene pastels or daring splashes of color, let your imagination run wild! With a bit of patience, creativity, and the right brush in hand, your walls can become the backdrop for countless memories and endless inspiration. Happy painting, and may your home be forever filled with the vibrant hues of your dreams!
Frequently Asked Questions
What Is the Correct Order to Paint a Room?
To ensure a professional finish, one should start painting a room from the top down. This begins with the ceiling, followed by the walls, and finally the trim, including baseboards and door frames. This sequence prevents drips or spatter from marring freshly painted surfaces.
What Is the Best Way to Paint Interior Walls?
The best way to paint interior walls involves meticulous preparation and the use of the right tools. Start by cleaning the walls, laying drop cloths, and taping off trim and fixtures. Use a high-quality angled brush for cutting in at the edges, and a roller for the larger wall surfaces. Apply paint in a W formation on the wall, then fill in and smooth out with parallel strokes for an even finish.