How to Touch Up Paint on Walls – Quick Paint Repair Tips
This post may contain affiliate links. We may earn a small commission from purchases made through them, at no additional cost to you. You help to support resin-expert.com
It is very easy for paint to become damaged or stained over time and require touch-ups. If the damage is minor and the paint is under a year old, you may easily repair it instead of repainting the entire surface. While matching your present hue might be tough, washing and utilizing the same sort of application process can assist the patch blend-in. If you require a touch-up of wall paint, the procedure is a bit different compared to other surfaces, but it is straightforward enough. Below, you will find the information needed to learn how to touch-up paint on walls. Let’s get started!

Table of Contents
- Key Takeaways
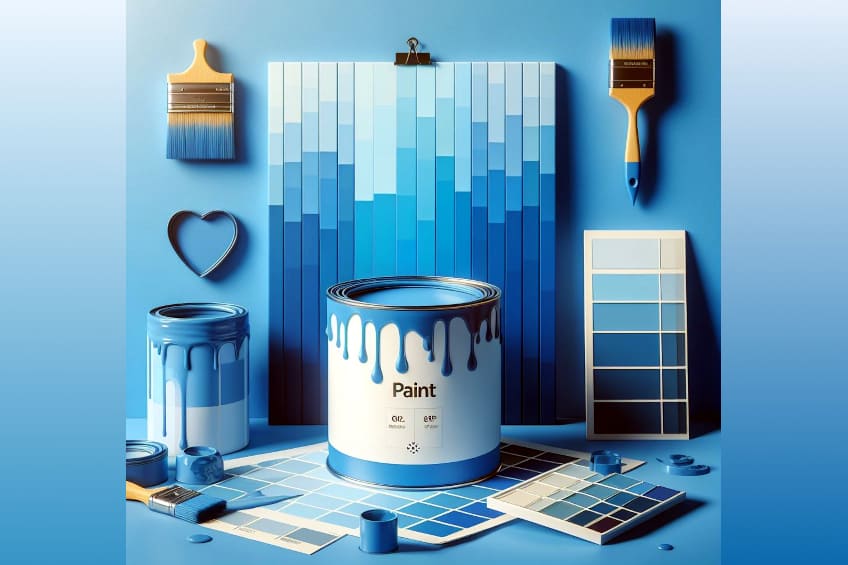
- Selecting the Right Paint
- Testing the Paint Match
- Performing the Touch-Up
- Dealing With Different Types of Imperfections
- Allowing the Paint to Dry and Set
- Evaluating the Touch-Up Job
- Blending the Touch-Up With the Surrounding Paint
- Final Tips for Successful Touch-Up Paint Jobs
- Frequently Asked Questions
Key Takeaways
- It is important to ensure that you use the same type of paint that was initially used on the wall.
- Much like painting an entire wall, you will need to prepare the area before applying paint.
- The goal is to create a smooth and even finish.
- You will not need much in terms of materials and tools to get the job done.
- You will need to test the paint on the surface if you are unable to color-match the surface.
Selecting the Right Paint
Choosing the correct paint is a crucial part of the process, as the incorrect paint will leave you with a light or dark spot. This should ideally be paint left over from the previous layer that you set away for future touch-ups. If you do not have any of the original paint that was used, try matching it with a can of the same brand, finish, and color.
You might need to refinish a larger section so it integrates better into the rest of the wall. If you fail to do so, you will end up with a patch of paint that does not seamlessly blend with the rest of the paint. So, before you begin, ensure you have enough of the same paint on hand.
Why Is This Important?
As we have mentioned before, matching the existing paint is an important part of learning how to touch up paint on walls.
Failing to match the paint will leave you with light or dark patches, rendering your efforts useless.
However, there is more that needs to be considered as you will need to use the same techniques and paint application tools to ensure that you achieve the same texture.
Testing the Paint Match
When trying to understand how to touch up wall paint, it is important to test the paint color match before you begin. You could either use color-matching technology or paint-matching smartphone apps. There are various free smartphone applications that allow you to match the color of the wall with a paint that is suitable. While this is the most practical choice, it may not produce the results that are most precise.
A spectrometer analysis is used by some hardware stores as well as paint suppliers to assess the color and shine of the wall’s paint.
You must supply a sample of the color you wish to match in order to use the matching service. This sample is often a tangible piece of the wall, such as a 1-inch square removed from the drywall using a utility knife. You may be tempted to take a picture of the paint with your phone, but this might not work.

Factors That Affect Color Perception
When learning how to blend paint on wall surfaces, you will need to understand how color is perceived. There are a handful of factors that contribute to this such as background effects, retinal fatigue, poor color memory, age, and most importantly, lighting.
- Background effects: A phenomenon known as synchronous contrast occurs when the backdrop against which we are assessing color has a considerable influence on the eye’s capacity to appropriately interpret the color.
- Retinal fatigue: Our eyes grow fatigued quickly. When we gaze at anything for more than a few seconds, the chemicals in the retinas begin to diminish and convey inaccurate data to our brains.
- Poor color memory: Human color memory is quite bad. Even comparing two colors around the room to see whether they match is pointless.
- Age: Our sense of color begins to degrade as we age. Fortunately, color vision is a taught talent as well as an inborn one.
- Lighting: Light has a significant impact on color perception. The color that the brain perceives is determined by the hue of the light. When evaluating colors, compare specimens side by side, ideally under-regulated lighting conditions.
Performing the Touch-Up
When learning how to touch up paint on walls, there are a few steps that need to be taken to get the best results. We have taken the liberty of providing you with all the steps that you would need to get the best results.
Step One
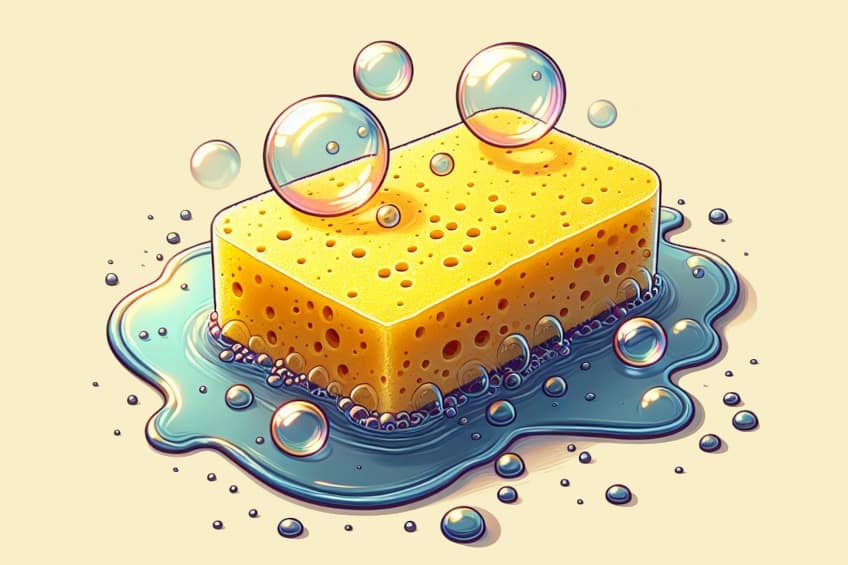
Start by cleaning the surface with a sponge, a gentle detergent, and warm water before making repairs. Debris, filth, and dust can accumulate on the surface of the wall, affecting paint adherence when you start touching it up. Before beginning, gently wipe the surface area using a soapy sponge followed by drying it with a fresh towel.
Step Two
Spackling compound may be used to fill in dents, minor holes, and larger scratches. Start by smoothing the surface surrounding the area to be mended using a bit of fine-grit sandpaper. This will aid in the removal of any wall pieces or elevated areas. Following that, take a little amount of mixed spackling compound and scrape it up with the blade of a putty knife.
Apply only enough spackle to fill the hole or crack.
Set the putty knife’s compound-covered blade at a 45-degree slant to the wall and apply the compound over the crack or hole in a seamless, feathering movement. Repeat until the hole is fully filled. Scrape away extra compound from the surface using a putty knife at a 90-degree slant to the wall.
Be sure to wipe away any excess with a moist towel before it dries.
The fix will require a few hours to fully set. If the spot is somewhat lifted from the remainder of the surface, lightly sand it using fine-grit sandpaper once more.
Step Three
To ensure proper paint adherence and color mixing, prime the repaired areas. The touched-up area is going to stand out from the remainder of the paint job if it is not primed. Choose an interior latex primer of excellent quality. Apply a coat of primer over the location with a paintbrush. For optimal results, limit the extent of the primed region to the size of the repair. Allow the primer to fully dry, as directed by the supplier.

Step Four
Apply the same paint that was used to give the surface its current hue. Employ the same brush or roller that was used to apply the previous layer of paint to the wall that you are touching up. This aids in the integration of the touched-up region with the adjacent surface. Apply little quantities of paint at a time and use the least amount of paint possible.
When utilizing a brush, “feather” the edges, starting in the center of the touch-up and working outward.
Feathering is a method of painting that involves gently extending your brush strokes outside the mended area in order to blend with the remainder of the paint for a seamless change in appearance.
Dealing With Different Types of Imperfections
There are different methods that can be used when learning how to blend new paint with old paint on wall surfaces. This always applies when dealing with different types of paint imperfections. Below we have provided different methods of dealing with them.
Chipped Paint
To remove any wax or leftover filth, clean and prepare the sanded surface with denatured alcohol. With the tip of a matchstick, apply a small quantity of primer to the chipped region. Allow for a full hour of drying time, based on the temperature. Brush the paint over the primer.

Scratched Paint
Start by lightly sanding the wall around the scuff mark and then clean the surface with a blend of soap and warm water. Before using a spackling compound, you should ensure that the wall is completely dry.
Once the repaired section has dried, you will need to apply a layer of primer.
Once the primer has dried, you will need to paint the area with the same paint.
Scuffed Paint
If you are looking to touch up a scuff mark on the wall, you will require a paintbrush along with matching paint. It is generally rather simple to conceal. If there is a dent in the wall, you will need to fill it with drywall compound along with sandpaper before you can touch it up.
Allowing the Paint to Dry and Set
Allow the paint to dry entirely for the amount of time specified by the paint supplier. Then, glance at the wall from an angle to see how obvious the touch-ups are. Examine its look in artificial as well as natural light at various times of day. If you think too much about it, you may constantly see the touched-up areas, but a visitor to your house may not.

The General Timeline of Drying Times for Different Paints
As expected, there are different timelines for different types of paint, despite using it to figure out how to touch up paint on walls. Each type of paint has a different drying time, for instance, latex paints can be repainted significantly faster than oil-based paints. Carefully check the label for the recoat time while applying paint.
As a general rule, allow between one and two and a half hours for latex paint to dry and 24 hours for oil-based paints to dry.
Evaluating the Touch-Up Job
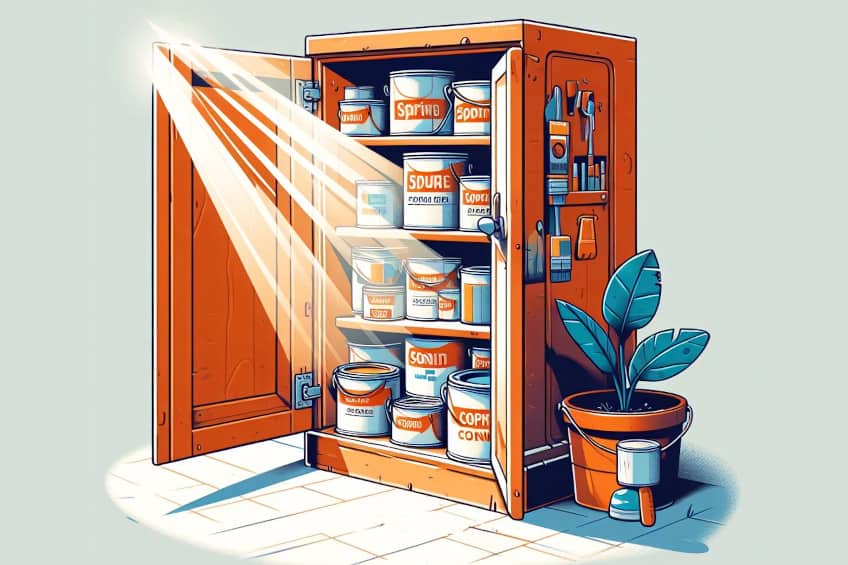
Once you have finished the touch-up, you should know how to check your work. Leave the paint to dry before inspecting your work; certain places may require an extra coat or more delicate feathering for a flawless blend. When you are finished doing your touch-ups, properly store any remaining paint in a cool, dry place away from sunlight to guarantee you have it for future projects.
To obtain a more consistent appearance, you may need to repaint a bigger piece of the wall, for instance from one particular corner to another. This is especially useful if the color match is not precise or if the wall has faded significantly over time.
Blending the Touch-Up With the Surrounding Paint
Feathering is the best technique if you are trying to blend touch-up paint. Use this simple approach to mix and fade the boundary of your painted area. Begin with a filled brush and allow it to run out of color on the edge. Then as the paint dries, using a different clean, wet brush, scrub the border to allow the paint to blend further. However, this is not the only blending technique.
- Gradient blending: This is a technique for having your paint fade from dark to light. A good application will result from the use of paint colors that organically blend nicely and are comparable in value and color.
- Glazing: This is a layering method that imparts transparency to canvas and interior walls. This is accomplished by gradually building up the outermost layer with paint combined with glaze across a solid coat of paint.
- Ragging: This is a strong blending method used to give the appearance of texture on interior walls. When applying paint, a crumpled-up cheesecloth or rag produces more depth and complexity than a basic sponge.
Final Tips for Successful Touch-Up Paint Jobs
When learning how to touch up paint on walls, it is crucial to go through each step with the greatest care. Each step plays an important role in the final result, hence we advise you to never skip any step. Below are some of the key takeaways:
- You can touch up the paint regardless of the size of the damage or stain, but you need to repair the wall first.
- There are different techniques that can be used to blend paint.
- Color matching the paint should be done under natural light.
- Color perception needs to be considered before trying to match paint.
We hope that you have learned enough through our guide to touching up paint on walls. This will not only give you a new project to tackle, but will also save you money by not painting the entire surface. We wish you the best of luck with your touch-up project!
Frequently Asked Questions
What Is Spot Painting?
As the name suggests, spot painting refers to painting a particular area on a surface with the purpose of covering damage or a stain. This is part of the touch-up process that also requires preparation such as wall repairs.
Is It Difficult to Learn How to Blend New Paint With Old Paint on Wall Surfaces?
It is important to learn how to blend paint on wall surfaces, but it can be very challenging to blend old and new paint. Not only will you need to use the same type of paint, but you will also need to mimic the same painting technique with the same tools that were used before.
Can You Paint Patches on a Wall for Touch-Ups?
While it might seem like the best course of action, deciding to simply paint patches over damaged areas is not the best thing to do, as this technique will leave noticeable spots on the surface. The best thing to do is to learn how to touch up wall paint following the proper techniques that we have covered above.