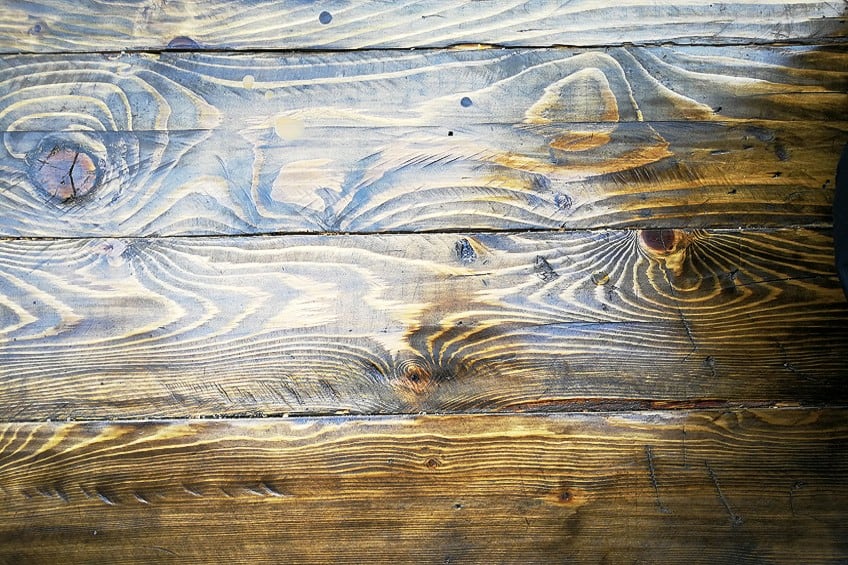
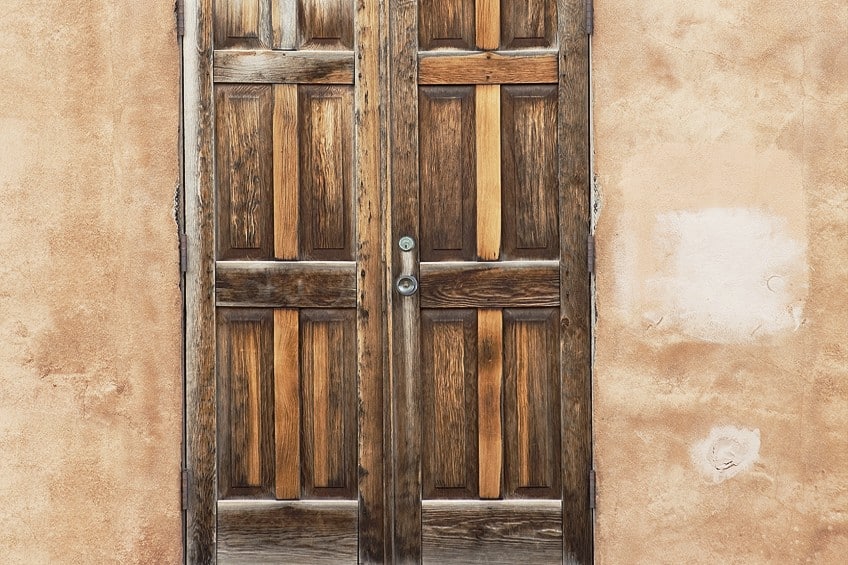
How to Stain a Wood Door – DIY Door Makeover
This post may contain affiliate links. We may earn a small commission from purchases made through them, at no additional cost to you. You help to support resin-expert.com
If you are keen on learning how to stain a wood door, then the project itself can be compared to staining any other piece of furniture. However, you should consider the function of the door and where it will be placed, as this will make a big difference when it comes to how you will stain the surface. Below, we have provided a comprehensive guide that will take you through the process of staining a door.
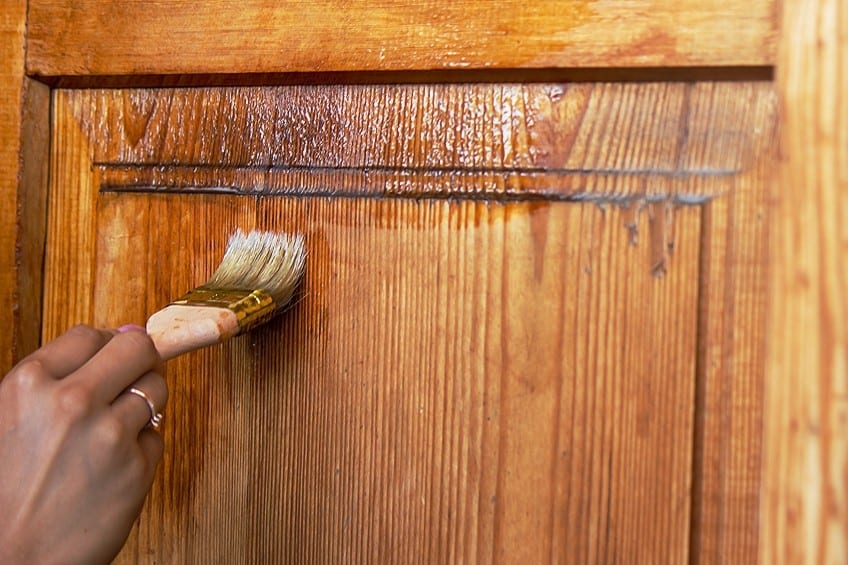
Table of Contents
Preparing the Door for Staining
As is the case with most staining projects, and this includes staining a door, the first step is to prepare the surface. You could be wondering what the significance is of preparing a wooden surface before staining. Preparing the wood will allow the stain to better adhere to the surface which means that you will end up with a better finish. Take a look at the wood staining process that we have provided below to get a better understanding of how to proceed. You will need the following tools and materials to ensure that you are able to do a good job when it comes down to providing the surface with the best possible finish when staining a door.
- Painters tape
- Disposable gloves
- 80 and 180-grit sandpaper
- Wood stain
- Stir stick
- Scraper
- Paintbrush
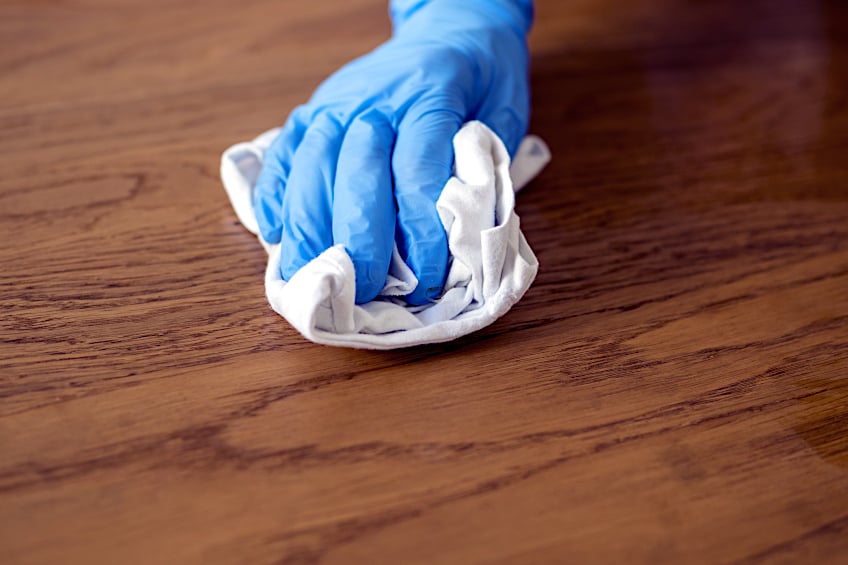
Clean the Surface of the Door
Before you can begin staining an exterior wood door, you should clean it thoroughly. Think about how much dirt the door has been exposed to, particularly if it is an older one. The best way to clean a door once you have removed it from its hinges is to use warm water with a detergent that is based on the type of stains that you will need to remove. It is also a good idea to inspect the surface of the door and repair any damage and imperfections on the surface. This can be minor scuffs, dents, and scratches, which are quite easy to repair if you know the right technique.
Despite how simple the repair process can be, it is crucial to achieve the best possible finish for your exterior wood door.
Removing Door Components
Another good idea would be to ensure that you have removed the door handles or knobs as well as the locking mechanisms. These components should be kept away from any type of adhesives as the stickiness will prevent the mechanisms from functioning properly. Additionally, this will also allow you to stain the entire surface.
Sand the Door
The most important part of this process is to ensure that you create an even surface. Another reason to sand the door is to remove any residual wood stain or varnish that could prevent you from achieving the ideal finish. You can start with 80-grit sandpaper to remove stubborn stains and other debris from the surface and then use 180-grit sandpaper to get a smooth finish. It is very important that you sand the entire door if it has been coated in a protected finish. When you finish sanding, you will need to ensure that you have a smooth finish devoid of any imperfections.
Once this is done, you should consider the type of stain for wooden doors that you will use.
Apply Wood Conditioner to Help the Stain Absorb Evenly
While this can be seen as an optional step, we would highly recommend that you use a wood conditioner before applying wood stain to a door. Wood conditioner helps to produce a uniform appearance across the wood surface and this is ideal if you are working with softwoods. The wood conditioner works by penetrating the surface of the wood to seal it, which prevents the stain from soaking the wood. Applying this product is very easy, especially if you have gone through the trouble of smoothing the surface of the wood before applying the stain. It is important to remember that wood conditioner can change the color of the wood, so test it on a piece of the same wood before applying it to the entire surface.

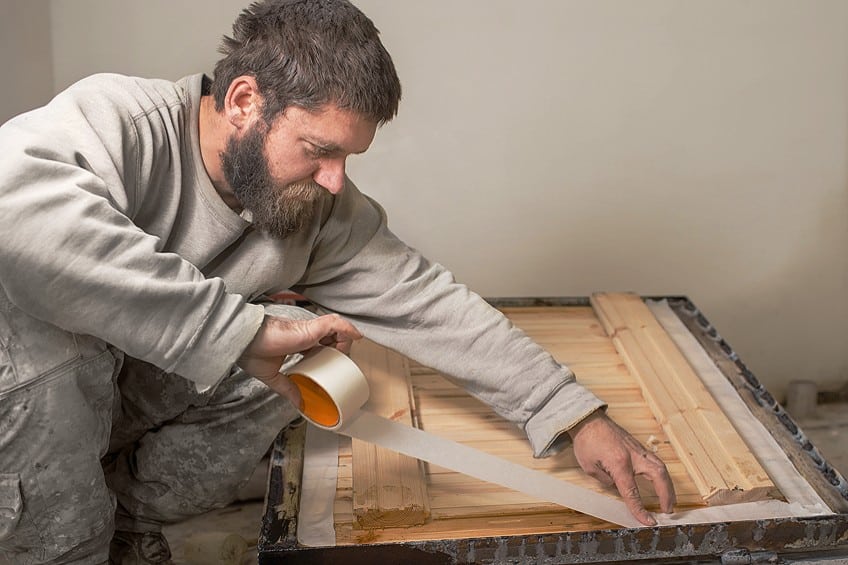
Use Tape to Prevent Unwanted Staining
With your painter’s tape, cover the sections of the surface that you do not want to stain. This will prevent sanding and clean-up after the job has been done; however, you will need to be very accurate with the tape to ensure that the stain does not get behind it or seep through.
Tape is usually applied around the windows of the door and you should cover any of the openings for locks and other door mechanisms.
Choosing the Right Stain
When learning how to stain a wood door, you will also need to be familiar with the types of wood stains that are available. Remember, wood stain is a semi-transparent finish that can affect the overall look of the wooden surface, so always test the product to ensure that you get the right look. Wood stains are available in different colors along with non-wood tones. Nevertheless, the most renowned options are generally located in wood tones such as teak, mahogany, and oak.
If you are looking for a more durable finish, then we would recommend using a clear coat once you have applied the finish.
Below we have provided all of the information needed to make an informed decision on the different types of wood stain that are available. Each one has distinct advantages and disadvantages, so whether you are planning to learn how to restain a front door or refinish a worn surface, there is something for your particular project.

Explain the Different Types of Stains Available
When it comes to wood stains, there are several solutions available on the market, ranging from gel to oil-based and more. Whenever it comes to picking a wood stain, there is no correct or incorrect answer; it all relies on the desired final appearance and the amount of shielding you need.
Gel Wood Stain
Since gel wood stains are jelly-like, they keep the wood stain even and do not leak or flow like other types of stains. While this makes the application much easier, gel stains may not permeate as deeply into the wood as oil-based stains and may require a long time to cure.
Varnish Wood Stain
Comparable to oil-based stains, except that they produce a hard finish, varnish stains are another option for your front door. They are more challenging to properly apply when compared to other stains since there is less time to clean the excess, generally within 15 minutes, as opposed to oil-based wood stains, which must be wiped away before it cures.
So, if you are learning how to stain a wood door, we would not recommend this type of wood stain for beginners.
Water-Based Wood Stain
Water-based stains are a great option for those who care about the environment because they include less polluting materials or volatile organic compounds (VOCs). This sort of stain; however, does not permeate the wood as much as oil-based wood stains and it dries quickly, making it challenging to apply to larger surface areas. The best way to apply this type of wood stain is to separate this into pieces to facilitate even distribution.
Oil-Based Wood Stain
Due to their longevity and deep permeation, oil-based stains remain the most common option when it comes to picking a stain. Oil-based stains cure slower than other types of wood stains, which might put some people off but makes it simpler to create an equal application. However, when working with oil-based stains, it is very important to consider how harmful the fumes can be.
This means that you will need to ensure that you work in a well-ventilated area.
Factors to Consider When Choosing a Stain
It can be difficult to choose the right type of wood stain for your front door as there are different factors that need to be considered. Below we have provided a table that highlights the advantages and disadvantages of wood stains.
| Advantages | Disadvantages |
| Stains are generally easy to apply and you will not need any professional assistance. | Wood stain is very difficult to remove since it penetrates the wood as opposed to paint that remains on the surface. |
| Plenty of options are available and this will help you to get the ideal finish. | You will need to add a protective clear topcoat to ensure that it lasts a long time. |
| Wood stain puts emphasis on the beauty of the wood grain, making it a great choice for those seeking a natural look. | Wood stain requires regular maintenance as it will fade after long exposure to water and sunlight. |
Tips for Choosing the Correct Stain for Your Door
Since we know the characteristics of each type of wood stain, it should be easier to choose the right product for your front door. This is done by considering different factors to ensure that you are able to make the best decision.
Below are some of the most important tips to consider when choosing the right stain.
Understand the Types of Stains That Are Available
There are four main types of stains available and each one has specific benefits. Oil-based stains have proven to be long-lasting, but they emit harmful VOCs. Water-based stains are quick-drying, but they are not very durable, gel stains are easy to apply and create an even topcoat, but they do not dry quickly, whereas varnish stains are very durable, but they will dry very quickly, which means that you will need to work quickly. The best stain would be one that is durable and easy to work with, which is the reason we are leaning toward oil-based wood stains.
Consider Your Color Options
When it comes to selecting a stain color to be applied to the front door of your home, you have numerous possibilities. Popular hues include oak, walnut, cherry, and mahogany. When choosing a stain color, consider the shade of the home and the overall environment.
A deeper stain may be more acceptable for a modern home, whereas a lighter wood stain could be preferable for a more classic one.
Gel vs. Oil-Based Stains
It could come down to two options, gel, and oil-based wood stains. Both of these products have their respective places; however, gel stain does not possess durability properties compared to its oil-based counterpart. This means that we would use an oil-based stain on our front door as it would do much better against the elements and it would require less maintenance.

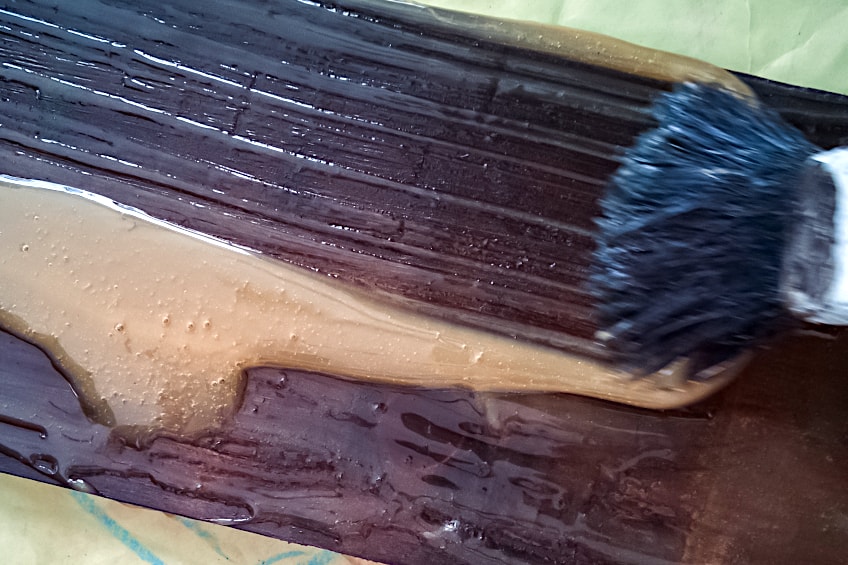
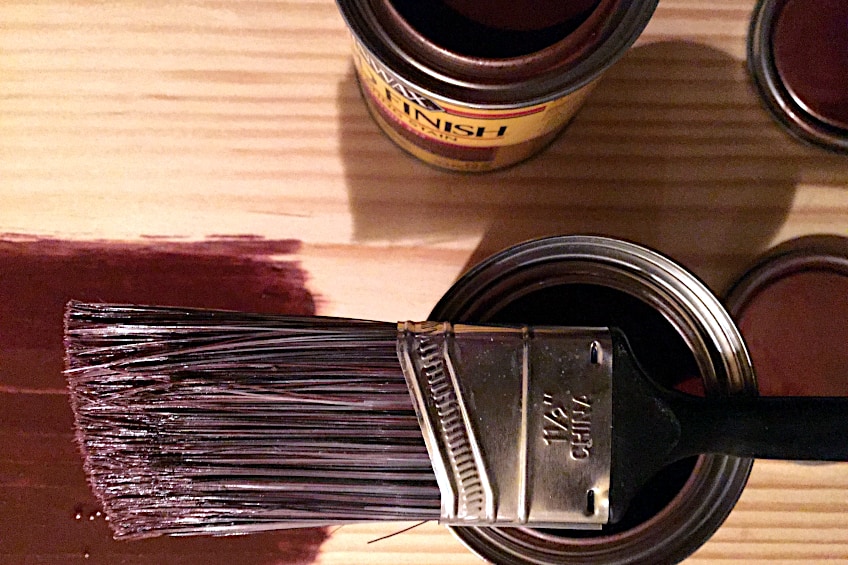
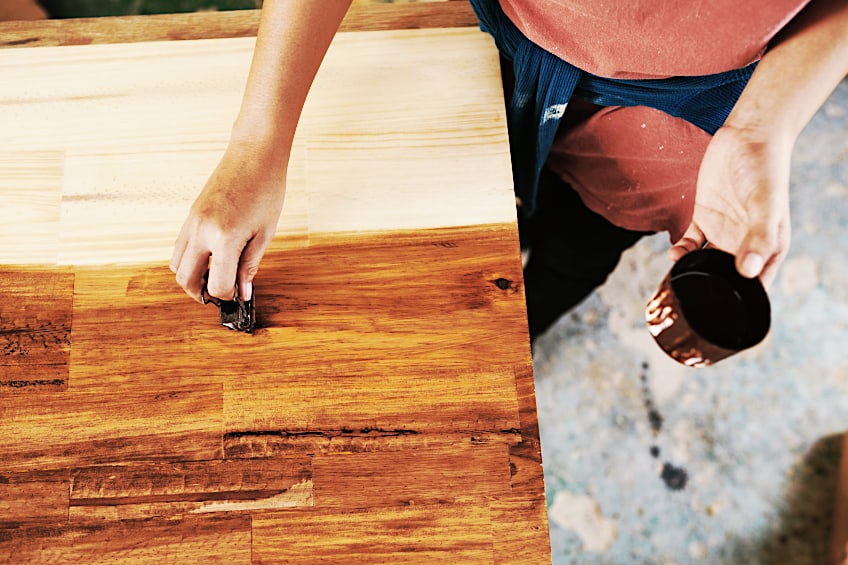
Applying the Stain
Applying the wood stain is more important than the type of stain that you are using. There are various methods that can be used, some proving more effective than others. Nevertheless, we have provided all of the information that you would need regarding the application of wood stain and the good news is that it is a very simple process.
Different Application Methods
When it comes to your application method, it is important to consider the product that you are working with as well as the surface. Since we are focused on how to stain a wood door most of the methods mentioned below will work just fine, but let us take a look at each of them anyway.
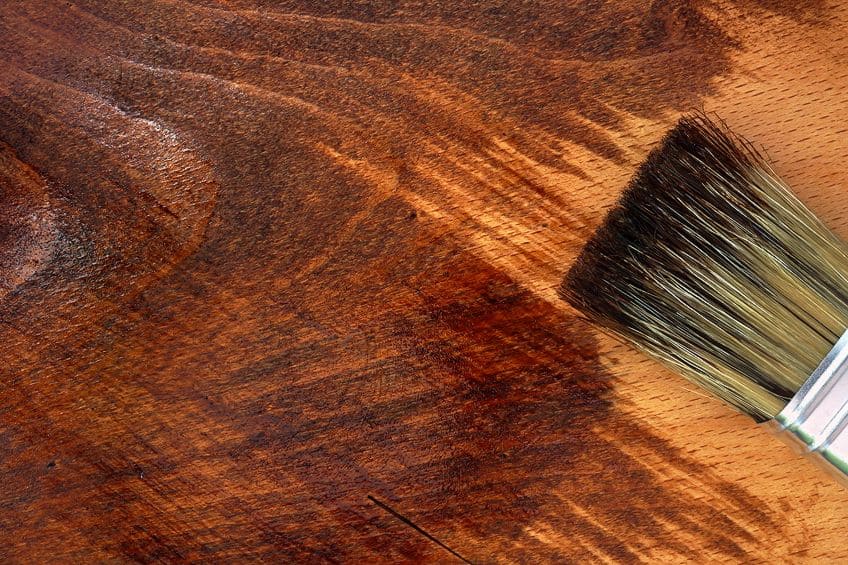
Brushing
Apply the stain with a foam brush first to corners, nooks, cracks, or any other difficult-to-reach areas. Then, using a lint-free cloth, wipe away the excess. Because of their curved tips, foam brushes are ideal for nooks and crevices. You may quickly dispose of them once you have finished. Another wonderful application for foam brushes is staining a huge project. Because these can hold much more wood stain compared to cloths, you can easily apply the wood stain over a big area, then wipe away the leftover stain with a lint-free rag.
We would not recommend using normal paintbrushes as they are likely to leave streaks.
Wiping
The ideal approach when applying wood stain is with a lint-free rag since it allows you to regulate the quantity of stain you apply and remove any extra stain. Furthermore, the rag produces a lovely, even, and brush-stroke-free finish. It may also be readily discarded once done. Use a high-quality, lint-free rag to avoid leaving pieces of fuzz on your wood surface, which can be difficult to get out with wet stain.
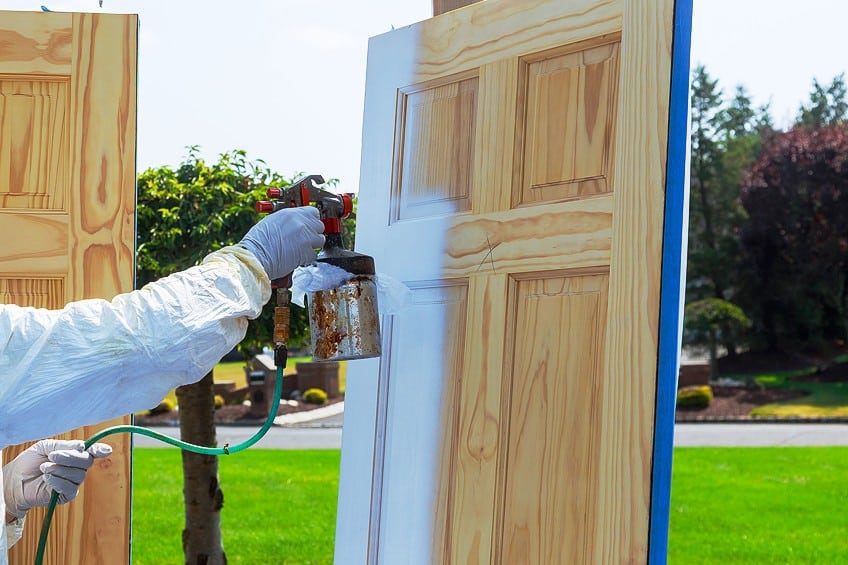
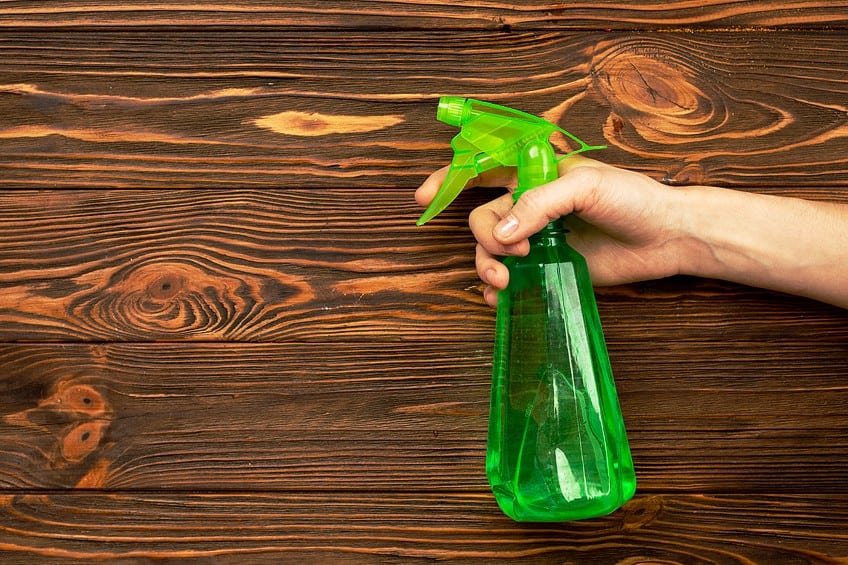
Spraying
When done correctly, spraying stains is quicker than hand applications and produces a higher-quality finish. The main downside of spraying wood stains is the fact that it might be more expensive because more wood stain is used. The main variables in attaining a high-quality result with spraying stains include carefully preparing the product before applying the stain.
In addition, select suitable application equipment, properly set up the equipment, and employ an effective spray method.
Step-by-Step Instructions for Applying the Stain
For the best results, follow the steps that we have provided below to ensure that you get the best results when applying the wood stain. Since we have already mentioned cleaning and sanding the surface of the door, we will jump straight into the stain application.
Stir the Wood Stain
Stir your stain can with a paint stick to properly include any color pigments that may have accumulated at the bottom of the can. Some stains should be swirled rather than shaken.
Make sure you thoroughly read the directions on the can.
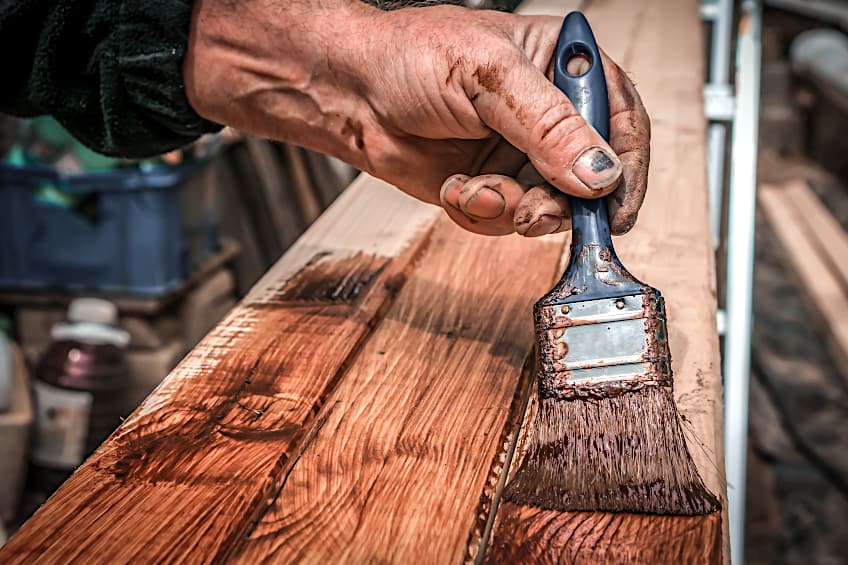
Start Applying the Stain
Use an HVAC spray gun or a clean towel to apply oil-based stains. Water-based stains should be applied with a foam brush. Work the wood stain into the wood grain in a circular motion. Alternatively, stain the wood evenly with the grain. All of the methods that we have mentioned above can be used to apply the wood stain.
Remove the Excess Wood Stain
Allow up to fifteen minutes for oil-based stains to permeate the wood. Letting the stain cure for as long as possible leads to a deeper color. Water-based stains dry quickly and should be removed within two minutes after administration.
Allow the Surface to Dry
Allow two to three hours for water-based stains to dry and four to six hours for oil-based stains to cure before using a sealer. Apply the first layer of sealer, let it dry, and then gently sand the wood with 220-grit sandpaper before adding the second coat to ensure a smooth finish.

How to Get an Even Stain
As we have mentioned before, using a wood conditioner will ensure that you get an even finish once you apply the stain. Another great way to get this result would be to use a gel stain; however, this may not be the best choice for a front door. Instead, focus on your technique and always apply the stain with the grain of the wood instead of against it.
Finishing the Door
To ensure that you end up with a protective layer that will preserve your front door, it is always best that you take the necessary measures. Taking the time to add a good finish will not only protect your door but it will also give the surface a more uniform look.
Below we have provided all the information that you would need that would work very well when it comes to how to stain a wood door.
Allow the Wood Stain to Cure
You will need to allow the stain to dry before you proceed before you can add your finish. This will test your patience, but it is a crucial part of the process. Once the stain has fully cured and you are able to touch it without leaving any fingerprints or if it does not feel tacky, then you can move to the next step.
Apply a Topcoat
By applying a clear topcoat, you will allow the surface to have a more glossy appearance and it will have a longer-lasting finish. Start by slowly stirring the can and apply each layer with the grain. Once each coat has dried, lightly sand it with 240-grit sandpaper and apply another coat.
Keep repeating the process for as long as needed until you are happy with the outcome.
Clean Up Any Stray Stain
Once you have finished, you can remove the painter’s tape and clean up any stain that has spilled with acetone or paint thinners on a lint-free cloth. It is very important to ensure that the area you have worked in has enough airflow as this will get rid of the strong smell of the fumes.
Now that you have all of the information needed to stain your front door, all that you need to do is get started. While it seems like a lot of information, the process is very easy and it can be completed over the weekend if you approach the project with a plan. Ultimately, we wish you the best of luck with your wood project!
Frequently Asked Questions
Does the Type of Wood Stain I Use Matter?
Yes, it does. Some wood stains have superior protective properties while others are better suited for short-term use. This depends on a variety of elements such as the conditions and the readiness to deal with VOCs.
How Long Does It Take for Wood Stain to Completely Dry?
This hinges on the type of stain for wooden doors that you are using. Oil-based stains can take up to 72 hours to fully cure; however, there are quick-drying options available that can cure in an hour.
What Can Be Considered As the Best Way to Apply Wood Stain?
The most suitable method of applying wood stain is to use an old rag or a lint-free cloth. This will allow you to apply a smooth and consistent coat.