How to Repair Stucco – From Cracked to Crafted
This post may contain affiliate links. We may earn a small commission from purchases made through them, at no additional cost to you. You help to support resin-expert.com
Welcome, fellow DIY enthusiasts, to the world of stucco repair—a realm where creativity meets craftsmanship! Whether your stucco has seen better days due to a playful game of catch gone wrong or simply the test of time, fear not! With a bit of elbow grease, a dash of determination, and maybe a splash of paint, we’ll have those unsightly cracks and imperfections smoothed out in no time. So roll up those sleeves, grab your tools, and let’s dive into the wonderful world of stucco restoration!
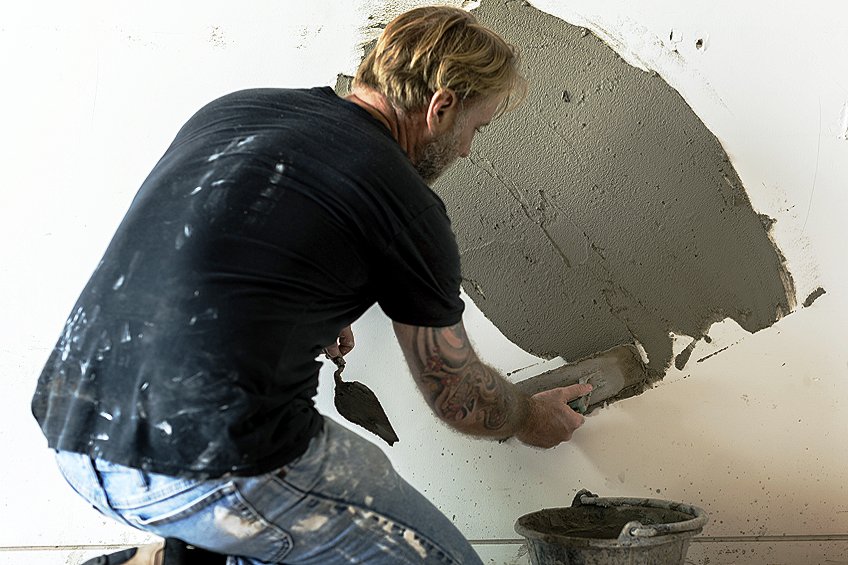
Table of Contents
Key Takeaways
- Stucco repair is necessary to maintain the material’s strength and to prevent further damage.
- Proper preparation of the area is critical for a successful stucco repair.
- Applying the repair material carefully is essential for restoring the stucco’s durability and appearance.
What Is Stucco?
Stucco is a durable, weather-resistant plaster commonly used as an exterior finish for buildings. Its components include a blend of cement, lime, water, and sand or other aggregates. The material has been favored for centuries, appreciated for both its aesthetic appeal and protective qualities. However, like any building material, it can sustain damage over time due to weather exposure, physical impact, or normal wear and tear.
When stucco suffers from cracks, holes, or buckling, it’s essential to act swiftly to prevent further damage, such as water infiltration, which can lead to more serious structural issues.
Repairing stucco may seem daunting to a homeowner, but with the right tools and techniques, it’s a feasible DIY project. The repair process involves preparing the damaged area, choosing the appropriate repair material, and applying it with care to match the existing texture and color of the stucco. Properly executed stucco repair not only restores the integrity of the wall but also maintains the aesthetic appeal of the building’s exterior.
Composition
Traditionally, stucco is applied in layers over a lath base, providing a hard and solid surface that withstands the elements, including sun, rain, and wind. The typical layering process consists of three coats: the scratch coat, brown coat, and a finish coat. Each layer serves a unique purpose, contributing to the overall stability and texture of the final application.
The composition typically includes cement, lime, water, and sand or aggregates.
Application Layers
Stucco is customizable, with options to add color or incorporate various textures, ranging from smooth to coarse finishes. This versatility makes stucco a preferred choice for diverse architectural styles. It can be used to create different looks, from a Spanish-style hacienda to a modern minimalist facade.
- Scratch coat: Forms the initial base and helps the next layer to adhere properly.
- Brown coat: Enhances strength and evens out the surface.
- Finish coat: Provides texture and the final appearance.
Advantages
Stucco boasts a plethora of advantages. Its versatility extends from style to texture, catering to diverse architectural tastes. Resilient against the onslaught of different weather conditions, it stands as a stalwart shield for your home. Moreover, its unique ability to breathe enables moisture to escape, thwarting the insidious growth of mold.
In terms of maintenance, stucco requires occasional cleaning and may need repairs for cracks or blisters over time to retain its structural integrity and visual appeal.
Preparing for Stucco Repair
Successful stucco repair begins with careful preparation. It involves an assessment of the damage, ensuring safety, and using the correct removal techniques for the damaged stucco.
Assessing Damage and Materials Needed
An accurate assessment of stucco damage is crucial. Hairline cracks might only need a simple patch, while deeper cracks or areas with moisture damage may require removal of larger sections. For basic repairs, one will need a wire brush, a chisel or cold chisel, a hammer, and proper stucco mix.
They should note the extent of the damage and compile a list of supplies and tools needed for the repair.
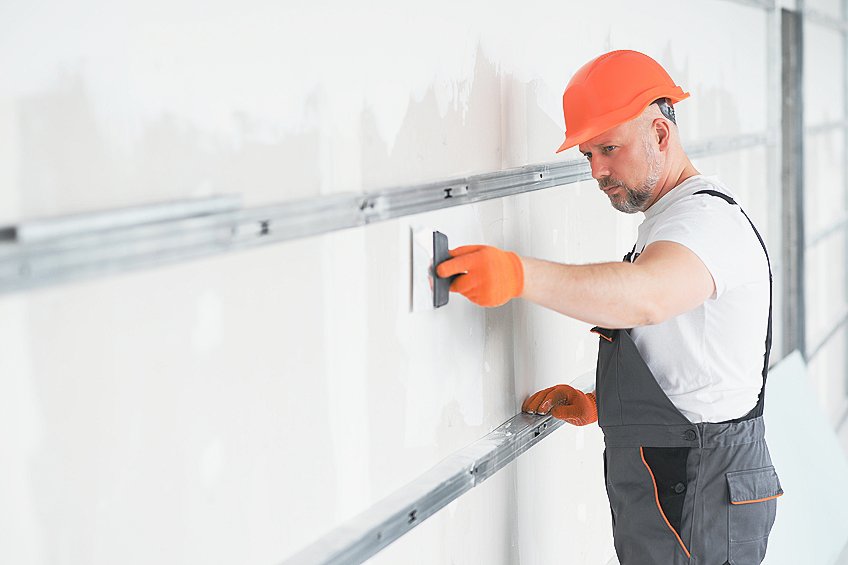
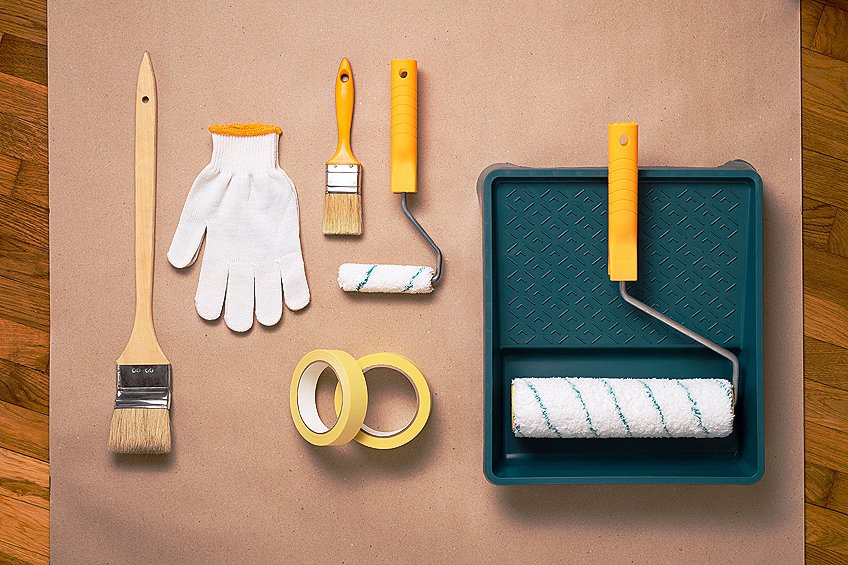
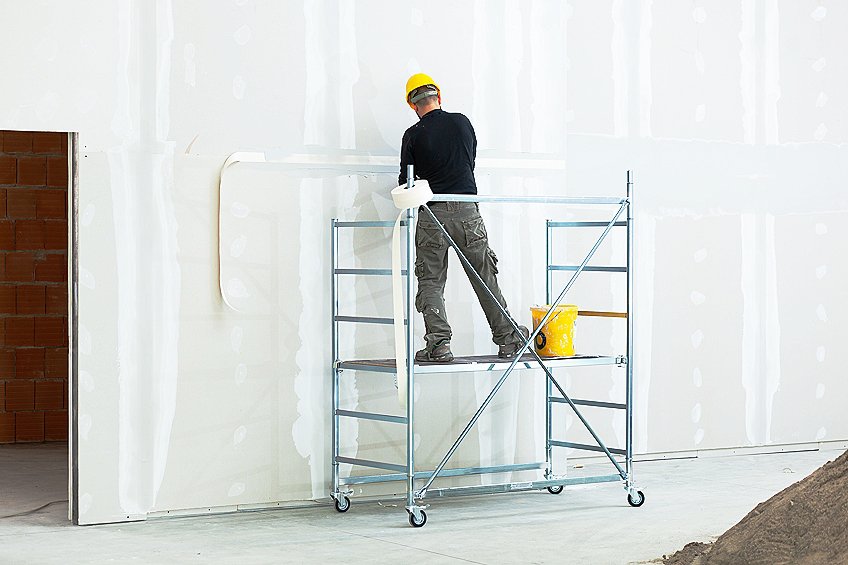
Safety Precautions
Before any stucco work begins, they must prioritize safety. They should wear safety glasses to protect their eyes from flying debris and gloves to protect their hands while handling tools and materials. Secure footing and cautious handling of tools can prevent accidental injuries during the repair process.

Stucco Removal Techniques
When removing damaged stucco, one should start by using a wire brush to clean loose debris from the crack or damaged area. For larger areas, they may need a chisel and hammer to carefully remove the defective stucco without causing additional damage to the surrounding areas.
It’s imperative to remove all loose or damaged material until a solid base is reached to ensure a lasting repair.
Executing the Repair Process
Proper stucco repair requires precise mixing, application, and curing methods to ensure a seamless and durable finish. Matching the existing texture and color with the original stucco will help the repair blend in with the surrounding area.
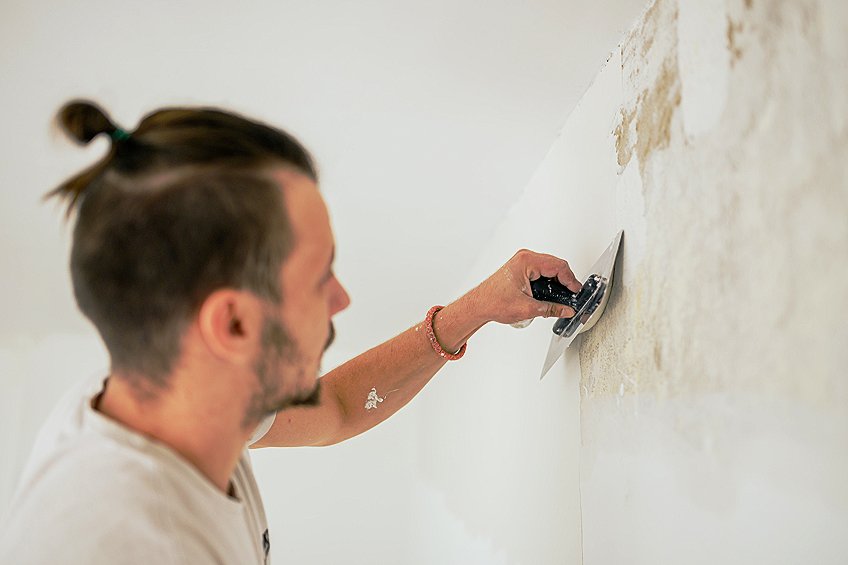
Mixing and Applying Stucco
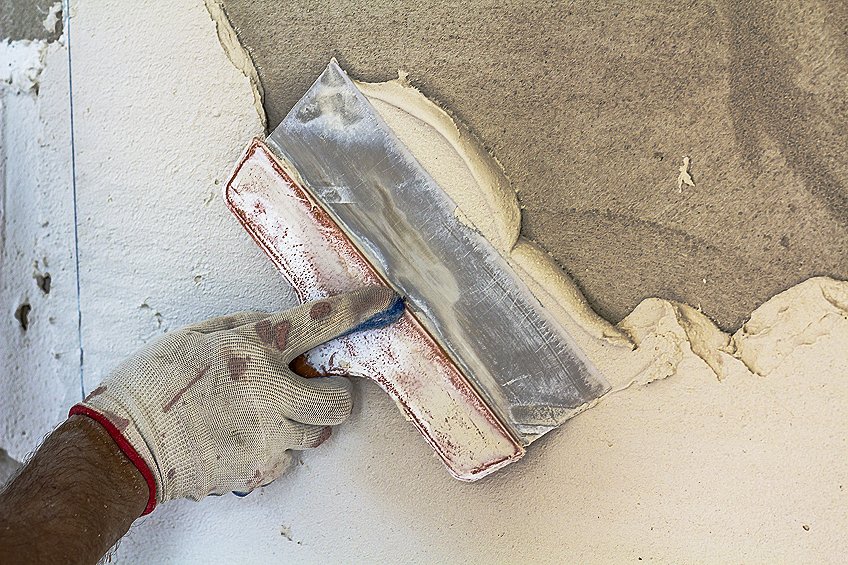
To repair stucco, mix a batch of stucco repair mortar, which commonly consists of Portland cement, sand, and an acrylic bonding agent. Use a mixing bowl or wheelbarrow and a trowel to combine the materials to the consistency of peanut butter. The tools and materials required include:
- Trowel
- Putty knife
- Mixing bowl
- Measuring tools
- Portland cement
- Sand
- Acrylic bonding agent
- Quikrete (for small repairs)
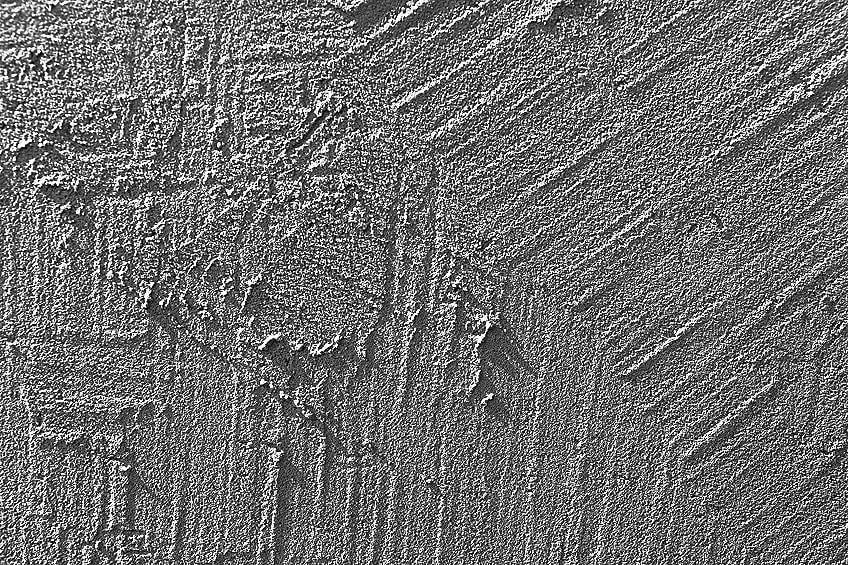
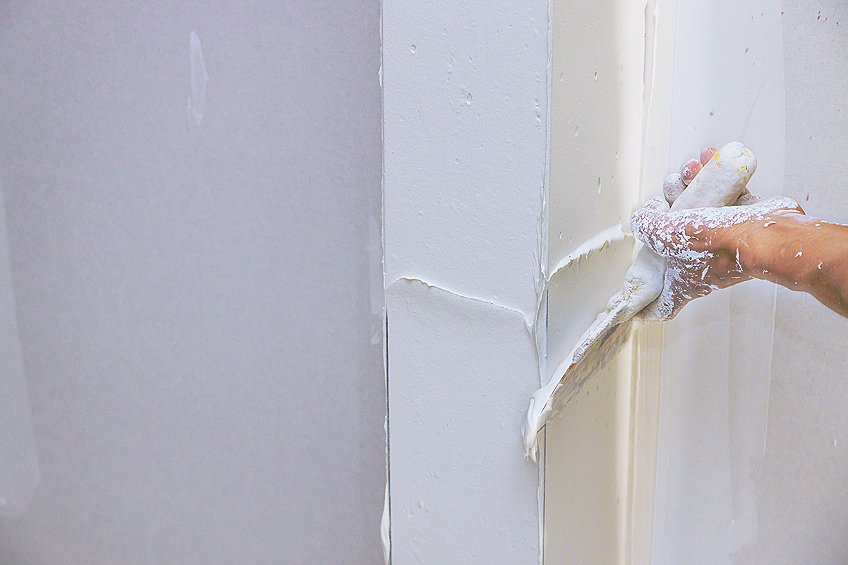
Creating the Texture Match
To achieve a texture that matches the existing stucco finish: Tools and materials include; a trowel, sponge, brushes, and stucco mix. Creating a texture match for stucco involves analyzing the existing texture and replicating it using specialized tools and techniques such as float or dash. Skilled craftsmen meticulously blend the stucco mixture and apply it with precision to seamlessly integrate the new texture with the surrounding surface, ensuring a seamless and visually cohesive finish.
- Use a variety of tools, such as brushes or a sponge, while the finish coat is still pliable to match the pattern of the surrounding stucco.
- Experimenting on a small, inconspicuous section can help you perfect the technique before applying it to the main repair area.
Curing and Painting
Curing is critical to the durability of the stucco repair. Incorrect curing can lead to cracks or a weak repair. Curing the stucco patch is a crucial step in the repair process. Once the final texture match is achieved, it’s essential to allow the stucco to cure for at least seven days. To prevent rapid drying, it’s recommended to keep the patch moist by regularly misting it with water throughout the curing period.
This ensures optimal strength and durability of the repaired surface.
Once the stucco repair has fully cured, applying exterior paint can add an additional layer of protection and ensure the patch matches the surrounding area. When considering painting over stucco repairs, it’s imperative to choose a paint that matches the surrounding stucco seamlessly. Following the manufacturer’s instructions during application ensures not only the best coverage but also maximum protection, resulting in a finished look that blends flawlessly with the existing surface.
In conclusion, mastering the art of stucco repair is not just about fixing cracks and chips; it’s about transforming imperfections into opportunities for creativity and resilience. With the right tools, techniques, and a dash of enthusiasm, you can turn your stucco mishaps into masterpieces that stand the test of time. So, roll up your sleeves, grab that trowel, and let your imagination run wild as you embark on your stucco repair journey. Remember, with each patch and layer, you’re not just repairing stucco — you’re crafting stories of ingenuity and triumph!
Frequently Asked Questions
What Are the Necessary Steps to Repair Large Holes in Stucco?
To repair large holes, one must first remove any loose stucco and clear debris. The underlying lath and house wrap should be inspected and replaced if necessary. New house wrap and lath are then installed before applying multiple coats of stucco, allowing each coat to cure before applying the next.
Can I Perform Stucco Repairs on My Own Without Professional Help?
It is possible to perform minor stucco repairs oneself with the right tools and materials. However, repairing large areas or structural damage might require professional expertise. One should assess the extent of damage and their skill level before attempting repairs.
What Materials Are Best Suited for Effective Stucco Repair?
A mixture of Portland cement, sand, and hydrated lime, combined with an acrylic bonding agent, is suitable for repairing stucco. Premixed stucco may also be used for convenience. The right choice of materials ensures the repaired area matches the existing stucco in texture and color.