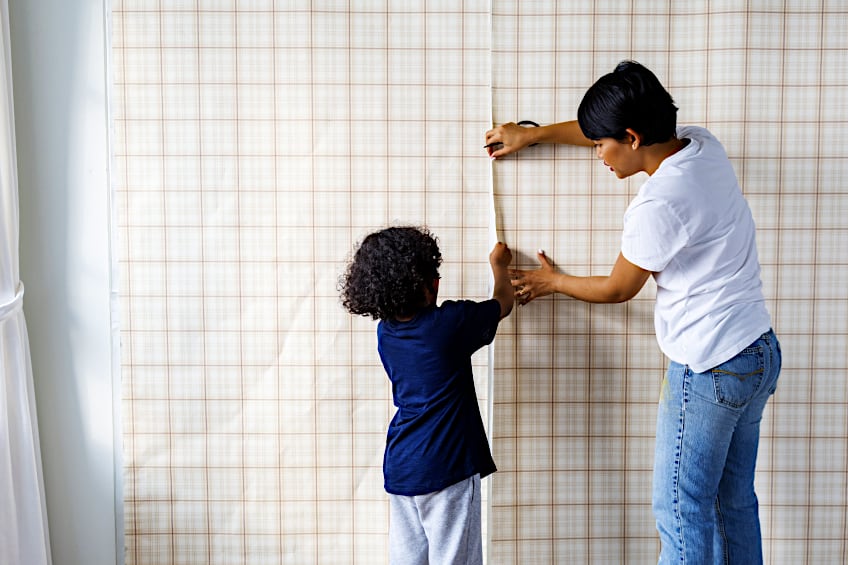
How to Remove Wallpaper – Easy Wall Covering Stripping Guide
This post may contain affiliate links. We may earn a small commission from purchases made through them, at no additional cost to you. You help to support resin-expert.com
Wallpaper is an easy way to make your walls more visually appealing, but it isn’t without its drawbacks. When wallpaper begins to fade and chip, you’ll need to remove it, and this can be challenging if you’ve never done it before. To make things a bit easier for you, we’ve prepared a short tutorial detailing how to remove wallpaper from a wall, as well as what tools and materials you will need to go about it.
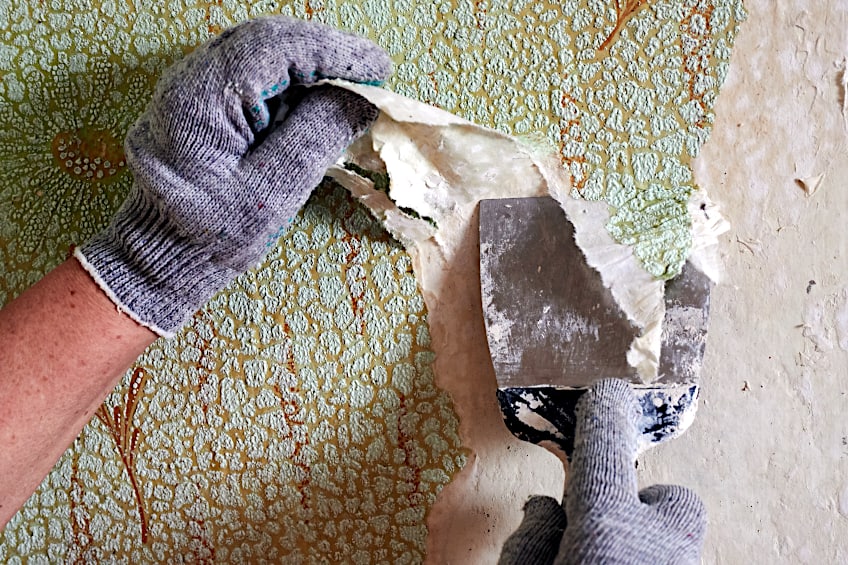
Table of Contents
Gather the Necessary Supplies
To remove wallpaper from a wall you will need some “special” tools. These ensure you’re able to remove the wallpaper quickly and easily while preserving the wall underneath.
All of these tools are readily available at virtually all home improvement stores and generally aren’t expensive, so here are some tools to gather before you begin tearing off your wallpaper.
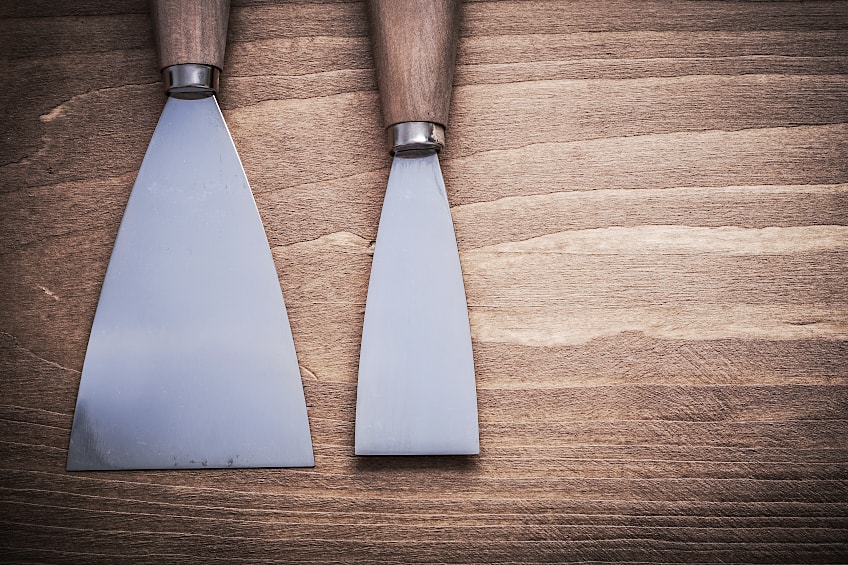
A Putty Knife
Putty knives are a great way to ensure you’re able to get underneath your wallpaper without breaking it off into little pieces. They ensure you’re able to pull off big pieces, cutting the time and effort needed to remove said wallpaper clear in half. A putty knife of about five inches should do the trick, and make sure it’s nice and rigid.
Wallpaper Scoring Tool
While they are marketed as wallpaper-scoring tools, all they really are is scoring knives. These allow you to quickly and easily cut through wallpaper either while you are removing or adding it to a wall.
These can be found in any home improvement store as well as online if you don’t feel like going out to a store for a single item.
Screwdriver
Remember that walls house electrical outlets, and wallpaper is usually applied with the outlet cover plates removed.
Unless you want little bits of wallpaper to remain trapped beneath these outlet covers, you will need to to remove them first, and keep them off until you have applied new wallpaper or paint to your walls.
To do this you will need a screwdriver that matches the drive configuration of your outlet’s screws. Screwdrivers are pretty inexpensive and statistically speaking, you’ll probably have one lying around (or know someone that does).
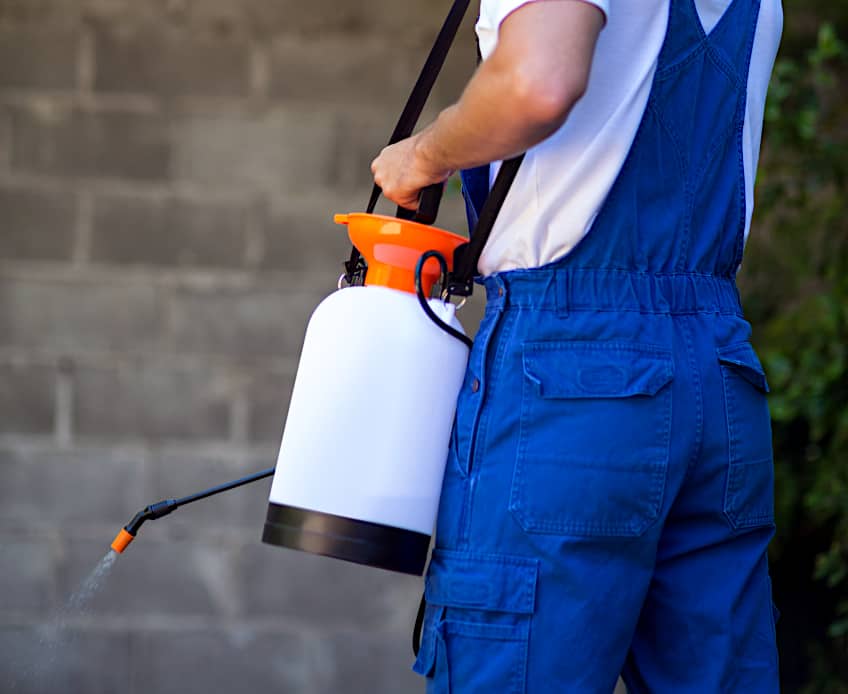
A Pressure Pump Sprayer
How are you going to remove those really tough pieces of wallpaper and the glue on your wall? You can opt for a conventional spray bottle to wet the paper, or if you have a large area to douse, you can use a hand bottle pressure pump sprayer to spare your hands from cramping up. After an initial bit of pumping to build pressure, these deliver a steady spray of just enough water or other liquid softening agent to your walls without flooding your home.
Hot Water and Vinegar
While wetting wallpaper can soften it enough to make removal easier, the glue that binds it to the wall can be trickier to remove.
One of the most cost effective methods is to soak your paper with a blend of vinegar and hot water.
Vinegar is a relatively safe astringent that will break down the glue without subjecting you to noxious fumes.
A Tarp and Painters’ Tape
While your goal here is to remove your wallpaper you don’t want the glue underneath to ruin your flooring. Wallpaper removal can get messy, so using a tarp or old newspaper to protect your flooring and anything else that could get damaged is a good idea.
Also, it doesn’t hurt to secure your coverings with some painter’s tape, so grab a roll of this too.
Protective Gear
We’ll be the first to say that removing wallpaper isn’t the most hazardous job in the world, but the whole point of personal protective gear is to prevent harm in the event of an accident. After all, this is why they’re called accidents, right?
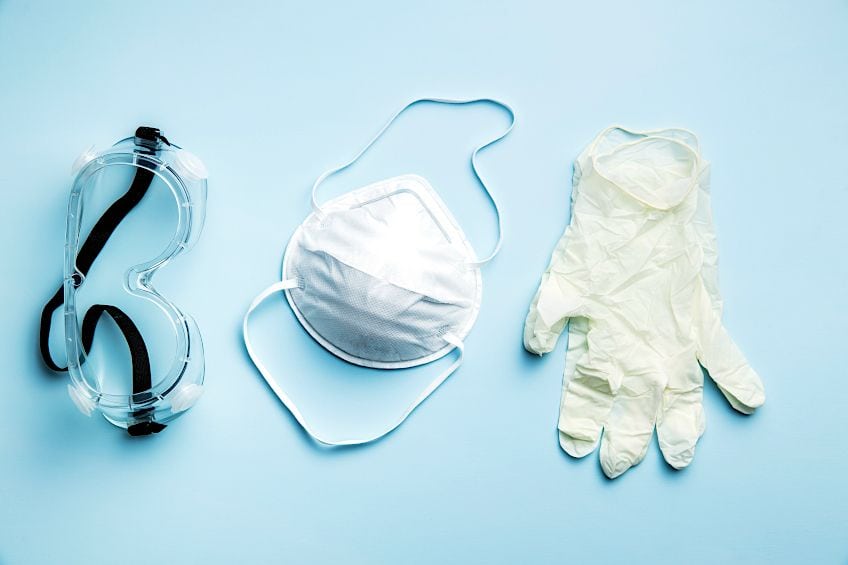
We recommend wearing a pair of gloves graded for use with solvents, some eye goggles, and a face mask to prevent you from inhaling any fumes.
How to Remove Wallpaper
Removing wallpaper is actually pretty easy. However, there are some steps you should follow to ensure your wallpaper is removed correctly. After all, there are different types of wallpapers, glues, and steps you should take to prepare your workspace. That being said, here’s how to go about removing your old wallpaper quickly and easily.
Preparing the Room
Before you begin the wallpaper removal process you should ensure your immediate environment is clear of obstacles. This means removing furnishings like couches shelving and tables. Simply place them in another room in the meantime, and if you cannot remove them try covering them up and securing the cover with some painter’s tape.

Once all obstacles have been removed it’s time to protect your flooring. Get your tarp and spread it out along your flooring from corner to corner, and if you are using multiple pieces of small tarp ensure they overlap. Once it’s been positioned, secure your tarp with the painter’s tape, making sure to join those overlapping pieces too.
You should also turn off all the electrical outlets in the room and remove their cover plates.
Wear your gloves while doing this to prevent your hands from being damaged by sharp bits of plastic and metal. Feel free to wrap your outlet covers in some old newspaper and place them in a safe place so they don’t get damaged or lost.
Test and Identify the Type of Wallpaper
There are many types of wallpaper, all of which have unique characteristics. For example, there are bamboo wallpaper, vinyl wallpaper, and even textile wallpaper which are separate from the surface material. There are two primary adhesive methods wallpaper uses; strippable and peelable.
Strippable wallpaper will come off with its adhesive layer, while peelable wallpaper will leave its adhesive layer behind, which will have to be removed separately.
How do you find out what type of wallpaper you have? Well, you’re already going to remove your wallpaper so the best way to find out is by removing a small piece and checking if anything is left behind. Using your putty knife, find an edge and lift it up (from the bottom up toward the ceiling). If it comes off in sheets with little adhesive left behind you have peelable paper, and if not you have strippable wallpaper.
Now that you know what type of wallpaper you are working with, you’ll need to establish what adhesive you are up against. If you still have the original roll of wallpaper this information should be clearly stated on it. If not, you could try contacting the manufacturer or simply having a look online.
Most modern wallpaper adhesives are water soluble, but some might require the use of a solvent.
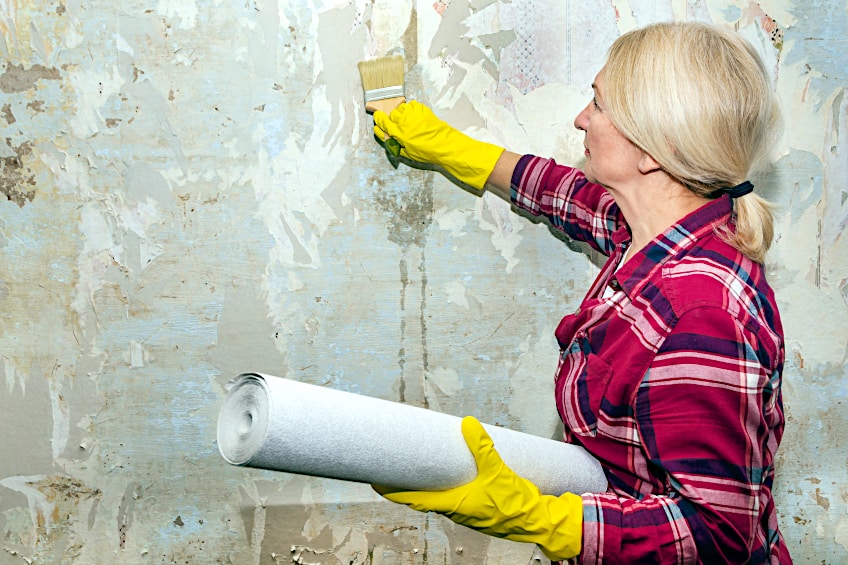
Removing Your wallpaper
Now to get your hands dirty. Removing wallpaper requires some patience, especially if you are working with peelable wallpaper. Here are two short tutorials detailing how to remove each type of wallpaper and what tools you will need. Ensure you are wearing your personal protective gear before you begin the process.
How to Remove Strippable or Peelable Wallpaper
Strippable or peelable wallpaper removal is actually quite simple and both of them can be removed using the same method/technique. To make things a bit easier for you we’ve prepared a short tutorial detailing how to easily remove these relatively common wallpaper types and what you will need to go about it.
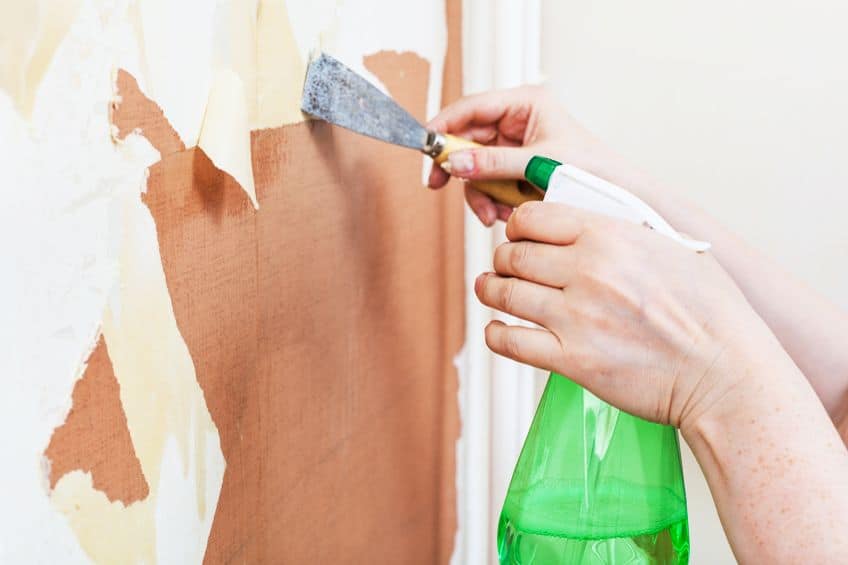
First off, use your wallpaper scorer to create cuts in the surface of your wallpaper. This should allow the water and vinegar solution to seep beneath the surface of your wallpaper.
Next, fill a spray bottle with some vinegar and hot water and spray the entire surface of the wall you are working with. Once it’s nice and wet, lift the paper using your putty knife while pulling at the same time. This is the trick. Lifting with your putty knife while pulling at the same time allows you to pull entire sheets of wallpaper off. Pull as close to the wall as possible so the paper doesn’t tear. If it does tear, simply pick another corner and start again. Repeat these steps until the wall has been completely stripped of wallpaper.
Once all of the wallpaper on the walls you want to tackle has been removed you should clean the walls. Remember that wallpaper can leave behind some sticky residue, so scrub the surface thoroughly using some soap and water in your pressure washer. Feel free to use a sponge to tackle the tougher areas if needed.
How to Remove Traditional Wallpaper
Traditional wallpaper, unlike strippable and peelable wallpaper, is not self-adhesive and is not made from what we call “woven materials”. This type of wallpaper isn’t commonly used anymore because it is difficult to remove and clean, but you could come across it in older houses, so knowing how to remove it is a useful skill to have. How do you remove traditional wallpaper?
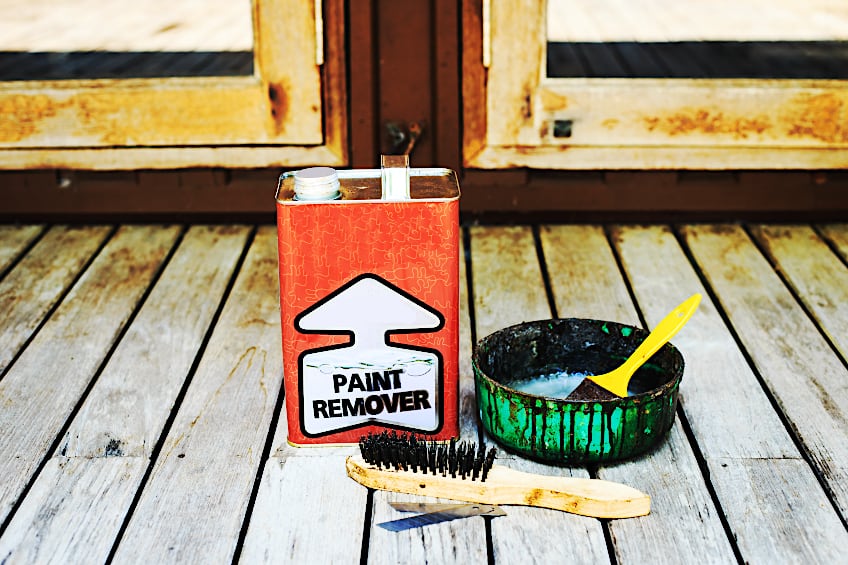
The best way to remove traditional wallpaper is with some wallpaper remover.
You’ll need to add hot water and wallpaper remover (as recommended by the manufacturer) into your sprayer and spray your walls. Once the solution has been applied you should allow it to seep into the surface of your walls for a couple of minutes before attempting to remove it (feel free to use your wallpaper scorer if necessary). Once the solution has had a chance to set in it’s time to get your putty knife. Just like you did with the strippable wallpaper, lift with the putty knife and pull the sheet from as close to the wall as possible.
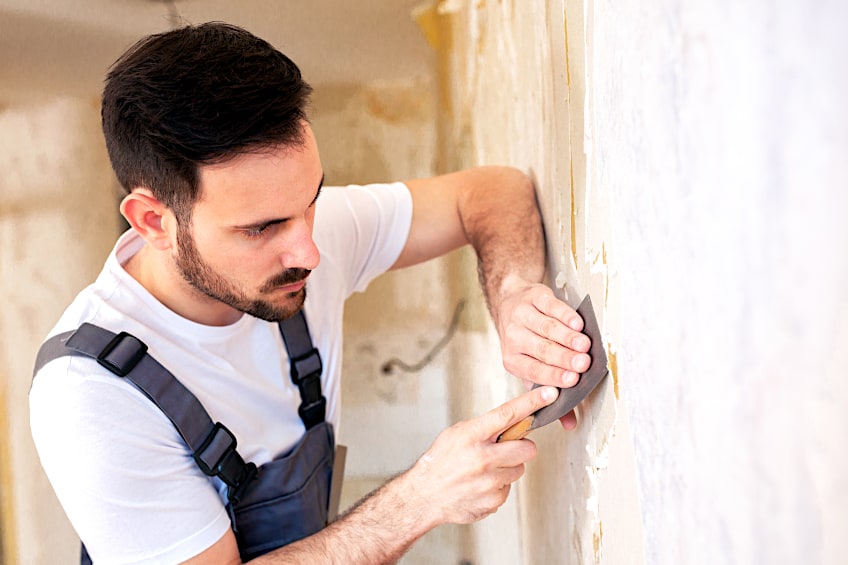
Traditional wallpaper can be tough so don’t press too hard with your putty knife or you risk gouging the surface of your wall, which you’ll have to fill before new wallpaper can be applied.
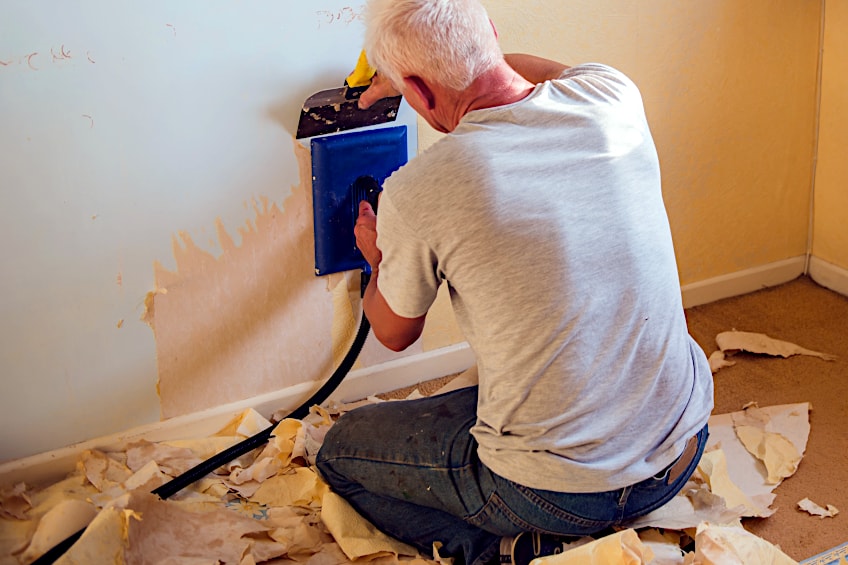
Keep going and tackle every strip until the wall is bare. Once your wall is devoid of wallpaper you’ll need to remove the wallpaper glue from the surface. We recommend trying some soap and hot water first, and if this doesn’t work we recommend trying out a glue solvent in your pressure sprayer for fast results. When using solvent-based liquids ensure your space is ventilated and that you are wearing a face mask at all times.
Removing Stubborn Traditional Wallpaper: The Steamer Method
Sometimes wallpaper has been on a wall for so long that simple water and leverage won’t get the job done. If this is the case, you could simply use a wallpaper removal steamer to literally dissolve the adhesive beneath the wallpaper and remove it like a wet band-aid. For this process, you will need either a dedicated wallpaper removal steamer or a regular handheld one.
Before you begin you should fill your steamer. Keep in mind that steamers produce a lot of heat so ensure you are wearing your gloves and eye protection before you begin. Next, score your wallpaper using your wallpaper scorer, and be sure to scratch up the entire wall to ensure maximum penetration with your steamer.
Place your steamer’s head in contact with your wallpaper and begin steaming. Evenly and thoroughly steam every sheet, focusing on the areas you have scored. Once the paper is nice and wet you can use your putty knife to lift the edges of wallpaper strips and pull them up using your hand, much the same way you would with the peeling and stripping wallpaper.
You will need to clean the glue off the surface of your wall once the wallpaper has been removed. You can do this using a sprayer filled with vinegar and hot water as you would with the other wallpaper types, although you might want to let it soak in for longer and use a scrubbing brush to get off some of the more stubborn areas.
Repairing and Preparing the Wall
Once you have removed your wallpaper you’ll be tasked with repairing the wall before new wallpaper or paint can be applied.
This means that any scratches or holes on the surface of your wall will need to be repaired before any other surface coating can be applied.
How do you go about this, you ask? Below we’ve created a short tutorial detailing how to go about it and what you’ll need to get it done.
Inspect the Wall for Any Damage
When removing wallpaper, it is entirely possible for you to damage the surface of your wall. After all, you would need to use quite a bit of force to lift wallpaper sheets, and the wall itself can soften up due to steaming and/or vinegar water being sprayed on it. As a result, you could be left with damaged areas of your wall that you’ll need to fix before it can be resurfaced.
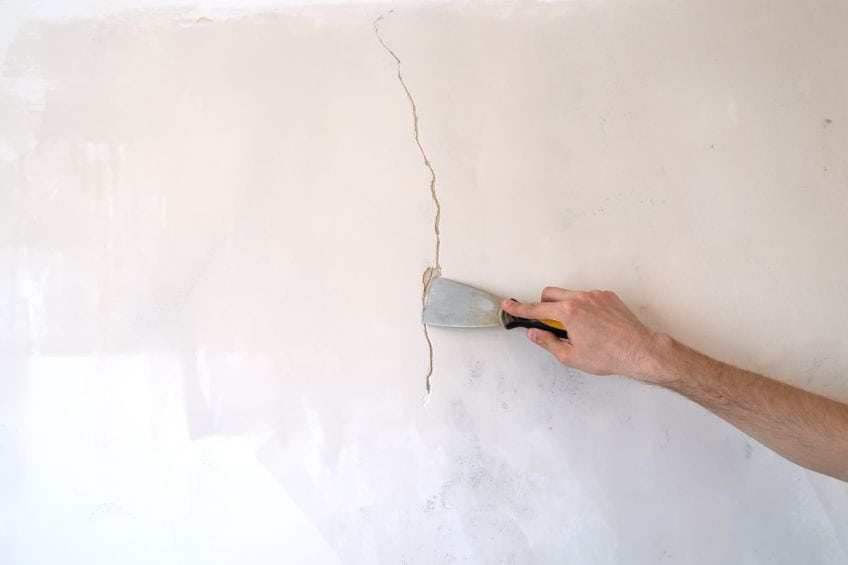
You will need to ensure that you check the surface of your wall for cracks and gouges.
Basically, you’ll start by checking all the areas you started at to get underneath the workpiece and retrace your steps as you go along. Also, check along the trim toward the edge of the wall where the putty knife might have nicked into the trim or wall.
Patching Holes, Cracks, and Imperfections
Filling in cracks and little dents might sound like a bit of a chore. However, it’s actually pretty easy and can be done fairly quickly if you have the right tools for the job. How do you go about making these repairs?
Well, if you’re faced with small cracks and dents the best way to fill them in is with a bit of drywall spackle and a putty knife.
To fix the hole in your drywall all you need to do is get some spackle on your putty knife and use this little bit to fill the hole. Once the hole has been filled drag your putty knife across the surface of the filled area at a 45-degree angle to remove any excess. Repeat this process until all the little imperfections have been corrected and allow the spackle to cure and harden before redecorating.
When it comes to larger holes and imperfections you will need a drywall patch and probably some drywall putty to cover it up. Drywall patches often need to be reinforced from inside the wall, and if you don’t have the tools, materials, or experience, you might want to consider hiring a professional. That being said, once the patch has been installed allow it to dry and cure before moving on.
The last step you should take before applying some new wallpaper is to sand the surface. This ensures that the surface is smooth and flush for the new wallpaper sheet, and helps rough up the surface for the wallpaper’s adhesive.
Remember to remove any drywall dust from the surface of your wall before applying your new wallpaper.
Tips and Tricks for Removing Wallpaper
As you can see it’s not too challenging to remove wallpaper from a wall, but there are some tips and tricks you can use to ensure you don’t struggle too much. This is especially true you’re your project is time-sensitive, so we’ve listed a few tips and tricks you can use to ensure you have the edge when removing wallpaper in the future.
Use Gel Stripper for Stubborn Adhesive
If you want to know how to remove wallpaper quickly the secret is gel stripper. Once you have removed as much of the remaining adhesive (and wallpaper) as possible, apply your gel stripper to the wall and let it set in for the time period indicated on the packaging by the manufacturer.
Once the stripper has been allowed to work (usually around 20 to 30 minutes) scrape it off and dispose of it responsibly.
Once the stripper has been removed, neutralize any remaining strips on the wall by giving it a good once over with some soap and water before attempting to apply another layer of wallpaper.
Consider Using Chemicals
While most (if not all) tutorials will tell you to remove wallpaper glue by soaking the surface of the wallpaper in some vinegar and water or by using a steamer. While this does help remove the wallpaper from the surface of your wall, it might not remove all the adhesive from the wall’s surface afterward. How do you get around this?
The best way to remove any remaining adhesive from the wall is by using chemical strippers.
The most commonly used is solvent or alcohol-based solutions that will help dissolve the adhesive. Simply spray or rub the solution on the wall and then scrape the surface with your putty knife to remove the remaining adhesive.
Score the Wallpaper As Much As Possible
If you’re still wondering how to remove wallpaper quickly, one of the best solutions is simply to work thoroughly. This is especially true when it comes to scoring the surface of particularly robust wallpaper types like vinyl.
Scoring the surface thoroughly will allow more water or steam to get beneath the surface of the wallpaper and soften the adhesive.
To score the surface of your wallpaper thoroughly simply tackle it a sheet at a time. The goal here is to perforate the surface of each sheet as much as possible, and while this might take a bit longer to do, you are saving an awful lot of time when it comes to the actual removal of the wallpaper. If you’d like to speed things up, ask a friend to help you out. Take care not to press too hard while scoring wallpaper, as you may end up leaving multiple scratch marks all over the wall beneath the paper.
Things to Avoid
There are a couple of common mistakes that you should avoid when removing wallpaper. For one, you should pace yourself as the entire process can be quite labor-intensive, especially if you are working alone. Another is to ensure that you remember to use a ladder if you cannot reach the higher parts of the wall (and ensure your ladder is secure).
You should also follow the process and never try to do different parts of the process at the same time, as this could simply lead to a mess and nothing actually getting done. And resist the temptation to apply new wallpaper before completely removing the old.
Lastly, you should always ensure that you have enough trash bags as the amount of wallpaper a small room can produce can be staggeringly deceiving.
That’s pretty much all you need to know about stripping wallpaper. The process of stripping wallpaper can be quite labor-intensive, and while there are tips and tricks that can speed up the process incrementally, the best way to get this done quickly is to have someone help you out. Remember to always wear your gloves, face mask, and eye goggles when working with chemicals and sharp tools, and remember to have fun. Good luck!
Frequently Asked Questions
What Is the Easiest Way to Remove Wallpaper?
There are many tutorials that showcase how to remove old wallpaper, but what is the easiest way to remove wallpaper on your own? The best way to go about it is to use a combination of steam and some gel stripper to ensure that both the wallpaper and the remaining adhesive are removed.
Do You Use Vinegar to Remove Wallpaper?
Vinegar is a tried-and-true part of the wallpaper removal process. All you need to do is mix vinegar with some hot water, pop it into a spray bottle, and spray some onto the surface of your wallpaper. The vinegar will help dissolve the adhesive behind the wallpaper’s surface.
Why Is Traditional Wallpaper Difficult to Remove?
Older wallpaper can be extremely challenging to remove, especially if you are dealing with traditional wallpaper. Traditional wallpaper tends to tear and cannot be removed in little sections, which means that it takes a lot more planning and effort to remove regardless of what chemicals or techniques you use.