How to Prep Walls for Painting – Optimize Your Paint Adhesion
This post may contain affiliate links. We may earn a small commission from purchases made through them, at no additional cost to you. You help to support resin-expert.com
Painting walls can be a fun and rewarding experience, especially when you get to marvel at the talk you’ve accomplished all on your own. However, doing a bad job could leave you feeling a bit frustrated, especially if the poor results have nothing to do with your painting ability. This being said, the key to painting any wall, regardless of the surface and material being painted, is in the preparation. This is why we’ve prepared a short tutorial detailing how to prep walls for painting, why prepping your walls is important, and what could happen if you choose to paint a wall without adequate preparation.
Table of Contents
Why Should Your Prep Walls Before Painting?
This is a great question. If this is your first time painting a wall, then you’re probably wondering if all of the preparation is really necessary. Well, yes, it is. Prepping walls for paint ensures a number of important outcomes once the paint has been applied to a wall, and it ensures that you’ve removed anything from the surface of the wall that could ruin your paint job.
There are three primary reasons for prepping walls for paint. First off, you’d like to ensure good surface adhesion of both your primer and paint by giving the surface of your walls a good wash to remove any foreign particles, and then sanding the surface to increase surface friction. Secondly, you want a good flat undercoat to ensure your paint adheres correctly, which is what the primer is for.
Lastly, you want to ensure that your paint has an even and vibrant finish to it as intended by the manufacturers. This is also the function of the primer, as it ensures that the paint doesn’t get absorbed into the surface of the wall which could cause an uneven finish. As you can tell then, prepping walls for paint and primer can mean the difference between a really good or really bad finish.
How to Prep Walls for Painting
As we mentioned previously, regardless of the surface you find yourself painting, preparing the surface is one of the most important steps in the entire painting process. Not only does it affect the quality of the finish your wall will be left with, but it will affect the lifespan and durability of the paint once it’s been applied. Below is a short tutorial detailing how to prep walls for painting, and an explanation as to why each step is important for the overall quality and longevity of your paint coat.
Clean the Surface of Your Wall
While most professional painters understand that cleaning your surface as part of the preparation process is important, amateur DIY enthusiasts might overlook this step in favor of simply getting the job done. However, ensuring that your surface is clean is one of the most important steps in the preparation process, as it sets the foundation for all of the other steps.
Cleaning your wall can be done with minimal tools and in most instances, relatively little effort. All you need is a bucket of soapy water, a sponge, and a clean cloth. The reason that your walls need to be cleaned before sanding or priming is that any foreign particles on the surface can affect the sanding process. Either causing your sandpaper to get saturated with dirt or causing a section of the wall to be unable to receive primer.
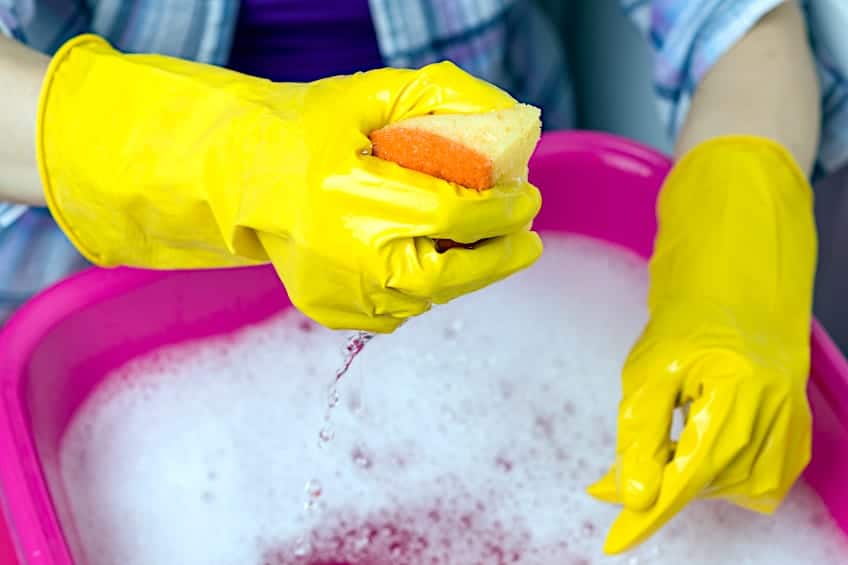
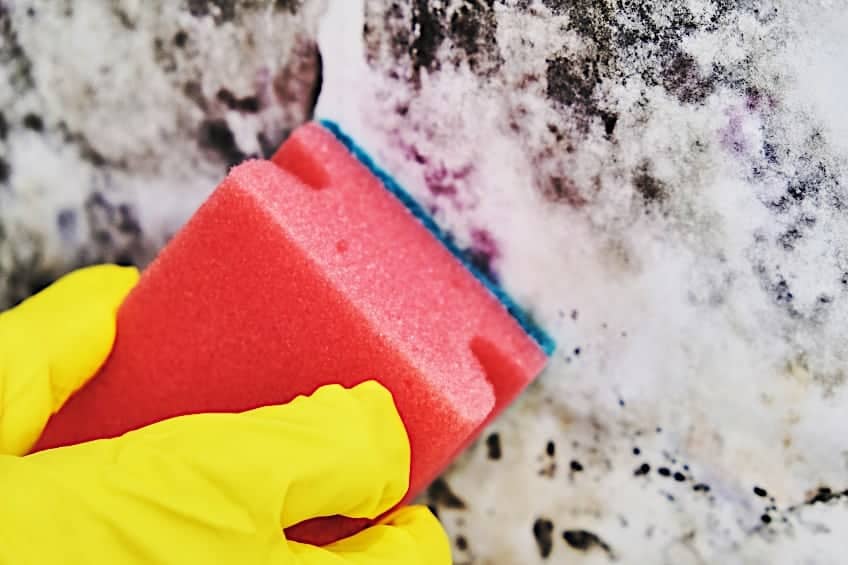
Dip your sponge in soapy water (warm or cold is fine) and give the entire surface a good scrub. If your wall is particularly large, wash it section by section, making sure that you get all of the little nooks and crevices with your sponge. Older walls tend to collect a lot of dirt in their pours, so look out for any little bits of dust, dirt, and mold present in these areas.
Once you have given the wall a good once over with your sponge, wipe off any excess residue present on the surface with a clean cloth. This will also assist you with removing any soap that has built up during the scrubbing process. Once you are happy with the job you have done cleaning your wall, allow the surface to dry completely before moving on to the next step in the process.
Sand the Surface of Your Wall
Sanding the surface of your wall can be considered equally important to clean it. Wondering how to sand walls before painting? Sanding is a fairly straightforward process that ensures that the surface of your wall is ready for painting and/or priming. How does it prepare your surface you ask? Well, all that it really does is roughen up the surface of the wall to increase surface friction.
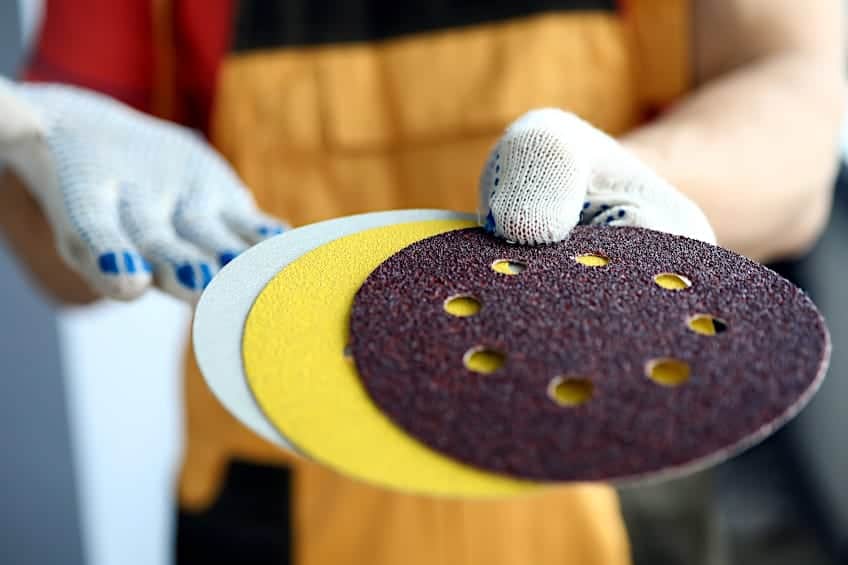
This increase in surface friction ensures that your primer and/or paint is able to adhere to the wall and not run off. The primer or paint solution is then able to set into the brick, mortar, or cement that you’ll be painting. Different types of wall surfaces require different grits of sandpaper, but more walls can be sanded with a grit of 120 and upwards.
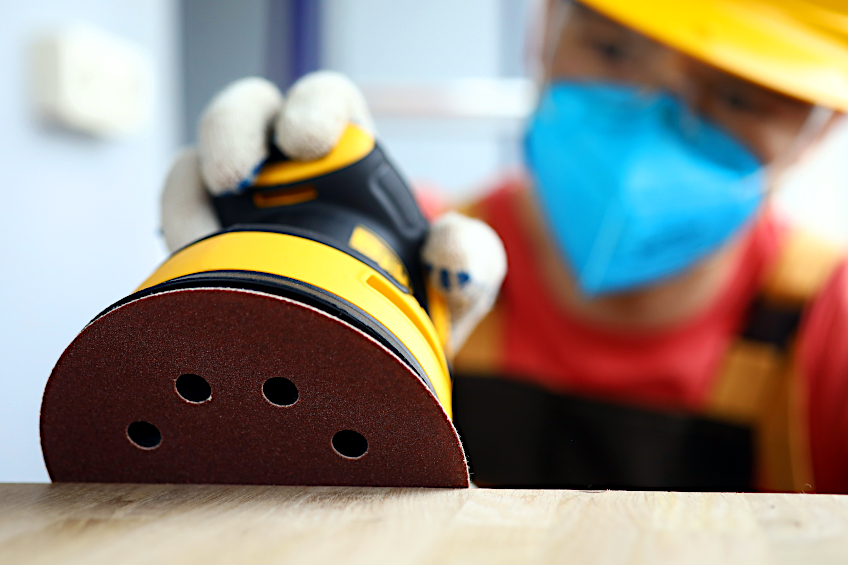
Sanding can be done with a sanding block, sandpaper, or a power sander. If you intend on using the latter, we highly recommend using a random orbital sander and not a belt sander. Why? Belt sanders are powerful, and if you aren’t skilled enough to use one correctly, you could end up eating up bits of your wall’s surface by accident.
Just as you did when you were cleaning your wall, it’s best to sand larger surfaces in sections. Sand in one direction, preferably following the length of the wall as you go along. Once you complete one section, move on to the next, sanding with even pressure throughout the process. Be careful not to spend too much time on one spot, and do your best to blend the sections into one another.
Sanding walls for painting is important. Failing to sand the surface of your wall correctly can result in poor adhesion of your primer. If your primer runs off or isn’t particularly well-set in an area, it can cause your paint to be flaky once applied, or even worse, could cause the overall finish of your paint to be visibly inconsistent once the paint has had a chance to dry completely.
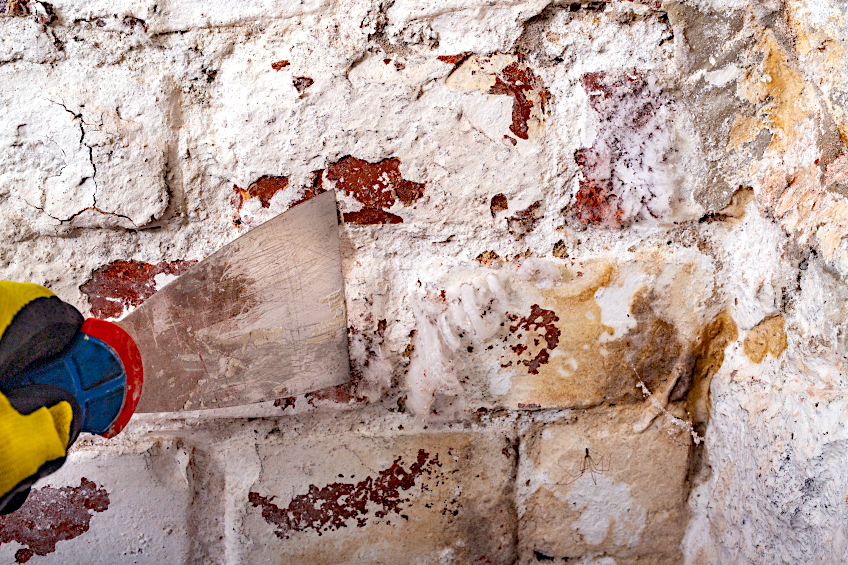
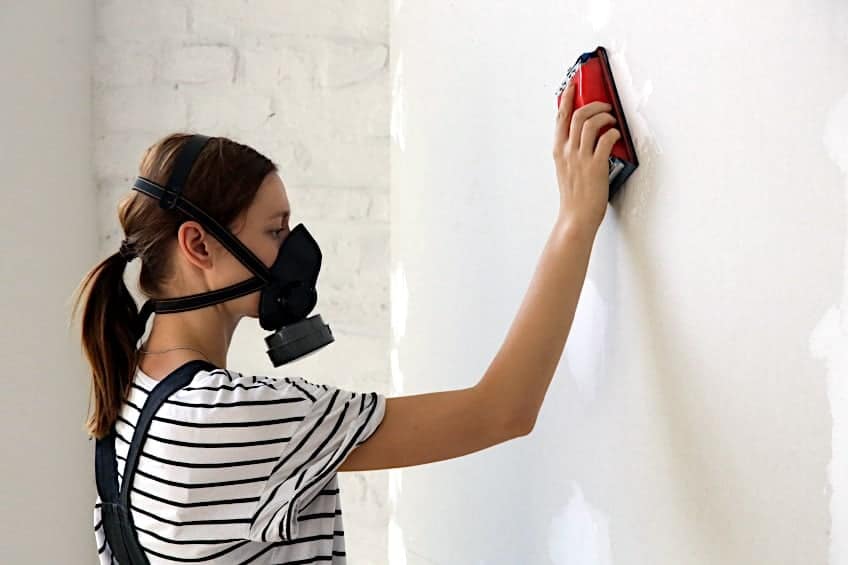
Once you’re done, use a clean cloth to remove any wall material clinging to the freshly sanded surface. If you have access to compressed air, this could save you some time in the cleaning process, just be sure to wear a face mask, eye protection, and gloves while doing so. Now that you know how to sand walls before painting, it’s time to move on to the priming process.
Fill Any Recesses
While this might not apply to sturdier surfaces like brick and mortar, it’s best practice to ensure that the surface of your wall is as flush as possible. How do you do this? Well, you can use some filler to plug any holes in your wall that would upset the evenness of your surface. Filler is really easy to use too in case you’re concerned about how to go about it.
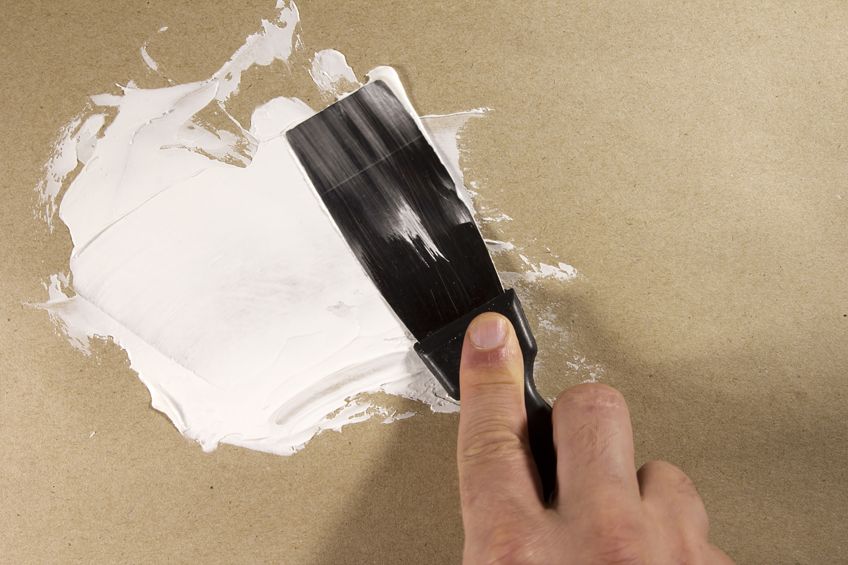
All you need to do is identify any holes and/or remove any fasteners like nails or screws from your wall’s surface. Once they are removed, apply some putty on the area and smooth it over with a putty knife. Repeat this process until all the holes in the wall have been filled. Next, allow the putty to dry completely and sand the hardened putty until you have a relatively flush surface.
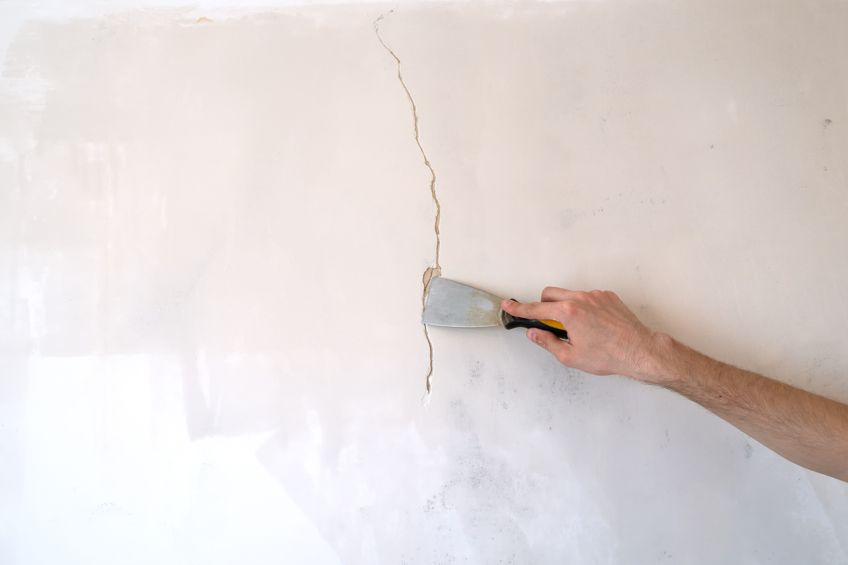
If you have any hairline crack in your wall that needs to be filled, the same process can be applied to ensure that your surface is as flush as possible before priming. However, we recommend inspecting the extent of any cracks you come across in case the is any structural damage to your wall’s surface.
Prime the Surface of Your Wall
While knowing how to sand walls for painting is important, your primer is what comes into direct contact with your paint, and as we mentioned previously, what determines the quality of your finish in most instances. What is primer though? Essentially, primer is made of all the same things that most paints are, minus the pigments and solvents.

Applying primer to the surface of your wall acts as a sort of “base coat” for the paint. Your paint no longer has to interact directly with the surface of the wall, eliminating the chance of your surface being oversaturated or too much paint being absorbed into the surface, which can cause a blotchy, inconsistent finish.
This is why sanding walls before painting is so important. If primer is applied to an un-sanded wall and/or uncleaned wall, it will not adhere correctly. A sanded surface (as we mentioned previously) increases the surface friction of the wall in question, giving the primer an ideal surface on which to stick, and ensuring that your paint has the perfect canvas for application.
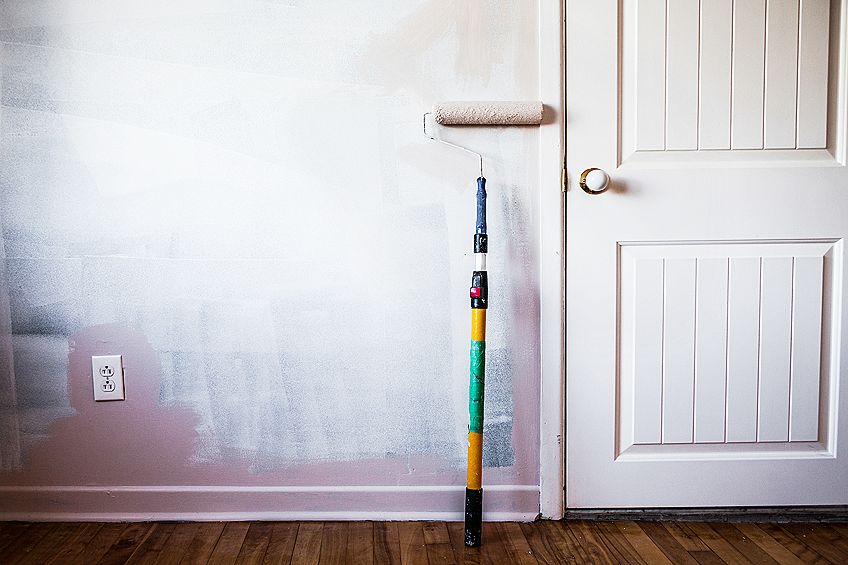
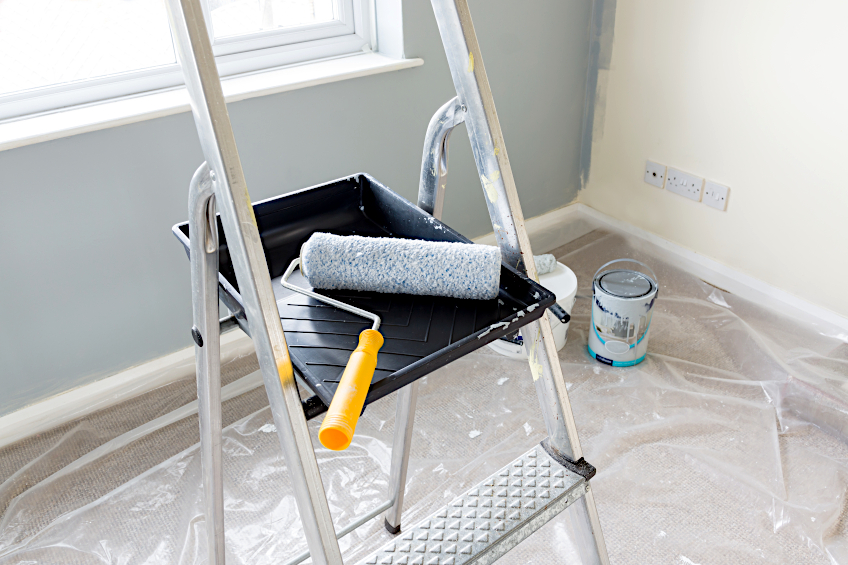
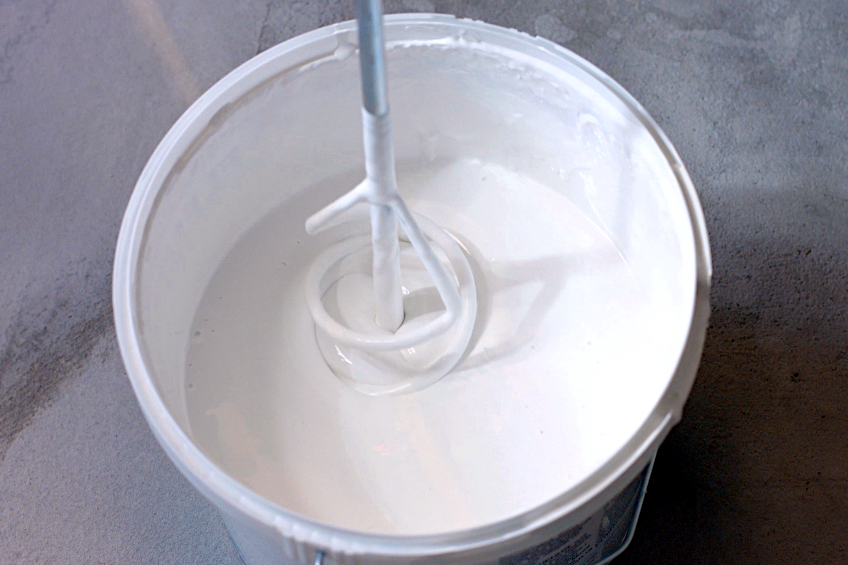
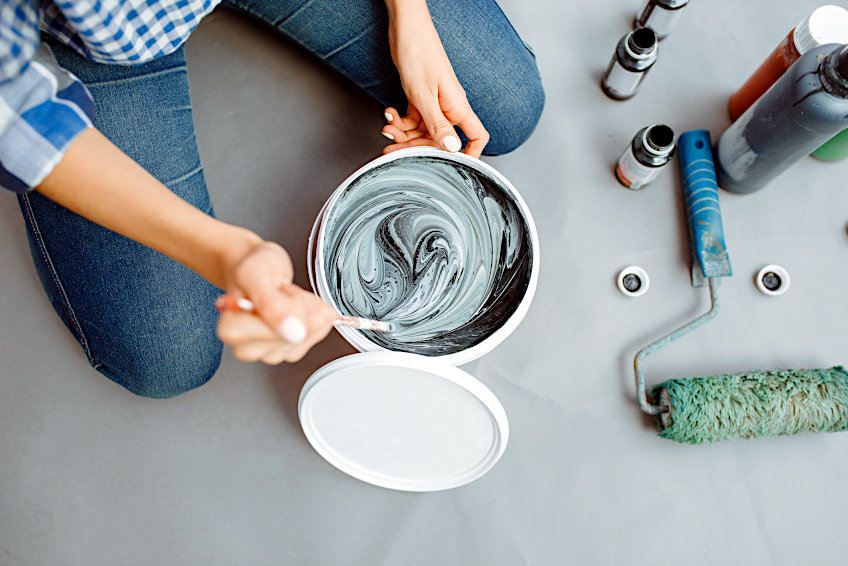
Wondering how to apply primer to your wall? It’s much the same as applying paint. Before you begin, give the container a good shake to ensure the heavier particles are mixed in with the lighter ones, or stir the paint well. Next, open your container and pour some primer out into a painter’s tray. Next, dip your brush or roller into the primer and start applying it to the surface of your wall.
Again, working in sections is recommended if your wall is large. Do your best to follow the length of the wall, from surface to ceiling. Ensure that your application is even and that you don’t have spots that are lighter or darker than others. Repeat this process section by section until all of the surfaces that you intend to paint has been primed. Once you’re done, allow the primer to set and dry for the manufacturer’s recommended time period before continuing to the next step in the process.
Paint the Surface of Your Wall
Now that you know why sanding walls before painting and applying primer are important steps, it’s time for you to get to the actual painting. As we mentioned previously, painting the surface of your walls is not unlike priming it. Before you get started, give the can a good shake to ensure that the heavier particles are reintroduced into the mixture.
Next, open up the container and pour some paint out into your painter’s tray. Get some paint on your brush or roller and begin painting following the length of the wall, from top to bottom as we mentioned previously. If you’re working with a large surface be sure to work in sections or the overall process can become a bit overwhelming.
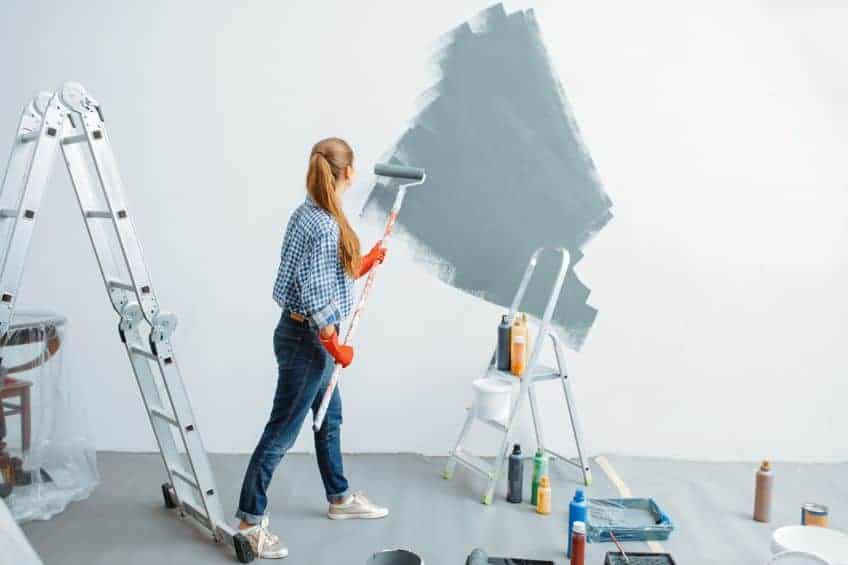
Repeat this process until the whole wall has been painted. Once you’re happy with the job you’ve done painting allow the coat to dry completely according to the manufacturer’s instructions before applying any additional coats. For additional coats, simply repeat this step until you have reached your desired color and intensity.
Is Prepping Your Walls for Painting Expensive?
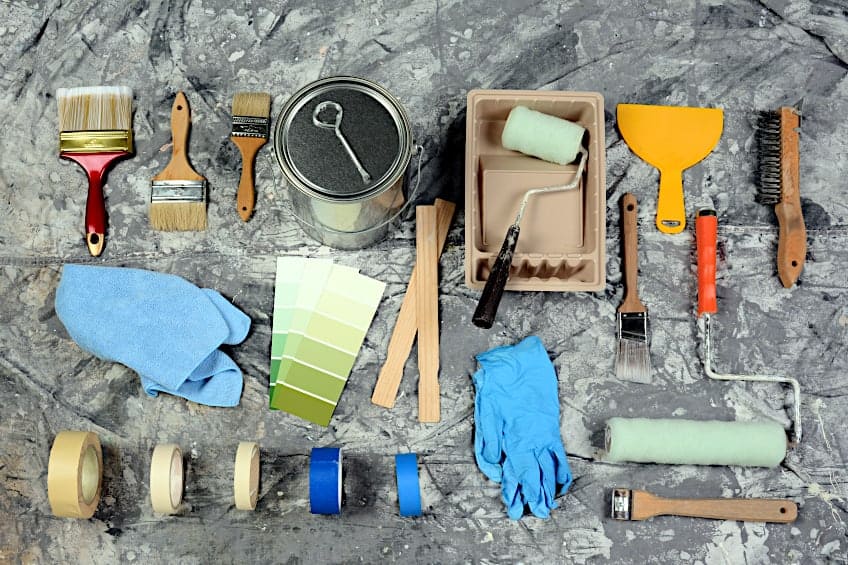
This is a good question, and while it might be relatively cheaper not to prepare your walls before painting, it’s not by much. All that you really need to prepare a wall for the painting process is some sandpaper, a clean cloth, a scrubbing brush or sponge, and some primer. Depending on the quality and brand of the product you choose prices can vary, but again, not by much.

You can pick up some decent sandpaper for around $5,00, a set of cloths for around $10,00, a few sponges for around $6,00, and a decent can of primer for around $15,00. For around $30,00 then, you can ensure that your paint not only adheres well but looks super good once it’s been applied!
If you look at the alternative, the cost is virtually nothing by comparison. Failing to clean, sand, and prime your surface opens you up to the possibility that your paint could fail to adhere correctly. This means that you’ll like to have to strip and sand the surface of the wall before you can begin the preparation and painting process again, which is not only labor intensive but expensive as well.
Now that you know why it’s important to prepare a wall before painting it, how to prepare a wall for painting, how to sand walls for painting, and whether it’s a worthwhile endeavor, it’s time for you to get out there and put your newfound knowledge to the test. Remember to wear the appropriate personal protective gear during the preparation and painting process.
Frequently Asked Questions
Is Sanding a Painted Wall Necessary?
If you’re considering painting over a wall with existing paint without sanding it, you might want to think twice. Sanding a painted wall ensures that the old paint is completely removed, allowing the new primer and paint to adhere correctly. Failing to do so can result in your new paint failing to adhere at all, which means you’ll need to repeat the entire process.
What Grit Sandpaper Should You Use on a Wall Before Painting?
Wondering what grit sandpaper to use on a wall before painting? Rougher sandpaper tends to work best on walls, but not too rough or it won’t leave a very good surface for the primer and paint to work with. Therefore, if you’re wondering what grit sandpaper to use on a wall before painting, we recommend using between 120- and 160-grit.
Is Sanding Wall Paint Easy?
Unless you’re using a power sander, sanding any surface is going to be fairly labor-intensive. Is sanding wall paint easy then? Relatively, yes, but we recommend using a power sander (preferably an orbital one) if you’re going to be sanding a large wall.