
How to Paint Wood Furniture – A Beginner’s Guide to Wood Painting
This post may contain affiliate links. We may earn a small commission from purchases made through them, at no additional cost to you. You help to support resin-expert.com
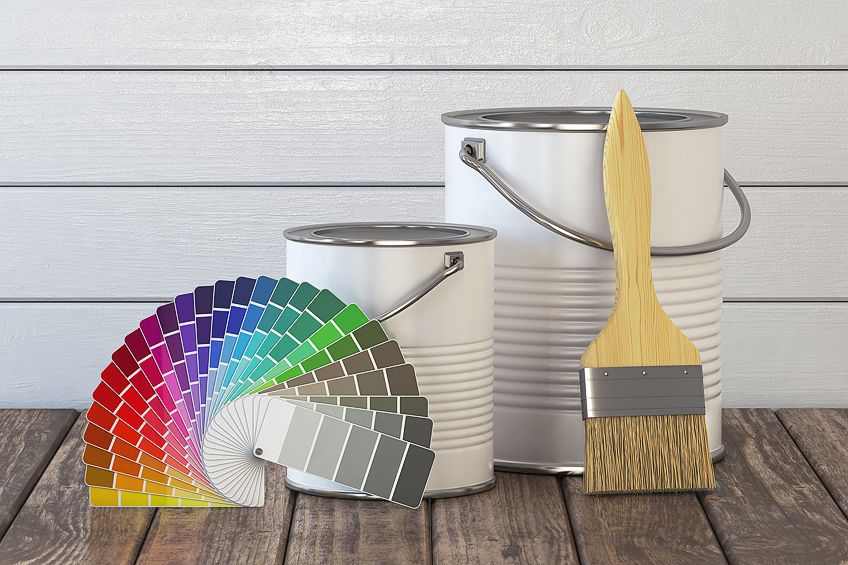
A fresh lick of paint can transform virtually anything. Choosing to paint an old piece of furniture is a great way to revitalize it. It will not only give new life to the piece, but can transform an entire room as well. With all the many different types of paints, brushes, and methods available, you may be experiencing information overload – this is understandable. There is no need to worry, however, as this article will cover it all and give you the confidence to do it yourself without heavy equipment!
Table of Contents
What Do You Need for Wood Painting?
What is the big deal? How hard can it be? Just paint away, right? Of course, it is easy to grab the leftover paint from back when you decided to paint that accent wall in your bedroom, but sticking to the “all paint is paint” matra can lead to premature peeling and chipping. Not all surfaces are created equal, and not all paints will work on all surfaces. This is why we need to select the correct paint for the job, and let us not forget about the all-important primer.
Selecting the Correct Wood Paint
Selecting the correct paint for painting on wood is essential. Whether you are after vibrant, high-gloss colors or a weathered and rustic matte look, there is a paint for the job. Below is a list of the best paints for painting on wood as well as suggestions for suitable primers. Using the correct type of primer and paint on your wood will help you to achieve the desired result.
Latex Paint
Latex paints are water-based and are widely available in an endless array of colors. Latex paint is a general-purpose paint that works well on wood, boasting a wide range of finishing options from matte to satin to flat and high-gloss, although semi-gloss and satin are recommended for painting wood.
One downfall to latex paint is that even after it has cured, it can still feel soft, and is, therefore, more prone to wear and tear. On that account, it may not be the best option for a work surface such as a table or desk. It is best to use a latex primer when using latex paint, like this one from Kilz.
Best Latex Paint: RUST-OLEUM Painter’s Touch Latex Paint
Rust-Oleum is a trusted brand and their latex paint comes highly recommended for painting on wood. It is a very versatile paint that is suited to interiors as well as exteriors. One quart of this paint can cover around 120 square feet of surface area. Using a water-based acrylic formula, you will not have to endure any strong odors with this paint. The gloss finish left behind will dry quickly, offer excellent hide, resist chips, and will provide lasting protection.
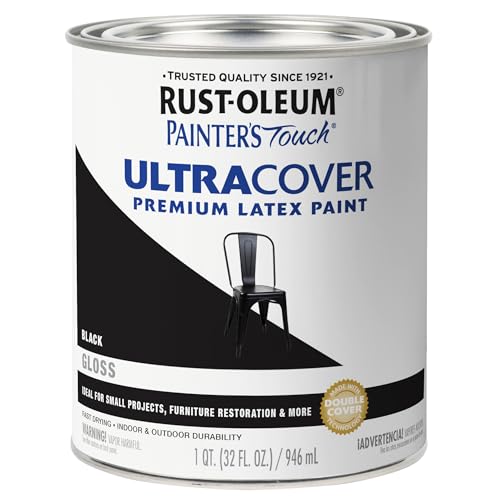
- Provides lasting protection to indoor and outdoor project surfaces
- Water-based acrylic formula is low-odor and resist chips
- Gloss finish goes on smoothly and provides excellent hide
PROS
- Fast-drying
- Water-based formula allows for easier clean-up
- Comes in a wide range of colors
- Low odor
- Non-flammable
- Excellent hide
- Chip-resistant
CONS
- Not as hard-wearing as oil-based paint
- Can take up to a week to cure properly
Acrylic Paint
Like latex paint, acrylic paint is a versatile, water-based paint that offers vibrant colors and a great finish. Unlike latex paint, however, it is usually only available in smaller quantities, which makes it perfect for smaller DIY jobs. Acrylic paint is easy to work with as it levels itself automatically and dries quickly, which allows you to apply multiple coats within a shorter time frame. Its water base also means that cleaning up is a breeze, as you need just soap and water. The use of a primer is recommended for the best results – we suggest using this primer from Rust-Oleum’s Painter’s Touch range.
Best Acrylic Paint for Wood: ARTEZA Acrylic Paint
When it comes to acrylic paint, it is hard to beat Arteza’s range. Specifically designed for artists and hobbyists, this paint also works well on wood and is ideal for smaller accent pieces, as this Arteza product only comes in small quantities.

- Vivid, acrylic color that will set fire to your imagination
- Paint features a smooth, highly pigmented color that will not fade
- ACMI-certified paint is completely safe for use by all creatives
PROS
- Wide variety of available colors
- Colors are highly pigmented and resistant to fading
- Easy to apply
- Easy clean-up with soap and water
- Low odor
CONS
- Available in small quantities
- Takes a long time to cure completely
Oil-based Paint
Oil-based or alkyd paint provides a tough coat that is very durable, making it ideal for items of furniture that are subject to heavy use, like desks and tables. Oil-based paint is best if you are painting over existing paint, as it adheres well to surfaces. If, however, you do know what the existing paint is, you should use the same type of paint that is already on the piece of furniture.
The drying time for an oil-based paint is much longer than that of acrylic and latex. Expect to wait up to 24 hours before applying the second coat. Another downside is that it is more expensive and requires ample ventilation due to toxic fumes that evaporate into the air while painting and drying. To prime your wood beforehand, we suggest using this spray primer from Rust-Oleum’s Zinsser Bull’s Eye 1-2-3 series.
Most Durable Paint for Wood: RUST-OLEUM Stops Rust Protective Enamel Paint
Rust-Oleum’s Stops Rust Protective Enamel is an oil-based paint that is extremely durable. It is a versatile paint that works extremely well on wood and is ideal for both interior and exterior use. This paint is great for surfaces that are used frequently, as not only is it resistant to weather, but it also provides excellent resistance to corrosion, chipping, scratching, and fading.

- Weather- and rust-resistant coating protects indoor/outdoor surfaces
- Oil-based formula provides a durable, protective coating
- Excellent resistance to abrasion, fading, and chipping
PROS
- Extremely durable
- Self-leveling
- Works on both indoor and outdoor surfaces
- Excellent resistance to rust
- Will not chip, scratch, or fade
CONS
- Long drying time
- Fumes can be hazardous
- Paint thinners needed to clean
- Limited colors
Chalk Paint
Chalk paint is a specialty paint that is becoming easier to find with the rise of vintage-inspired furniture. Chalk paint is water-based and boasts a matte finish. It dries very quickly, which while convenient can result in visible brush strokes. This paint is ideal for distressing with sandpaper or steel wool. Chalk paint does not really need a primer as it is primarily used to create a distressed, worn look on wood. However, if you do want to prime your wooden furniture, this clear bonding primer by Country Chic Paint is the way to go!
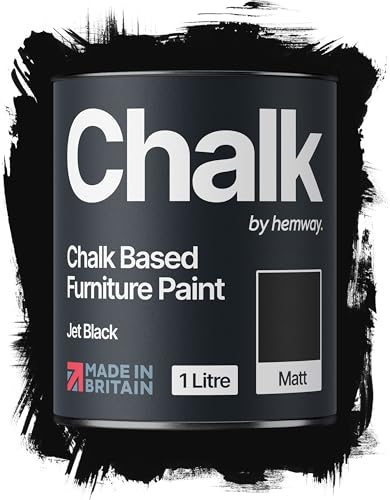
Best Chalky Paint: HEMWAY Chalk-Based Furniture Paint
Hemway’s chalk paint comes highly recommended if you are looking for a vintage look or if you are looking for an eco-friendly paint option. There is no mixing required and it comes in a good array of colors. This paint offers great coverage and its water-based formula means that it emits hardly any odor. You can apply the paint directly to the wooden surface without any prior sanding or priming, and you will only need to wait a couple of hours in-between each coat.
- Water-based chalk paint with virtually no odor and great coverage
- Can be applied directly to most surfaces without priming or sanding
- Provides a matte, smooth, and flat-touch finish to your surface
PROS
- Non-toxic and eco-friendly
- Easy clean-up
- Low fumes and minimal odor
- No prior priming or sanding required
- Good range of colors
- Excellent coverage
CONS
- Expensive
- Not as durable as oil-based paint
Milk Paint
Milk paint is a non-toxic, eco-friendly paint for wood that is perfect for achieving an antique or worn look. Milky paint generally comes as a powder that you must mix with water. Tints can be added for different colors and the finish is silky smooth. After it has dried, taking some sandpaper or steel wool to the corners and edges of the painted surface is an easy way to get that distressed look. Generally, you will not need a primer for milk paint, as this type of paint is great at adhering to all kinds of surfaces. However, you can always apply a stain-blocking primer like this one from General Finishes in order to cover the wood grain or if you plan on painting a light color onto dark wood.
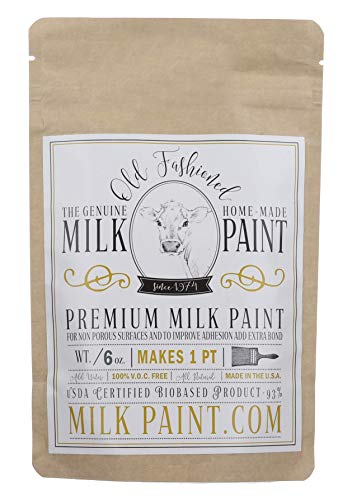
Best Milk Paint: OLD FASHIONED Milk Paint
Old Fashioned’s milk paint powder is a favorite amongst many. While it may not seem like much, this powdered paint goes a long way – a 6 oz packet makes one pint of paint. It is a certified bio-based product that is safe enough to use on children’s toys and furniture. This is an ideal option for achieving an old-world aesthetic.
- Made in small batches using earth pigments
- The perfect finish for achieving an “old” or “country look”
- Colors will not fade, are non-toxic, and are environmentally safe
PROS
- Non-toxic
- Colors do not fade over time
- Mixes easily
- Environmentally friendly
CONS
- Not as durable as oil-based paint
- Requires mixing
- Limited finishes
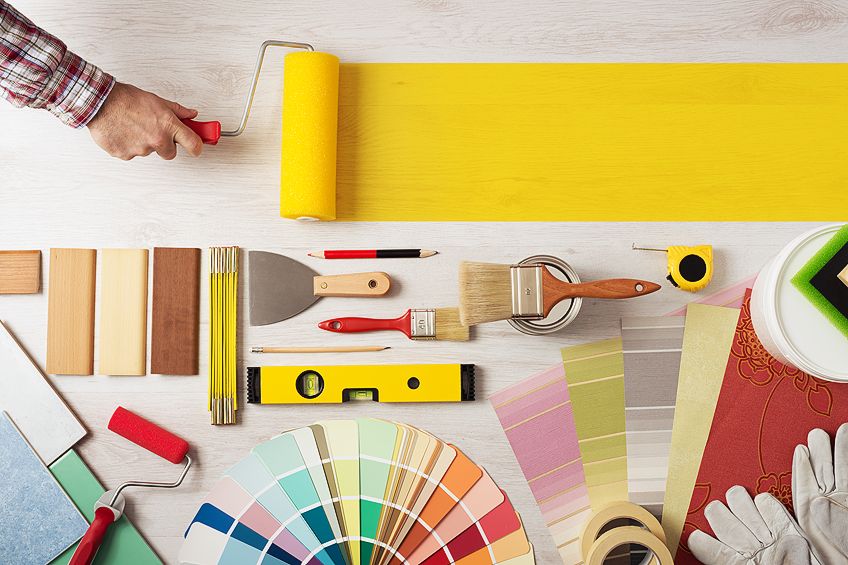
Selecting the Correct Brushes and Rollers for Wood Painting
When it comes to choosing brushes and rollers for painting wooden furniture, we are spoilt for choice. Foam rollers, shaggy pile rollers, foam brushes, synthetic bristles, the list goes on. Selecting the correct tool for the job can make or break the finish of the piece of furniture you have decided to revive. Below is a breakdown of some of the options available.
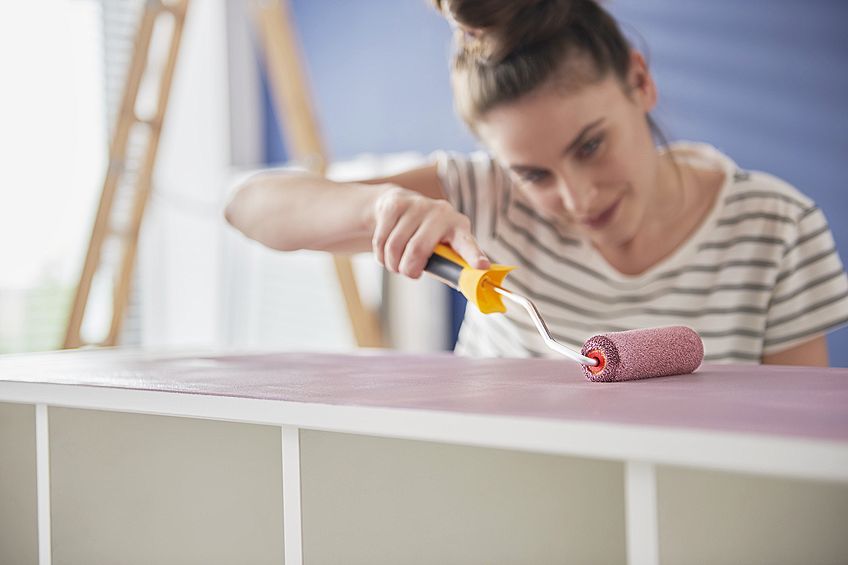
Rollers
Rollers are ideal for large, flat surfaces and work best with water-based paints. A high-density foam roller will provide the smoothest finish on the wood. The use of a foam roller is a great way to avoid visible brush strokes showing up, but you will need brushes to get into the corners of your project, as it is near impossible to get in there with a roller.
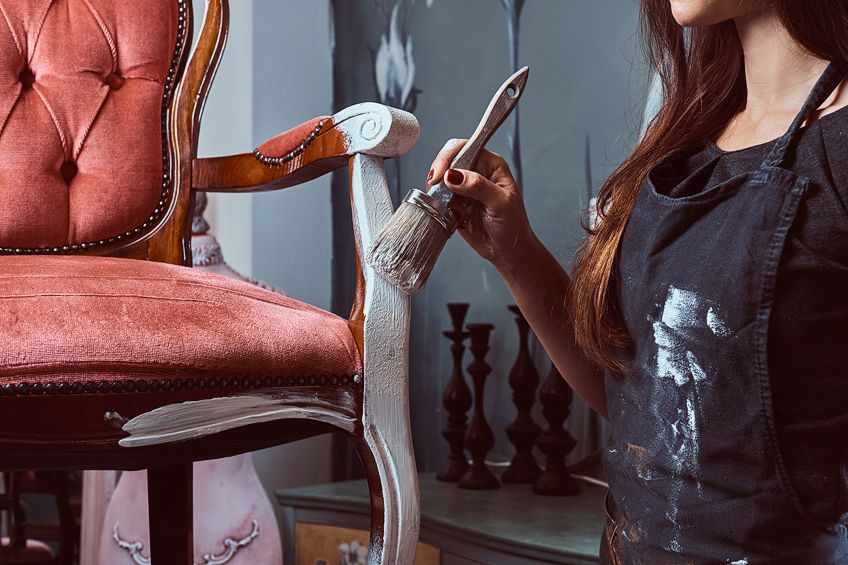
Natural Paint Brushes
Natural paintbrushes are usually made from hog hair and are considered to be high-quality brushes. As a rule of thumb, natural bristles are the best brushes to use when applying oil-based paint on wood. Look for good quality brushes with bristles that are tightly packed. If the bristles look as though they have split ends, it is a good thing. This will help you to achieve a more even finish and better coverage when painting wood.
Synthetic Paint Brushes
These brushes are usually cheaper than natural bristle brushes but are in no way worse – you can still find some high-quality synthetic brushes. Synthetic brushes are ideal for water-based paints like latex and acrylic paints. Synthetic brushes will also last a lot longer than natural brushes when cared for correctly. Look for tightly packed, hollow, tapered bristles for the best finish on wooden furniture.
Brush Sizes
It is best to have a few differently sized brushes when painting furniture as well as a roller, especially if you are painting a large surface area. A 1- to ½-inch brush should be small enough for getting into tricky areas and 2- to 3-inch brushes are best for edges, table legs, and so on. It is best to buy a set of brushes, as using mismatched brushes can result in an uneven finish.
Other Tools and Materials
Now that you have selected your paint and brushes, there are a few other things you need to consider getting before starting to paint. What follows is a short list of items that will make the job a little easier, thus ensuring that you get the best results.
Respirator
If you have decided to use oil-based paint, it is best to wear an R95 respirator mask. This will protect you from inhaling toxic fumes. Painting outside can reduce your exposure to the fumes but it is still advised that you use a mask when painting with oil-based paints.
Sandpaper
Sandpaper is a must-have. It will help to increase the adhesion of the paint and using it in-between coats will help you to achieve a smooth, even finish. For sanding furniture and refurbishing wood, 100- to 220-grit sandpaper is recommended.
Masking Tape
Masking tape is a painter’s best friend. It is also known as painter’s tape and is cheap and incredibly effective for covering up areas that you do not want to get paint on. There are some specialized tapes on the market, but an all-purpose painter’s tape will do just fine.
Wood Primer
A wood primer is an undercoat that increases the bond of the paint to the wood while also enhancing the finish. It is not recommended that you paint wood without painting an undercoat of a quality wood primer, especially if you are looking for a durable finish.
Cloth
A tack cloth comes highly recommended. As the name suggests, this cloth has a bit of a tacky texture and is specifically designed for removing dust and other particles from surfaces. Use this after sanding to be sure that you have removed all the dust before beginning to paint. Alternatively, a soft, lint-free cloth works as well.
Basic Tools
It is always wise to disassemble furniture as much as you can before painting. If you are painting a wardrobe, remove the doors and shelves if possible. This will make painting a lot easier. To do this, you will need some screwdrivers and or hex keys.
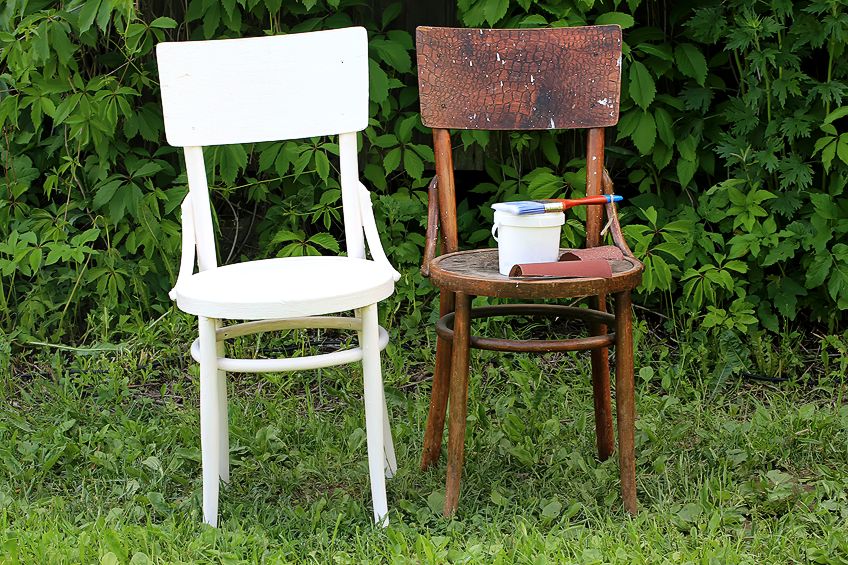
How to Paint Wooden Furniture
Now that you have gathered all your supplies, it is time to get down to painting. The steps that follow will guide you through the procedure of painting a piece of furniture. Read ahead for tips and tricks as well as frequently asked questions and answers. Preparing your piece for painting will ensure that you get the most out of the paints and brushes that you have carefully selected. Resist the urge to rush through the preparation steps, as they are just as important, if not more important, than the painting itself.
Disassembly
Disassembling your furniture can make it a lot easier to achieve a high-quality finish. Remove hardware such as drawer handles and doorknobs by using a screwdriver. Remove doors and anything else you can so that you can reach all the surfaces that need painting and avoid getting paint where you do not want it.
Cleaning
If you are painting old furniture that has existing paint, use sugar soap or trisodium phosphate (TSP) soap to wash the item of furniture. If you are painting on raw wood, you can skip this step. Sugar soap will remove all the grime and any oil that may interfere with the adhesion of the paint. This soap comes in powder form and is easy to mix yourself. Ensure that you use rubber gloves, however, as this soap can be harsh.
Stripping
If the piece of furniture you want to paint has old, chipped, and dented paint, you may want to use a paint stripper to remove the paint before moving onto the sanding. Paint stripper is a very harsh chemical that gives off toxic fumes. It is best to use it outdoors or at the very least, in a well-ventilated area. It is also wise to wear an R95 respirator mask. A paint stripper will remove all the paint from the furniture. If the existing paint is not in too bad a condition, you can try to paint over it.
Sanding
Sanding furniture can be tedious work but it is important to roughen up the surface before painting. This will make sure that the paint has something to hold onto. If the surface of your piece of furniture has a lot of marks, dents, or nicks, you may want to sand quite heavily to get a smooth surface to paint on. You can also use a bit of wood filler to fill in any deep marks or chips in the wood.
When sanding by hand, be sure to sand in the direction of the grain and not across the grain of the wood. An orbital sander will make this work less physically taxing. However, if you do use a power sander, be careful not to damage the surface by focusing too much on one area or gouging the surface.
You may even find that the condition of the wooden surface is not too bad, in which case you can get away with some light sanding. Remember that the aim is not to sand down to bare wood, but simply to roughen the surface to allow for proper adhesion. Depending on the surface of the wood, 80- to 220-grit sandpaper should do the trick. Start with 80-grit sandpaper and work your way up to 120-grit, ending off with 220-grit to remove any final sanding marks.
Note: Be very cautious if you are sanding lead-based paint, as the dust can be extremely toxic. In any case, sanding creates clouds of dust, so it is best to do this outside and to wear a dust or respirator mask.
Masking
Use some tack cloth or a soft, lint-free cloth to remove the sanding dust from the piece of furniture. Apply painter’s tape to cover up any hardware or other areas or accessories that you do not want to be painted. The painter’s tape should lay firm and flat to prevent the paint from seeping in underneath.
Priming
You may feel tempted to skip this step, but applying a primer will help you to achieve a durable and professional finish. It will also reduce the chance of any marks showing through, especially if you are using light-colored paint. Start painting the primer onto the wood with a small brush where the wood joins and work your way out, changing over to a larger brush as necessary.
Finish off by painting the largest surface areas with a roller if need be. Next, wash your brushes, put your feet up, and allow the primer to dry. Use an oil-based primer if the paint you have chosen is oil-based, and if you have chosen latex paint, use a latex primer. Note that if you are using an oil-based primer, the drying time will be longer.

Light Sanding
Once the primer is dry, it is time to get sanding again. Just some light sanding with 220-grit sandpaper will do the trick. The aim here is to remove any streaks, paint drips, or imperfections. This should be done by hand and should not take long at all. Once you have lightly sanded the primer and wiped away the dust with a tack cloth, you are ready to paint!
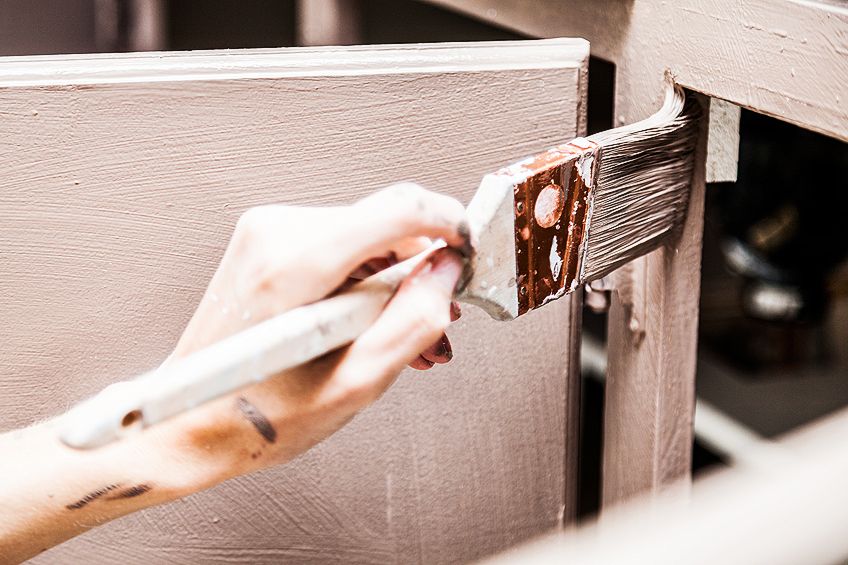
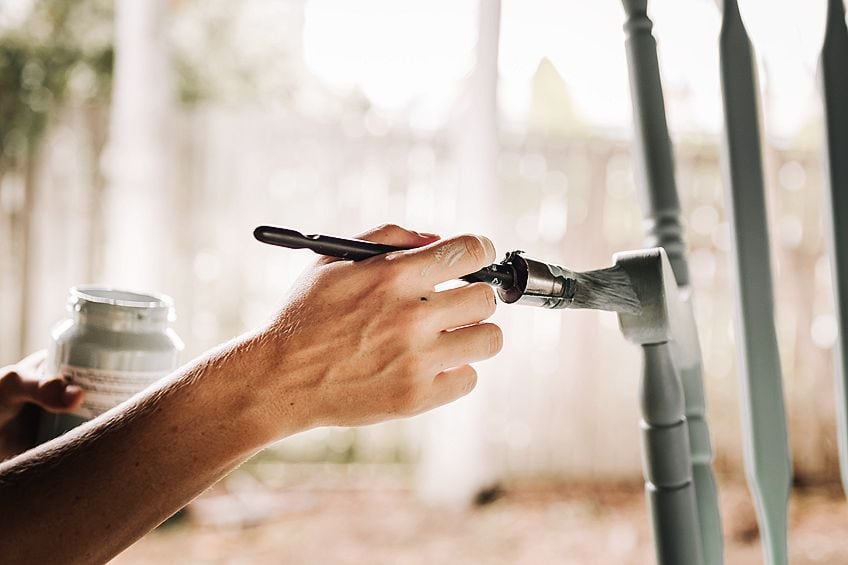
Painting the First Coat
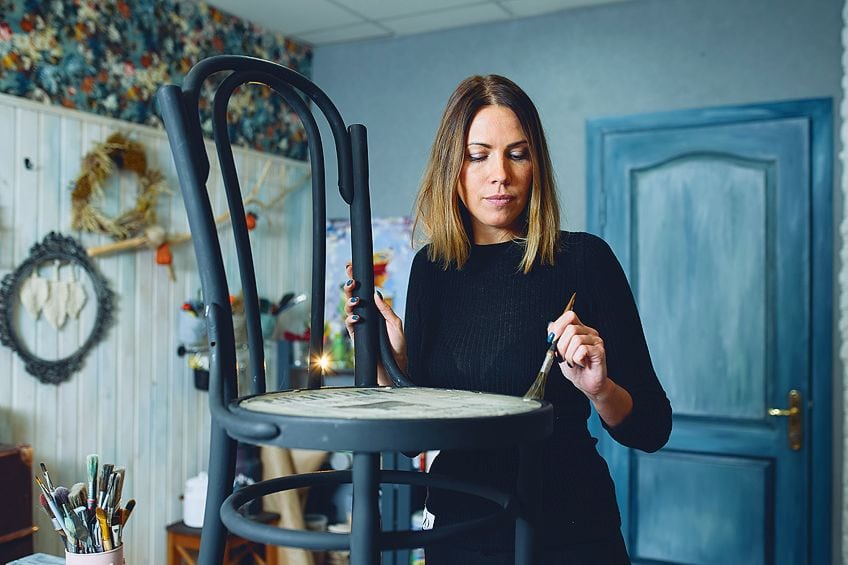
It is finally time for the actual painting! If you are using oil-based paint, it is time to don the respirator. It can be quite therapeutic to watch your chosen color of paint transform the piece of furniture that you have worked so hard to prepare, so take your time and enjoy the process.
As you did with the primer, start in the indents, corners, and joints and work your way outward into the larger surfaces, switching to a roller. This technique is called “cutting in”, which helps you not to miss any spots and makes for an even finish. Once you have finished painting the wood, allow it to dry in a well-ventilated area. If you have chosen an oil-based paint, be prepared to wait for around 24 hours.
Another Light Sanding
Yes, more sanding. But we are almost there! Once the paint is dry, a light sanding with 220-grit sandpaper is needed to smooth out any streaks, paint drips, or imperfections on the painted surface. It is crucial to allow the paint to dry properly before sanding the first coat. Once again, remove any dust with a soft cloth or tack cloth.
Second Coat of Paint
A second layer of paint will ensure that you achieve full coverage as well as a thicker coat of paint that will protect the wood and last for years to come. The more coats you apply, the more durable the paint and the better the coverage will be. A third coat is even an option if you want to go the extra mile!
Reassembly
The paint should be completely dry before you reassemble your project. For oil-based paint, you should wait at least 24 hours, and for latex and other water-based paints, you should wait four to six hours before re-assembling. If possible, wait a few days before using your piece of furniture, as all paint takes some time to cure completely.
Tips and Tricks for Successful Wood Painting
- If you are forced to paint indoors, lay a tarp or newspaper down to protect your flooring. Use multiple layers and tape down the edges to prevent the newspaper from lifting or blowing away. A canvas drop cloth will protect other furniture from getting covered in dust.
- To avoid drip marks and making a mess, do not over-saturate the brush or roller when painting. Dip the paintbrush only a quarter of the way into the paint and scrape off excess paint on the side of the paint tin or tray. Use the sloped portion of the painting tray to roll off excess paint.
- When painting on wood, the aim is to achieve a uniform thickness. Use long, even strokes in the direction of the grain to distribute the paint equally over the surface of the wood.
Penetrol and floetrol are paint additives that can help slow the drying time. This can be convenient if you are taking some time to complete the job. Be aware that painting under or next to a fan will hasten the drying time.
- Looking after your paintbrushes and cleaning them properly will ensure that they will be up for your next DIY project. Wash water-based paint out of paintbrushes with soap and water and allow them to dry completely before storing them away. Clean oil-based paint from paintbrushes with paint thinner or mineral spirits.
- Store your clean paintbrushes by wrapping them in some heavy paper in order to protect the bristles and keep dust and dirt from contaminating them.
- Use a paint scraper or bank card to flatten out painter’s tape. This will increase the bond of the tape and stop any paint from bleeding underneath.
- If you are painting resinous woods or oily hardwood, it is recommended that you use an aluminum wood primer. It will do a great job at creating a protective layer between the wood and the paint.
Frequently Asked Questions
Can I Paint Directly onto Wood?
It is always best to prepare the wood before painting by sanding and applying a primer. If you paint directly onto the wood surface, there is a good chance that the paint could simply peel right off.
How Can I Get a Super Smooth Finish?
Using a compressor and spray equipment is the best way to achieve an ultra-smooth finish, but not everyone has access to this equipment. The way to achieve this by hand is to buy the highest quality primer, paint, brushes, and roller, and be prepared to paint multiple coats.
Does All Paint Need to Be Removed From My Piece Before I Repaint?
You will only have to remove all the paint if the paint is peeling or chipping off in great chunks. A paint stripper will do this quite easily. Otherwise, sanding the existing paint before using a primer is usually all that is needed.
Can I Paint Over Shellac?
It is possible to paint over shellac or varnish, but preparation is very important. After cleaning the varnished surface, sand as instructed in the above article. Using a primer is the best way to improve the bond of the paint onto the wood. It is recommended that you use an oil-based primer along with an oil-based paint.
How Much Paint Will I Need?
A gallon of paint can cover more than 350 square feet, which is far too much paint for a piece of furniture. For smaller items of furniture like a bar stool, you might be able to get away with a sample tin. A quart of paint will be able to cover a table and a few chairs. This should give you an idea of how much paint you need so that you do not end up buying too much or too little.