How to Paint Vinyl Shutters – A Guide for Refinishing Vinyl
This post may contain affiliate links. We may earn a small commission from purchases made through them, at no additional cost to you. You help to support resin-expert.com
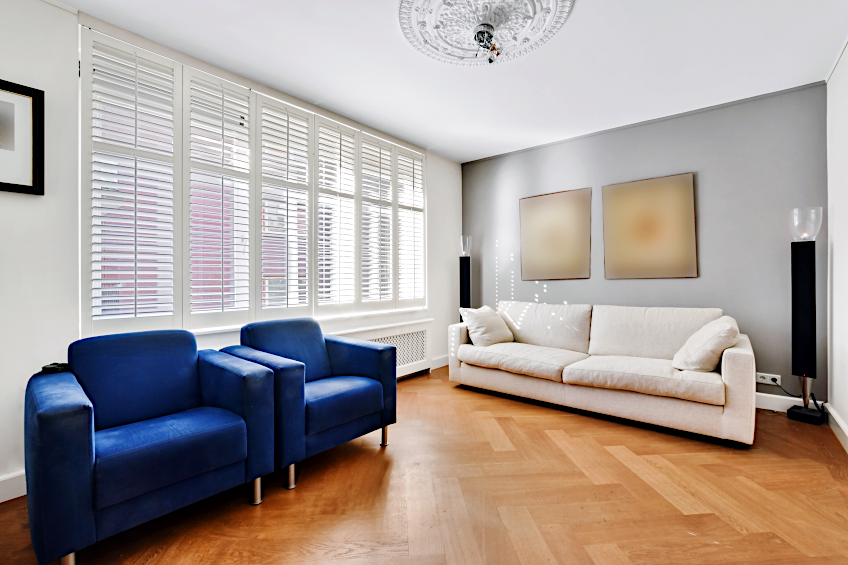
Whether you’re a lover of modern minimalist architecture or prefer the look of more traditional colonial homesteads, we think that everyone can agree that a well-placed shutter can do wonders for the look of any home. Statistically, homes with shutters on them, whether they be functional or not, tend to have a higher market value compared to those that don’t. This has made shutters something of an investment over time, and like any investment, they need to be looked after to ensure they grant you the best return both financially and from an aesthetic standpoint. Shutters are pretty easy to maintain, but if you don’t know what you’re doing you could end up making a mess of things. This is why we’ve created a short tutorial showing you how to paint vinyl shutters, why it’s a good idea, and how to go about it without ruining your shutters.
What Are Vinyl Shutters?
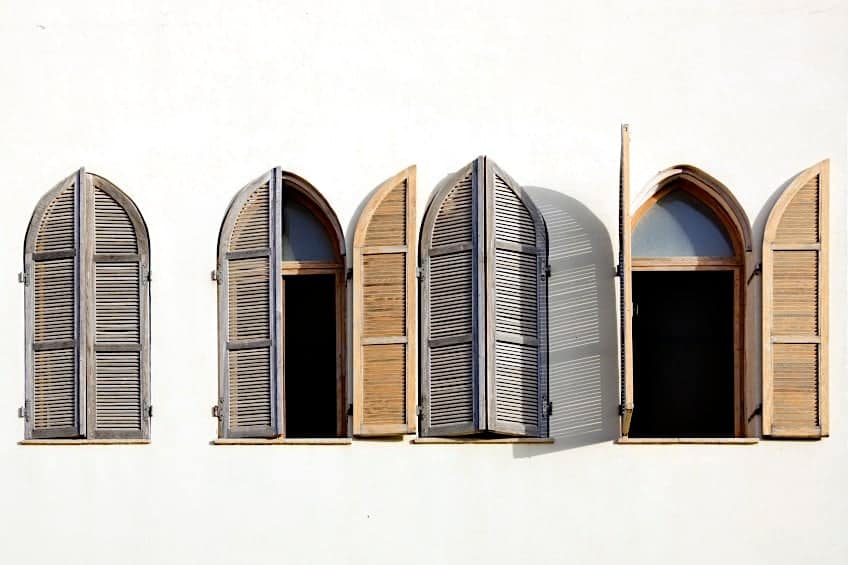
Before we show you how to paint vinyl shutters, let’s get to know exactly what they are. Shutters have been used for over a thousand years. They were first used by the ancient Greeks as a means to ensure consistent airflow, maximize the use of natural light throughout the day, and keep thieves from entering their homes and stealing their precious belongings. Back in those days, shutters were made nearly exclusively of wood, and as a result, required regular maintenance and repair.
Before the implementation of shutters, traditional window coverings consisted of things like cloth and wood which were used to completely seal windows at night. These became a pain to use, and as a result, shutters become increasingly popular.
The use of shutters then spread to all parts of the world as ancient city states established trading colonies where various cultures met and integrated.
Shutters eventually made their way to colonial America where they were called plantation shutters, and as the name suggests, they were essentially a staple on plantation buildings as the weather in these regions required the same ventilation, light management, and security that they had provided in Greece all those years ago.
Why not use glass, you ask? Well, back in the day glass was pretty expensive and difficult to produce in large sheets, and as result, you’d see that most working-class homes had windows that were divided in two. The top half of the window would be made of glass while the bottom half would have wooden shutters attached to them.
This all changed around the 1920s as the production of glass became much less expensive thanks to advancements in mass production.
After the Second World War, we had loads of materials that had been developed for use in the war effort but were now rendered useless. As a result of experimentation and integration of these materials, we got loads of new products including vinyl shutters, aluminum shutters, and even roller shutters to insulate and secure our homes from the heat and cold.
Vinyl shutters were and still are seen as objectively better than wooden ones. This is due to the fact that they are far more durable, require less maintenance, tend to absorb less moisture, and can be painted with less effort than their wooden counterparts.
This being said, vinyl shutters (whether they be functional or purely aesthetic) are used far more often than wooden ones, especially on larger structures.
Why Are Vinyl Shutters Better Than Wooden Shutters?
Why are vinyl shutters better than wooden ones? Well, wood is inherently more susceptible to things like impact, abrasion, rot, insect infestation, splitting, and saturation by moisture. To be fair it does depend on the wood species the shutter has been made of, but on the other hand, vinyl tends to have none of these issues, making it the superior material for the application.
Does this mean that wooden shutters should be done away with? Not really. At the end of the day, wooden shutters are capable of providing an entirely different look and feel compared to their vinyl counterparts, and if this is the aesthetic and texture that you’re after, there’s absolutely no reason why you shouldn’t go for it.
Vinyl shutters were introduced as a means of doing away with wooden shutters entirely, and they carried with them quite the enticing deal. In exchange for your wooden shutters, you’d get a new, space-age, vinyl set that required less maintenance, which was a particularly attractive deal for those who had sprawling homes with shutters on every window (top floor and bottom).
You also rarely need to replace a vinyl shutter.
Wood shutters were essentially long-term perishable additions to your home that would need to be replaced every few years thanks to rot and eventual decay. After all, there are only so many times you can remove paint and re-paint a wooden workpiece before the wood has lost all of its structural integrity.
As we progressed from the 1960s to the 70s and 80s, society as a whole became more environmentally conscious. You’ve probably seen photos of “hippies” marching against the Vietnam war and large-scale pollution by corporations. Thankfully, vinyl is an environmentally friendly material that can be both recycled and repurposed.
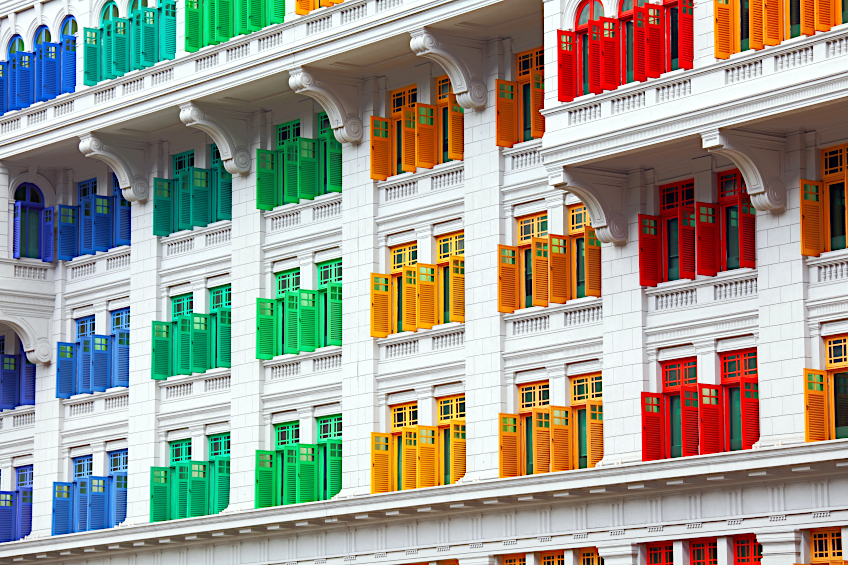
Besides its environmentally friendly nature, vinyl shutters are also more versatile compared to wooden ones. Whereas wooden shutters can only be painted with paints that are available, vinyl ones can be customized with print or made entirely transparent, a trend that was really popular among home improvement trends in the early 2000s.
Are There Any Disadvantages to Using Vinyl Shutters?
No matter what anyone tells you, there is no such thing as the perfect material. Every material has its specific advantages and disadvantages depending on the applications and the overall conditions in which it’s being used. Unfortunately, vinyl is no exception to this and does fall short in some aspects of its inherent characteristics when used as a shutter.
For one, vinyl cannot be painted traditionally.
Vinyl surfaces tend to have very little surface friction which means that most substances have a hard time adhering to them. This means that things like paint and wood stain will not work if you’re attempting to resurface your vinyl shutters. Once the vinyl is produced with a print on it, you’re pretty much stuck with it.
 Secondly, if you’re in the market for a custom shape or exclusivity, you’d be better off going with a set of wooden shutters. Why? Vinyl shutters are extremely popular and cheap, and as a result, they can be found all over the United States.
Sure, you could have a custom design made for your vinyl shutters, but you could just as easily have a custom paint or stain made up for a wooden one, which can be sanded and repainted if you don’t like it, unlike vinyl ones.
Can You Paint Vinyl Shutters?
Can you paint vinyl shutters? Yes. Repainting vinyl shutters can take considerable effort, but it’s an achievable two-person job that is well worth the effort in the long run. Like any aspect of your home’s exterior, if it’s not up to scratch it could decrease the value of your home, or even worse, could attract the attention of the homeowner’s association!
Upgrading or resurfacing your vinyl shutters is an easy and effective way to breathe some life back into your home. If you don’t have any special print on your shutters this makes your job all the easier as you won’t have to do as much prep work during the painting process, which can take up the most time during any home improvement project.
You should also keep in mind that repainting vinyl shutters is far less expensive than buying new ones, especially if your home has large shutters. This being said, we think you’d be better off spending the effort than the money, and the best part is that you don’t even have to remove your shutters to repaint them if you don’t want to!
Lastly, painting your vinyl shutters not only makes them look a lot better but ensures that they last longer too. As we mentioned previously, vinyl shutters inherently last longer than conventional wooden ones. Painting your shutters, therefore, extends the lifespan of your vinyl shutters even more by providing an additional layer of protection against external forces like wind and rain.
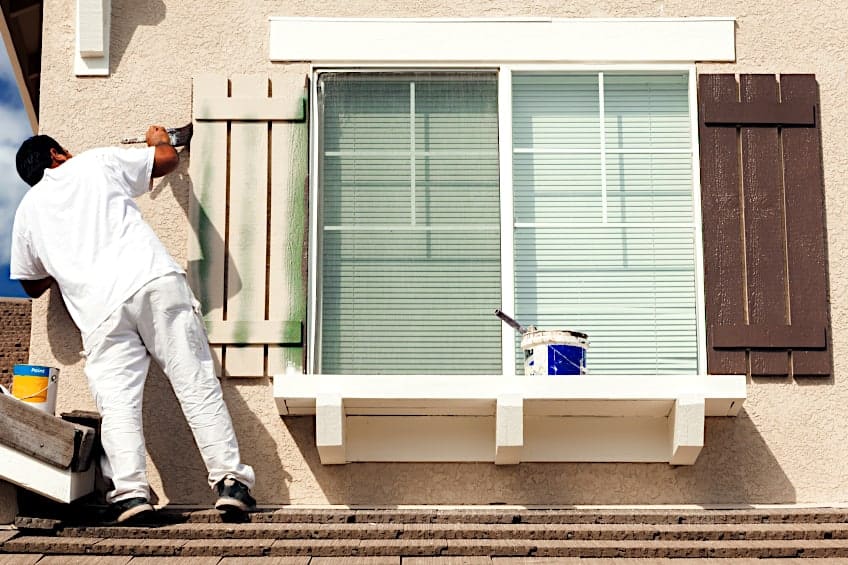
How to Paint Vinyl Shutters
Painting vinyl shutters is a fairly straightforward, albeit labor-intensive job, especially if there are a lot of shutters that need painting. There are also two ways for you to go about painting them. You can either leave them on the surface they’re attached to, or you could remove them, paint them all at once, and then re-attach them, which is the method we recommend. Why? Well, not only does it reduce the probability of you falling and injuring yourself, but it ensures that the back and front of the shutter are painted, ensuring comprehensive protection from the elements.
This being said, let’s have a look at the best way to go about painting your vinyl shutters.
Prepare Your Workspace
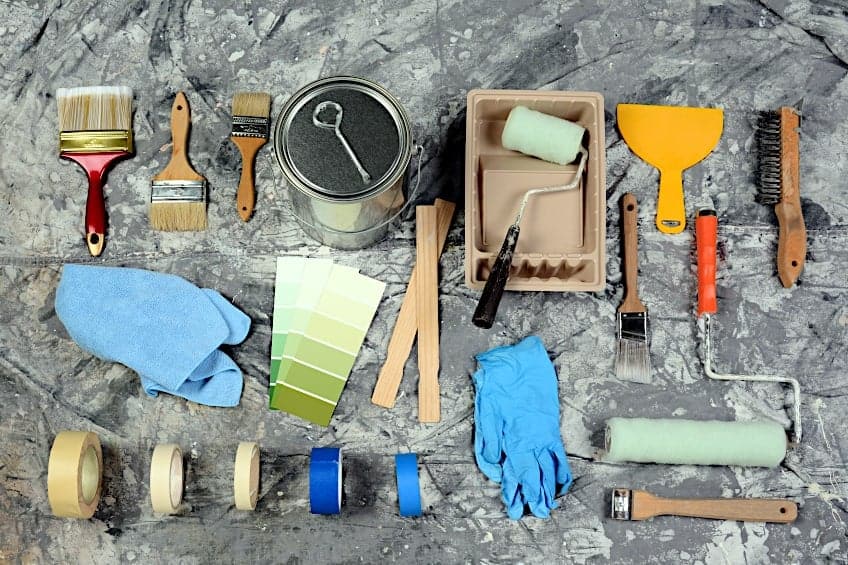
The first step to any quality paint job is to ensure that you have a workplace that is ready for the task ahead. Since you’ll be taking your shutters off for this tutorial, you will have to prepare a space for painting them. Your space will need to be protected from any stray paint droplets and more importantly be prepared for the use of paints that contain VOCs (volatile organic compounds).
Once you’ve identified the area you’re going to use, the first thing that you need to do is lay down a tarp to protect your workspace.
If you don’t have one handy and don’t want to go out of your way to purchase one, some old newspaper and some painter’s tape should do the trick. Once you have the floor of your workspace nice and safe, be sure to put away anything else that could be damaged.
Once your belongings and floor have been covered up, it’s time for you to prepare the rest of your workspace. One of the most important things you can do when working with substances that contain potentially harmful materials is to ensure that the space is well-ventilated. Essentially, this means that the space should have a constant airflow, ensuring that any harmful chemicals will be filtered out.
Finally, you should ensure that everything you need is within arm’s reach. We recommend placing all of the tools you need on the side of your dominant hand, so you always know where they are, and you won’t waste any time looking for things while you’re priming and painting your workpiece. Once you’re satisfied with your setup, move on to the next step in the process.
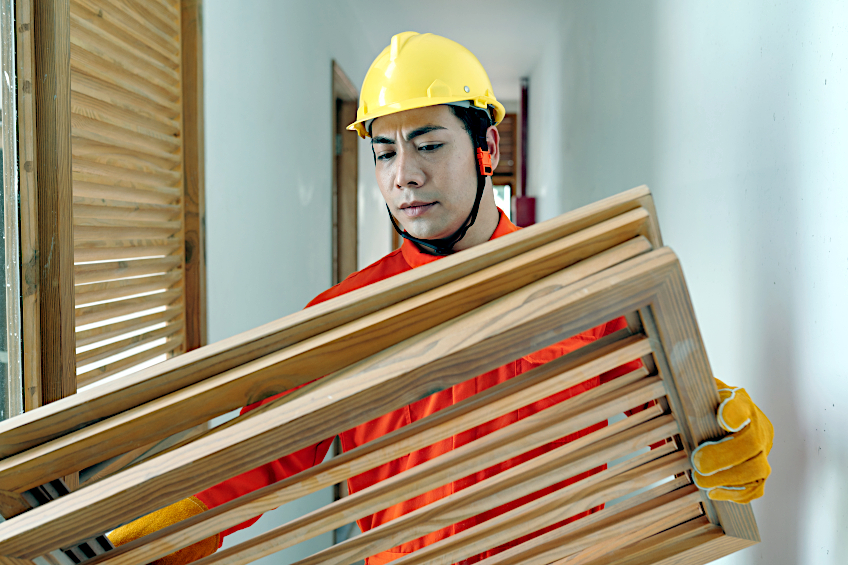
Remove Your Shutters
Removing your vinyl shutters can be a labor-intensive job but it is also a simple one. Shutters can be installed in a number of ways depending on when they have been installed and the type of shutters you’re dealing with. While some shutters are installed on metal sliders, others may be installed on plastic clips which are decidedly difficult to remove not only from the structure but from the shutters too.
Removing shutters that are attached to a metal slider with clips is pretty easy. All that you need to do is remove the metal clips attaching them to the structure and lift them up to remove them, just pay extra care if you’re removing one from high up as the sudden weight suspended in your arms could cause you to lose balance and fall, which is why it’s important not to work alone.
The same principle applied to shutters that have been installed with shutter-loks. If you don’t know what shutter-loks are, they’re essentially fasteners that resemble nails that are inserted into the shutter mounting holes. In order to remove shutters mounted with these, they need to be pried away from the wall slowly, and the loks will need to be sawed out to remove them completely.
Be sure to fill the holes with some filler once the loks have been removed with long nose pliers. Why? Insects and moisture like to make the home in little spaces like this, so it’s best to ensure seal these holes to ensure that you fill these up to avoid having to remove your shutters again in the near future.
Clean Your Shutters Thoroughly
No matter what surface you are painting, it’s important to ensure that your workpiece is as clean as possible. Why? Over time, surfaces that are exposed to the elements tend to have a build-up of dust and grime on them. This build-up can prevent a primer and/or paint from adhering to the surface correctly, causing your coating to lift, peel, and split over time.
This being said, you should consider the fact that your shutter has been outside collecting random bits of dirt and grime for what is presumably years. What is the best way to clean your shutters, you ask? Well, some good old-fashioned soap and water can do wonders if you put in some elbow grease and have the right attitude.
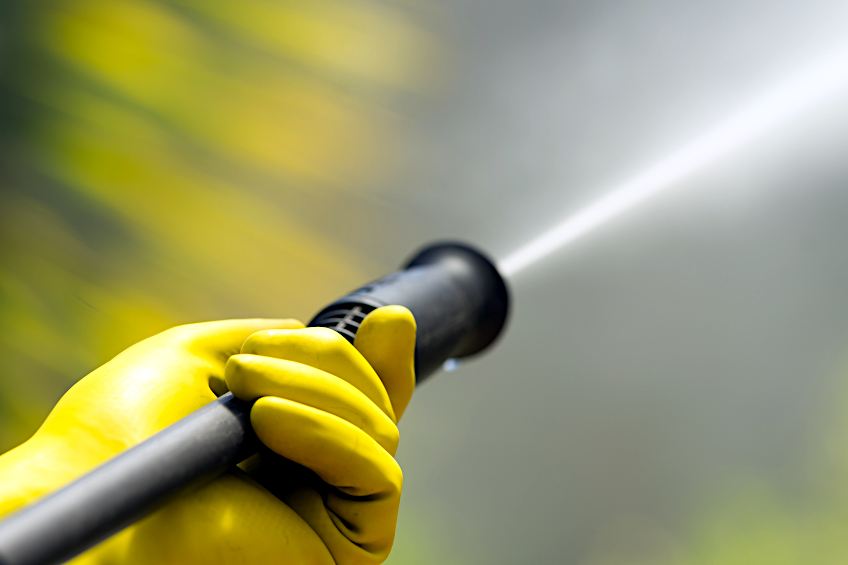
If you’re a bit pressed for time, you could give your shutters a once over with some soap and water and then hose them down. You could use a high-pressure cleaner, but you should be sure that your shutters have not become too brittle over time or the pressure could end up splintering your workpiece all over your workspace.
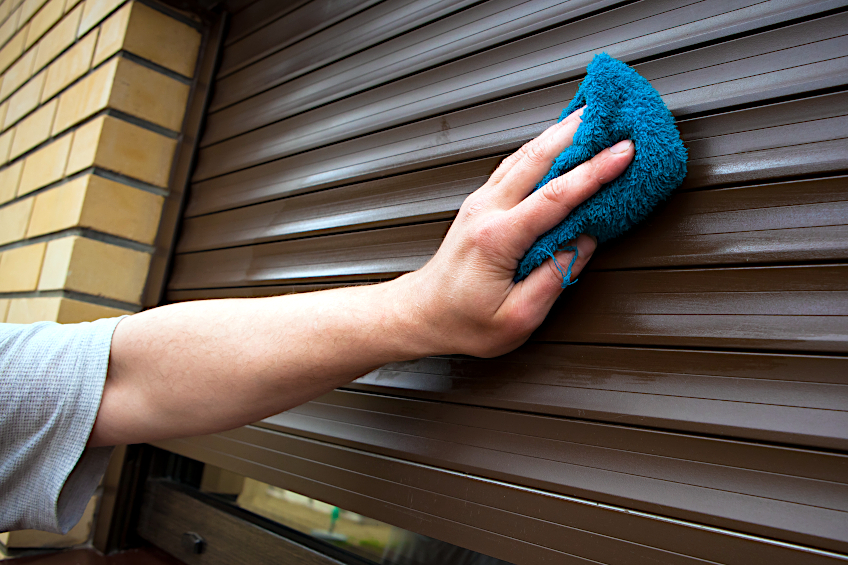
Once you’re happy with the job you’ve done cleaning, allow your shutters to dry completely. If you’re pressed for time (and who isn’t these days?), you can use a microfiber cloth to wipe up any excess water than could have gotten trapped between the slats. Be sure your shutters are completely dry before moving on to the next step in the process.
Prime and Paint Your Shutters
Now for the part you have been waiting for! Since you have removed your shutters and laid down your tarp already, all you need to do is lay down your shutters and begin the priming process. Give your primer a good shake beforehand to mix the heavier particles with the lighter ones, and then begin painting.
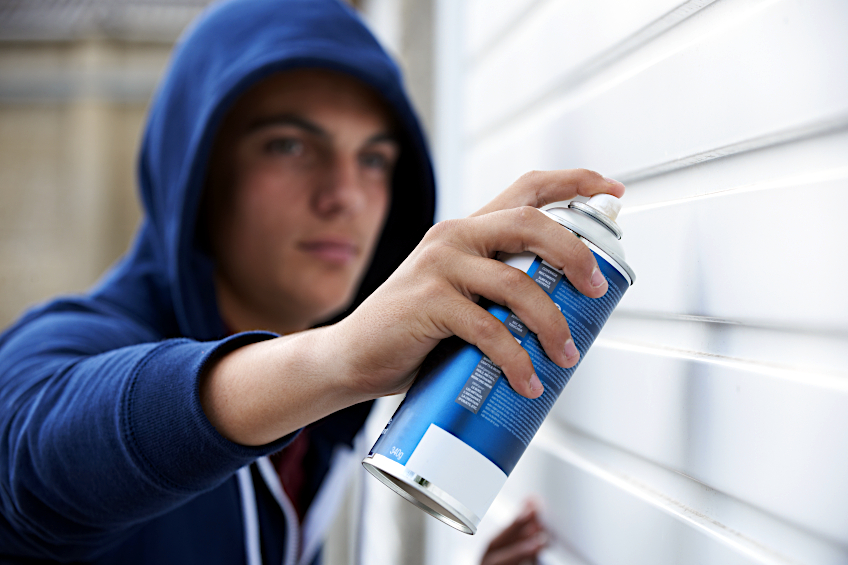
If you are using aerosolized primer, start by spraying off the workpiece and then move your wrist in one smooth, uninterrupted motion over the shutters and slats, stopping only once you’re a bit off the edge of your workpiece.
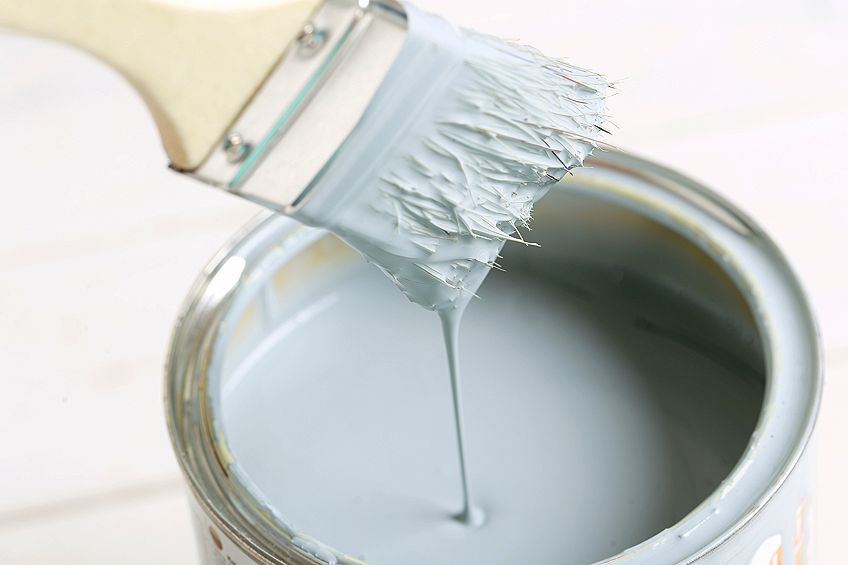
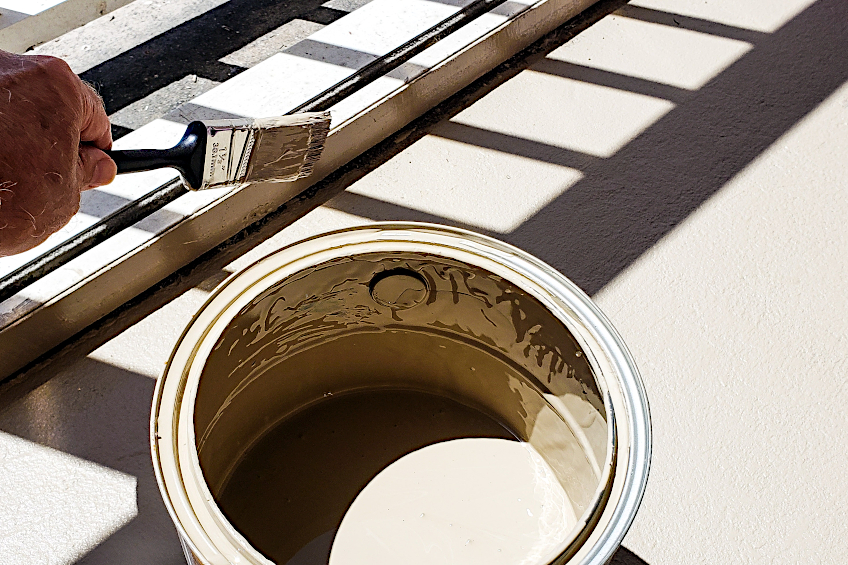
If you’re applying your primer the old-fashioned way, you can apply it much the same way you would if you were painting. Once your primer is well mixed, pour some out into a painter’s tray and get some on your brush, as using a roller on shutters won’t be effective. Start by applying primer to the frame of the shutters and then work your way through each slat individually, following the length of each one. Once your primer has been applied, allow it to dry for the manufacturer’s recommended time period.
Painting your shutters is effectively the same as priming them.
If you’re using spray paint to paint your shutters, all that you need to do is ensure that your paint is well mixed, and start spraying. Again, start by spraying off the workpiece with moderate pressure on the spray nozzle (or trigger) and move across the surface of the shutter in one smooth, uninterrupted motion. Repeat this process, horizontally moving the slats and working your way down step by step.
Painting your shutters the old-fashioned way is done the same way that you would when priming it. Paint the frame of the shutter first and then paint each slot horizontally. Repeat this process until all of the shutters have been painted. Regardless of which method you choose, allow each coat to dry completely for the manufacturer’s recommended time period before applying the next.

Once you’re happy with your paint job, it’s time to reinstall your shutters. Be extra careful if you have shutters to install up high as it’s much easier taking them off than putting them back on. Work with someone spotting you down below and be sure that all your fasteners are properly secured once the job is done.
Now that you know what shutters are, when they were invented, how they have changed over the years, and how to remove and paint them, it’s time for you to get out there and put your newfound knowledge to the test. Remember to always wear the appropriate personal protective gear and to always work in a well-ventilated environment when painting.
Frequently Asked Questions
What Is the Best Paint for Plastic Shutters?
Looking for the best paint for plastic shutters? If you’re looking for paint for your plastic shutters that is durable and has a vibrant tone, you should consider acrylic paint. Acrylic paint is durable, looks good, and contains fewer VOCs than oil-based alternatives.
What Is the Best Paint for Vinyl Shutters?
Looking for the best paint for vinyl shutters? Well, if you’re not interested in simply having your shutters printed a particular color, one of the best alternatives is exterior latex-based paint. These are relatively durable and have an impressive range of colors to choose from.
Is Painting Plastic Shutters Possible?
Are you considering painting plastic shutters? It is entirely possible to paint plastic shutters. All you need to do is remove your shutters, ensure that they are clean, have them primed, and paint them as you see fit.