How to Paint Kitchen Countertops – A Budget-Friendly Makeover
This post may contain affiliate links. We may earn a small commission from purchases made through them, at no additional cost to you. You help to support resin-expert.com
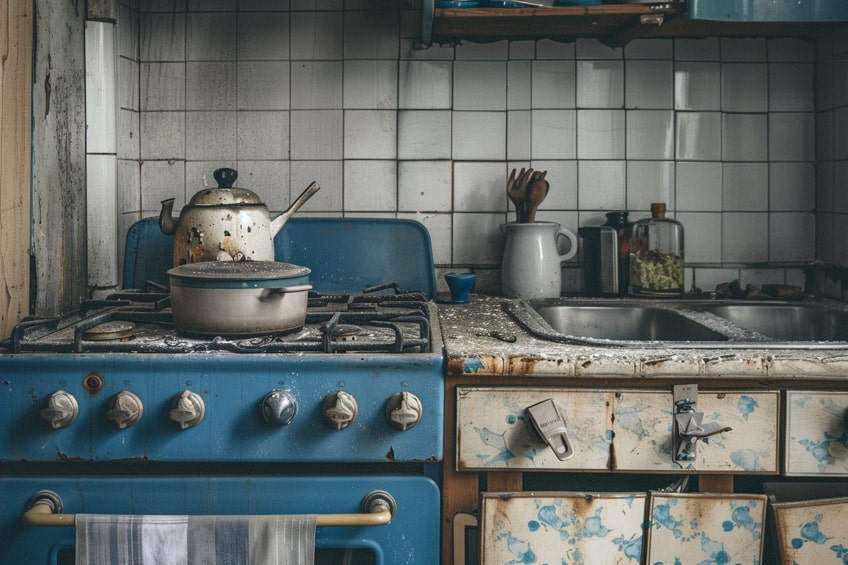
Are your kitchen countertops looking a bit drab and in need of a makeover? Say hello to a fun and budget-friendly DIY project that will breathe new life into your cooking space: painting your kitchen countertops! Whether you want to add a pop of color, mimic the look of expensive stone, or simply refresh the existing surface, painting your countertops is a creative way to revamp your kitchen without breaking the bank. Get ready to unleash your inner artist and transform your countertops into a stunning focal point that will have everyone asking, “How did you do that?”.
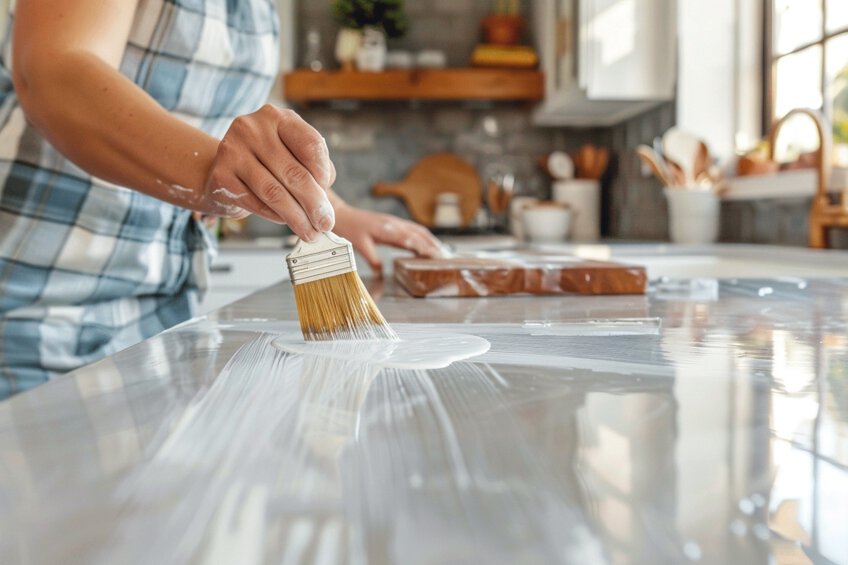
Table of Contents
Key Takeaways
- Painting countertops can refresh your kitchen’s look at a fraction of the cost of new installations.
- Proper surface preparation and using the right materials are essential for a successful countertop paint job.
- Ongoing aftercare is needed to maintain the appearance and durability of painted countertops.
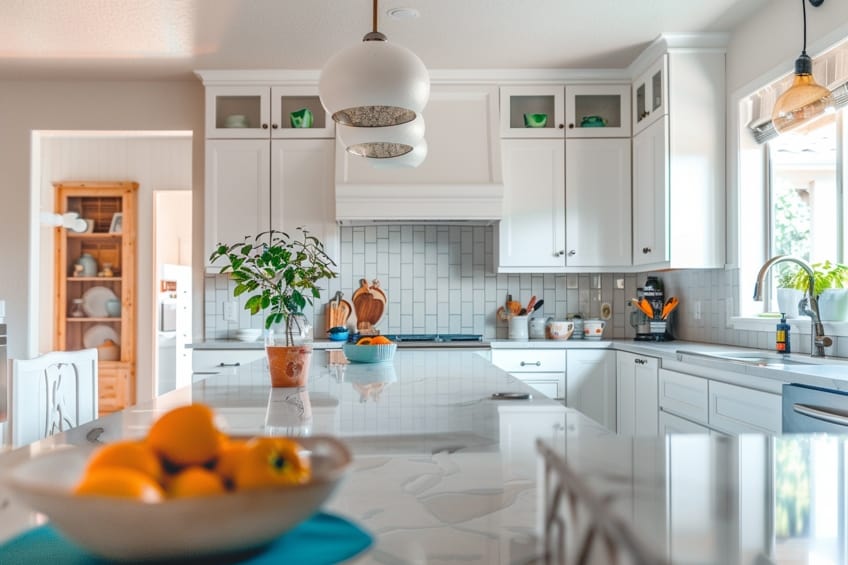
Benefits of Painting Countertops
Upgrading your kitchen doesn’t always require a complete renovation. Painting kitchen countertops is a practical way to refresh your space without the expense and inconvenience of a major remodel. For those seeking a do-it-yourself project, painting countertops can produce a satisfying transformation with the right approach and materials.
Choosing to paint your countertops is a cost-effective alternative to replacement, especially for surfaces that are dated or no longer align with your interior design preferences.
Before starting the project, it’s crucial to prepare the surface properly to ensure the best adhesion and longevity of the paint. The process involves thorough cleaning, possibly repairing any damage, and selecting suitable paints and sealers designed specifically for countertops. Other advantages include:
- Cost-effectiveness: One of the primary benefits of painting countertops is affordability. Instead of spending a large sum on a complete countertop replacement, a homeowner can refresh their kitchen’s look for a fraction of the cost with paint.
- Customization: Painting allows for complete control over the color and finish. Individuals can match their countertops to any color scheme or choose a unique hue that best reflects their personality and style.
- Time savings: Compared to the process of installing new countertops, painting is less time-consuming. A painting project can typically be completed within a few days, including preparation and drying time.
- Update old surfaces: Painting can cover up old, worn, or outdated colors and patterns on existing countertops. It’s an excellent way to modernize a space without a full renovation.
- DIY friendly: For those who enjoy do-it-yourself projects, painting countertops is a manageable task. It requires a few basic tools and supplies, and with thorough preparation and careful application, one can achieve professional-looking results.
- Eco-friendly option: Painting countertops can be an eco-friendly alternative to replacement, preventing old materials from ending up in landfills.
Reasons Not to Paint a Countertop
While painting countertops is a budget-friendly update, there are several reasons why one might reconsider this method for a kitchen renovation. These include:
- Durability concerns: Painted surfaces may not endure as well as the original countertop material. They’re susceptible to scratches, chips, and wear over time, especially in high-use areas.
- Limited heat resistance: A painted countertop generally lacks the heat resistance of materials like granite or quartz. Placing hot pots or pans directly on the painted surface can lead to damage.
- Maintenance and upkeep: Painted countertops require careful maintenance to keep them looking fresh. They may need regular touch-ups and may be more prone to staining than traditional countertop materials.
- Aesthetic limitations: Although paint offers a range of color options, the finish and texture may not achieve the same look or feel as natural stone or other high-quality materials.
- Resale value: Potential home buyers often prefer authentic materials like natural stone. Painting could affect the home’s resale value if buyers see it as a temporary fix rather than a durable solution.
- Professional finish: Achieving a smooth, professional finish requires a certain level of skill and patience. The DIY approach may result in a less-than-satisfactory appearance if not done correctly.
- Health and safety: Some paints emit volatile organic compounds (VOCs) as they dry, which could affect indoor air quality. Using non-toxic, low-VOC paints is essential for safety.
Preparing Your Countertops
Before embarking on the process of painting kitchen countertops, it is essential to thoroughly prepare the surface. Proper preparation will ensure better adhesion, a smoother finish, and increased durability of the paint job.
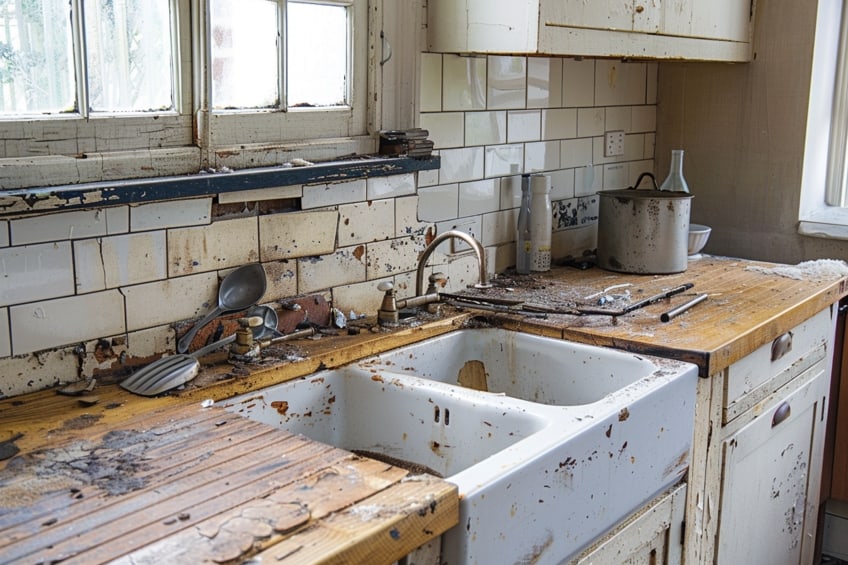
Decide If It’s Worth the Risk
One should consider if painting their countertops is a worthwhile endeavor. While paint can transform the appearance of a kitchen at a low cost, it is not as durable as natural stone or manufactured materials. Countertops face daily wear and tear, exposure to heat, and potential staining, which could lead to paint quickly showing signs of damage if not done correctly.

Cleaning and Sanding
A critical step in countertop preparation is cleaning and sanding. Begin by cleaning the countertops with a strong degreaser to remove any grime, oil, or residues. It is vital that no contaminants interfere with paint adhesion. Once clean, one must sand the countertops with 220-grit sandpaper to create a rough surface that helps the paint to adhere better. After sanding, remove all dust with a tack cloth or damp rag to ensure a clean, dust-free surface.
Tools and materials needed include a degreaser, 220-grit sandpaper, and a tack cloth or damp rag.
Repairing Damages
Examining the countertops for damages such as chips, cracks, or gouges is imperative. These should be repaired prior to applying any paint to avoid imperfections in the final product. One can use a filler suitable for the countertop material to make repairs, allowing it to dry according to the manufacturer’s instructions before proceeding to the next step.
- Identify damages and clean the area.
- Apply filler suitable for the material.
- Allow the filler to dry completely.
Applying Primer
The application of a coat of primer is crucial in preparing the countertops for painting. Primer acts as a bonding agent between the countertop and the paint. Apply a thin, even coat of a high-quality bonding primer and allow it to dry for the recommended time frame before lightly sanding it with a fine-grit sandpaper.
After sanding, wipe the surface clean to prepare for painting.
- Apply a thin, even coat of primer.
- Allow the primer to dry thoroughly.
- Lightly sand with a fine-grit sandpaper.
- Clean the surface after sanding.
Choosing the Right Materials
The success of painting kitchen countertops lies in the selection of specific materials designed to ensure adhesion, durability, and a pleasing aesthetic finish. Quality paints, primers, and top coats tailored to the material of the countertop are crucial.

Selecting Paint for Countertops
When choosing paint for countertops, one must choose products designed specifically for the task at hand. For laminate countertops, water-based acrylic paints or countertop paint kits can provide a smooth finish with proper adhesion.
Granite and quartz countertops often require paints that are part of an all-in-one kit, which include a bonding primer and resin, ensuring that the final coat adheres well to the hard surface.
Primer and Paint: A Vital Duo
A primer is essential for creating a base that enhances paint adhesion and coverage. A quality bonding primer should be applied before the paint, ensuring that it is compatible with the countertop material. For example:
- Laminate countertops: Use a bonding primer that is formulated for slick surfaces.
- Granite countertops: Choose a primer that explicitly states suitability for stone surfaces.
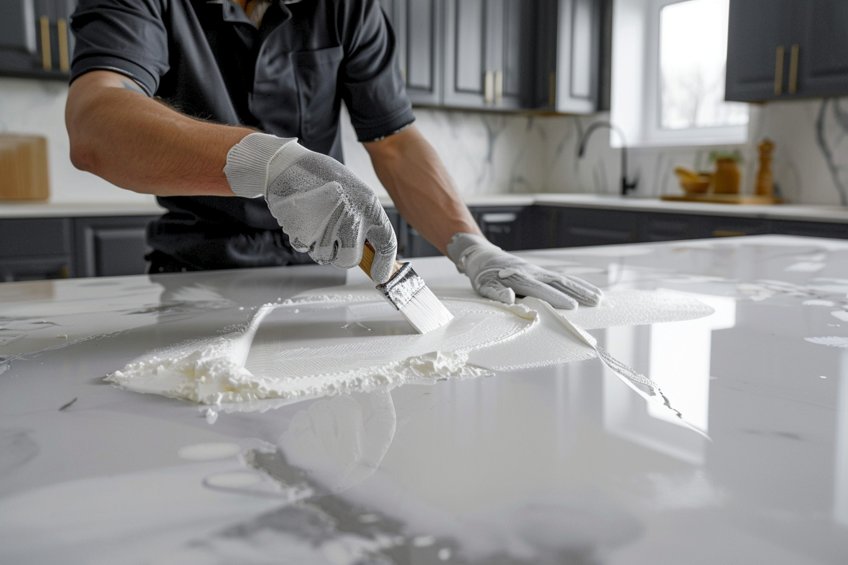
After the primer has set and the countertop is sanded to a smooth finish, one should apply the paint with a foam roller, which can deliver an even coat without leaving brush marks. Allow ample drying time before applying a second coat, if necessary.
Top Coats for Protection
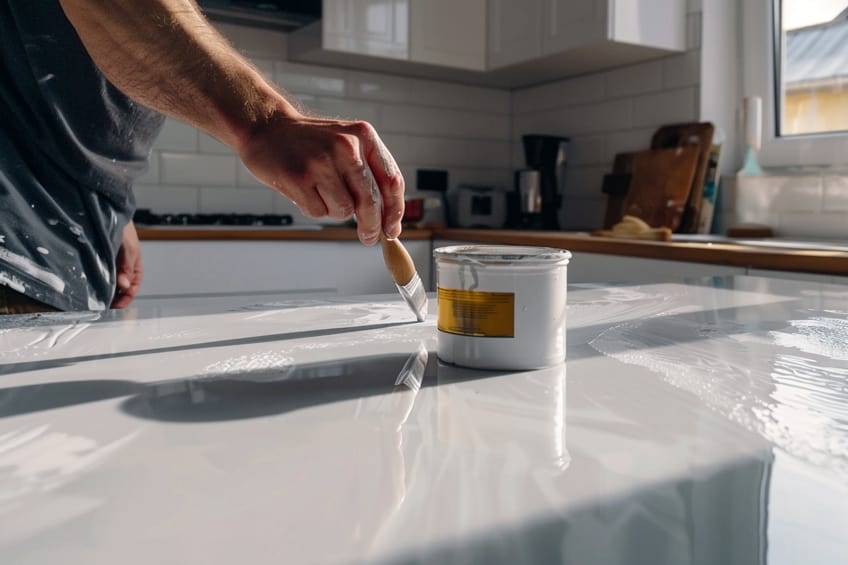
The final step in the painting process involves applying a top coat sealer. This protective layer will seal the paint, protect the surface from scratches and wear, and make the countertop easy to clean. It’s critical to select a topcoat sealer that is labeled as food-safe if the countertop will come in direct contact with food. Options include water-based polyurethane or epoxy resin. Application tools like a high-quality roller or brush can ensure a smooth, streak-free finish.
Note: Always follow manufacturer recommendations for drying times between coats to achieve the best results.
The Painting Process
The painting process for kitchen countertops is a methodical approach that requires attention to detail to ensure a smooth finish and durability. Appropriate tools, techniques, and patience are key to achieving a professionally finished appearance.

Applying the First Coat
Before applying the first coat, ensure the countertop surface is thoroughly clean, dry, and sanded for optimal paint adhesion. Using a mini paint roller or a high-quality paintbrush, begin to apply the primer or base coat. Rollers help to cover large areas uniformly while brushes are useful for edges and fine details.
It’s essential to avoid heavy applications that may cause bubbles and uneven textures.
- For flat surfaces: Use a mini paint roller
- For corners and edges: Utilize a narrow-angle paintbrush
Adding Subsequent Coats
Once the first coat is dry, sand the surface lightly with a fine-grit sandpaper to remove any imperfections. Brush away all the dust before applying the second coat. Repeat the application process, as consistent technique is critical to prevent visible lines or streaks. The addition of a top coat or glossy resin seals the paint, providing a robust layer of protection. Two coats are advisable for optimal longevity.
- Between each coat: Sand lightly and remove all residues
- Cure time: Allow ample drying time as per the paint manufacturer’s instructions
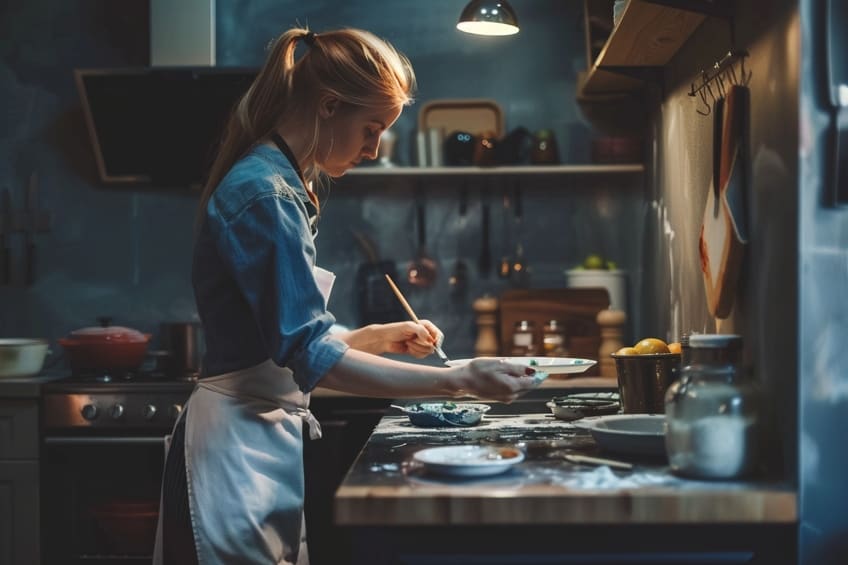
Creating Desired Textures and Patterns
To achieve various textures or patterns, specialized tools or techniques may be used. A sea sponge can be dipped in a contrasting color and dabbed on the surface to create a natural, mottled look, which is just one example of the benefits of painting your countertops yourself. Implementing such techniques demands a steady hand and an eye for detail.
- Natural look: Apply with a sea sponge for a soft, textured effect
- Uniform finish: Maintain the same direction and pressure for a consistent pattern
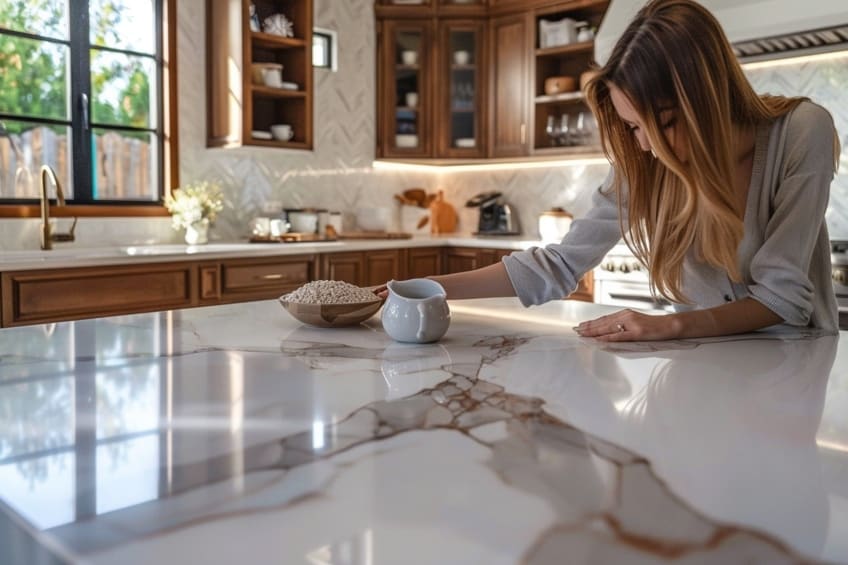
By following these steps and utilizing precision in the painting process, homeowners can transform their countertops with a fresh, custom look.
Aftercare and Maintenance
Maintaining the finish and durability of freshly painted kitchen countertops is essential for their longevity. The section below guides homeowners through the critical periods following painting and provides strategies for ongoing care.
Curing and Usage Guidelines
After painting, kitchen countertops require a cure time that typically spans about 14 days. During this period, it’s crucial to:
- Minimize direct contact with the surface.
- Avoid placing heavy objects that could indent or scratch the new paint.
- Use proper ventilation to dispel fumes and aid in the curing process.
- Resist wiping or cleaning the surface until fully cured.
For further protection, homeowners should:
- Place a cutting board for chopping to avoid direct knife contact.
- Keep appliances like a toaster or coffee maker on a backsplash or separate area to prevent heat damage.
Long-Term Care to Maintain Finish
Maintaining the countertop’s finish is an ongoing process. Homeowners should:
- Use non-abrasive cleaners specifically designed for painted surfaces.
- Perform gentle cleaning with a mild detergent to prevent scratching.
- Avoid harsh chemicals that can cause yellowing or deterioration of the paint.
- Clean spills promptly with a soft cloth rather than a vacuum or abrasive pad.
Regular maintenance ensures that kitchen countertops remain clean, durable, and attractive. Employing these measures, homeowners protect their investment and enjoy the refreshed look of their kitchen space.
Congratulations, DIY maestro! You’ve now mastered the art of painting kitchen countertops like a pro. With a splash of creativity and a touch of paint, you’ve turned a dull surface into a dazzling centerpiece that reflects your style and personality. Now, every time you step into your kitchen, you’ll be greeted by a space that feels fresh, vibrant, and uniquely yours. So go ahead, pat yourself on the back, and enjoy your newly transformed kitchen. Happy painting!
Frequently Asked Questions
What Type of Paint Is Recommended for Achieving a Black Color on Kitchen Countertops?
For a black color on kitchen countertops, one should use a high-quality acrylic paint designed for countertops or a specialty countertop paint kit. These products often come in various shades of black and provide a durable finish that can withstand frequent use and cleaning.
Are There Specific Techniques for Painting over Laminate Countertops?
Yes, when painting over laminate countertops, the surface should first be thoroughly cleaned and sanded. A bonding primer is recommended to ensure good adhesion. Apply the paint in thin, even coats, and sand lightly between coats to achieve a smooth finish.
Is It Necessary to Seal Countertops After Painting?
Sealing countertops after painting is essential for protecting the surface from scratches, stains, and water damage. The best method is to apply two coats of a clear, water-based polyurethane topcoat or epoxy resin, ensuring it’s compatible with the type of paint used. The sealant should be allowed to cure fully, often taking up to 14 days before heavy use.