How to Paint High Walls – Easy Tips and Tricks
This post may contain affiliate links. We may earn a small commission from purchases made through them, at no additional cost to you. You help to support resin-expert.com
Trying to paint a high wall can leave you feeling like a five-year-old trying to reach the top shelf for some cookies. High walls, whether they are inside or outside, are a common element of older homes, and they can be a challenge to paint. Whether you have a fear of falling, can’t decide how to get your paint to the same height as you, or simply don’t have the right tools for the job, it can be a frustrating experience. Thankfully, there are some tried and true solutions to this problem. This is why we’ve prepared a short tutorial detailing how to paint high walls, and what you need to do it successfully!
Table of Contents
Preparing for the Job
A big part of knowing how to paint high walls is knowing what you will need and how to prepare the walls and surrounding area. You will need a couple of semi-specialized tools to ensure your safety and apply your paint correctly.
With that being said, here are some of the things you will need and how to prepare your workspace for the painting process.
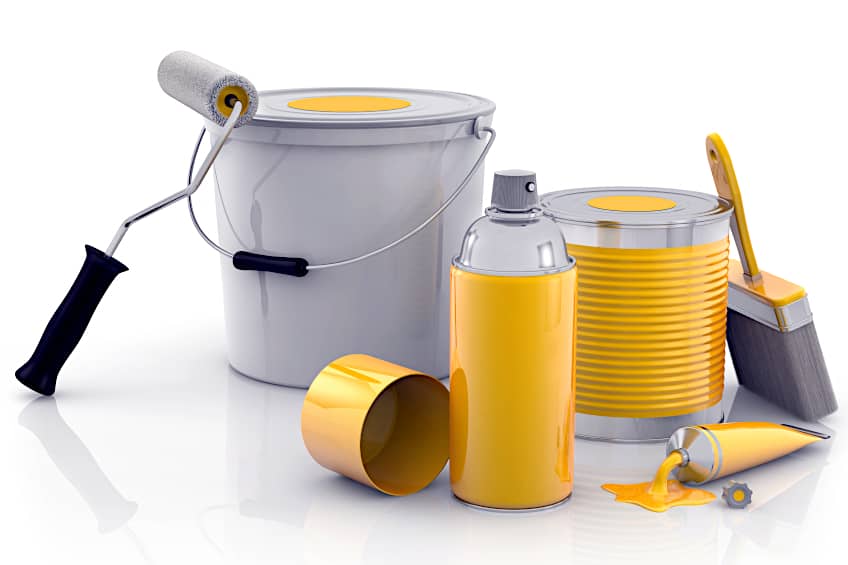
Gather Your Materials
As we mentioned previously, you will need somewhat specialized tools to paint high walls, but when it comes down to it it’s still painting so some common tools will still be needed. Here are all the tools you will need and what their respective functions are when painting high walls whether it be in your home or anywhere else high walls need to be painted.
- An extension ladder
- A bucket and hook
- A three-gallon bucket
- A drop cloth (six feet)
- Extendable rollers (with additional extensions)
- Paint brushes
- Painter’s tape
- Paint tray
- Sandpaper/sanding block/power sander
- Latex-based primer
- High-quality latex-based paint
- Scaffolding and ladder levelers (if necessary)
An Extension Ladder
You will need a bit more than a step ladder to paint most high walls. Extension ladders are able to expand and contract to alter their height, a feature that usually comes at a premium. While they aren’t ridiculously expensive, you would do well to shop around to ensure you get a good deal.
Double-check the locking mechanisms on the ladder before purchase.
A Bucket Hook
You are going to be high up, so it doesn’t make much sense to climb down from your ladder every time you need to reload your brush and/or roller. A bucket hook can be attached to your ladder or elevated platform, suspending it in close proximity to you. This allows you to reload your applicator with ease, and without wasting your valuable time and energy.
A Three-Gallon Bucket
The last thing you want is to have to refill your paint bucket while painting high walls. While most people recognize the height of big walls, they don’t really take into account the surface areas. Bigger walls are bigger after all, meaning they require more paint to cover their surface area.
Three gallons should be more than enough to get the job done.
Six Feet of Drop Cloth
You will be painting from an elevated position, which means the paint is bound to drop onto your floor at some point or another. Six feet of drop cloth should be more than sufficient to cover not only your flooring but any other objects and furnishings that you don’t want paint accidentally dropping onto. If you don’t have access to a drop cloth, old newspaper taped together with painter’s tape will do just fine.
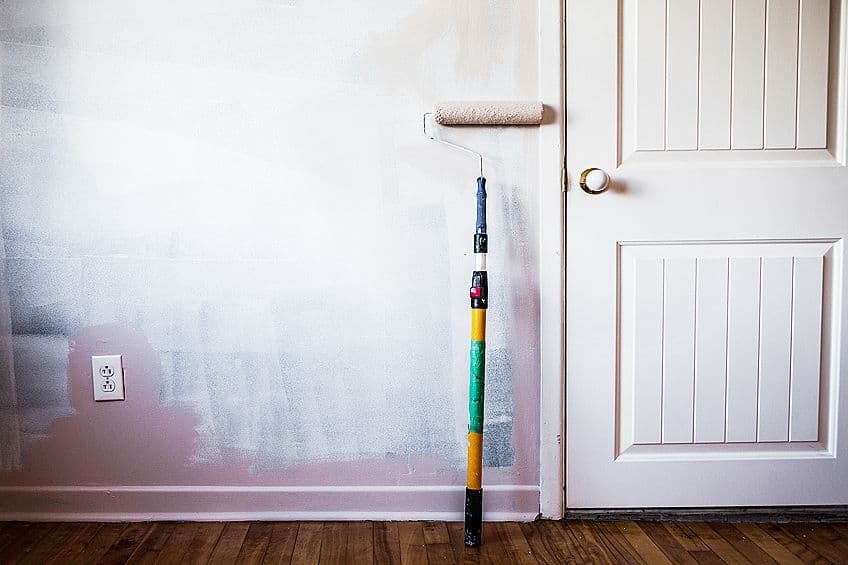
Extendable Paint Rollers
There are many things you can do to ensure you are able to reach the height required to paint your walls. One of the most obvious solutions is using paint rollers that have extendable arms. We recommend one to two paint rollers per person painting your walls.
The surface will need to be primed as well as painted.
Paint Brushes
Paint brushes will be needed despite what you might think. Even though your walls are high, the corners and edges still need to be cut in. Therefore, we recommend a paintbrush of around three to five inches in length for everyone involved in painting the walls. This should allow you to comfortably paint the edges of your ladder without you having to overextend yourself.
Painter’s Tape
Painter’s tape is an indispensable part of virtually any home improvement painting job. Painter’s tape allows you to cover things like trim and moldings so you can get right up against them without getting paint on them.
Painter’s tape is also a neat workaround for securing your drop cloth to the floor, so it doesn’t move around while you work.
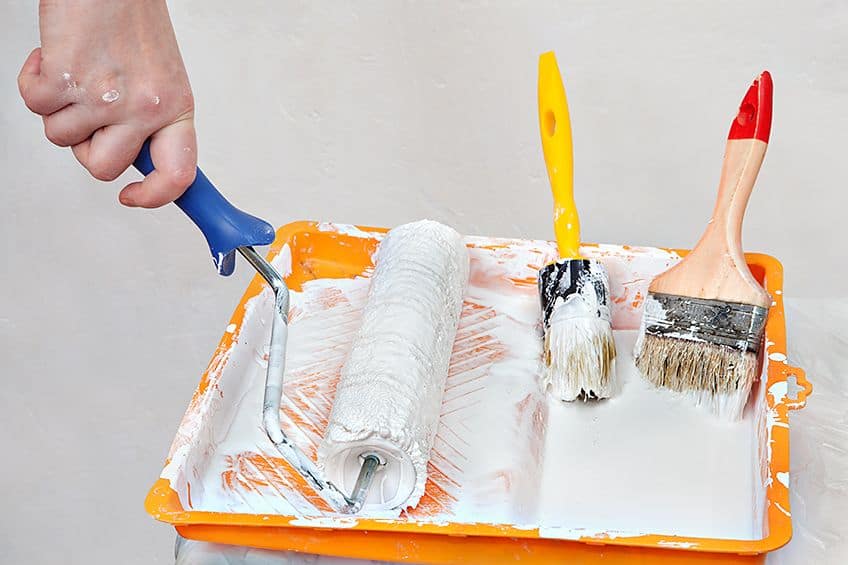
Paint Tray
While you might be thinking that it’s a good idea to work directly from the paint container, this could create more problems for you. Paint trays allow you to get just the right amount of paint on your surface and allow you to remove excess paint before the roller touches the wall. We recommend getting a tray that suits your roller’s size.
Sandpaper/Sanding Block/Power Sander
You will need to remove the existing coat of paint (if any) before the new coat can be applied. One of the best ways to do this is by using some sandpaper, a sanding block with an extension pole, or a power sander.
A 120-grit sandpaper should be just right for removing an existing surface coating, so be sure to check your sandpaper grit before purchasing.
Latex-Based Primer
While some might believe that paint can be applied directly to the surface of a wall, it usually isn’t the case. Prime ensures that your paint is able to adhere to the surface correctly, and ensures that your finish is nice even once the paint has had a chance to cure. You will need a latex-based primer when using a latex-based paint.

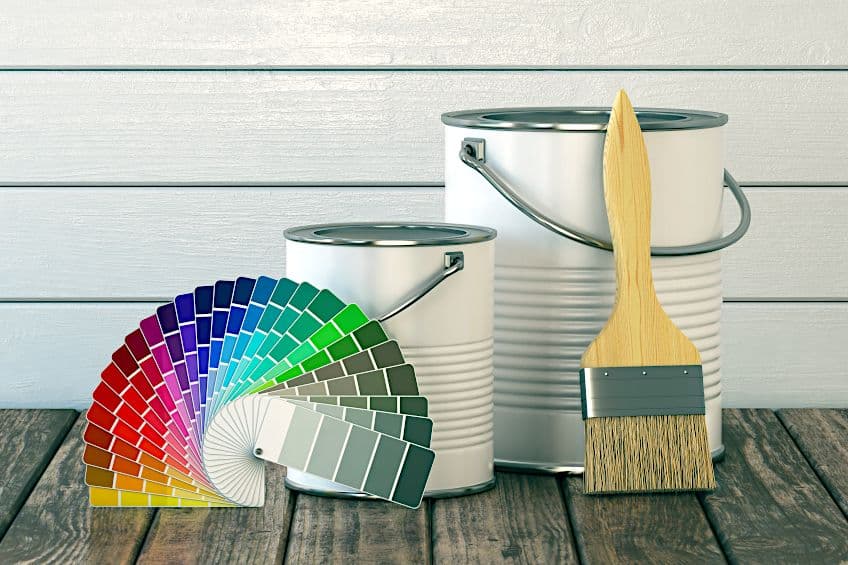
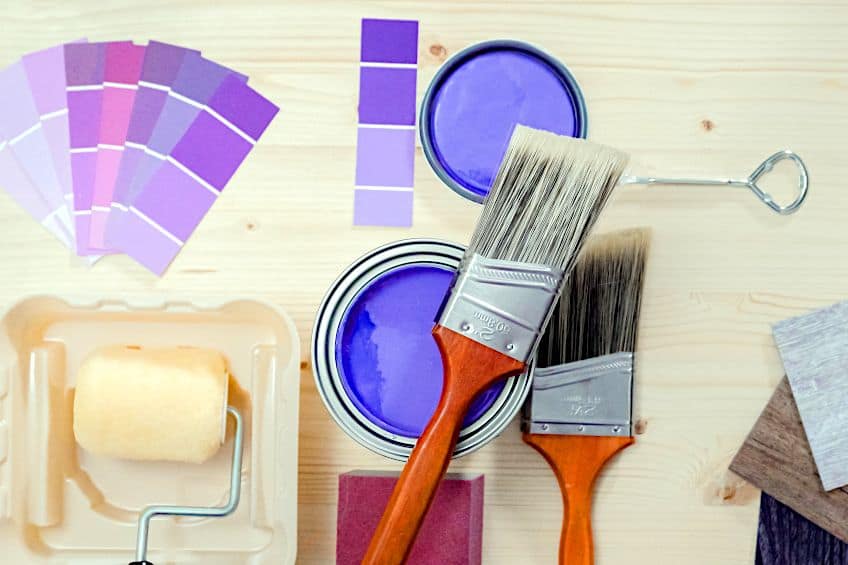
High-Quality Latex-Based Paint
Now you might be wondering why latex-based paint. Truthfully, latex-based paints aren’t the most durable, but they are better for the environment, and they get the best coverage of any commonly used paint type.
Latex-based paints are also available in different degrees of durability and different textures, so be sure to shop around and get one that suits your needs.
Scaffolding and Ladder Levellers (If Needed)
If you’re getting scaffolding involved in your painting then it might be time to call in the professionals, especially if you don’t have a lot of experience in painting high walls. However, if you are up to the challenge, we recommend getting scaffolding from a reputable brand. As for ladder levelers, they need to be used when one paints over stairs only and are fairly easy to set up and use.

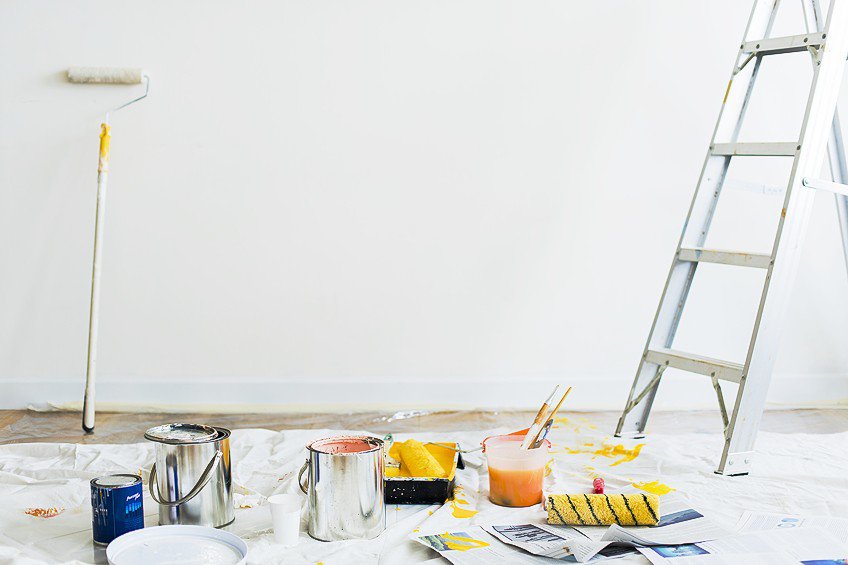
Clear the Space and Cover the Floor
Once you have everything you need you will need to clear the space you are working in and cover the flooring. First, remove any furnishings present in the area whether they be shelving, chairs, beds, free-standing lamps, and anything else you can manage. Remember that you will be painting from an elevated position, so paint is likely to fly all over the place in the event of an accident. Once all of your belongings have been moved, you need to cover the floor. Get your drop cloth and use it to cover as much of the flooring as possible.
If you can, allow the cloth to overlap to ensure that any paint that does reach the surface won’t leak between the gaps in the tarp. Finally, secure your drop cloth with some painter’s tape as necessary.
Position and Secure Your Ladder
Before you can begin painting you need to ensure that your ladder is positioned correctly and secured. That way your ladder faces is subjective, but the distance your ladder is from the wall you are painting is what really matters. Your ladder should be as close to the wall as possible to ensure that you do not overextend yourself, which could lead to you shifting your weight and falling.
This doesn’t mean that you won’t need your extension pole, simply ensures that you are in a comfortable position while painting. You could place the feet of your ladder against the base of your wall for added security too, but overall, as long as your ladder’s extensions are locked in place and the ladder is stable while you are on it, you should be good to go.
Prepare Your Walls for Painting
You will need to prepare your walls for painting before anything else can be done. This means that your surface needs to be sealed off, cleaned, and sanded before you even begin to think about applying paint to your wall.
How do you do this? Here are a few steps you can follow when preparing high walls for painting.
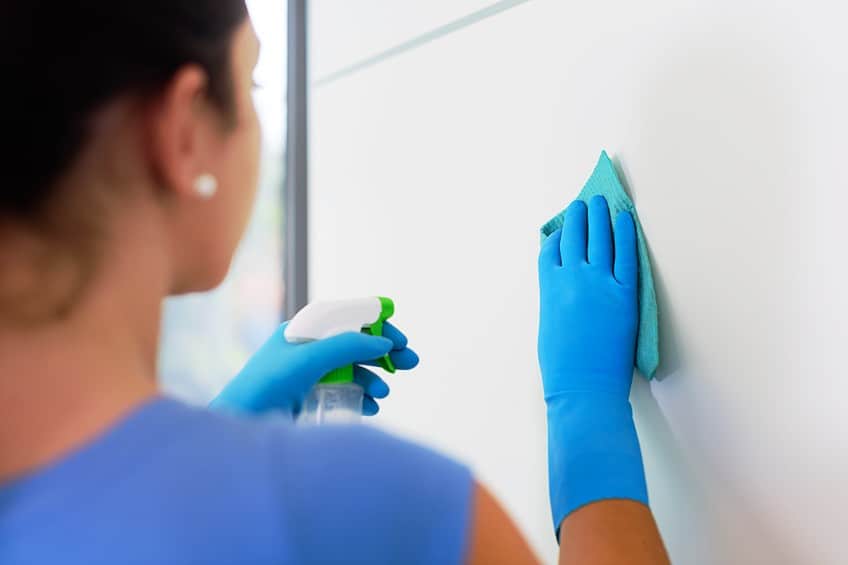
Clean the Surface of Your Walls
Cleaning your walls can take some effort but considering that it will allow both your primer and paint to adhere much better, we think it’s well worth it. Cleaning high walls is labor-intensive but not very difficult, and all you need is some soap and water to get the job done. To reach high areas you could use a pressure washer (if the walls are extremely high).
Ordinarily, you should be able to use a bucket containing some water and cleaning products and a broom.
Wet the bristles of the broom in the bucket and give the walls a good scrubbing, tackling any grime that has stuck to the walls over the years. Be sure to scrub corners and edges where dust and mold tend to accumulate too.
Once the wall has had a thorough scrubbing you need to allow it to dry completely before anything else can be done. If you don’t have a lot of time, try maximizing the airflow in the room by opening as many windows and doors as possible.
Once the walls have dried inspect the surface and wipe off any remaining damp areas with a clean cloth.
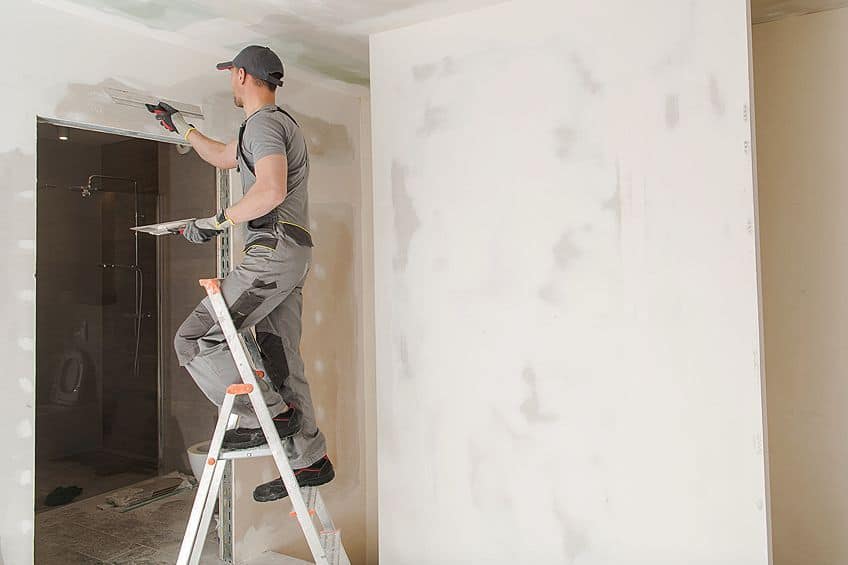
Sand the Surface of Your Walls
A big part of knowing how to paint high walls is knowing how to prepare the surface. While it might seem like a daunting task, in reality, it’s exactly like painting a regular-sized wall with some extra steps. You need to ensure that the existing coat of paint is removed before a new one can be applied, and to do this you have many tools to choose from.
Sandpaper might be exhausting considering that you’ll have to climb up and down the ladder and manually sand the surface.
A sanding block with an extension pole like the kind used the sand drywall is a good option considering that you’ll be afforded greater reach, but you will still be subject to manually sanding the surface of what are presumably really tall walls. Your third option would be to use a power sander, but you will still need to climb up and down the ladder as you move along the wall despite not having to manually sand the surface.
Regardless of which tool you choose, always start at one end of the wall and work your way to the other end. This allows you to work in sections and ensure the paint is thoroughly removed. Repeat this process until all of the existing paint has been removed from the surface of your wall. Once you are finished, wipe the surface of your wall with a clean cloth to remove any lingering paint particles.
To reach higher areas, you could climb up your ladder or simply wrap the bristles of your broom in some cloth and tackle the surface that way.
Tape Up the Surface of Your Walls
Before you begin applying primer you need to ensure that the surface and trim are properly protected. The best tool for the job in this case is some painter’s tape. Apply painter’s tape to your trim (at the top and bottom of your walls) up to the point where the trim meets the surface of your wall.
This can be tricky to do on a ladder to watch your step and use both hands wherever possible.
If you are concerned about your tape becoming loose while you prime and paint the surface, use an old gift card or putty knife and run it along the tape at a 45-degree angle while applying pressure to the card. This should firmly secure the tape to your trim and prevent any paint from seeping in beneath it.
Prime the Surface of Your Walls
Once the wall has been cleaned and sanded you will need to prime it. When applied, primer will allow your paint to stick to the surface of your wall well. It also ensures that your finish is even, and it is applied much in the same way that paint is. To get started give the container your primer in a good shake before you pour any out.
You can pop some paint into your bucket and attach it to your ladder using the suspension hook.
Next, get your brush and dip it into the paint until half of the bristles are submerged in the paint. Remove any excess paint and begin cutting in both your corners and edges. When applying primer vertically hold your brush horizontally. When applying prime horizontally, hold your brush vertically. Remember that this is just primer, so you don’t need to worry too much about brushstrokes. Repeat this process until all of the corners and edges have been primed. Once the edges and corners are primed you can switch your attention to the bulk of the wall’s surface.
Considering that the top is the hardest area to reach you should tackle these first. Attach your extension to your roller and then fill up your paint tray with primer Dip in your roller until half of it is submerged in the primer. Roll the applicator along the ramp until the primer has been evenly distributed and all excess has been removed. Climb your ladder (if you need to) and begin priming at the topmost part of the wall and work your way down to the bottom. Your overall technique should be to apply your primer in overlapping vertical stripes.
Repeat this until all of your stripes have overlapped and the entire surface has been filled with primer. Once you are done, allow the primer to set in as recommended on the packaging.
Paint the Surface of Your Walls
Painting high walls isn’t much different from priming them, especially if you are using a brush and roller. However, you could save yourself some time and effort and simply get yourself a paint sprayer. In order to present a comprehensive overview of the process, we’ve detailed how you can go about painting high walls using both the brush and roller method and a paint sprayer for you below.
Using a Brush and Roller
Using a brush and roller means that you can follow the same process as you did when applying primer. Before you begin applying paint using your roller, give your paint a good shake, pour some out into your bucket, and begin cutting in the corners and edges of your workpiece. Remember to hold your brush horizontally when painting vertically and vice versa.
Unlike applying primer you will need to take aesthetics into account, so watch out for hard brushstrokes and don’t tread too far onto your painter’s tape.
This process can be repeated until all the corners and edges have been coated. Once you’re done, fill your painter’s tray with some paint and get your roller ready by submerging half of it in paint. Remove any excess and ensure total saturation of your roller applicator by rolling it on the ramp of the tray. Next, climb your ladder (if needed) and apply your paint starting at the top of your wall.
The technique is once again to apply your paint in large, overlapping vertical stripes to ensure maximum coverage with no inconsistencies. Repeat this process until the entire surface has been painted. Once you have completed it, refer to the manufacturer’s instructions regarding how long you need to wait between coats before repeating the process.
Apply as many coats as you feel necessary and allow the paint to then dry and cure completely according to the instructions on the packaging before making use of the paint.
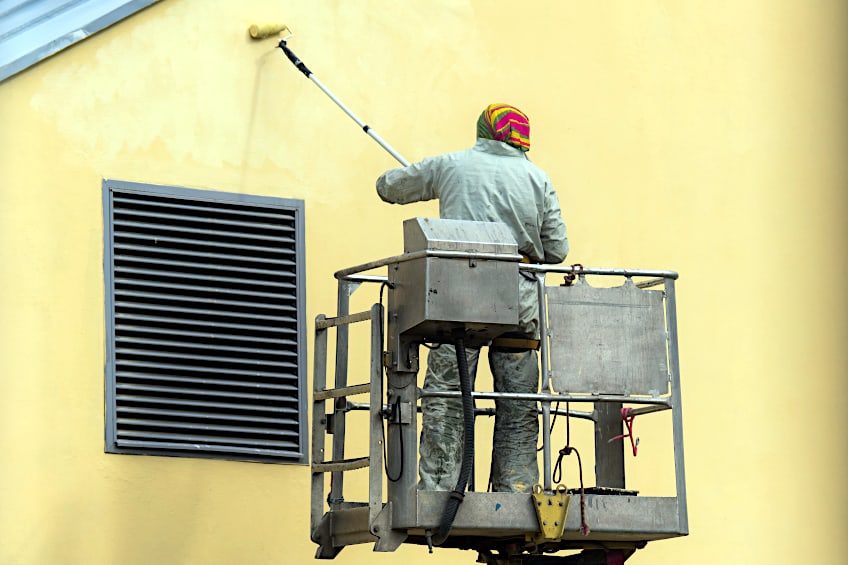
Using a Paint Sprayer
A lot of professionals agree that when attempting to paint a tall wall the best way to go about it is to use a paint sprayer. Sprayers allow you to engage with the entire wall surface without the need for elevation. This puts you at a considerable advantage, but not everyone has access to a sprayer, so it’s not always a realistic option.
You will need to shake up your paint and add some to your sprayer’s hopper or external feed device before you start off.
Test your spray tip and paint feed by spraying on some spare materials before you begin. Make any adjustments you deem necessary and once you are happy begin painting the wall surface. The technique you will be using with the sprayer is to start at the top corner and apply your paint in horizontal lines.

Do this by starting to spray off the surface of the wall with minimal trigger pressure and then moving your wrist in one smooth, even motion across the surface of your wall as you gradually increase trigger pressure, gradually tapering off as you reach the other end of the wall. You should have one horizontal stripe at this point, and the goal is to repeat this process while overlapping these stripes until the entire wall has been coated.
This process can be repeated when applying additional coats given that the paint has been allowed to dry as recommended on the packaging by the manufacturer.
Safety Precautions
When attempting to paint a tall wall there are various hazards positions you could find yourself in. Whether you don’t have the best balance, or your ladder begins to tilt, there are a number of things that could result in some serious injuries. For this reason, we’ve prepared a short list of things to keep in mind should you need to paint high walls in the near future.
Use Proper Ladders and/or Scaffolding
While it might be tempting to use second-hand items, when it comes to your personal well-being we highly recommend you use ladders and/or scaffolding that are in good working order. If you are unsure whether they can be used, always consult a professional before attempting to make use of the items. Ensure that all locking mechanisms are in good working order and that the legs of the ladder and/or scaffolding are capable of maintaining level contact with the floor at all times.
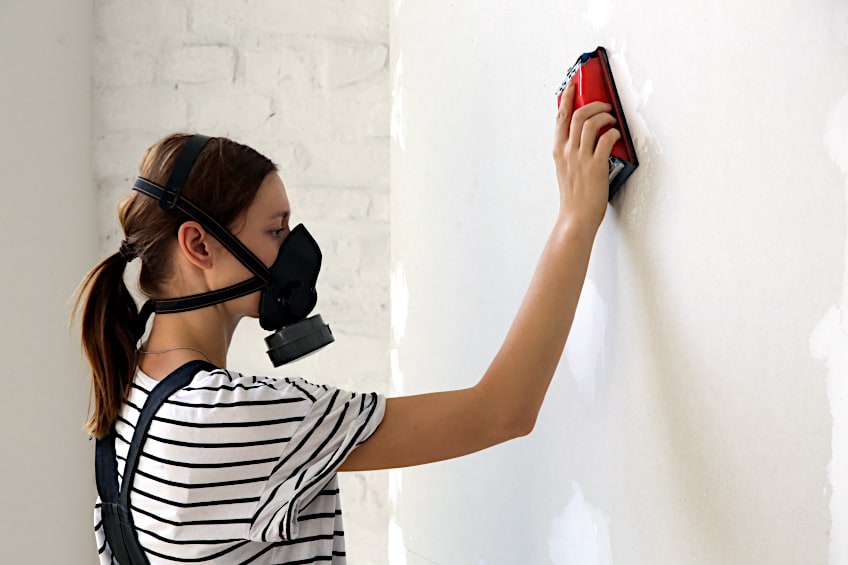
Wear Personal Protective Gear
Painting usually only requires the use of eye goggles, gloves, and a face mask. However, when painted from an elevated position we highly recommend that you wear a hard hat to protect your head and a pair of flat shoes to ensure your balance.
If you cannot ensure that the ladder will remain stable or simply want to add some additional safety measures, we highly recommend you wear a securely fitted harness as well.
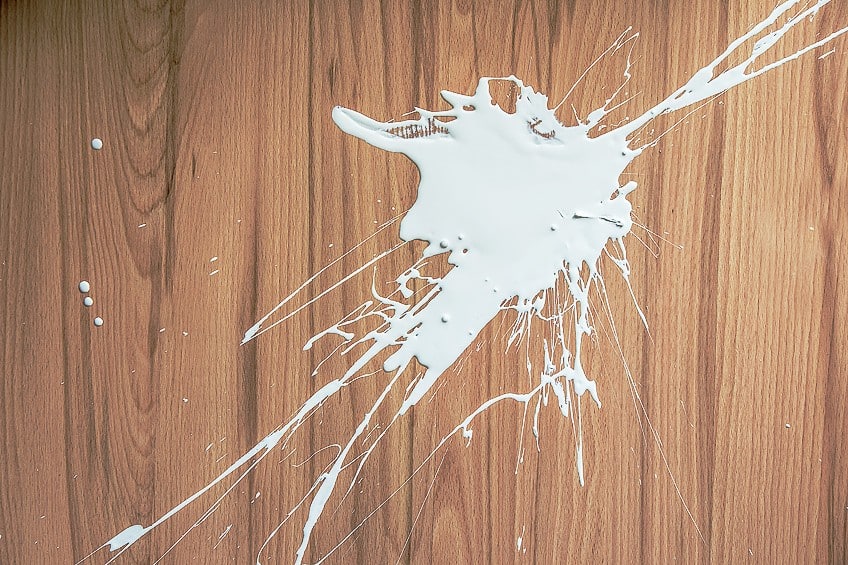
Prevent Splatter
You will need to ensure that the area you are working in is not subject to too much paint splatter. This means working diligently and not simply swinging your brush, roller, or sprayer around. Be conscious of all your movements and take both in your periphery, below you, and above you into account whenever you move. However, if your drop cloth is laid down securely this shouldn’t be too much of a problem.
This is everything you need to know regarding how to paint high walls without scaffolding. Remember that even though painting from an elevated position might seem daunting, it isn’t much different from painting any other surface. Remain calm, ensure that your tools are in good working order, and work with a partner whenever possible in the event that you require some assistance.
Frequently Asked Questions
Is It Possible to Paint High Walls Without Scaffolding?
If you are wondering about how to paint high walls without the use of scaffolding, there are two ways you can go about it. You could use special ladders, or you could use a paint sprayer with enough power to reach the high ends of the wall.
How Do You Paint a High Stairwell Without a Ladder?
The best way to ensure that your stairwell is painted correctly without the use of a ladder is to simply use a paint pole. Sprayers might create a mess in a space that small, but you should be able to reach those tough areas using a roller and a paint pole extension.
How Do Painters Paint Tall Buildings?
Painters paint the outside of tall buildings using a device called suspended scaffolding. Essentially, this is a platform that has been suspended from the top of the roof and hangs on the side of the building. Workers can move freely on this platform, painting the building section by section.