How to Paint Behind a Toilet – Our Guide with Tips and Tricks
This post may contain affiliate links. We may earn a small commission from purchases made through them, at no additional cost to you. You help to support resin-expert.com
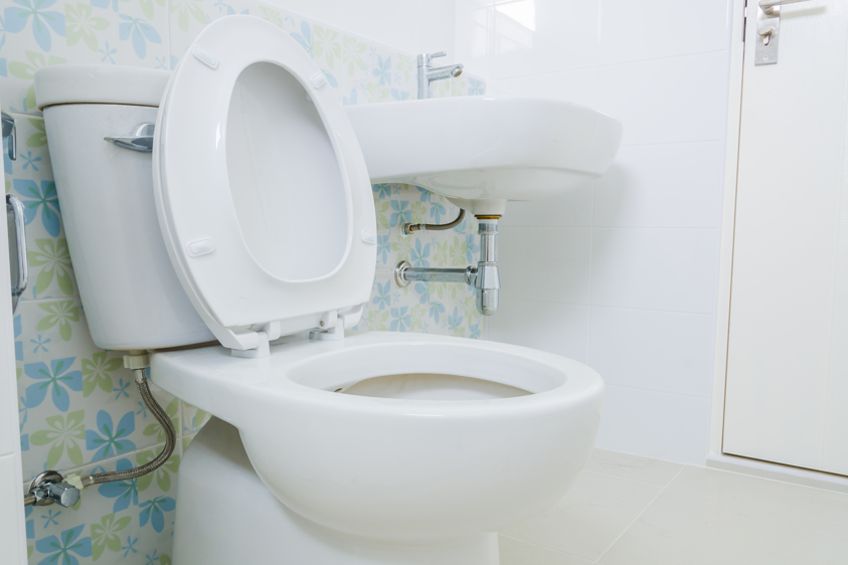
Painting a bathroom can be a bit stressful, even if you’re an experienced painter. Between working with the humidity and moist surfaces, cleaning up the bathroom, and actually finding a moisture-resistant paint color that you like, it can leave you with a bit of a headache. One of the most challenging parts of painting any bathroom is getting behind the toilet. Whether it’s leaky plumbing, cleaning the exterior of the toilet beforehand, or actually getting behind the toilet well enough to paint there, it can be an uphill battle. This being said, let’s have a look at how to paint behind a toilet, how to prepare your space for the job, what tools you’ll need, and how to protect your toilet from any unwanted paint splotches during the process.
How to Paint Behind a Toilet
Wondering how to paint behind a toilet? There are a few ways of painting behind a toilet. Some of them involve special tools, others involve using precision and plastic bag, and more extreme methods involve simply removing your entire water tank! Each method has its pros and cons, so we’re going to cover the most labor-intensive methods first and then move on to some of the easier methods. We recommend choosing a method that best suits the size of your bathroom and your own skill level to avoid any hiccups along the way.
Remember that when painting anything indoors you need to ensure that the area has adequate ventilation. Also, ensure that any and all surfaces that will not be painted are covered with a tarp, some old newspaper, and/or secured with some painter’s tape. Also ensure that you are wearing gloves, a respirator mask, and eye protection when working with any type of paint indoors.
How to Paint Behind a Toilet by Removing the Tank
This method can either be the easiest or the most challenging depending on your skill level, knowledge, comfort level, and the tools you have available. Removing the water tank from a toilet is deceptively easy, and only requires water-pump pliers, and possibly a few small wrenches to do correctly. Here are a few things you’ll need to get started:
- A pair of water-pump pliers
- A few small wrenches
- A drop cloth
- Sandpaper
- Primer
- Paint
- A small roller
Remove Your Water Tank
Before you rip your water tank off your toilet bowl mounting you might want to turn off the water supply. Generally speaking, there should be a small tap or spigot next to or below your toilet bowl. Turn this tap off and ensure there is no more water flowing through to your bowl. How do you do this?
Remove the top of your water tank lid and flush the toilet. If the tank does not refill, you’re all good to go.
Continue to flush the toilet until all of the water has been removed from the tank. Once the tank is empty, get your water pump pliers. There should be two big “nuts” connecting your main water supply to the base or side of your tank, and another one connecting the tank to your bowl. Loosen both of these nuts and remove the water tank from the toilet bowl. If there’s still some water left in the pipes, don’t be surprised, just use a cloth to mop up the excess.
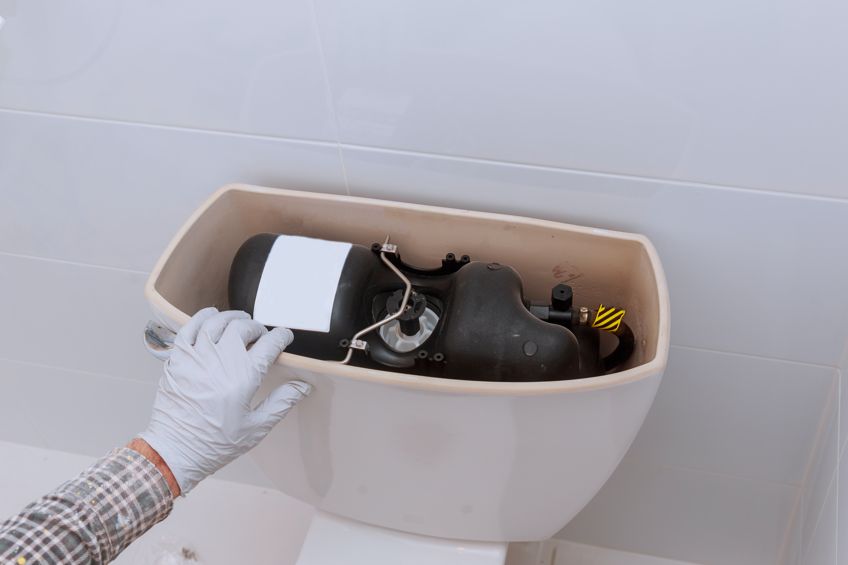
Once the tank has been removed, we recommend placing it in a plastic bag and placing it somewhere inside the bathroom or outside. Place the tank on the floor and not on an elevated surface. Why? Most tanks are made of porcelain or similarly brittle materials, so if they fall, they will crack, resulting in you needing to purchase an expensive replacement.
Prepare Your Surfaces
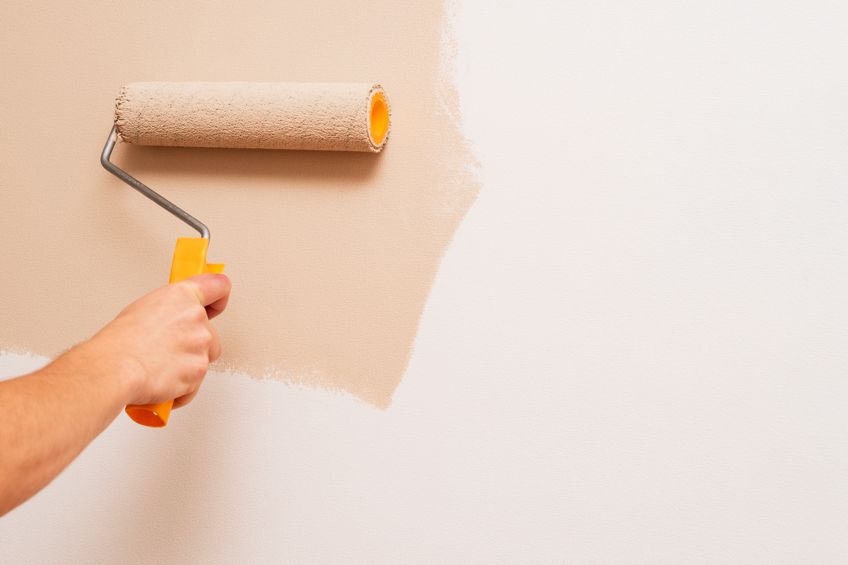
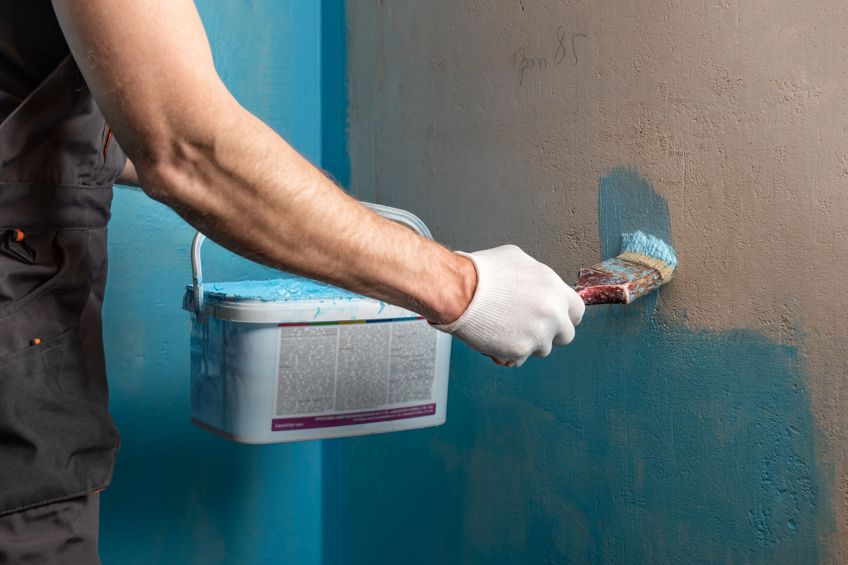
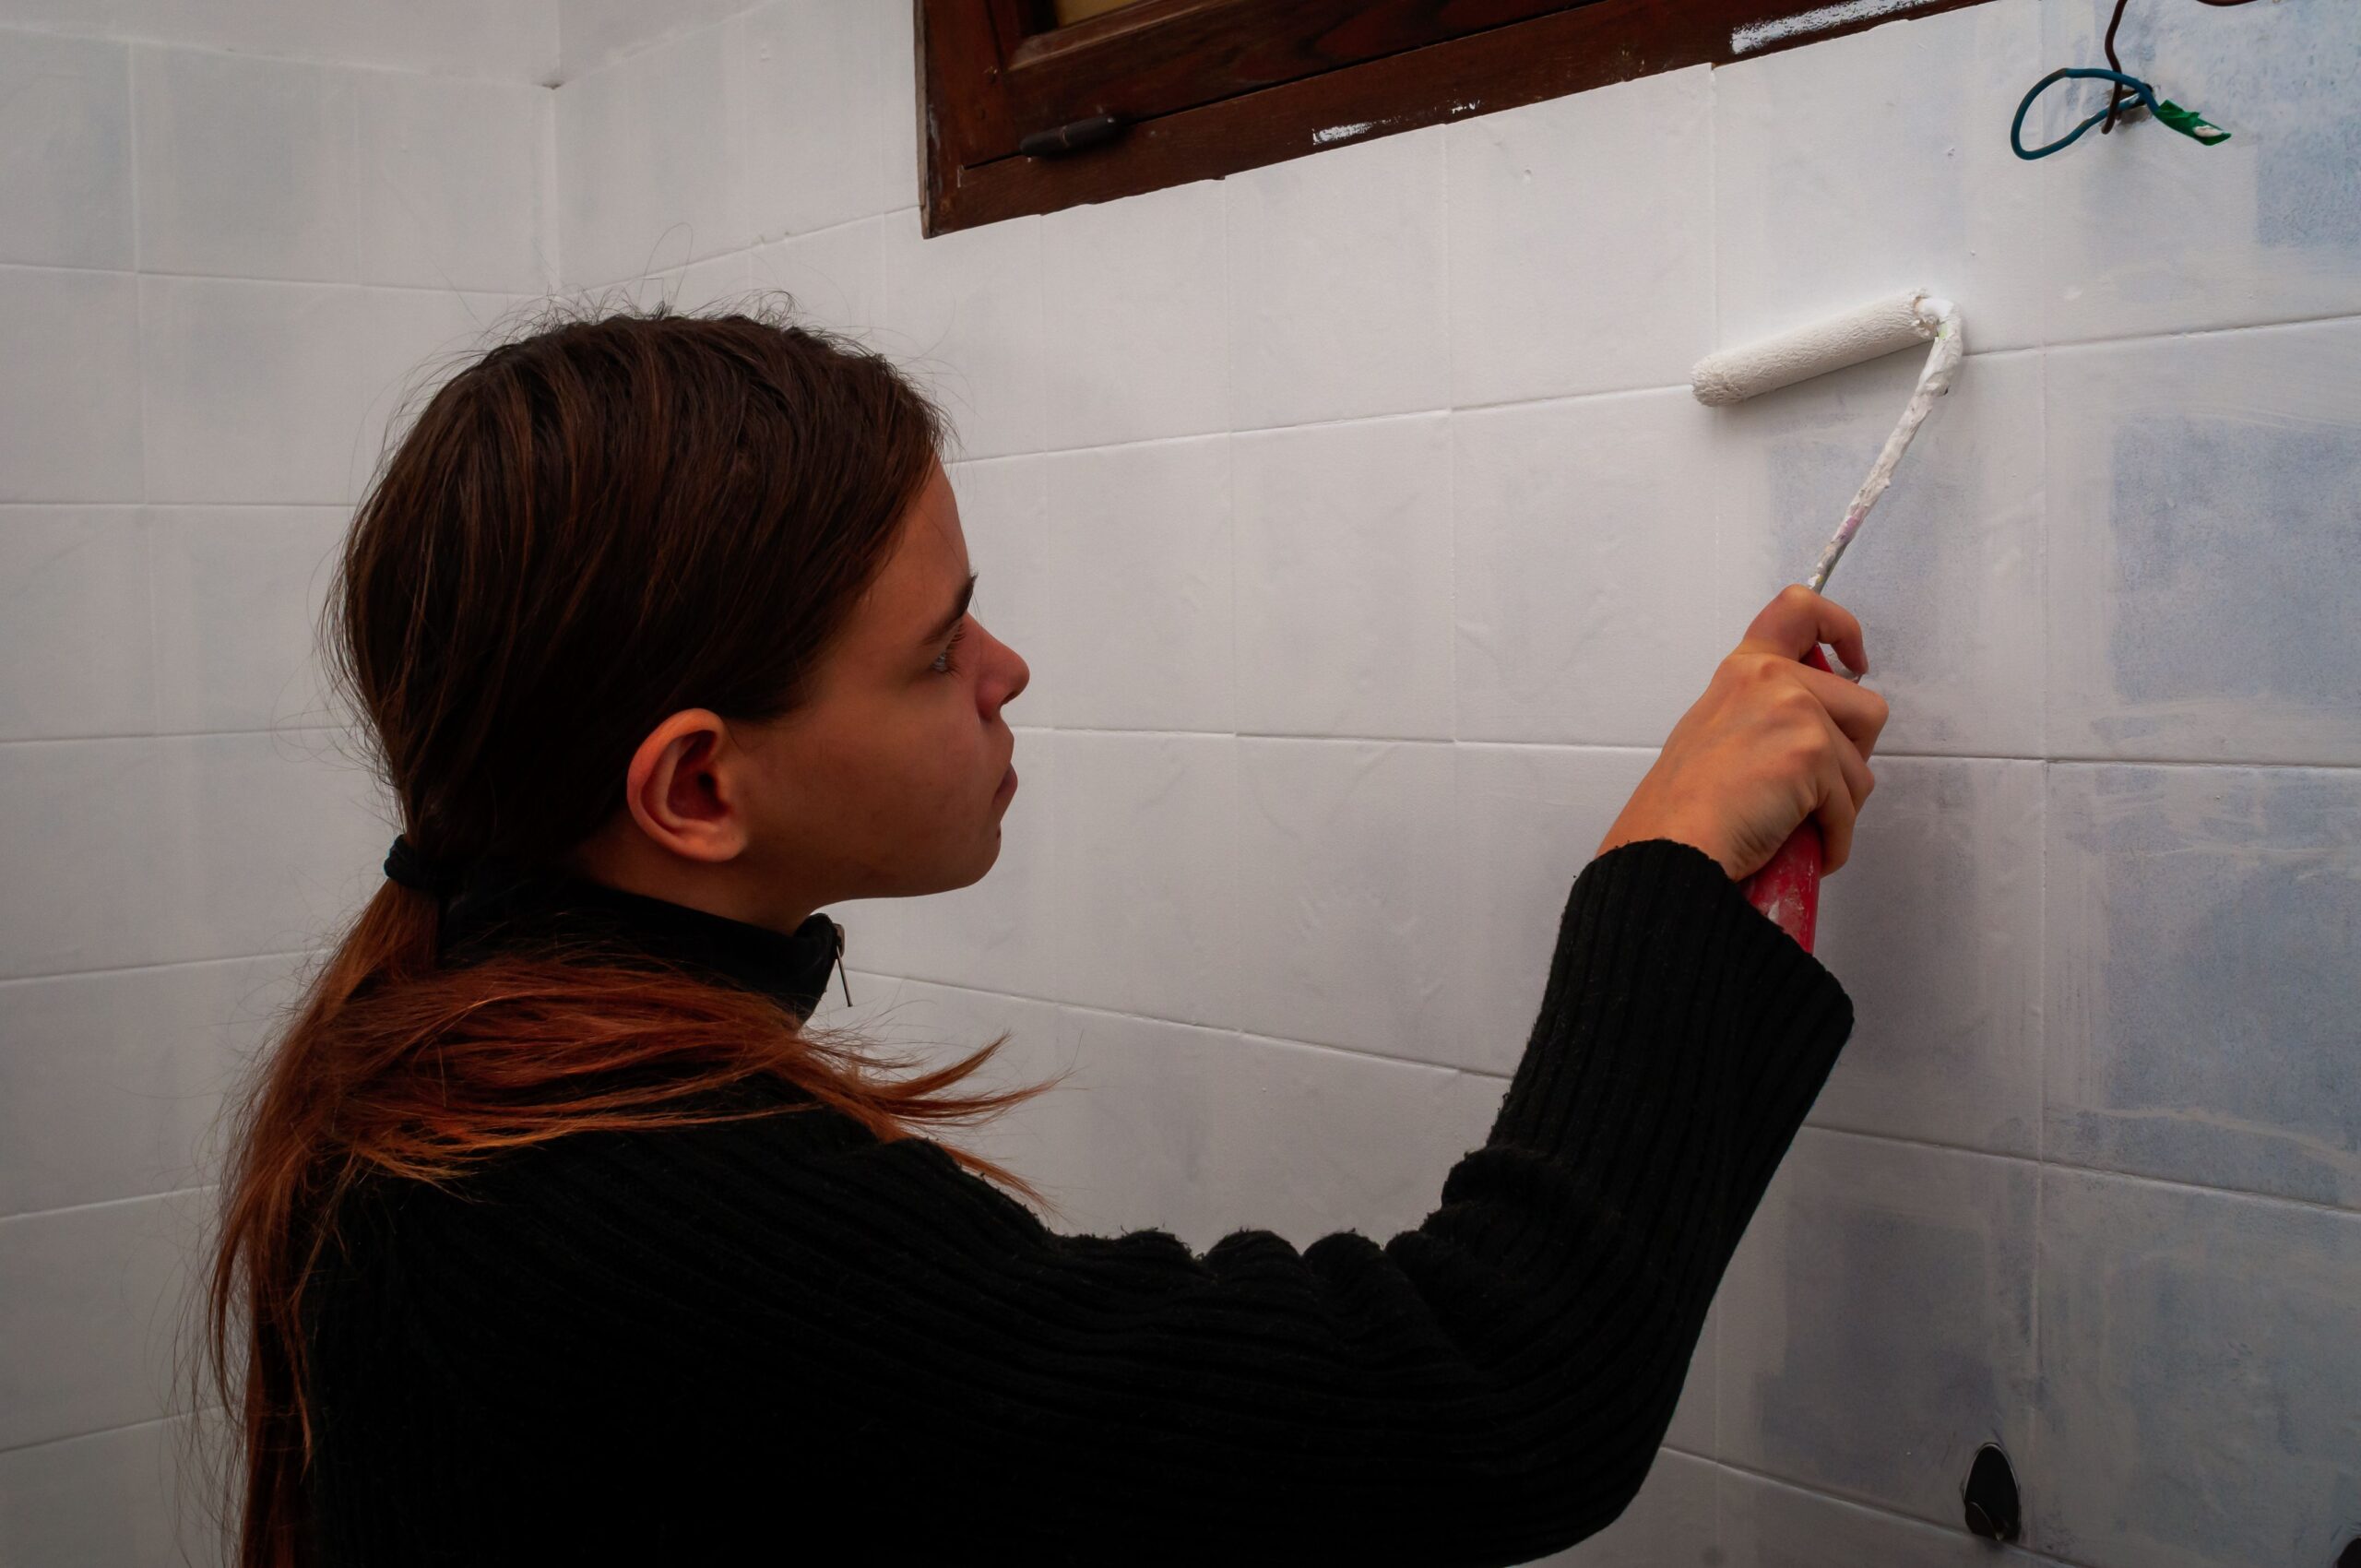
Preparation is important so don’t skip any steps. Cover the bowl of the toilet with a large plastic bag to avoid any paint splatter getting inside the bowl or on the lid and secure it with painter’s tape. Once you’re surface your bowl is protected grab some sandpaper and a sanding pad and scuff up the surface of the wall, ensuring that the surface is evenly sanded. Once the surface has been sanded remove any old paint particles by giving the wall a wipe down with a clean cloth before moving on to priming. Once you’re sure the wall is clean, use your miniature roller to apply some primer to the surface of the wall.
Allow the primer to cure and dry for the manufacturer’s recommended time period.
Paint Your Surface
Once your primer has had a chance to dry, give the surface a light sanding and remove any debris with a clean, dry cloth before preparing your paint. Next, give your paint can a good shake and pour some out into a painter’s tray. Dip your roller into the paint and paint the wall behind the toilet bowl, ensuring that you don’t hit the trim (use some painter’s tape to cover it up if you have trim).
Blending this area of the wall with areas that have already been painted can be tough but not impossible. We wouldn’t recommend aiming for a flawless finish when it comes to painting behind a toilet as the area will be mostly obscured. Besides, we don’t think you or your guests are going to spend an awful lot of time peaking behind your toilet. Once you’re done painting, ensure that the paint is allowed to dry for the manufacturer’s recommended time period.
How to Paint Behind a Toilet Without Removing the Tank
Wondering how to paint behind a toilet without removing the tank? Well, it should go without saying that this method requires considerably more effort and precision than simply removing the tank, but that might not be possible for everyone. After all, you may not have the tools or permission to remove the tank from your toilet, so here’s how to work around it and what you will need:
- A miniature roller
- A big plastic bag
- Painter’s tape
- A painters tray
- A small tarp or old newspaper
- Paint
- Primer
Prepare Your Work Area
Since the tank is staying on the toilet, you will have to prepare your work area a bit more to prevent paint from getting on the tank, the lid, and the bowl of your toilet. How do you do this? Well, first off you can remove the lid of the water tank and cover it with some plastic.
Again, place the tank lid on the floor somewhere out of the way to avoid it falling and breaking.
The tank itself should have a bit of clearance between itself and the wall so be sure to clean that area as best as possible. Next, use some painter’s tape to cover up the trim of the wall (if you have any) and flatten it with an old bank car or simply by hand. Finally, use a large plastic bag to cover the bowl and tank of the toilet to ensure that no paint gets on them. Use painter’s tape to secure the bag and prevent it from coming in contact with the wall.
Next, although it might be a bit difficult, sand the surface behind the toilet using some sanding paper. If there are some areas you cannot reach don’t worry too much about it. If your water inlet pipe is around this area, you can give that a good sanding too in case you decide to prime and paint around it. Is it necessary? No, although it does create some uniformity.
Finally, you’re going to prime the area behind your toilet. Is this absolutely necessary? Not really, considering nobody is going to see it. Although, bathrooms contain loads of moisture and the last thing you want is for your paint to peel away. Pour some primer out into a painter’s tray, get some on your mini roller, and apply it to the wall. Allow the primer to dry for the manufacturer’s recommended time period before moving on to the next step in the process.
Paint Your Surface
Primer the surface is pretty much the same as painting it, but since uniformity and aesthetics are important in this instance, it can get a bit tricky. Start by cleaning your painter tray and giving your paint container a good clean before pouring some paint into it.
Next, get some paint on your roller and get into a semi-comfortable position.
Before you begin, ensure that that plastic bag you’re placing over the toilet is still secure, as the last thing you want is it touching the soon-to-be wet paint on your wall. Start by painting slowly and methodically, checking that the roller is always in contact with the wall and that you haven’t missed a spot accidentally.
Repeat this process until you’re satisfied with the job you’ve done. Once you’re done, allow the paint to dry for the manufacturer’s recommended time period before removing the plastic bag from the top of your toilet. If you’re in the mood to paint around your water source faucet, simply use a brush and allow the paint to dry for the manufacturer’s recommended time period.
Now that you know how to paint behind a toilet by removing the water tank and how to paint behind a toilet without removing the tank, as well as some of the things you’ll need, it’s time for you to get out there and put your newfound knowledge to the test. Remember to ensure that all of your surfaces are protected and that you are wearing all of your personal protective gear when working with your face so close to wet paint.
Frequently Asked Questions
Can You Paint Behind a Toilet Without a Roller?
Can you paint behind a toilet without a roller? Yes. One of the best ways to do this is to secure a clean cloth on the end of a stick, dip it in paint, and paint the surface. Ensure that the bowl and tank of your toilet have been covered with a plastic bag and secured with some painter’s tape.
What Is the Best Type of Paint for Bathrooms?
What type of paint should you use in a bathroom? Well, bathrooms are exposed to quite a bit of moisture and therefore your paint should be able to withstand it. Mildew-resistant paints with a satin or gloss finish work well for this application.
Do I Need Special Paint to Paint a Bathroom?
Special might not be the right word. You need paint that won’t raise or peel when exposed to moisture and various temperatures. One of the best paint types for this application is latex- or water-based paint due to its inherent resistance to the aforementioned forces.