How to Paint Baseboards – Skirting Board Painting Guide
This post may contain affiliate links. We may earn a small commission from purchases made through them, at no additional cost to you. You help to support resin-expert.com
Baseboards are often ignored when sprucing up a room, but painting your baseboards is one of the easiest and most inexpensive ways to liven up the look of your room. With some preparation and effort, you can turn your old baseboards into beautifully painted trim pieces that are sure to catch the eye of visitors and family members alike! Let’s have a look at how to paint baseboards correctly to ensure that your wall trim has the best finish possible.
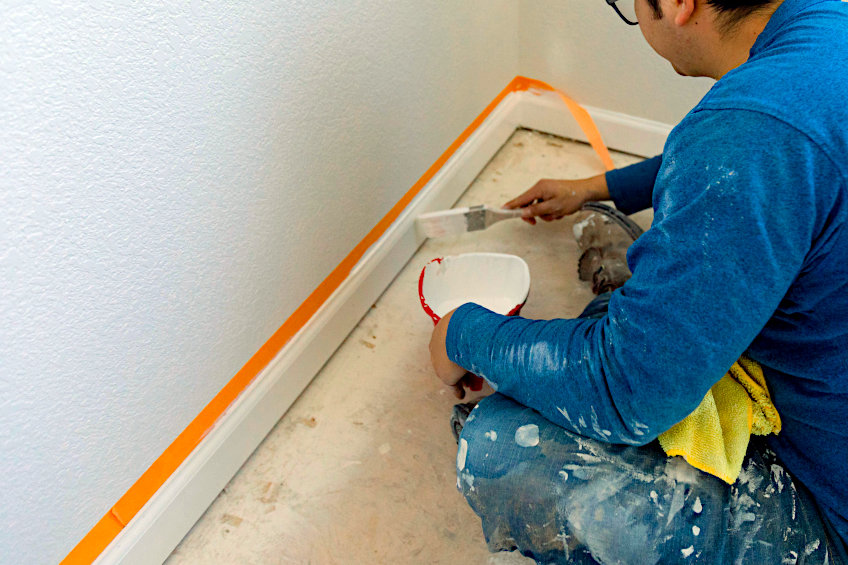
Table of Contents
Removing Your Baseboards vs. Leaving Them in Place
This can be a challenging decision to make considering that removing your baseboards results in more effort and more time being spent not painting them.
You will have more freedom of movement and decrease your chances of getting paint on your walls if you remove your baseboards. Should you remove your baseboards then?
Removing Your Baseboards
We recommend removing your baseboards if your house is very old or if the baseboards have very recently been installed. It’s actually really easy and can be done with a small prybar and your fingers, just don’t damage your walls or you’ll need to patch those areas and/or repaint your entire wall to cover up the mistake.
Leaving Your Baseboards in Place
Leaving your baseboards and wall to have been painted together, there could be a thin film of paint connecting the two, which means removing the baseboards could result in ruining your wall coating.
In this instance, it’s better to simply tape up the edge where your wall and baseboard meet (as well as your floor) and begin preparing and painting your baseboard.
Alternatively, you could scrape off the paint connecting your baseboard and wall with a blade, but this can be tricky.
How to Paint Baseboards
Painting baseboards is relatively simple, but it can take some planning. To help you along we have prepared a short tutorial detailing how to go about painting baseboards the right way, as well as how to prepare your workpieces, space, and some of the tools you will need to get the job done. Before you begin, ensure that you are wearing a good pair of gloves and that your workspace has some good airflow. Here are some of the things you’ll need:
- Eye goggles
- Gloves
- A drop cloth or some old newspaper
- A sponge and a clean cloth
- A bucket
- A putty knife
- A one to two-inch sash brush
- Painters tape
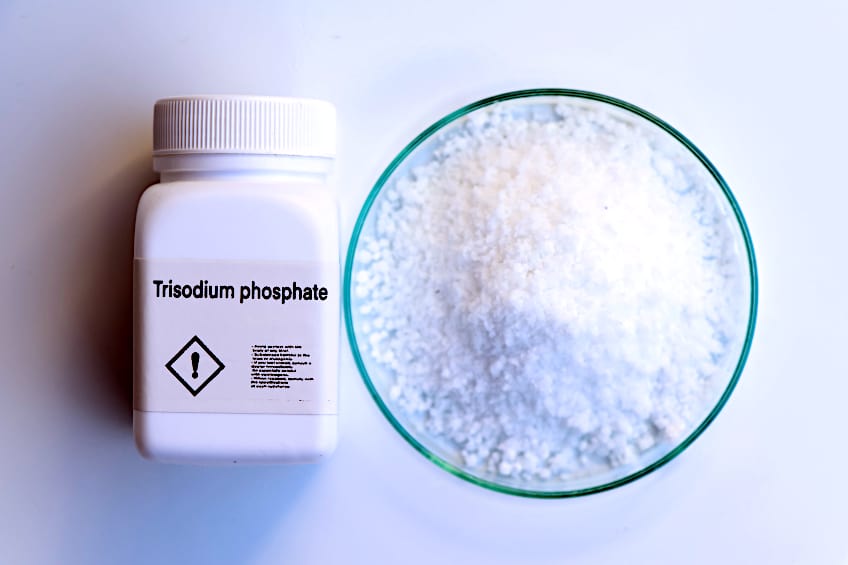
- TSP (trisodium phosphate)
- Wood filler/spackle
- Fine grit sandpaper (160 to 200-grit)
- Primer
- Oil or latex-based gloss paint
Clean Your Baseboards
Cleaning your baseboards is an extremely important part of the preparation process. Well, it’s a really important part of preparing any workpiece for painting, but since base baseboards are so close to the ground, they tend to pick up a lot of dust and grime over time. Therefore, cleaning your baseboards at the start of the preparation process is extra important.
The first thing you should do is cover your floor with a tarp or some old newspaper to ensure that it doesn’t get wet or accidentally get some paint on it.
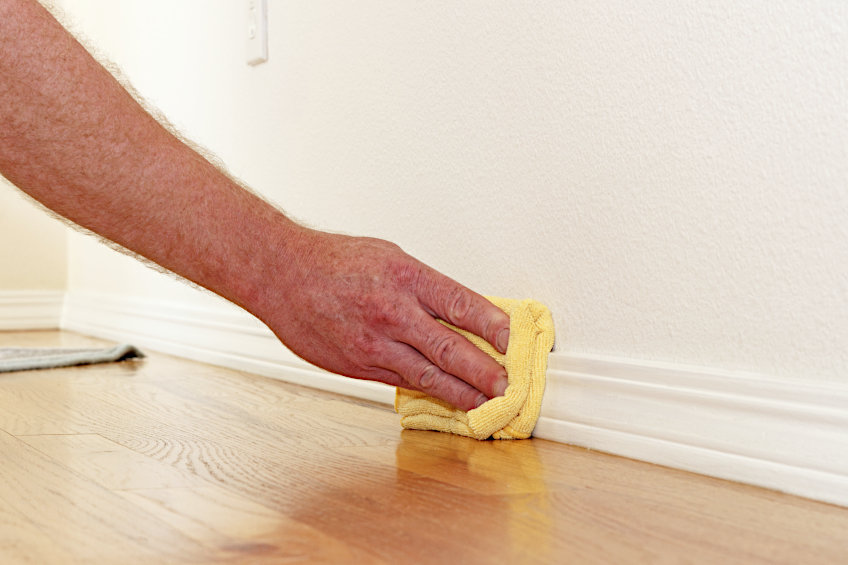
Once your tarp is nicely secured, put on your gloves and eye goggles, grab your trisodium phosphate, and mix it with some water in your bucket according to the instructions on the bottle. Next, dip your cloth into the solution and begin cleaning your baseboards.
When cleaning your baseboard be sure to tackle the very bottom (the part closest to the floor) and the top (the part that faces the ceiling) as these tend to accumulate the most dirt and dust. Be sure not to get any of the solution on your eyes and skin as it can cause serious discomfort in these areas of the body.
Ensure your workspace is well-ventilated to avoid the buildup of fumes.
Do your best to ensure that your baseboard is as clean as possible. When you are done you can throw out your TSP solution, pour some clean water into your bucket, dip in your sponge, and wipe down your baseboard to ensure any lingering TSP is removed so that your workpiece is ready to be sanded and primed.
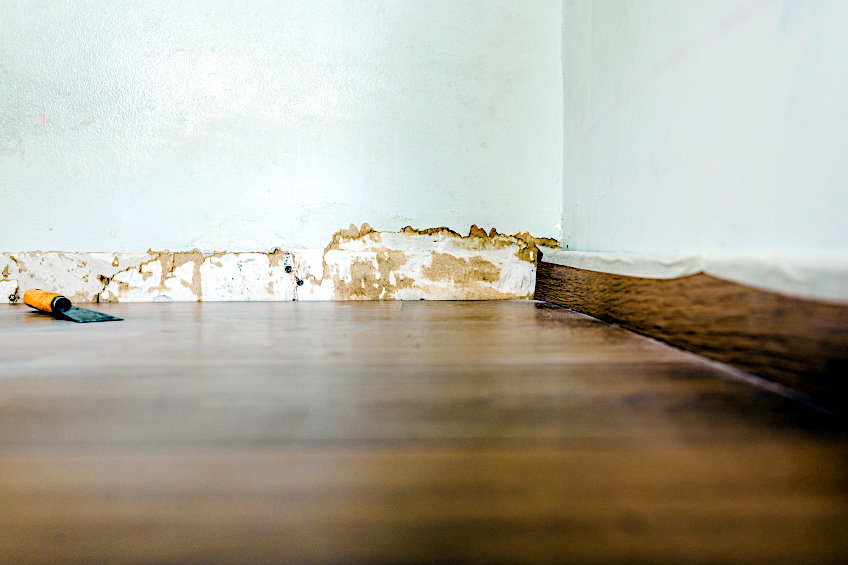
Repair the Surface of Your Baseboards
Baseboards tend to accumulate a lot of dents, scratches, and holes over time, and you will need to fix said holes and dents before they can be repainted.
Repairing holes in baseboards is fundamentally the same as fixing homes in any other wooden surface, all you need is some wood filler or spackle and a putty knife, and you should be good to go.
Wood Filler
As a general rule, wood filler is used to fill deep holes in the surface of wood workpieces like the ones formed by nails and screws. The consistency of wood filler allows it to fill these voids and harden them to form a solid interior, allowing the surface to be sanded, primed, and painted, all while improving the structural integrity of your workpiece.
Spackle
Spackle on the other hand is generally used to fill smaller, more shallow dents in the surface of your wood. Spackle doesn’t have quite the same consistency as wood filler, and it won’t do a very good job should you try and use it to fill deeper voids. That being said, ensure you always use each for its intended application.
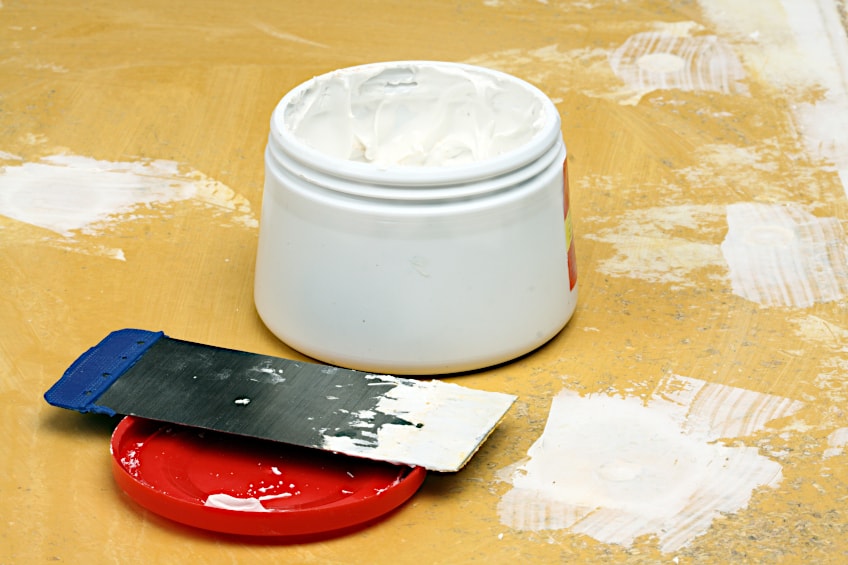
Application
To use either of these substances, simply get some on your putty knife and shove it into the holes/scratches. Once the hole has been filled, drag your putty knife across the surface of your baseboard at a 45-degree angle to remove any excess and make the affected area flush with the surrounding surface. Once the holes and scratches have been filled allow the spackle and/or wood filler to dry and harden for the time period recommended by the manufacturer.
Do not attempt to sand the surface while the spackle and/or putty is still wet as this will result in a mess and could possibly result in you repeating the entire process.
Sand the Surface of Your Baseboards
Sanding is yet another important part of resurfacing your baseboards. Sanding is done to not only remove the existing paint job but also to ensure that the surface is ready to receive primer and paint once you are done. To sand your baseboards, you will need fine-grit sandpaper or a flexible sanding block to ensure the best results.
Electric sanders might be overkill for this application as you could end up removing more material for your baseboard than actual paint.
The sanding method we recommend is simply picking an end of your baseboard to start at and then working your way slowly and methodically to the other end. Apply as little pressure as possible, allowing the sandpaper to do the work instead. If your baseboards still feel like they need some more work, feel free to repeat this process as many times as deem necessary to create the surface needed for priming. Once you are done, use a clean cloth, vacuum, brush, or a combination of the three to remove any wood/paint particles from your baseboards and surrounding surfaces.
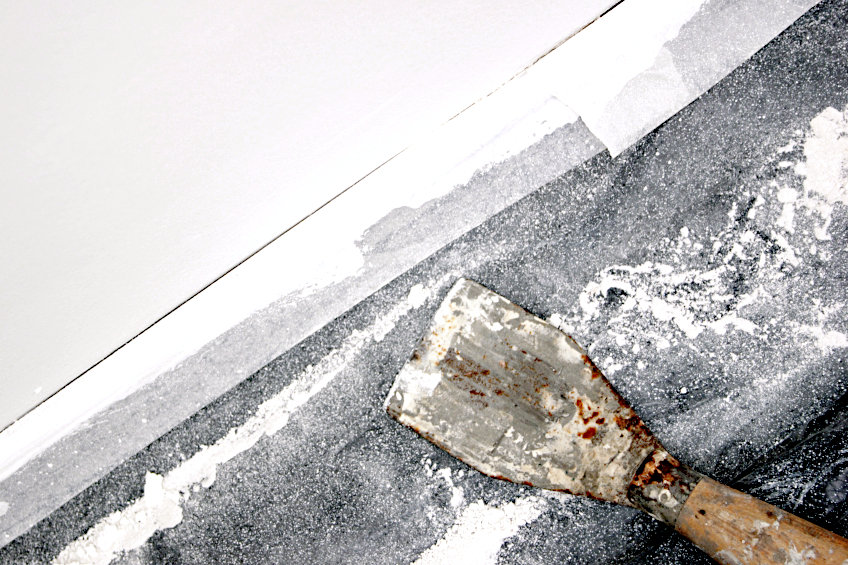
Remember that the goal here is only to remove the existing coating and smoothen out any areas that you have filled, ultimately ensuring that you have a uniform surface to prime and paint. Once you are done, inspect the surface to make sure there aren’t any stray particles lingering around before moving on to the next step.
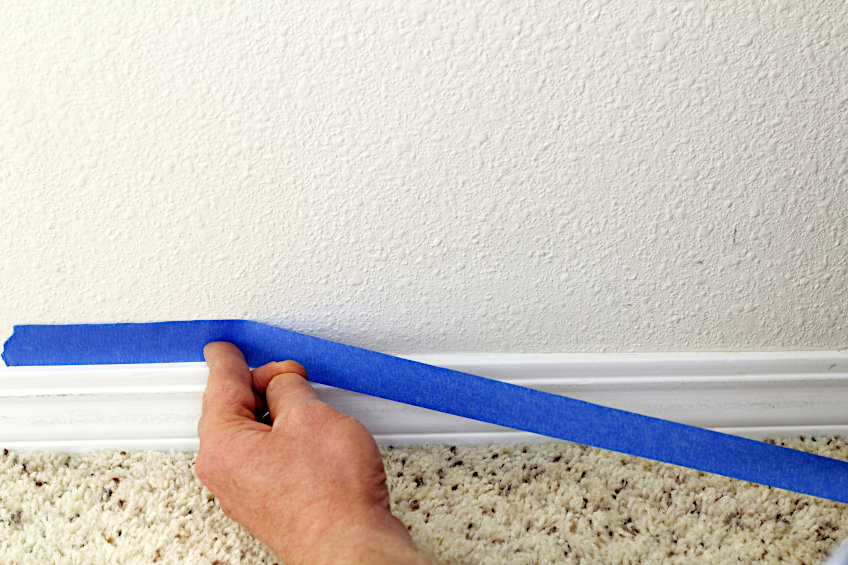
Tape Up Your Walls and Floor
Baseboard painting can get pretty messy, as it is detail-oriented work that requires a steady hand. If this is your first time painting baseboards, we highly recommend that you make use of both painter’s tape and masking film to protect your walls and floor. These ensure that your walls and floor won’t accidentally get paint on them while herding your brush toward the baseboard.
The width of painter’s tape you use will depend on the size and shape of your brush, just be sure that it is wide enough to accommodate the brush accidentally coming into contact with the wall.
If you have a lot of experience painting, then a single strip of painter’s tape along the wall where it meets your baseboard should be perfectly fine. To ensure that your painter’s tape has been applied correctly all you need to do is run a clean putty knife along the wall to which it has been applied. This should flatten the tape and ensure that paint and primer do not seep beneath it. This doesn’t mean your tape Is impervious though, so don’t overload your brush when painting your baseboards.
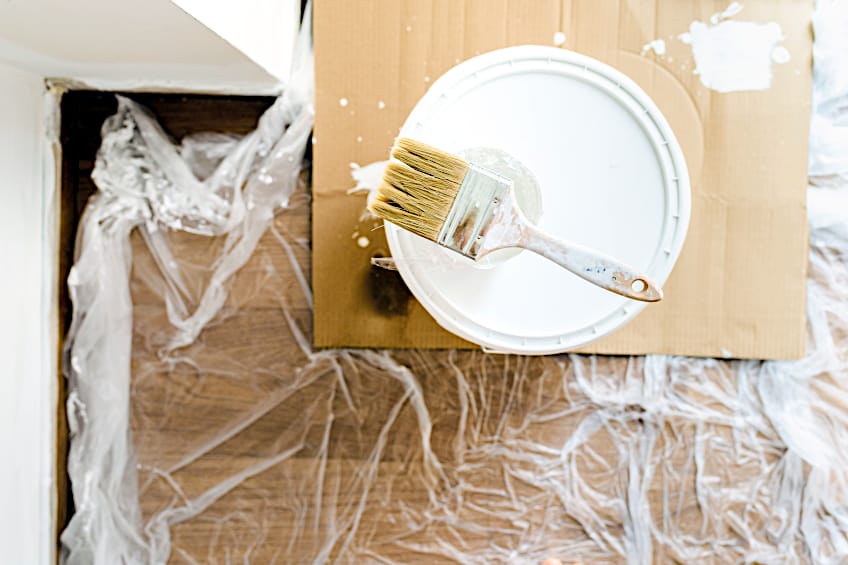
Using Masking Film (Optional)
Another option you have when protecting your walls is masking film. Masking film is essentially a roll of plastic sheets that adhere to the surface of your walls, acting as huge pieces of masking tape that are capable of protecting large surfaces during the painting process. Masking film will usually have two sticky sections, one at each end of a sheet, which can be activated by removing some protective tape.
All you need to do is remove the protective tape, position your masking film, and press it against the part of the wall you want it to stick to.
Masking film is ideal if you don’t have a lot of experience in painting, or if you anticipate a lot of splatter while baseboard painting. Masking film can be a bit more expensive than masking tape though, so it’s not the ideal choice if you are working on a tight budget and it isn’t the best choice if you are working in a confined or awkwardly shaped space either.
Freehand Painting and Priming (Optional)
Many experienced painters prefer to not work with masking tape at all. This is sometimes called “freehand painting” or “freehand cutting in”, and it can be very challenging. This is especially true when it comes to baseboards due to the awkward angle you’ll need to hold your brush, specifically if you have chosen not to remove your baseboards.
Prime Your Baseboards
While not every surface needs primer, most common household surfaces can definitely benefit from a coat or two. After all, primer increases the adhesive strength of your paint all while ensuring that your color and finish are nice and even. As we mentioned previously, latex-based paints can require more than one coat of primer while oil-based paints generally only require a single coat.
Primer can be applied much in the same way that paint is. Pour some primer out into a smaller container and give it a good stir. Next, dip your brush into the primer, being careful not to overload it. Once your brush is loaded, begin applying your primer to the baseboards in horizontal strokes(following the length of the baseboard).
To make things a little less awkward when painting at this angle, try holding your brush between your forefinger and thumb to maximize control and reduce tension on the forearm. This is much the same way you would hold a pen, and the goal is to create slow, long horizontal stripes that overlap with one another when applying your primer.
Remember that it doesn’t have to look perfect as it’s just primer, but anywhere that you intend to paint should be nicely coated to ensure that your paint adheres well and looks even once it has been applied. This process is pretty straightforward and should give you a decent idea of what you can expect once you begin painting your baseboards. Once you are done, allow your primer to set in and dry as recommended by the manufacturer.
Paint Your Baseboards
There isn’t much of a difference between priming your baseboards and painting them, but you should pay more attention to detail, especially brushstrokes and streaks. To begin, open your paint container and give it a good stir to ensure the consistency is as the manufacturer intended. Next, pour some out into a smaller container and get some on your brush (about a third of the length of the bristles).
Once your brush is ready, begin painting along the length of the board as you did when you were applying primer. Again, a “pencil grip” will ensure you have the most control and least strain in this scenario, so assume this grip and apply your paint in horizontal stripes across the baseboard, allowing each stroke to overlap with the next.
Do your best to ensure that the tip of your brush remains as wet as possible, reloading as needed while you move along. Failing to do so can result in a poor finish, and if your baseboards are particularly wide feel free to use a small roller to paint the majority of the surface, and then use your brush to cut in the edges.

Once your baseboards have been painted simply allow the paint to dry as recommended on the packaging by the manufacturer. Do not attempt to apply any additional coats while your first one is still wet as it will cause your finish to become messy and a bit distorted. Most paints require around 12-24 hours to dry and cure completely.
Applying Additional Coats
Many paint types might require you to apply additional coats of paint for the finish to look as intended. If you are going to apply additional coats the same method can be used as we mentioned previously, but you should wait for the first coat to dry completely.
Once you are sure the first coat has dried, give the surface a light sanding to slightly increase surface friction to ensure the next coat’s adhesion
Use a clean cloth to remove any paint dust from the surface, and then repeat the painting process, using a small roller to speed things up and your brush to cut in the edges of your baseboard. Again, allow the new coat to dry completely before attempting to touch your baseboards (or reinstall them if you removed them initially).
Don’t Forget to Clean Your Tools
Once your paint has dried and your baseboards are looking nice and fresh, you will need to clean your tools and containers. Some warm water mixed with some soap should get the job done nicely, simply leave them to soak for a few minutes and clean each of them off individually. Start with your brushes, cleaning them off by hand, and then tackle your containers and rollers.
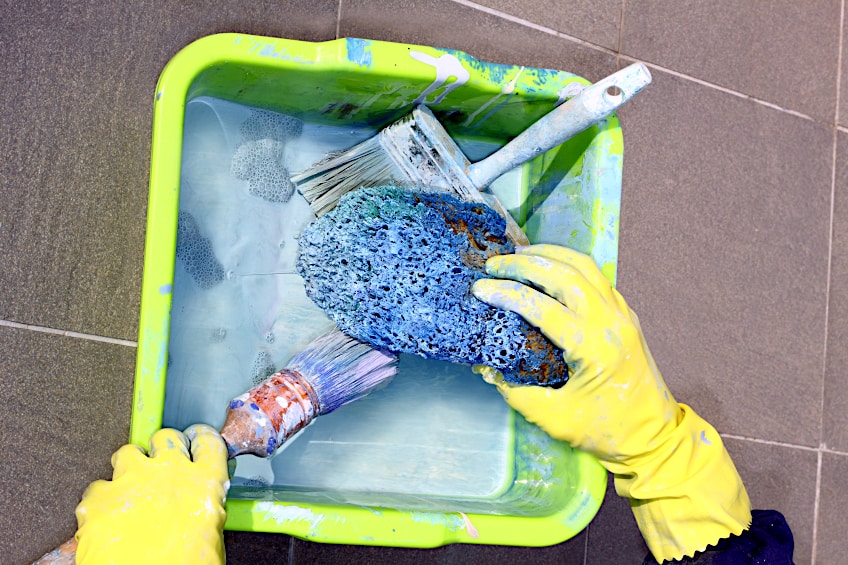
Once all of your tools and containers have been cleaned, allow them to dry completely before storing them until they’re needed again. Remember that cleaning your tools after every use means that you will be able to use them immediately in the future, and cleaning your tools immediately after they have been used is significantly easier than after a few days (or whenever you use them again).
Key Takeaways When Painting Baseboards
Painting baseboards is a pretty straightforward task, but it does require some preparation and specific techniques. These will ensure that you do not expend effort unnecessarily and that your baseboards are painted correctly without using too much paint or accidentally getting paint on your walls (or yourself). Here are a few tips for painting baseboards either on your or with some help.
Choosing the Right Paint for Your Baseboard
Choosing the right paint for your baseboards is important. Why? The paint type you select not only has to look good, but it will also need to stand up to a number of things like scuff marks, stains, dirt, and dust.
Choosing a paint that isn’t well suited to the task could result in your baseboards becoming damaged easily, which could result in you needing to repaint your baseboards again.
Wondering what paint to use for baseboards? Generally, latex-based paints and oil-based paints are considered to be the best tool for the job. These paints are easy to come by and are available in a wide range of colors which allows you to match the color of your baseboards to your walls, flooring, or trim.
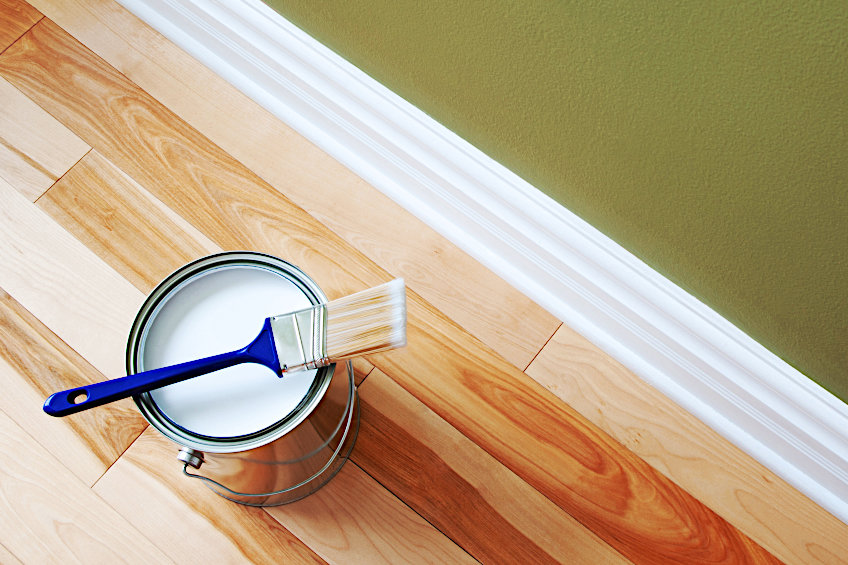
Regardless of whether you choose oil or latex-based paint, it’s recommended that you go with a gloss or semi-gloss finish. Why? Gloss finishes tend to be easier to clean and pick up less dirt and grime over time when compared to matt or flat finishes. They also look better on baseboards, making the trim pop and instantly catching the eye of the observer.
When using gloss paints, you will generally need more primer (usually about two or more coats) but if you are using oil-based paint you’ll generally only need around one coat.
Both of these paints have their respective pros and cons, but the main takeaways are that while latex paints get better coverage and contain less VOCs, oil-based paints are more durable and provide a more intense color.
That’s pretty much the best way to paint baseboards. Remember that while you can paint baseboards when in place, it’s best to remove them if you don’t have much experience painting. This might take a bit more time, but it will prevent you from accidentally getting paint on your walls and will give you more control of your workpiece.
Frequently Asked Questions
What Is the Best Way to Paint Baseboards?
Many decorators would agree that removing your baseboards from your wall and then painting them is the best way to go about it, as it allows you to paint unimpeded. It also gives you more space to use larger tools like a roller or sprayer instead of just a brush.
What Is the Best Paint for Baseboards?
Wondering what paint to use for baseboards? Baseboards tend to see a lot of traffic over their lifetime, and between furniture rubbing up against them and accidentally being kicked, more durable paints like latex-based paints and oil-based paints tend to be the best tools for the job.
How Often Should You Paint Baseboards?
Baseboard maintenance is largely subjective. Different spaces see different rates of foot traffic and activity, so their baseboards will require varying frequencies of maintenance. However, most baseboards require cleaning, resurfacing, and/or repair about every three years.