How to Paint a Banister – A Step-by-Step Guide
This post may contain affiliate links. We may earn a small commission from purchases made through them, at no additional cost to you. You help to support resin-expert.com
Refreshing the paint on a banister can transform the look and feel of your home’s interior. An essential aspect of this home improvement project is adequate preparation, ensuring that your paint adheres properly and stands up to the wear and tear of daily use. Cleaning and sanding your banister are the first critical steps to achieving a smooth and durable finish. Deciding on the right type of paint is another significant step; a durable paint designed for trim and woodwork will ensure longevity and ease of maintenance.
Table of Contents
Key Takeaways
- Proper preparation is crucial for a lasting finish.
- Selecting the right paint ensures durability.
- Careful application and cleanup maintain the banister’s appearance.
Preparing the Banister
Before beginning the process of painting your banister, it’s important to properly prepare the surface. This preparation ensures that the paint will adhere correctly and provides a professional-looking finish. You’ll need to protect the surrounding area, sand the banister, and prime it for the best results.
Safety and Protection
First and foremost, your safety and protecting the area around your banister are paramount. Wear rubber gloves to shield your hands from cleaning solutions and paint. Cover the floor and nearby furniture with drop cloths or old sheets to protect from dust and paint.
Use painter’s tape to secure the cloth and to cover parts of the banister or adjacent walls that you don’t want to paint.
Sanding the Surface
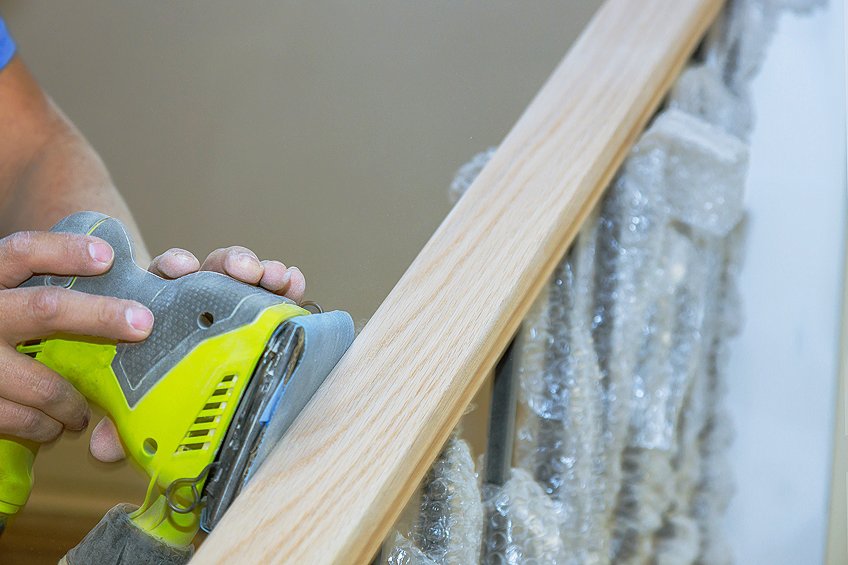
Sanding is a crucial step for adhesion. Begin by sanding the banister with medium-grit sandpaper, such as 120-grit, to remove the glossy finish and any imperfections. Switch to a finer grit, like 220-grit sandpaper, for a smooth finish. Always sand in the direction of the wood grain to avoid scratches that could show through the paint.
- Materials Needed:
- Medium-grit sandpaper (120-grit)
- Fine-grit sandpaper (220-grit)
- Sanding block or sander
Cleaning and Priming
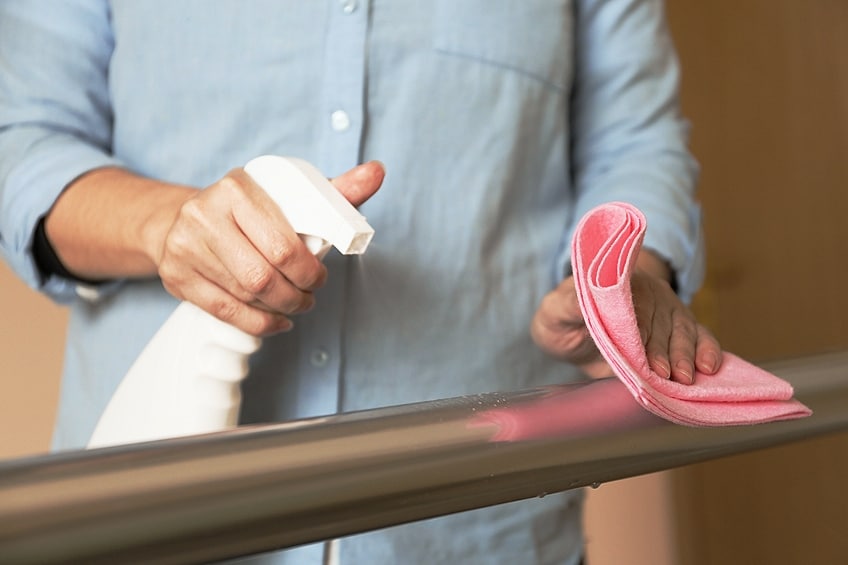
After sanding, clean the banister to remove all the dust and residue. Use a damp cloth with sugar soap or a deglosser for a thorough cleaning, ensuring the best primer and later, paint adhesion. Allow the banister to dry completely before moving on to priming. Apply a quality primer to the banister with either a brush or a small foam roller. Look for a primer that is suitable for the specific material of your banister.
Let the primer dry as per the manufacturer’s recommendations before starting to paint.
- Materials Needed:
- Sugar soap or deglosser
- Damp cloth
- Quality primer
- Paintbrush and/or small foam roller
Choosing Your Paint
Selecting the appropriate paint for your banister is crucial as it affects both the aesthetic and durability of the finish. Considering factors such as paint type and color will ensure a result that is both visually pleasing and long-lasting.
Selecting the Right Paint
When you’re choosing paint for your banister, you’ll want a product that offers durability and ease of cleaning. Furniture paint or trim paint is an ideal choice because these are specifically formulated to withstand frequent contact and cleaning, which is particularly important for high-touch areas like banisters.
- Furniture Paint: High-adhesive properties, suitable for wood surfaces, available in various finishes.
- Trim Paint: Resistant to scratches and scuffs, a good fit for woodwork, often has a harder finish.
Regarding finishes, here’s a quick guide:
| Finish Type | Properties | Recommended Use |
|---|---|---|
| Satin Finish | Balanced sheen, easy to clean, minimal reflection | Ideal for a subtle sheen that resists dirt and grime |
| Gloss Finish | Highly reflective, durable, easy to clean | Best for a shiny, more dramatic effect |
It’s also worth noting that a satin finish might offer a less slippery grip, which can be a practical consideration for safety on a banister.
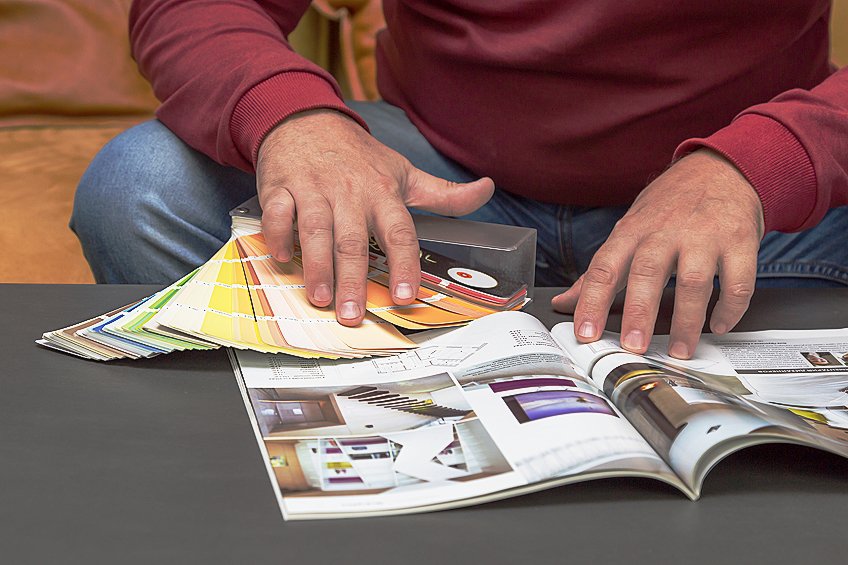
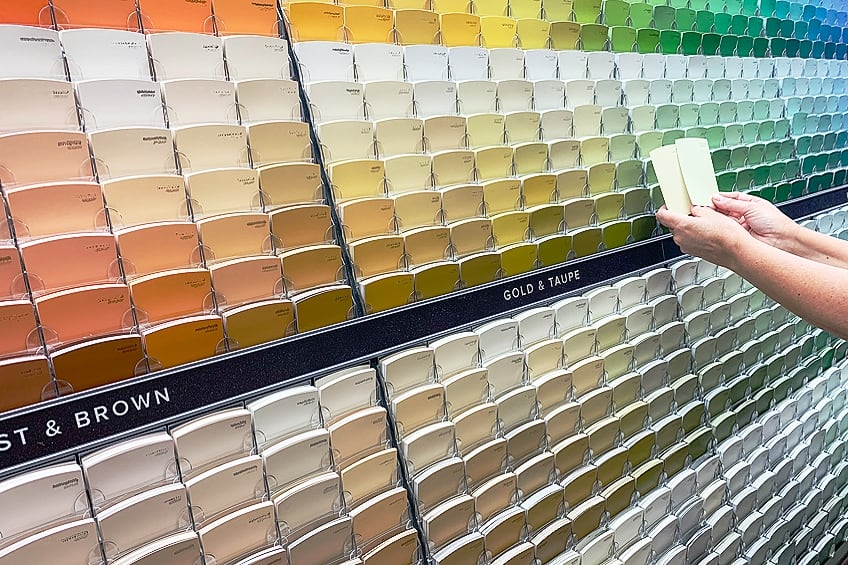
Picking the Color
Your choice of color will define the overall look of your staircase. Neutral tones like black, white, or gray are common as they easily complement various interior designs. However, your paint color should match or enhance your home’s existing color scheme.
- Neutral Tones: Safe, versatile, can make banister a subtle feature or blend in.
- Bold Colors: Create a statement, draw attention to the banister as a focal point.
When selecting the color, take into account the lighting in your stairwell since this can significantly affect how the color appears once applied to the banister. Always test your paint in a small, inconspicuous area first to ensure it looks as expected in the intended environment.
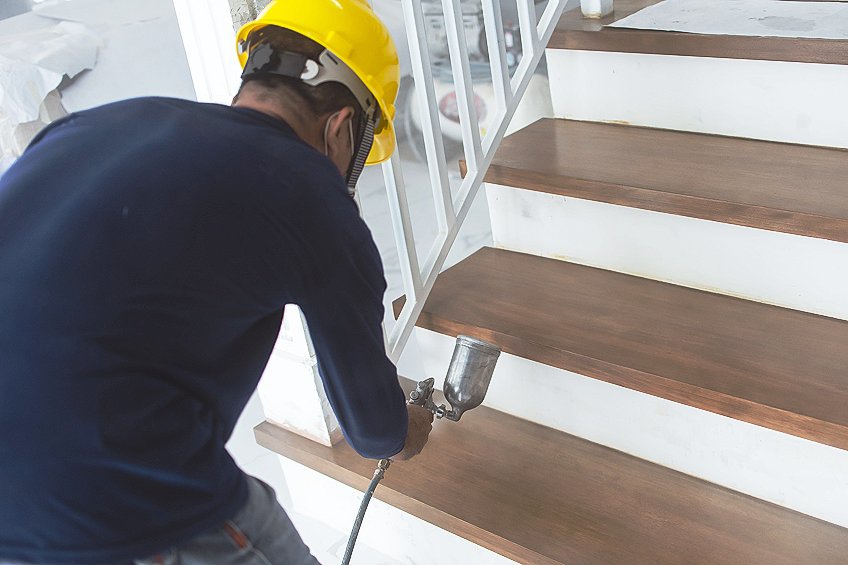
Painting the Banister
Before you begin revitalizing your banister, ensure you’re prepared for the task. The right application of primer, paint, and finishing coat will determine the longevity and durability of your handiwork, especially in high-traffic areas.
Applying the Primer
First, prepare your banister for priming by meticulously sanding the surface. Use sanding blocks for a uniform and smooth finish. Once sanded, wipe down the area to remove all dust. Apply a quality primer with a paintbrush, targeting small grooves and crevices to ensure a strong foundation for paint adherence. Allow the primer to fully dry according to the manufacturer’s instructions.
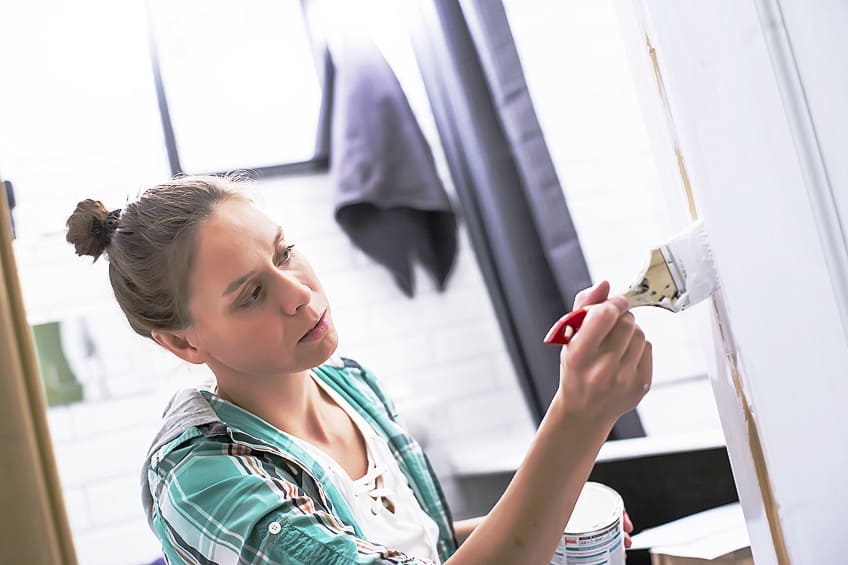
Painting Steps
After the primer has dried, begin painting the banister using a brush for detailed areas and a small foam roller for flatter sections. For a consistent and professional look, apply paint in thin, even coats. Usually, two coats of paint will achieve a solid, opaque finish. Choose a durable paint that can withstand the wear and tear of a high-traffic area.
Wait for the first coat to dry completely before applying the second coat to avoid smudging.
Finishing Touches
To refine your work, use wood filler to patch any imperfections, and then touch up these areas with more paint. After the final coat of paint is dry, protect your banister from scratches and nicks by applying a top coat of polyurethane. It acts as a sealant, providing a layer of defense while enhancing the sheen of your banister. Apply the polyurethane smoothly and evenly, and allow it to cure as per product guidelines.
Additional Considerations
When painting your banister, it’s not just the application of paint that counts, but also how you maintain it and the potential missteps to avoid. Paying attention to these aspects ensures your DIY project results in a professional and lasting finish.
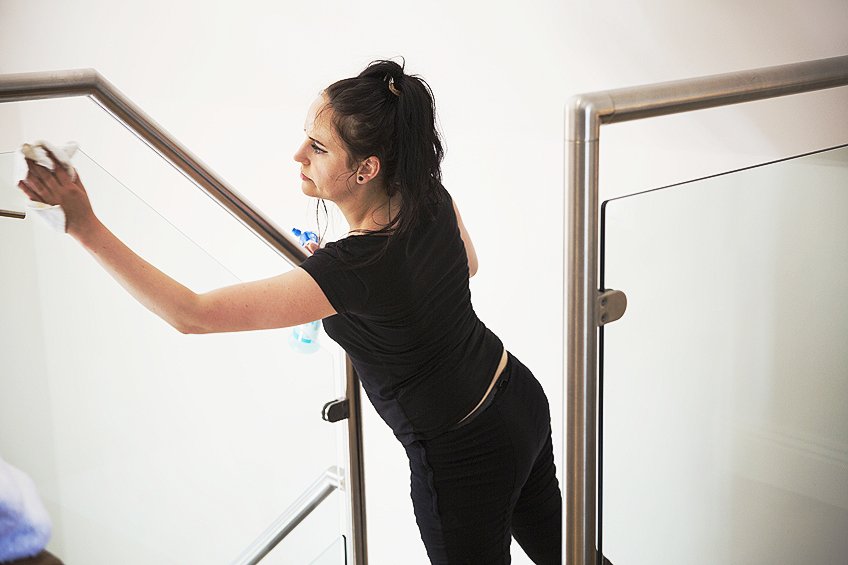
Maintaining Your Banister
After painting your banister, whether it’s oak or natural wood, it is crucial to let the paint cure fully, which could take a few days to a week. In the meantime, avoid cleaning or polishing the banister. Once cured, clean it regularly with gentle, non-abrasive cleaners to prevent build-up. Dust and wipe hardwood floors around the entryway to keep debris from scratching your freshly painted stair rails.
- Weekly Maintenance: Light dusting with a microfiber cloth.
- Monthly Cleaning: Wipe with a damp cloth followed by a dry one, using a cleaner appropriate for painted surfaces.
- Yearly Touch-ups: Inspect for and address any chips or wear.
Common Painting Mistakes
To achieve the best results in your DIY project, be aware of common pitfalls:
- Skipping Sanding: Even if your oak banister seems smooth, a light sanding provides a key for the new paint to adhere to. Always sand and clean the surface before starting.
- Not Using Primer: On natural wood, especially, applying a primer ensures the paint adheres properly and provides an even base.
- Rushing Between Coats: Allow adequate drying time between paint coats to prevent drips and uneven texture.
- Ignoring Tape Lines: When working around hardwood floors, use painter’s tape to shield them, and remove the tape while the final coat is slightly tacky for clean lines.
Remember, careful preparation and patient execution are paramount.
Final Touches and Cleaning
Once the paint on your banister has dried, carefully removing tape and protective coverings is crucial to reveal a clean, sharp paint job. Ensure all painted surfaces are completely dry to avoid smudging.

Removing Tape and Coverings
- Gently peel off the painter’s tape: Do this slowly to avoid pulling up any of the fresh paint. If you encounter resistance, use a utility knife to lightly score along the edge of the tape.
- Remove drop cloths or plastic sheeting: Carefully lift any materials used to protect the floor or carpet to prevent paint chips or debris from spreading.
Cleaning Up the Area
- Vacuum any dust or debris: If you had to sand your banister prior to painting, there might be residue left, even if you did clean before painting.
- Wipe surfaces with a damp cloth: Use a cloth dampened with water, or for more stubborn stains, a solution of sugar soap can be employed to clean residue left on the white paint or nearby surfaces.
- Check for and touch up any missed spots or paint stair rails if necessary: It’s easier to make corrections now, with all your painting supplies at hand, than it will be later.
- Dispose of or clean tools: Wash brushes, rollers, and trays with the appropriate cleaners based on the type of paint you used (e.g., water for latex paint, thinner for oil-based paints).
Following these steps ensures that you not only protect the area but also leave it tidy, maintaining the pristine appearance of your newly painted banister.

In conclusion, painting a banister requires meticulous preparation, careful selection of materials, and a steady hand during application to ensure a smooth, durable finish. By thoroughly cleaning the banister, sanding it to create a receptive surface, applying a primer suited for the banister material, and finishing with a quality paint in your chosen color, you can transform an ordinary banister into a striking feature of your home. Whether aiming for a bold statement or a subtle refresh, the right techniques and attention to detail can breathe new life into this often-overlooked part of the home, enhancing both its appearance and longevity.
Frequently Asked Questions
How Do I Maintain the Painted Finish on My Banister?
Maintaining the painted finish on my banister is important to keep it looking fresh and vibrant for years to come. Personally, I make sure to clean the banister regularly using a gentle cleaner and a soft cloth to remove dust and dirt buildup. Additionally, I avoid using abrasive cleaners or harsh chemicals that could damage the paint. If I notice any chips or scratches in the paint, I touch them up promptly to prevent further damage and maintain the overall integrity of the finish. By staying proactive with maintenance, I can prolong the lifespan of the painted banister and keep it looking its best.
What Type of Paint Should I Use for Painting a Banister?
Choosing the right paint for my banister is crucial for achieving a durable and long-lasting finish. Personally, I opt for enamel paint, which offers excellent durability and resistance to wear and tear. This type of paint is specifically formulated for high-traffic areas like banisters and provides a tough, protective coating that withstands daily use. Additionally, enamel paint dries to a hard, glossy finish that is easy to clean and maintain, making it ideal for surfaces that receive a lot of handling. By selecting the right paint, I can ensure that my banister not only looks great but also stands up to the rigors of daily use.