How to Paint Appliances – A Budget-Friendly Refresh
This post may contain affiliate links. We may earn a small commission from purchases made through them, at no additional cost to you. You help to support resin-expert.com
Are your appliances looking a bit drab and uninspiring? It’s time to unleash your inner DIY artist and give them a vibrant makeover! In this article, we’ll dive into the colorful world of appliance painting, where a splash of paint can transform your kitchen from ordinary to extraordinary. Get ready to roll up your sleeves, grab your paintbrush, and add a pop of personality to your trusty appliances!
Table of Contents
Key Takeaways
- Painting appliances can update their look without the expense of buying new ones.
- Proper surface preparation and choosing specialized appliance paint are essential for a durable finish.
- Careful painting methods and regular maintenance ensure a long-lasting and attractive appearance.
Why Paint Appliances?
Refreshing the appearance of your home appliances with paint is a cost-effective way to give your kitchen or laundry room a new look. As trends and personal tastes evolve, painting appliances can be a fitting choice rather than purchasing new models. Ensuring a successful outcome begins with careful preparation; it involves cleaning, sanding, and priming the surface to create an optimal base for the paint to adhere.
One may choose to paint their appliances for several reasons, ranging from aesthetic upgrades to cost efficiency.
Here’s a breakdown of the motivations:
- Aesthetic change: Homeowners may crave a new look for their kitchen but cannot invest in new appliances. Painting offers a fresh visual without the high costs.
- Customization: Some individuals have unique design preferences that are not available in standard appliance finishes. Painting allows for customization.
- Damage cover-up: Scratches and minor damages can mar the surface of appliances. A coat of paint can effectively conceal these imperfections.
- Home staging: When selling a home, the appearance of appliances can influence potential buyers. A neutral, updated paint job can enhance appeal.
Durability is also a factor. Specialized appliance paints are designed to hold up against the heat and wear faced by various appliances, ensuring the paint job can last for a substantial period. Just as critical, environmentally conscious consumers may find painting to be a more sustainable option, minimizing waste by extending the life of their existing appliances.
Preparing Your Appliances
Preparing your appliances for painting is a critical step that ensures paint adheres properly and the finish remains durable over time. One must pay attention to safety, surface cleaning, sanding, and applying primer.
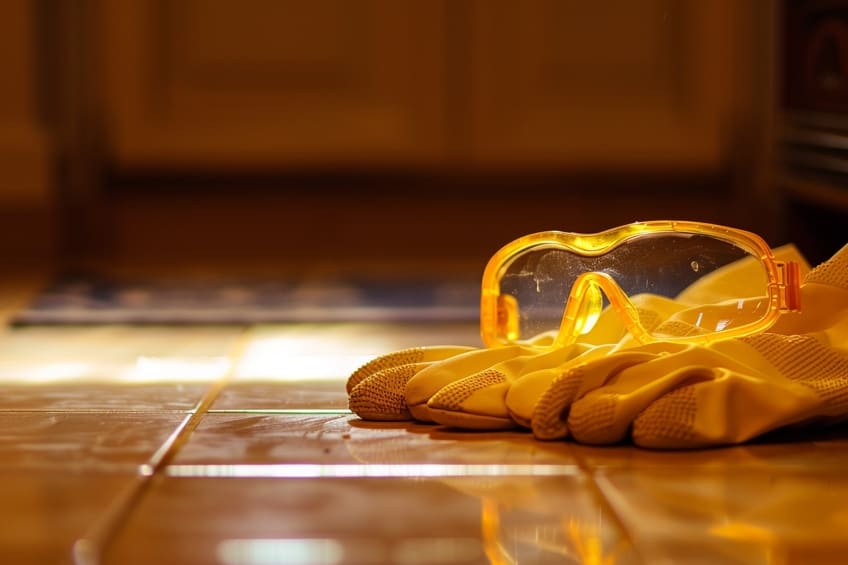
Safety and Precautions
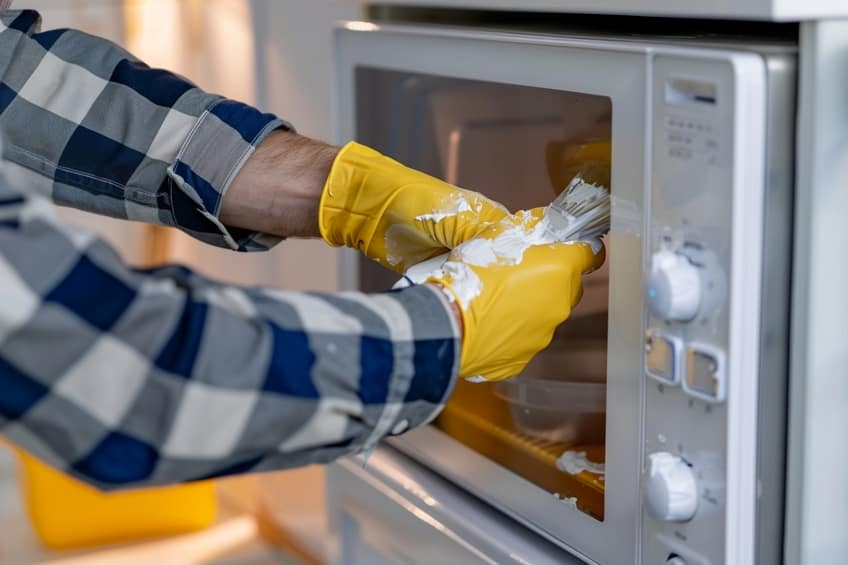
Before beginning the process, one should prioritize safety first by working in a well-ventilated area or by using appropriate respiratory protection to avoid inhalation of fumes and dust. It is also recommended to wear protective gloves and safety glasses. One should lay down drop cloths or plastic sheets to protect surrounding areas from paint spills or sanding debris.
Cleaning and Sanding
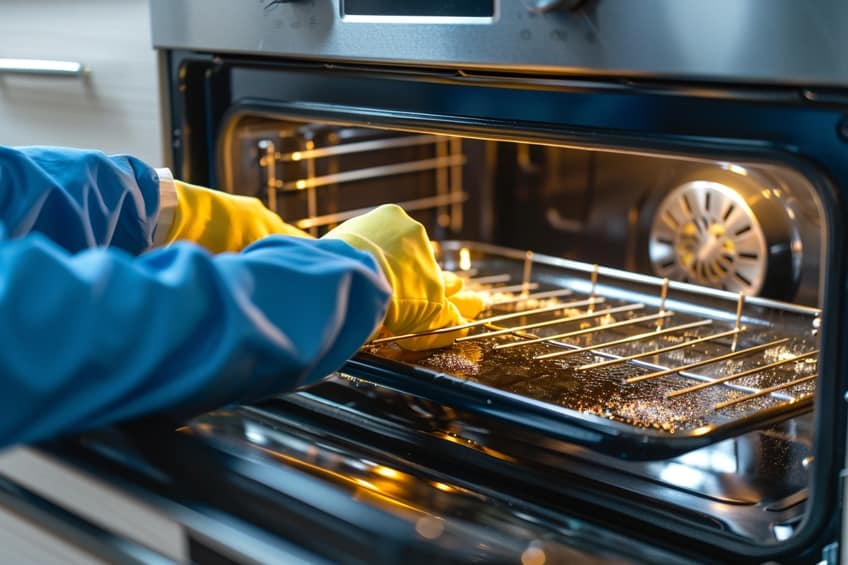
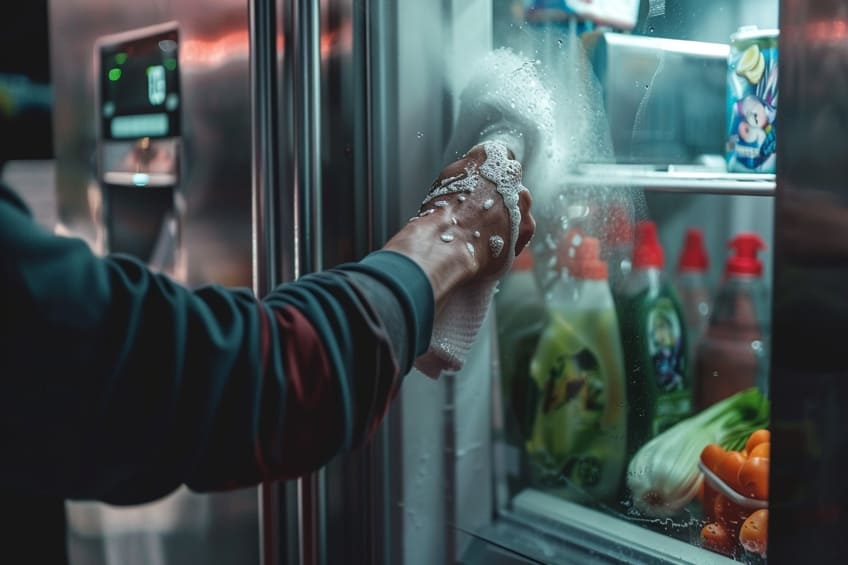
The appliance’s surface requires thorough cleaning to remove any dirt, grease, or grime. One can use warm, soapy water for the cleaning process, followed by a rinse with clean water to remove any soap residue. After the appliance is completely dry, one should start the sanding process using fine grit sandpaper, such as 180-grit paper. This step is to rough up the surface, which allows the primer and paint to adhere more effectively.
After sanding, the surfaces should be vacuumed to remove particles, and a tack cloth can be used to wipe down the surface for any remaining dust.
Applying Primer
Priming is essential for a smooth, even finish, and it helps in boosting paint adhesion. After the cleaning and sanding are complete, one can apply a primer designed for use on appliances. The primer should be applied evenly according to the manufacturer’s instructions. One should allow the primer to dry completely before proceeding with painting, as this creates the ideal surface for the paint to bond.
Choosing the Right Paint
When learning how to paint appliances, selecting the appropriate paint is crucial for both aesthetic appeal and durability. Specialty appliance paints are formulated to resist high temperatures and humidity, making them suitable for the challenging environments appliances often face.
The actual painting process requires precision and patience, often involving multiple coats and fine attention to detail to achieve a smooth and lasting finish.
Types of Appliance Paint
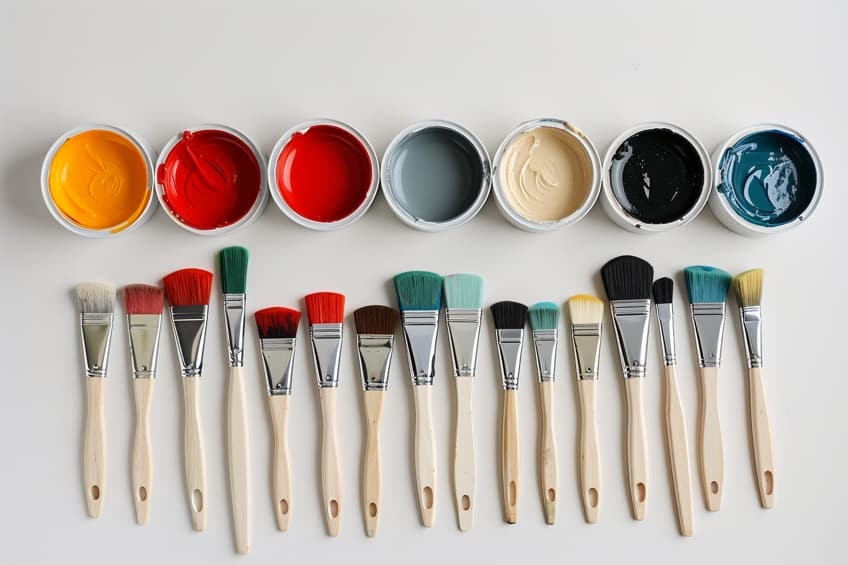
Appliance-specific enamel paint is a type of paint is formulated for appliances, offering high durability and resistance to high temperatures. When it comes to appliance paint, there are primarily two types:
- Spray paint: Ideal for a smooth, even coat. It’s crucial to apply it in a well-ventilated area and use several thin layers to prevent drips.
- Brush-on enamel: Suitable for touch-ups or areas that require more control during application. This type may take longer to dry and could show brush strokes if not applied carefully.
- Acrylic enamel paint: A viable option as well, known for its hard and long-lasting finish. However, one should verify whether it is suitable for their specific appliance and the temperatures it may reach.
Color and Finish Selection
When choosing the color and finish for an appliance, one should consider the following:
- The appliance’s surroundings and the kitchen’s color scheme to ensure aesthetic compatibility.
- Matte finishes may offer a contemporary look, but can be more susceptible to showing fingerprints.
- Glossy finishes are easier to clean but can highlight surface imperfections.
- High-gloss enamel paints can provide a durable and easy-to-clean surface with a bright, shiny finish.
It’s important to remember that finishes can also impact the visual size of the appliance; darker colors or matte finishes might make an appliance appear smaller, while lighter colors or glossy finishes can make it stand out more in the space.
Painting Process
Preparing and painting appliances requires attention to detail to ensure a smooth, lasting finish. The painting process involves careful taping, application of paint with the right tools, and patience during drying and reapplication phases.
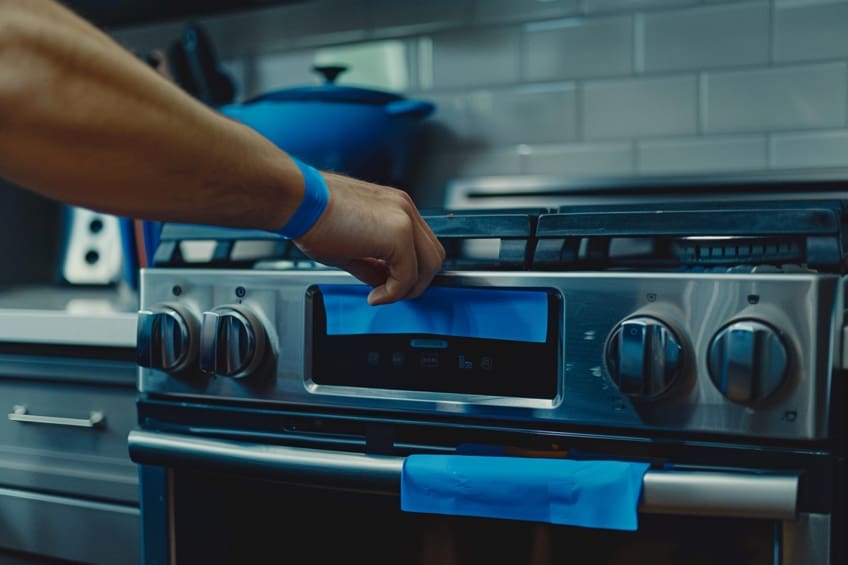
Taping and Covering
Before applying any paint, one must secure the surrounding areas using painter’s tape or masking tape. This helps to protect parts of the appliance that should remain paint-free. All openings, edges, and trim should be covered meticulously.
Additionally, a tack rag comes in handy to remove any dust or fine particles after sanding, ensuring a clean surface for painting.
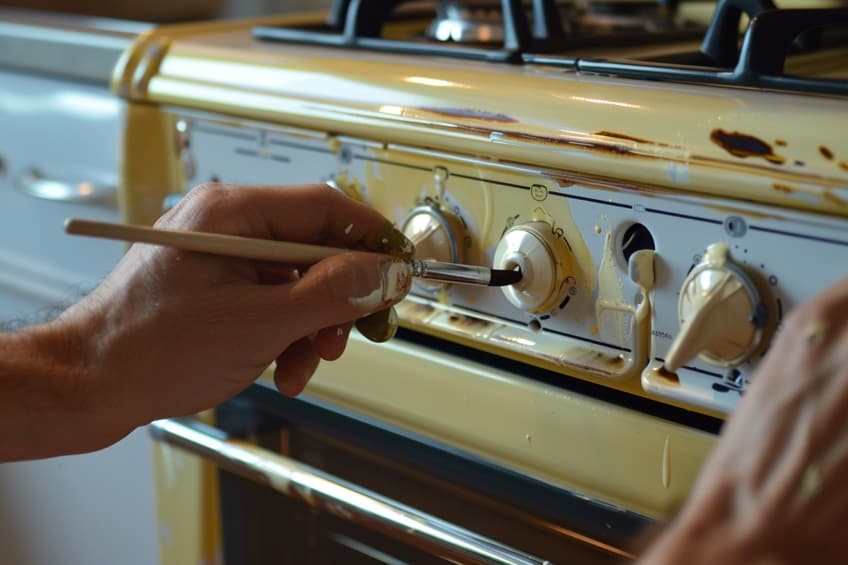
The Application Technique
One should apply paint in multiple thin coats rather than a single thick layer to achieve a professional finish. When using a brush or roller, even strokes should be maintained, always going in the same direction. For spray painting, one ought to keep the nozzle at a consistent level and maintain an even pace to avoid drips or uneven coverage.
- First coat: Apply lightly and evenly.
- Subsequent coats: Allow ample drying time before applying the next coat.
Drying and Reapplying
After the first coat, the appliance should be left to dry completely, with drying time ranging from a few hours to overnight, depending on the product and environmental factors. Subsequent coats should also be applied in thin layers, and it is critical to wait for each layer to dry thoroughly before applying the next.
Generally, applying two or three coats is recommended for durability and appearance.
Maintenance and Care
Maintaining painted appliances is crucial to ensure their longevity, appearance, and function. Post-painting care involves safeguarding the surfaces from wear and tear. Owners should regularly clean painted appliances with a gentle, non-abrasive cleaner to prevent scratches and scuffs. To preserve the finish:
- Clean gently: Use a soft cloth and a mild detergent.
- Avoid harsh chemicals: Strong solvents can damage the paint.
- Address spills quickly: Prevent staining by wiping spills promptly.
Metal and plastic surfaces can be prone to dings and scratches, which may compromise the paint. Using a clear top coat can add an extra layer of protection and keep the appliance’s surface in good working order.
When it comes to budget considerations, regular maintenance can translate into savings by avoiding the need for re-painting too soon. Touch-up kits are available for minor damages, which is a cost-effective solution for maintaining the appliance’s appearance. Positioning of appliances is integral:
- Place appliances away from high-traffic areas to reduce the risk of bumps and scratches.
- Ensure there’s enough clearance between appliances and cabinets to avoid friction.
Maintaining your appliances is key to their longevity and performance. Incorporate daily wiping of surfaces after use and weekly deep cleaning with suitable cleaners into your routine to ensure they stay in top condition for years to come. By adhering to these maintenance guidelines, homeowners can keep their painted appliances looking fresh and vibrant, contributing positively to the overall appeal and function of their kitchen space.
Congratulations, DIY maestro! You’ve now mastered the art of appliance painting and unlocked a world of endless creativity for your kitchen. Whether you opted for a sleek monochromatic look or a bold burst of color, your appliances now reflect your unique style and personality. Remember, with a little imagination and some paint, there’s no limit to the transformations you can achieve. So go ahead, showcase your DIY prowess, and enjoy your freshly painted appliances in a kitchen that’s truly one-of-a-kind!
Frequently Asked Questions
What Is the Best Way to Prepare Appliances Before Painting Them?
Proper preparation is key to a successful paint job. One should start by cleaning the appliance surface to remove any dirt, grease, or grime. It’s necessary to then sand all metal and plastic surfaces with 180-grit paper to create a rough texture for the new paint to adhere to. The next steps include vacuuming with a brush attachment and wiping down surfaces with a tack rag to ensure all particles are removed.
What Type of Paint Is Recommended for Household Appliances?
Epoxy or appliance paint is most often recommended for painting appliances because these types of paints are durable and formulated to adhere to metal, resisting wear and tear from handling and heat. One should apply the paint with slow, even strokes if using a brush, or use specifically designed spray versions for a more uniform coating.
Can You Achieve a Professional Finish on Appliances by Painting Them Yourself?
Achieving a professional finish is possible with careful application and attention to detail. A proper primer should be applied before the paint, giving it a good base to stick to. By using high-quality tools and paint and following the product guidelines for application and drying times, a smooth, professional-looking finish can be attained by a DIYer.