How to Paint a Radiator – Restore Your Rusty Old Radiator
This post may contain affiliate links. We may earn a small commission from purchases made through them, at no additional cost to you. You help to support resin-expert.com
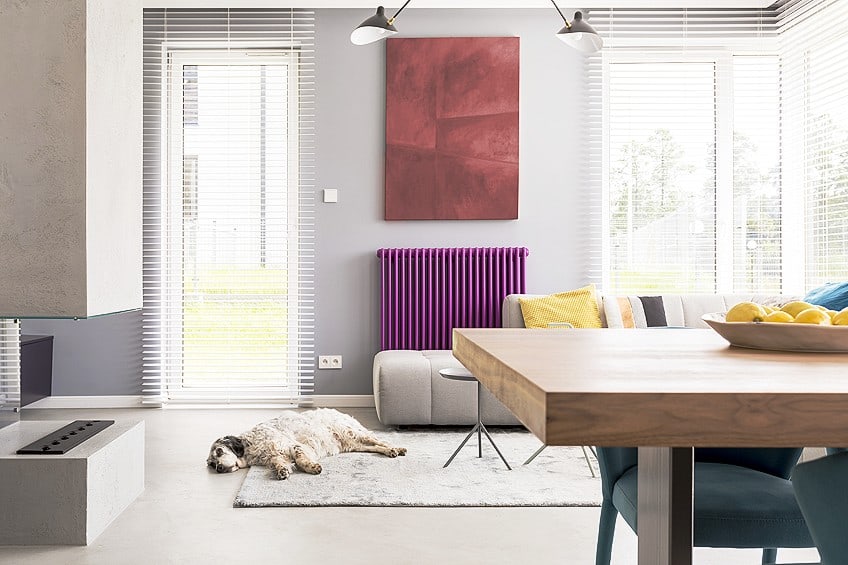
Even with other heating devices becoming more popular, radiators are still the go-to for most of us. After all, they come with most apartments and starter homes, and as such, they’ve become an integral part of most homes, especially in colder states! Radiators can lose their aesthetic appeal over time though, and since they are a permanent fixture, it can ruin the overall look of a space. That’s why we’ve put together a short tutorial detailing how to paint a radiator, and if you’re on the fence about it, a few good reasons why painting your radiator is a good idea.
Table of Contents
Why Should You Paint Your Radiator?
Before we get into how to paint a radiator, we thought we’d give you a few good reasons to paint one in the first place. It might seem like a trivial task, but you’d be surprised how big of a difference painting a radiator can make to the space you’re in.
So, without further ado, here are a few reasons to paint your radiator should you have the opportunity.
It Livens Up a Space
One of the most common reasons that radiators are painted is that they’ve lost their aesthetic appeal over the years. Whether it be peeling paint or a rusted overlook, if they’ve been neglected enough, they can be an eyesore. Painting your radiator is far easier than replacing it, so why not pick a color and get started?
It Allows You to Assess Your Heating Unit
Let’s face it, most of us aren’t checking our radiators regularly, and painting it can give you a chance to check out your radiator and make sure it’s still functioning as intended. During the preparation process, you’ll have a chance to check your radiator for dents, scratches, loose valves, and even worn seals.
This gives you a chance to touch the unit up both functionally and aesthetically.
It Gives You a Chance to Clean Behind Your Radiator
As we mentioned previously, painting your radiator gives you the chance to assess both the aesthetic and the functionality. It also gives you the opportunity to do something that most of us avoid, which is cleaning behind and underneath the radiator instead of just dusting it off. Since you’re there, you might as well, and who knows what you might find!
Allows You to Match Your Radiator to Your Space
When homes are renovated, the radiator is often one of the most overlooked fixtures. This usually results in a modern-looking space with a somewhat old-looking radiator that’s been tucked away to avoid attention being drawn to it.
Instead of spending time and effort trying to conceal your radiator, why not simply update its look to match the rest of the space?
It Can Be a Lot of Fun
It might not seem like it at first but painting your radiator can be a little exciting once you start thinking about the possibilities. What color will you paint it? Will it fit the rest of the space? Do you want it to blend in or stand out? The possibilities are endless, and the outcome is completely in your hands, so let your imagination run wild!

How to Paint a Radiator
Now that you have a couple of reasons to paint your radiator, we thought we’d give you a step-by-step tutorial detailing how to go about it. Painting a radiator doesn’t take very long, and it can usually be done in a couple of hours provided that you have the right tools for the job and that everything goes to plan. Here’s how to do it and what you will need to get the job done:
- A clean cloth
- Soap and water
- Sandpaper (or wire brush)
- Radiator primer
- Radiator paint
- A regular paintbrush
- A radiator paintbrush
- A painter’s tray
- A drop cloth
- A face mask
- A set of gloves
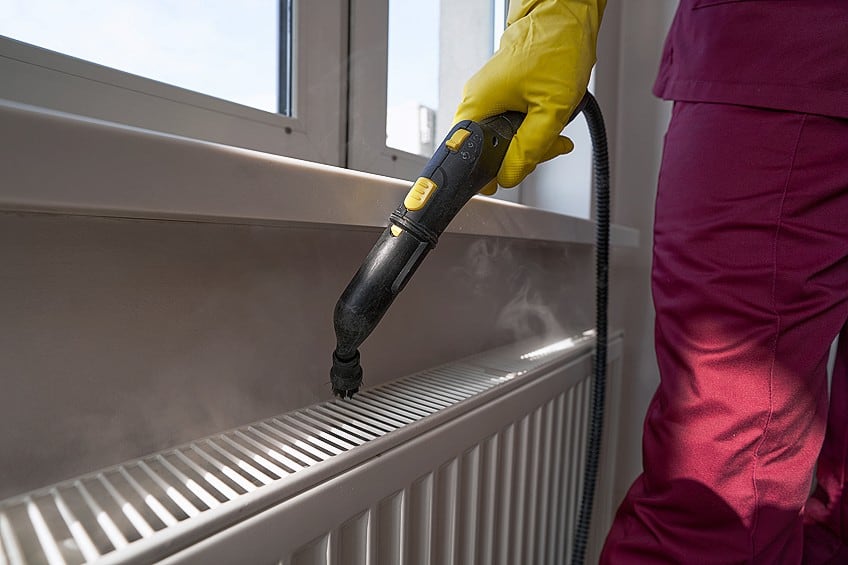
Clean Your Radiator
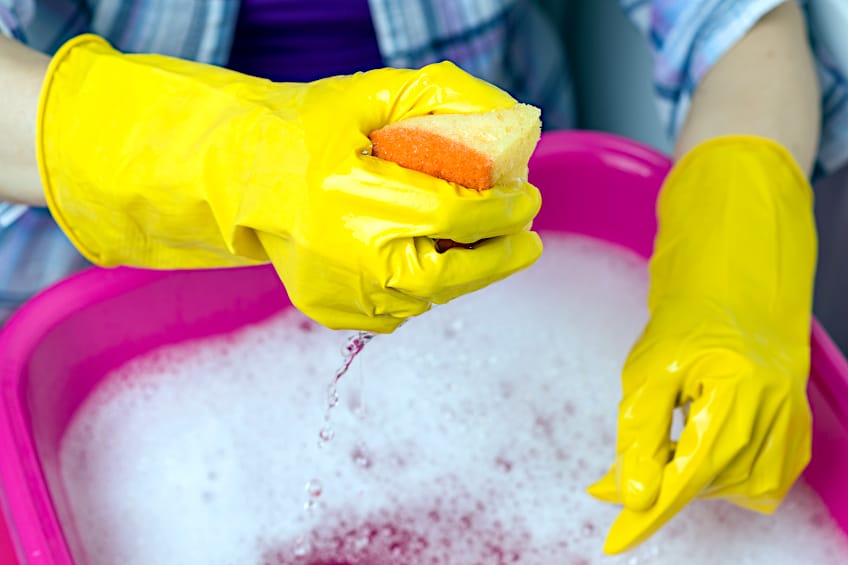
You may not have noticed, but radiators tend to get really dirty over time, therefore you’ll have to give yours a thorough clean before you begin. Before you do though, be sure to turn off the heat source and ensure that the radiator has cooled down completely before you attempt to touch it at all. Once you’re sure, grab your soap and some water and give the fins and frame a good scrubbing. Easy enough right? Be sure to get as much dirt and grime off the surface as possible. It’s pretty easy stuff and unless your radiator has a leak or there’s been a leak, this shouldn’t take more than a couple of minutes.
When you’re satisfied with the cleanliness of your radiator, give it some time to completely dry before moving forward to the next step.
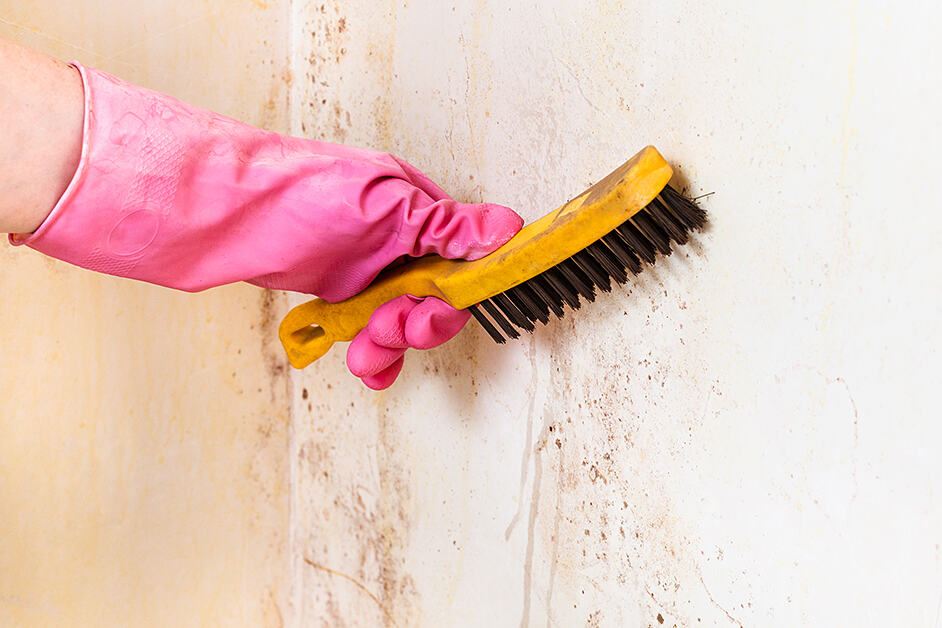
Remove the Existing Coat of Paint
It pretty much goes without saying that before you apply your new coat of paint you will need to remove the existing one. There are two ways to do this, namely by using some good old-fashioned sandpaper and the other by using a wire brush. Usually, sanding is best done using an orbital sander, but since radiators are shaped unconventionally, this is a decidedly bad idea.
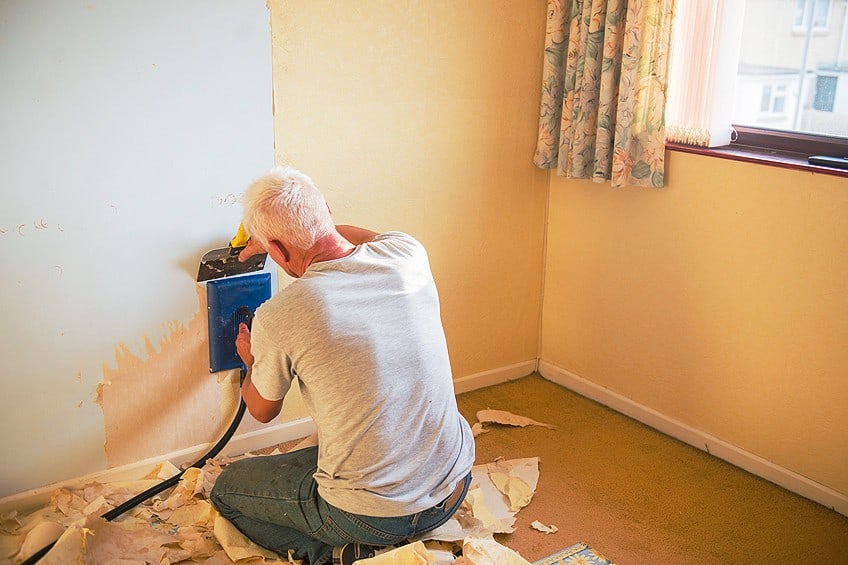
Using Sandpaper
If you are going to be using some sandpaper, you’re going to need to alternate between medium-grit sandpaper and fine-grit sandpaper. Medium grit (80 to 120 -grit) is used to remove most of the paint and fine grit (120-160 grit) is used to smooth the surface out a bit so it is easier to paint.
Start at the base of the radiator and work your way up, paying close attention to any little nooks you find along the way.
Using a Wire Brush Drill Attachment
You’re going to want to go over the surface once with the medium grit and then once with the fine grit sandpaper. Now, if you are using a wire brush, the same process applies, but you might have an advantage. Most hardware stores sell little wire brush attachments for hand drills, so you can pop one drill and work from the bottom to the top of your radiator with your drill on medium speed if you’d like to save some time.
Clean Off the Radiator
Once you are sure that you have done a thorough job sanding the surface of your radiator you should remove any remaining material from the surface. This is usually best done using a clean cloth, but if you have a vacuum cleaner handy this can save you some time.
Be sure that there are no left-over particles on the surface before continuing to the next step.
Prime Your Radiator
Before you are able to apply your paint, you will need to prime the surface first. After all, a radiator is simply another metal surface, and without the right preparation, your paint will not adhere to the surface of your radiator correctly. What primer should you use when painting a radiator, you ask? Well, usually any metal primer will do, but you could use a dedicated radiator primer too.
While using a sprayer to prime your radiator is possible, it could end up being more trouble than it’s worth.
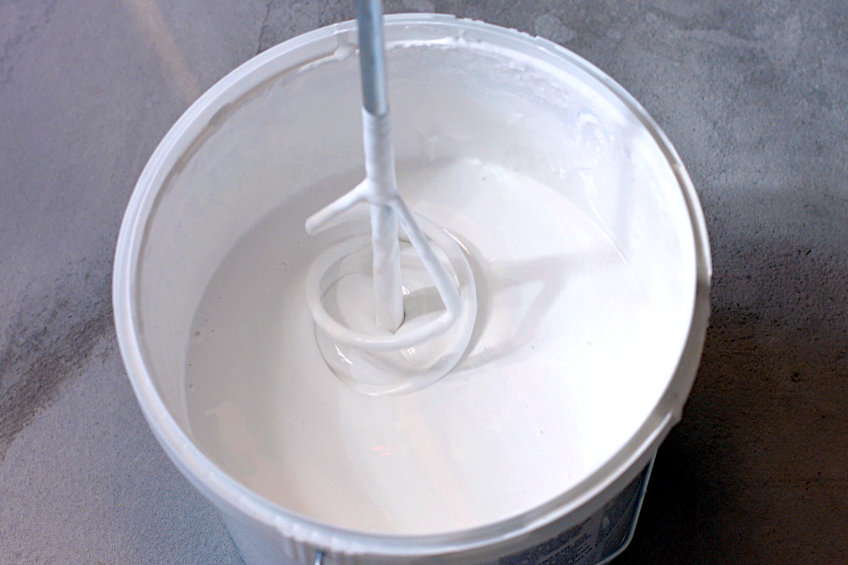
We recommend simply using a brush as it’s not that big of a job, and you’ll have more control when it comes to priming the little nooks. Start by shaking the primer container to ensure all of the heavy and light particles are reintroduced to one another. Next, pour some primer out into a painter’s tray and get some on your brush. As you did when you were sanding, start at the bottom of your radiator and work your way to the top. It’s best to paint it one fin at a time, starting at the base of the fin and working your way to the utmost edge. This should go relatively quickly as you don’t have to worry about your finish.
Now, if you’re wondering how to paint behind a radiator, the answer is by using a special tool. They’re called long-handled radiator brushes, and they should allow you to apply your primer and paint with adequate control over your brush. When priming the back of your radiator you might want to work from the top down to make things a bit easier for yourself. If you are going to take this approach, be careful not to use too much primer as it could drip down onto your floor.
This is why it’s best to lay down a drop cloth if you are attempting to apply primer from the top down when preparing the back of your radiator. Once you’re done, allow the primer to set and dry for the time period indicated by the manufacturer.
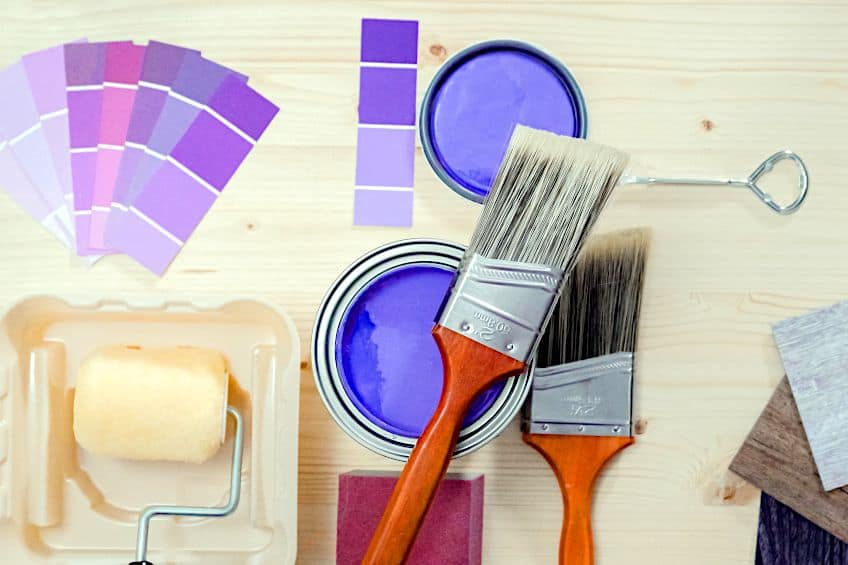
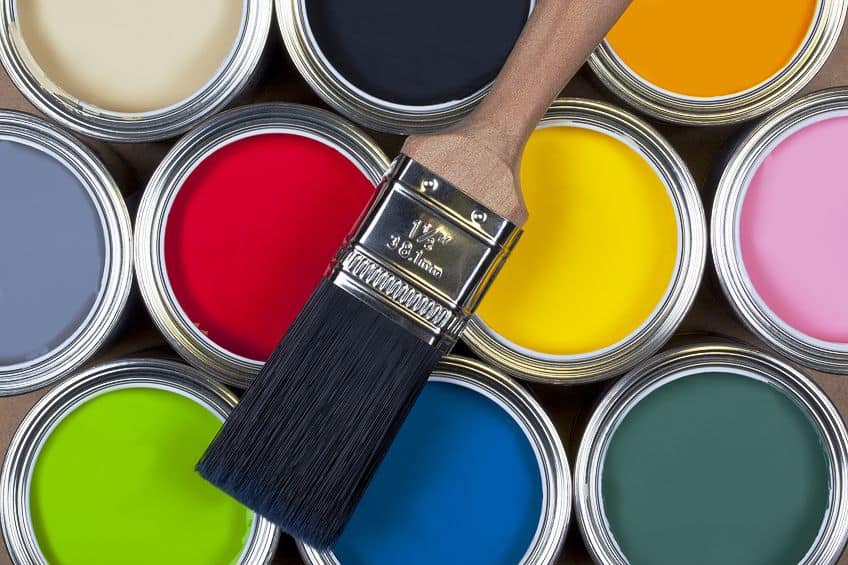
Choosing the Right Paint for Your Radiator
It doesn’t take a professional painter to figure out that not any old type of paint can be used on a machine that’s sole purpose is to generate heat. Therefore, there are only a handful of paint types that can be used on the surface of radiators. Which one you choose is largely up to personal preference and price, so let’s have a look at what exactly your options are.
Oil-Based Paints
Oil-based paints are one of the best paint types to use when painting pretty much any metal surface, radiators included. Oil-based paints are easy to apply to metal surfaces and they tend to adhere to metal far easier than most other paint types. The best part about Oil-based paints is that they form a hard, shell-like coating on your metal once they have dried.
Painting radiators with oil-based paint is almost always advised as it’s considered metal paint.
Oil-based paints are also really easy to clean as it creates a sheen finish, and it tends to get scratched far less when compared to other textures. Therefore, if you’re looking for good paint for your radiator, oil-based paints are one of the best options. What makes oil-based paints such a good option when it comes to metal surfaces then? Well, it has to do with the nature of its composition. Oil-based paints are made of natural oils like tung or linseed that are joined with binders and solvents to create a paint that doesn’t require a lot of surface friction to adhere to a surface and can take a ton of punishment.
Oil-based paints are a particularly good paint type to use on radiators because it stands up pretty well to heat and it doesn’t scuff very easily. This means you won’t wake up to a runny radiator, and you won’t have to re-paint your radiator any time soon if this is your paint of choice. With that being said, oil-based paints aren’t your only choice when it comes to painting your radiator.
Enamel-Based Paints
Enamel-based paints are an excellent choice for painting pretty much any metal surface. Enamel has been used on plenty of metal surfaces that need a robust surface coating. This is because enamel is one of the most durable paint types overall, regardless of the material it has been applied to. What makes enamel so durable though? It has to do with what enamel paint is made of.
The primary ingredients of enamel point are resins, petroleum spirits, oil, and white lead.
The combination of these materials is what makes it so incredibly robust, and if you’re wondering exactly how durable this paint type is, a good example is that this paint type is often used to coat the engine blocks of automobiles, and it tends to last for years at a time. Considering that both engine blocks and radiators generate a ton of heat and take a lot of punishment over the years, enamel-based paints are arguably the best choice for the job. Like oil-based paints, they are available in a wide range of colors and finishes, which means you can paint your radiator pretty much any color you can think of.
Enamel-based paints are capable of withstanding impact, abrasion, moisture, insect infestation, mold, directed heat, open flames, and even extreme cold. Most professional painters tend to use enamel-based paints when painting radiators due to how robust they are even though they tend to be a bit more expensive than the alternatives.
Satinwood Paints
Now for a paint that has become increasingly popular over recent years that doesn’t have quite the same track record as oil-based and enamel-based paints. Satinwood paints are a great option if you are going to be painting your radiator, as they are durable, easy to clean, provide a great look, and they’re even better for the environment compared to oil and enamel-based paints.
Satinwood paints are all the rage right now, and this is due to the nature of their composition and the fact that they provide an incredible finish.
Satin wood paint consists of a solvent base and alkyd binder that is combined with lightfast pigment to ensure that the paint adheres to metal well while providing an even and long-lasting finish to the surface of your radiator. Because this paint type is solvent-based you’ll have a wider variety of colors available to you. In fact, some manufacturers offer as many as 14000 tinted varieties for you to choose from, which means your radiators won’t only look great but they’ll retain their coating for a lifetime. What makes alkyd paint better for the environment though?
Well, they aren’t really good for the environment, but they are better as their VOCs (volatile organic chemicals) are only released once the paint begins to dry, also known as the degassing process. With all of this being said, there aren’t many better choices for painting a radiator aside from oil and enamel-based paints.
Paint Your Radiator
Now that your radiator has been prepared it’s time to apply your paint. This is a relatively simple process that’s pretty much exactly the same as priming it. You’ll need your paint of choice, and if you don’t have multiple brushes, be sure to clean off your regular paintbrush and radiator paintbrush before you dive in.
Do you have everything you need? Let’s go!
Prepare Your Paint
The first thing you need to do is get your paint ready. Just like you did with your primer container, give the paint container a good shake so the heavier particles at the bottom of the container are reintroduced to the lighter particles floating around at the top. Once you’re done, pour some paint out into your painter’s tray and get your brush ready.
Be careful not to pour out too much paint into your tray as radiators might seem like they require a lot of paint but in reality, they don’t take much paint at all. Once you’re sure you have the right amount of paint in your tray, get a moderate amount of paint on your brush and wipe off any excess onto the edges of your painter’s tray.
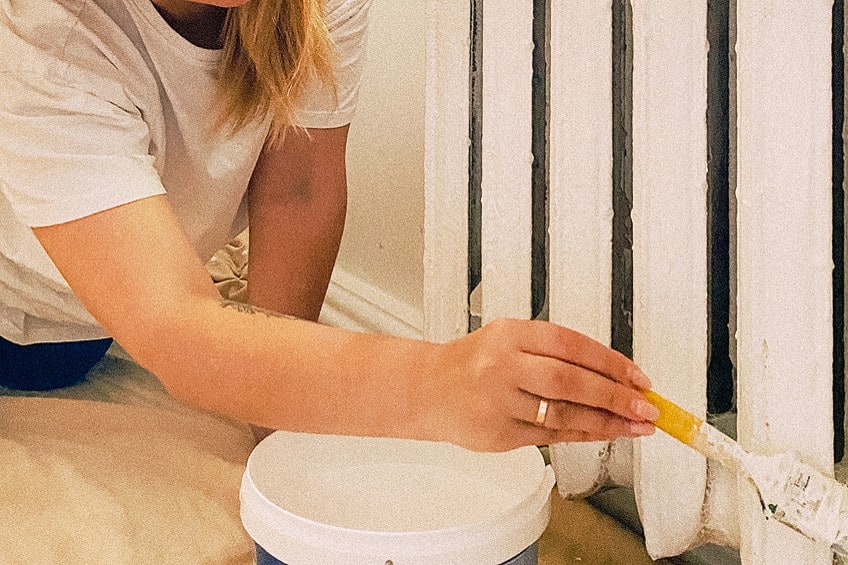
Apply Your Base Coat
It’s finally time to get painting. Painting radiators can be a challenge because it’s difficult to control brush strokes and the texture of your finish when working at these angles. All you need to do is take your time and try and enjoy the process. Start off by painting the base of the radiator, whether it’s floor mounted, or wall-mounted won’t make much of a difference.
If it’s wall mounted, simply begin painting the bottom of the fins until you reach about a third of the way up. Feel free to paint around the flanges connecting it to the wall using your radiator brush.
Next, move up the next third of the fins, starting at the bottom and working your way another third up. Begin at the front and once you’re done begin at the back. You should be two-thirds of your way up at this point, so all you need to do is repeat this process and paint the front and the back of the remaining fins. That’s it! Your base coat has been applied, so all you have to do now is wait for the time indicated by the paint’s manufacturer before additional coats can be applied. If you’re happy with just one coat, you’re pretty much all set.
Apply Your Finishing Coat
Once you’ve waited a while, you have the option of applying your finishing coat. Why should you apply a finish coat anyway? There are a number of advantages to applying a finishing coat to anything you paint. For one, it solidifies the color and finish of your chosen paint, making the hue more pronounced. It also acts as an additional protective layer.
A protective layer against what, you ask? Primarily it acts as a protective layer against impact, abrasion, heat, and ambient moisture.
Considering the radiators are usually located indoors, they will mostly function as an “insurance layer” against any unfortunate accidents. Finishing coats can be applied in the exact same way that the base coat is applied. Once your finishing coat has been applied, allow it to dry for the time period indicated by the manufacturer on the paint’s container. That’s it! Your radiator has a fresh coat of paint and should be ready for use once the paint has dried and cured completely, leaving you with an invaluable heat source for those cold winter months.
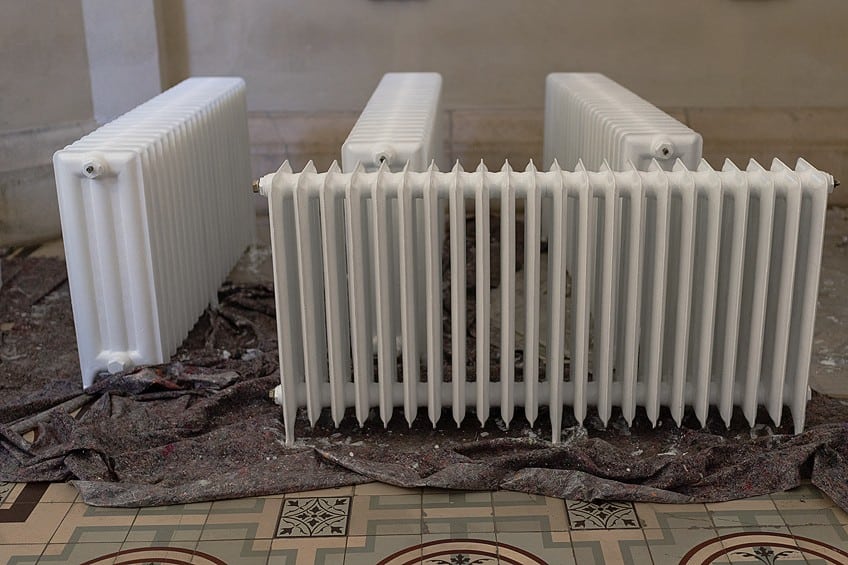
Radiators can be painted in a number of ways, and there’s even the option of removing the unit completely. However, if you don’t have the knowledge and tools for this process (or if you don’t own the property), this can be a daunting task. The walkthrough above should serve you well and ensure that your radiator remains in good working order after it has been painted.
Frequently Asked Questions
Can You Use Metal Paint on Radiators?
Radiators are a relatively old means of heating up a space, and there can be a lot of skepticism about painting them. Can you use metal paint on radiators, though? Absolutely! Radiators are made of metal and metal composites, so metal paint would work perfectly when painting one.
How Do You Paint Behind a Radiator?
Wondering how to paint behind a radiator? Well, you could simply dismount the radiator from the wall or floor you have attached it to. If this isn’t an option, you could simply get your hands on a radiator paintbrush and get the job done this way.
Is Painting a Rusty Radiator a Good Idea?
Apartments these days either come furnished with brand-new heating units or radiators that look like they were installed during the First World War. Is painting a rusty radiator a good idea, then? Painting anything rusty is a bad idea, so ensure you remove the rust completely and prime the surface before attempting to paint it.