How to Limewash Walls – Mineral Paint Prep and Application Guide
This post may contain affiliate links. We may earn a small commission from purchases made through them, at no additional cost to you. You help to support resin-expert.com
Limewash is an awesome alternative to paint with, as it has countless benefits that go beyond aesthetics. In today’s tutorial we are going to show you how to limewash your walls and what you will need to do so. Limewash can be purchased at most hardware stores, and if you are nervous about the process, you’ll be happy to know that limewash is easy to apply and even easier to maintain. Let’s get started!

Table of Contents
What Is Limewash?
As the name suggests, limewash is primarily made from limestone. Limestone is crushed, set on fire to make quicklime, mixed thoroughly with running water until it has formed into a paste-like form known as “lime putty” or slaked lime.
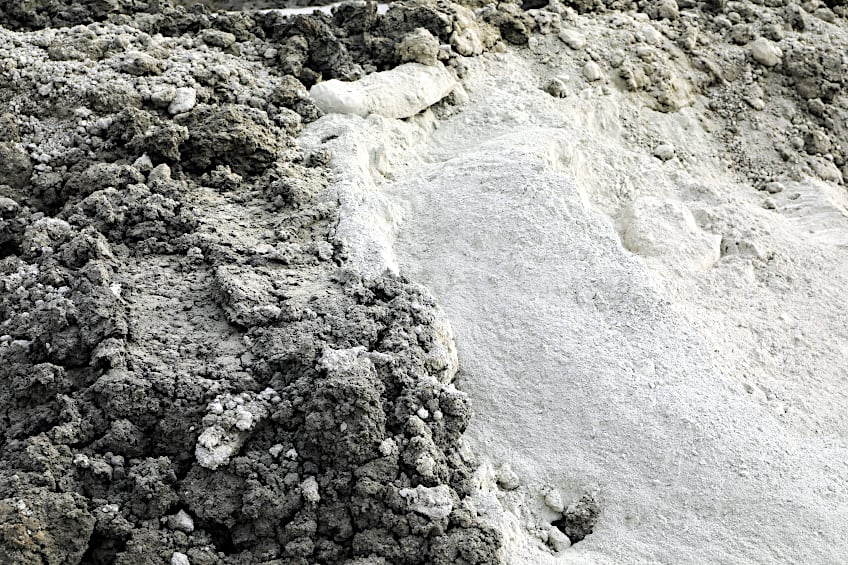
The newly formed lime putty is then put away and aged for a while, and when it’s ready it will be mixed with more water to make it thinner, at which point natural colorants will be added to create the various shades we know today. To create a more water-resistant limewash, the tallow used for making candles was traditionally added. This was later replaced with linseed oil. Water-resistant limewash was more effective on exterior walls, as the moisture inside homes often made it rancid.
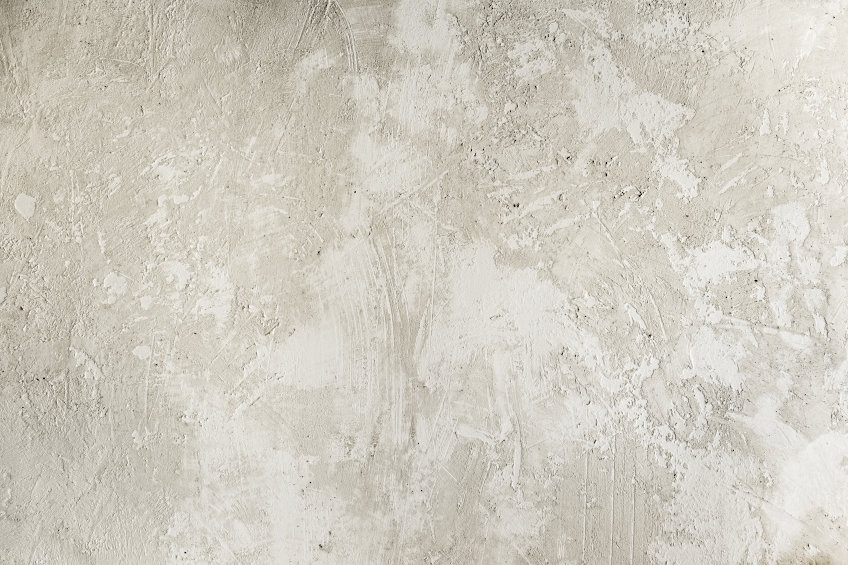
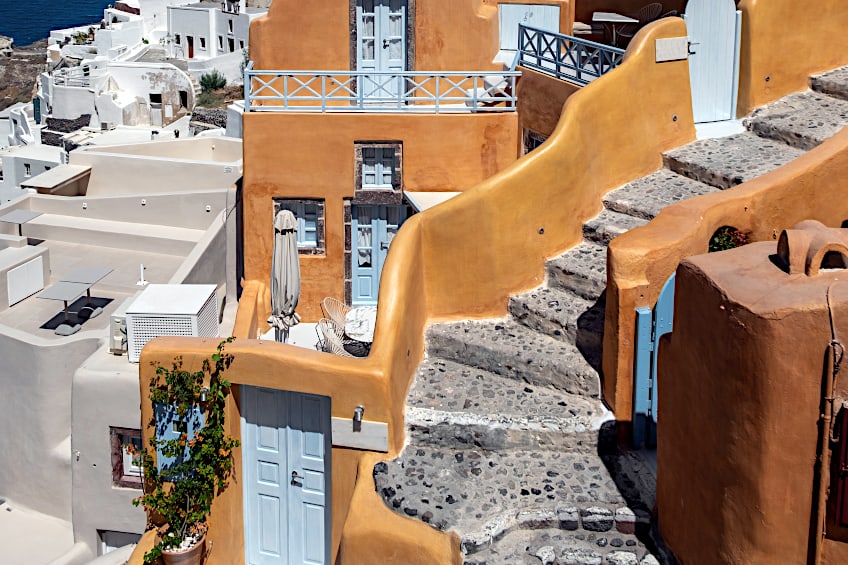
Limewash stems from ancient Greece, where it was something of a staple back in the day. Just as it did back then, limewash produces a mottled appearance with a texture that resembles chalk or suede to the touch. When applied to flat surfaces (usually walls) this substance can provide a sense of texture and depth.
When powdered lime is mixed with liquid the result is a rapid increase in temperature which can cause chemical burns, meaning that traditionally mixing limewash paste had to be done with great care. Fortunately, modern limewash paint comes in ready-mixed form, meaning that it is much safer to use. It is also beneficial in that it contains absolutely no volatile organic chemicals. Even varieties that contain additional binders make use of mineral-based additives. Some manufacturers even add natural pigments to create colored limewash.
Not only is limewash environmentally friendly and sustainable, but it is hypoallergenic too. Its pH levels are so high that microbial life cannot survive inside its pores, which means that those with allergies and sensitive noses are pretty safe. Additionally, it’s been speculated that limewash walls actually improve air quality, making it a pretty impressive surface coating overall.
How to Limewash Walls
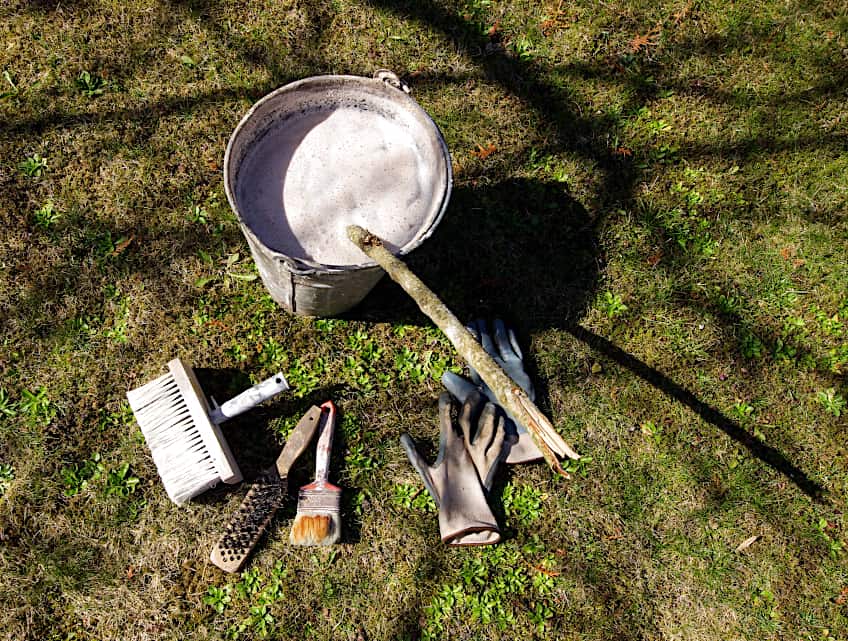
Limewash is pretty much like plaster (although this characterization is a little reductive). You’ll need to mix your limewash with water and then spread it equally across the surface of your walls, and we’re going to show you how to do this. Here are all of the supplies you’ll need and a short (but thorough) tutorial showing you how to lime wash your walls.
- Limewash
- Mineral primer
- Block brush
- Paint roller
- Paint tray
- Painters tape
- Drop cloth
- Gloves
- Eye protectors
Preparing Your Walls
Limewash can be applied directly over porous surfaces like brick and masonry, but surfaces that have an existing surface coating will need to be primed beforehand.
If your wall has an existing coat of paint you don’t need to remove the existing coating, simply apply mineral primer over the surface of the wall to create a surface conducive to receiving the limewash.
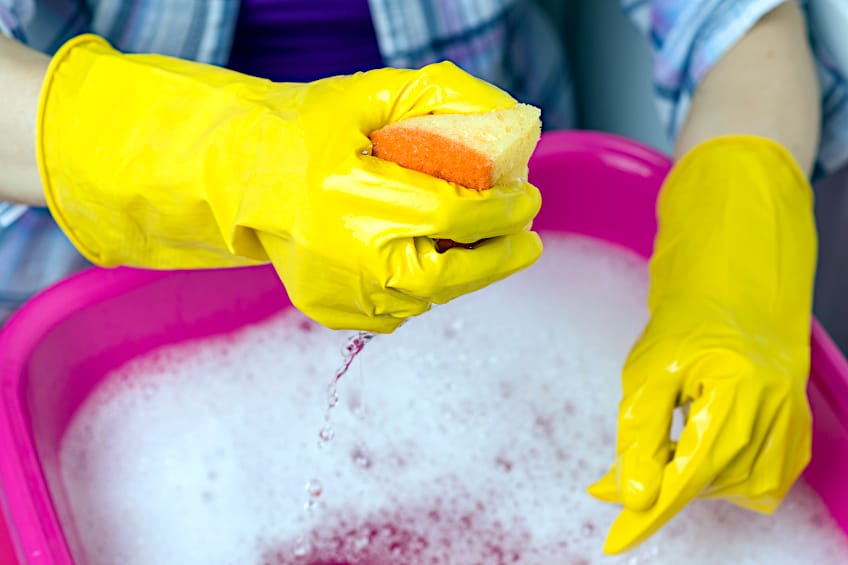
Should you wash your wall’s surface before you apply your primer or limewash? Sure, a clean surface is always a good starting point in any resurfacing job. You can clean your fresh or painted wall with some good old-fashioned soap and water and then allow it to dry completely before moving on to the next step.
Once your walls have been nicely cleaned you can begin preparing the rest of your walls and workspace. Start by using your painter’s tape to seal up trim and baseboards so that you won’t accidentally limewash them. Ensure your tape is flattened nice and flush with the surface of your wall and then lay down your tarp to ensure your floors don’t get any limewash on them.
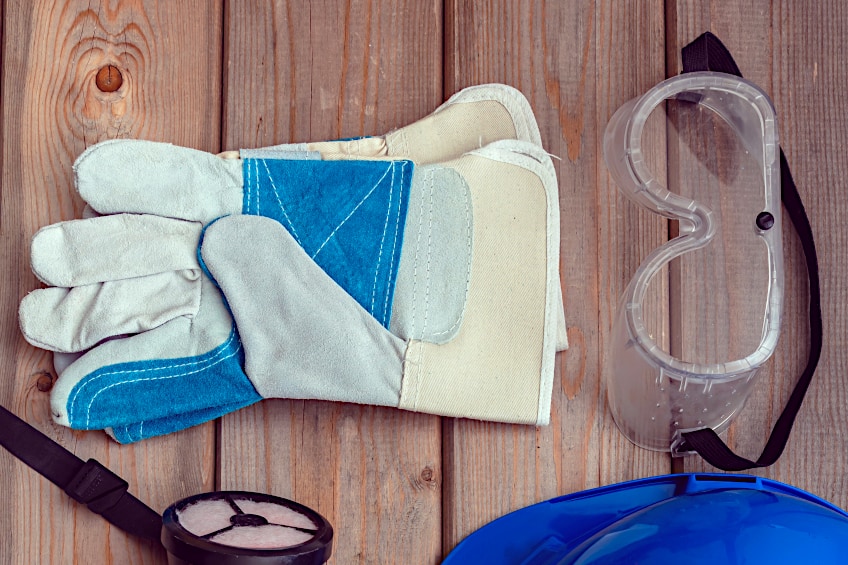
You will need to wear gloves and eye protectors when applying limewash.
As mentioned above, lime can cause chemical burns and even in the form of paint, limewash can still irritate skin and damage your eyes. Should you accidentally get any limewash in your eyes seek treatment immediately.
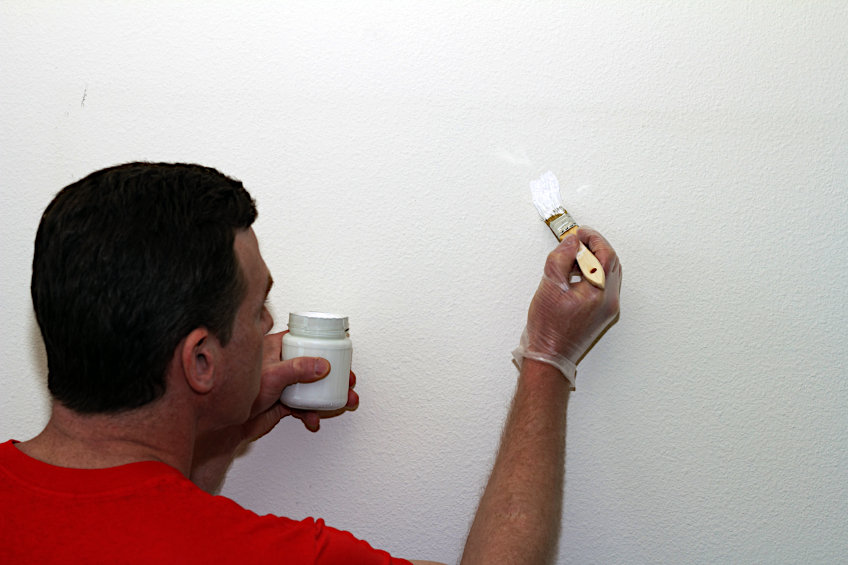
Applying Mineral Primer
Mineral primer is designed specifically to assist coatings like limewashing to adhere to the wall’s surface. When applying mineral primer, you can work directly from the container or pour some out into a painter’s tray for an easier reload. Begin by getting some mineral primer onto your roller and then removing any excess either on the edge of the container or on the ramp of the painter’s tray.
Please do not add any water to your mineral primer.
Begin applying your mineral primer to the surface of your walls, starting at one and working your way to the next. We recommend applying your mineral primer in vertical stripes that overlap with one another slightly to ensure even coverage. Simply continue with this process until all the sections of the wall you intend to paint are primed and then allow it to set for the time recommended by the manufacturer.
Applying Your Limewash
Limewash is probably one of the most forgiving surface coatings you’ll come across. There is no specific way to go about limewashing your wall’s surface, so you can go about it any way that suits your fancy.
One of the most popular application techniques by far is the multi-directional approach, which is a fancy way of saying “go nuts” with your block brush.
This technique ensures adequate coverage while not confining you to a specific pattern, and since brush strokes aren’t really a thing when working with limewash you can simply paint in any direction you want without having to worry yourself with what it will look like. Here’s how to execute this easy and fun method of limewashing your walls.
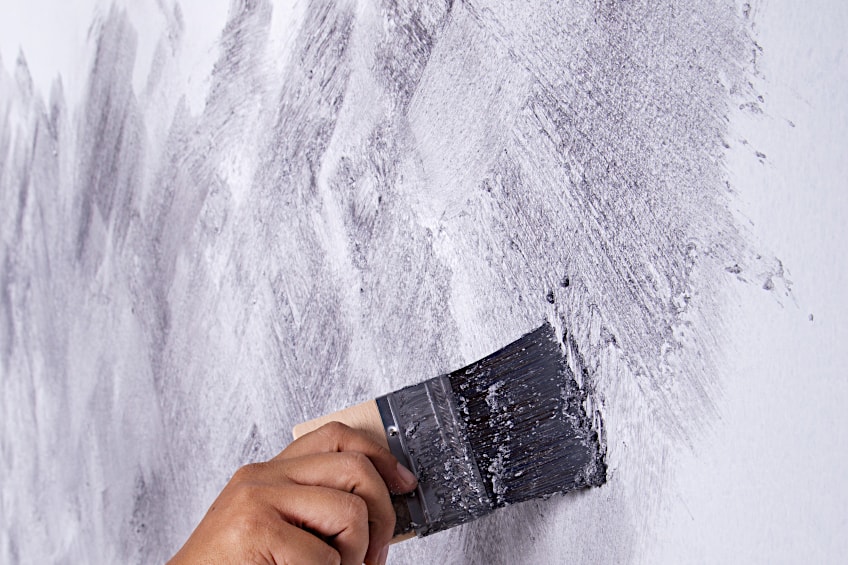
Pop open your limewash container and get some on your block brush. Once again you have a choice between pouring some out into a painter’s tray or working directly from the container, but regardless you want to start by applying your limewash in circular motions, covering as much of the wall as possible while either working from one end to the other or from the center of the wall outward.
Do not go over dried sections. Remember that this is your first coat, and the goal is to create as much even coverage as possible while maintaining a wet edge.
That being said, while your limewash is still wet feel free to go over the same section a few more times to ensure complete coverage. Once your wall has been covered allow the limewash coat to set in for the manufacturer’s recommended time period.
Applying Additional Coats
Once your initial coat has dried you should have something resembling a cloudy effect going on. You will also notice that your limewash is a lot lighter than it was when you applied it, and this is because limewash can dry up to 10 times lighter than when you applied it. This should give you a good idea of how many coats you need to apply to achieve your desired color and opacity.
To apply additional coats, you can follow the same multi-directional technique we mentioned previously.
Many first-timers underapply their additional coats, so make sure you apply a nice thick second coat and make sure to cut in any corners you may have missed along the way. A thicker coat will ensure your finished product looks cohesive, which is the intended limewash look.
How Many Coats Should You Apply?
As we mentioned previously limewash lightens a lot once it dries. This could lead you to believe that multiple coats are needed, but in reality, a thick second coat should be enough for you to achieve the desired effect. However, this doesn’t mean that additional coats cannot or should not be applied, but we do recommend you allow your second coat to dry completely before making your decision.
As you may have noticed, unlike paint, limewash aesthetics are largely subjective.
The texture and color you enjoy could differ considerably from someone else, so feel free to apply a third or fourth coat if the finished product isn’t quite to your liking. However, keep in mind that limewash paint is thick, and therefore adding more layers will add more weight to your wall.
Sealing Your Seal Limewashed Walls
Limewash is seen as an environmentally friendly way to beautify walls, and this coating allows your walls to breathe since its texture is porous. Sealing your limewash paint walls using a resin or polyurethane sealer defeats both the environmental and breathability factors of this coating.
Sealing your limewash walls isn’t necessary either as limewash is extremely low maintenance.
However, limewash walls can be challenging to clean so applying a sealer would make the surface flush and therefore easier to clean. On the other hand, you will be sacrificing the texture of your limewash finish and removing its breathability, so whether or not this trade-off is worthwhile is entirely up to you.
Advantages and Disadvantages of Limewash
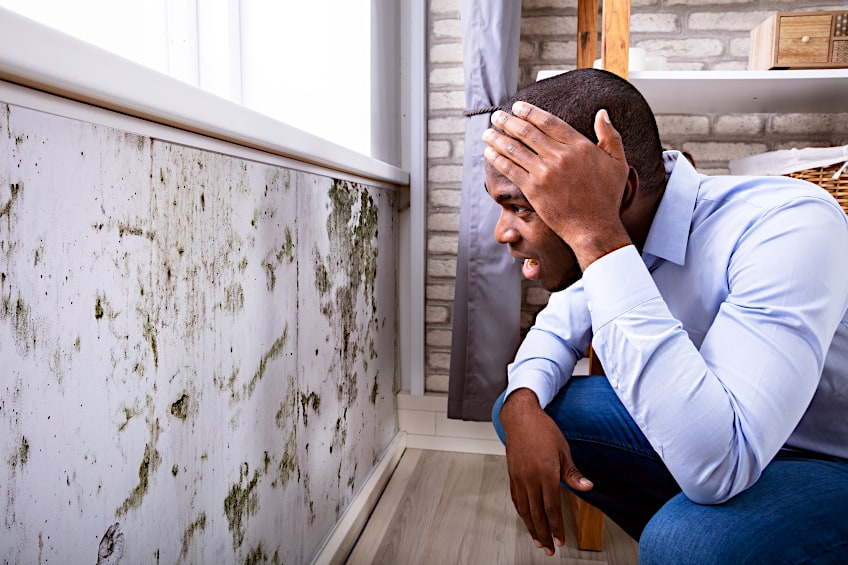
Limewash is pretty well-rounded as far as surface coatings go. It offers a wide range of benefits with very few (and oddly specific) disadvantages. If you are on the fence about whether limewash is the right choice for your walls, we have prepared a short list of the advantages and disadvantages you could encounter with limewashed walls. We have mentioned many of the advantages of limewash already, but let’s get more specific. Limewash is great for moisture-rich environments as it does not accumulate condensation, making it resistant to mold infestations or fungi.
Limewash is also hypoallergenic, which means that if things like dust, pet hair, and other airborne irritants bother you, your limewash coating will not. Limewash also contains virtually no VOCs (volatile organic chemicals) and it doesn’t produce any hazardous fumes for you to inhale!
Another benefit of limewash is that due to its porosity and natural composition, limewashed walls are highly resistant to bacteria and will not harbor unpleasant odors.
There are far more advantages to limewashed walls than there are disadvantages, but there are characteristics that could be dealbreakers for some DIY enthusiasts. One notable disadvantage is that the color palette of limewash is drastically limited when compared to literally any paint type.

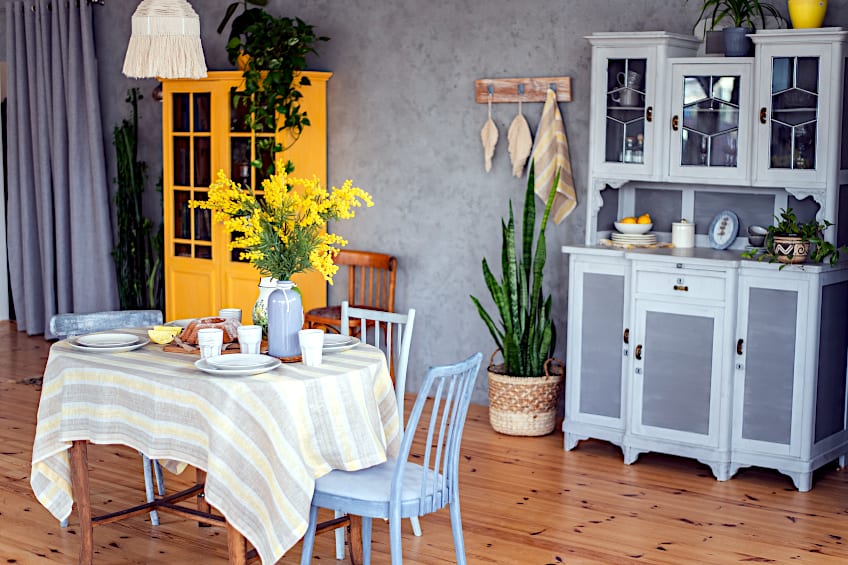
Limewash limits you to very earthy colors, leaving you to match your design to the tone and texture of your walls.
The texture of limewash might also be a detractor if you are used to paint. Limewash has a mottled appearance that contributes to a largely minimalist, industrial-chic aesthetic which isn’t to everyone’s taste, but this is largely subjective and can be difficult to sculpt when being applied.
Applying limewash is a bit like painting impasto, it can take a bit of getting used to and goes against instincts you’ve developed over time. It can also be several additional thin coats to achieve the look you’ve envisioned for your walls, and to make matters slightly worse limewash walls can be rather challenging to clean despite them requiring incredibly little maintenance.
- Allows your walls to breathe
- Hypoallergenic
- Contains no VOCs
- Absorbs and dissipates odors
- Resistant to bacterial accumulation
- Very low maintenance
- Colors are limited
- Appearance is niche and challenging to control
- Can require multiple coats to achieve desired finish
- Can be very challenging to clean
Where Can Limewash Be Used?
Limewash seems to be a great alternative to paint, but is it as versatile as some paint types? You’ll be happy to know that limewash isn’t only robust but it is even more versatile than some paint types. Limewash can be used on both interior and exterior walls given that the surface is porous or has been prepared with a mineral-based primer.
Limewash can even be used on drywall! However, limewash is usually used on brick and/or mortar surfaces as it has the ability to seep into existing pores and actually bond with the surface. This doesn’t mean that limewash adheres poorly on other surfaces, in fact using a dedicated limewash primer or acrylic primer when applying limewash can yield some impressive results.
Limewash can also be applied to plaster, wood, and full-on stone surfaces if that’s what you’d like.
As you can see, limewash is incredibly versatile even when compared to high-end paint types like enamel and acrylic paints. This is one of the many reasons that limewash has skyrocketed in popularity in recent years despite its admittedly small range of colors.
Can You Paint Over Limewash?
Yes, it is possible to paint over limewash walls, and it’s surprisingly easy. Like painting virtually anything else you need to clean the surface of your wall, and since you will be painting over it you don’t need to worry about damaging how it looks. Limewash can be cleaned using a little bit of soap water and a sponge, and once it is clean just allow the wall to dry completely.
When painting over limewash you need to use the same type of primer used to apply it, namely mineral-based primer. Simply apply your primer, allow it to set as recommended by the manufacturer, and then apply your paint.
Additional coats can be applied, but mineral primer acts as a pretty good undercoat so this might not even be necessary. If you are going to be painting over limewash you could try sealing your paint once it’s dried. This will make your walls easier to clean while granting your paint additional protection from impact and abrasion. Clear acrylic sealers are best suited to this application, but they can be a bit pricey so we recommend shopping around a bit.
How to Clean and Maintain Limewashed Walls
Limewashed walls do not really need to be cleaned and they don’t really attract that much dirt and dust to begin with. However, in the event that your limewashed walls pick up an unsightly stain or blemish the recommended cleaning method would be to simply apply some watered-down limewash over the affected area and call it a day.
The only time limewash would need a thorough scrubbing is if you were going to paint over it, but outside of this scenario, you can rest assured knowing that your limewashed walls require virtually no periodic maintenance whatsoever. This is one of the many reasons that limewashed walls are becoming increasingly popular.
And that how you can go about limewashing your walls. Limewash can be purchased pre-mixed both in-store and online, or you can make your own limewash from scratch. For convenience’s sake, we recommend the store-bought variety, as their formulas allow for consistent quality and coverage. With that being said, we hope you enjoyed learning about limewash, and that you try it out for yourself!
Frequently Asked Questions
What Is Limewash Used For?
Limewash is a surface coating used to cover both interior and exterior wall surfaces. Modern limestone paint contains crushed limestone, water, and pigment making it one of the most environmentally friendly surface coatings on the market today.
What Surfaces Can Limewash Be Used On?
Limewash can be used on brick, mortar, stone, drywall, plaster, and even wood. Limewash can be applied to these surfaces in a few thick layers or many thin layers, depending on the strength of the material and the desired aesthetic impact.
How Long Does Limewash Last?
Limewash doesn’t need to be removed and reapplied like many paint types. In fact, limewash can go up to seven years without needing a single touch-up. This period does depend on environmental factors and the quality of the limewash, but five to seven years is considered to be the general lifespan of a single coat of limewash.