How to Fix Peeling Paint on the Ceiling – Paint Failure Cures
This post may contain affiliate links. We may earn a small commission from purchases made through them, at no additional cost to you. You help to support resin-expert.com
Have you ever looked up at your ceiling only to notice that your paint is peeling? This can be extremely annoying, especially considering how challenging it can be to paint a ceiling. There are many reasons that a ceiling would begin to peel, and it can be quite challenging to fix unless you know what you’re doing. With that being said, if you’re looking to fix a ceiling that’s looking a bit blotchy, we’ve prepared a short tutorial detailing how to fix peeling paint on ceiling surfaces. We also go through why ceilings peel, and provide some tips on how to prevent this from happening in future.
Table of Contents
Why Is My Ceiling Paint Peeling?
Usually, when we notice strips of paint missing from the ceiling of our homes, the first thing that pops into our minds is “Why is my ceiling paint peeling?”. That being said, peeling paint is usually an indication of a far larger issue that you’ll likely have to spend money to fix, which makes identifying the underlying cause of your peeling ceiling all the more important.
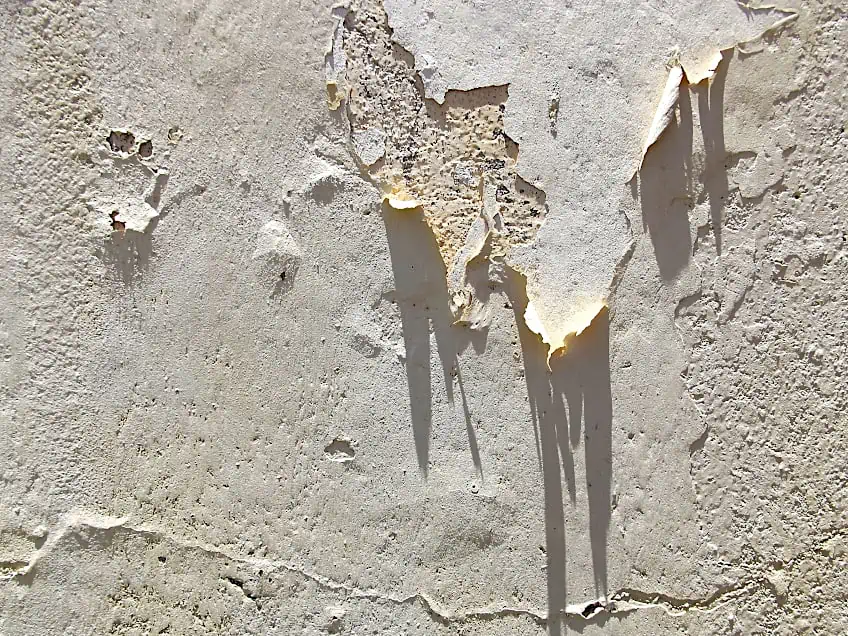
Adhesive Failure
If your ceiling was painted without the surface being properly cleaned, if the incorrect primer was used if no primer was applied at all, or if the paint was not allowed to dry completely, this could result in the paint lifting, bubbling, and eventually peeling away from the surface of your ceiling leaving an unsightly mess.
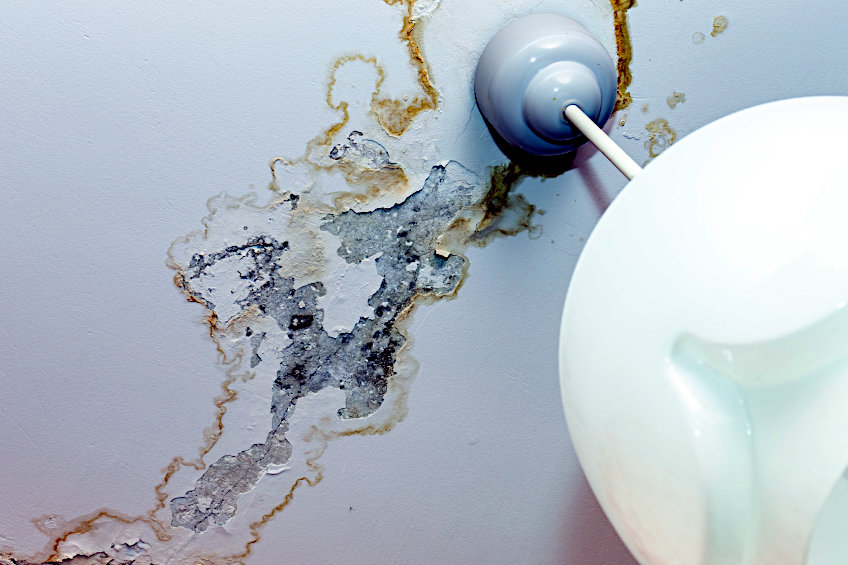
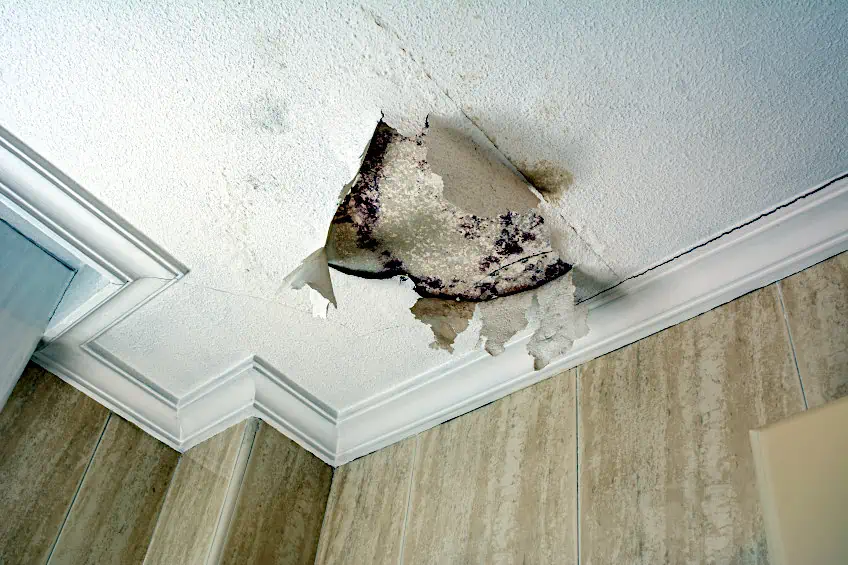
Excessive Exposure to Moisture
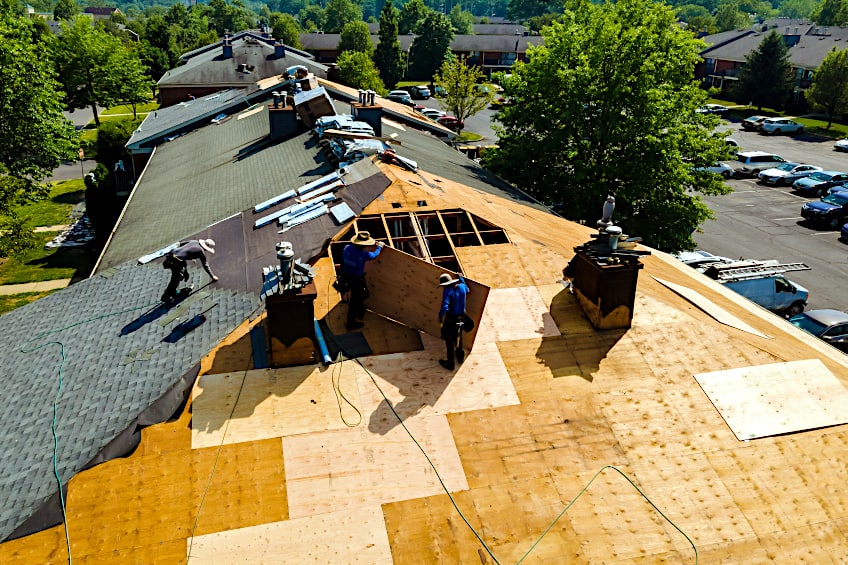
One of the most common reasons for peeling paint on ceiling surfaces is due to the presence of moisture. If moisture gets underneath the surface of the paint it will cause the paint to bubble and eventually peel away from the surface of the ceiling. This can come as a result of a leaking water heater or leak in your roof allowing rainwater into the attic.
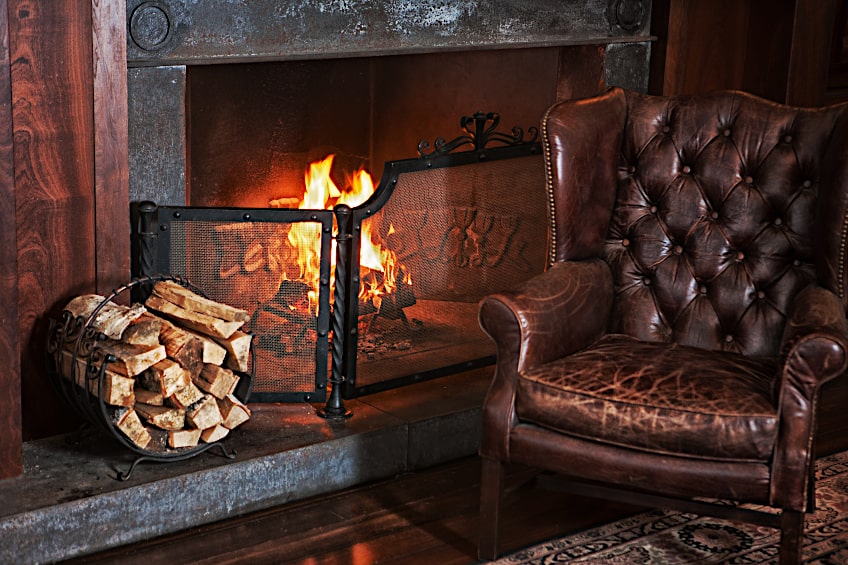
Excessive Exposure to Heat
Peeling paint on ceiling surfaces can also be a result of excessive exposure to heat. This does depend on the type of paint you’ve chosen to use, but generally speaking, if the paint is exposed to too much heat during the drying process it will not dry correctly, causing the paint to adhere poorly and eventually peel away from the surface of your ceiling.
Your Paint Is Old
One of the more common reasons for paint peeling away from the surface of a ceiling aside from moisture or heat would be age. Like anything else, paint tends to get old, and when paint gets old it tends to lose all of its adhesive properties in addition to its moisture content. This causes the paint to dry up and fall off the surface of the ceiling.
Too Many Layers of Paint
Another reason that you could find paint cracking on ceiling surfaces is that there are simply too many layers of paint on the surface. If you don’t remove the previous layer of paint using either a scraper, solvent, or a combination of the two, and simply paint over each coating every time you repaint your ceiling, eventually your paint will fail to adhere correctly, if at all.

Why Is It Important to Fix Peeling Paint?
You might be asking yourself why you would need to repair paint cracking on ceiling boards if it’s a purely aesthetic issue. After all, it’s just ceiling board, and if you don’t look up it’s not really a problem now, it is? Well, no. There are two reasons why not tending to the bubbling of flaking ceiling paint can turn out to be disastrous for you and anyone else who lives under the same roof.
For one, if you don’t tend to paint that has begun to peel on the surface of your ceiling the problem can very easily spread to other sections of your ceiling, eventually causing large chunks of paint to fall off. If you’ve ever been inside an old, abandoned building you’ve likely seen this happen, and if you haven’t, look it up if you need some motivation.
The second reason that you should tackle repairing flaky sealing is that it’s usually an indication of a larger issue. Ceilings don’t really get a lot of action as they don’t have any foot traffic and they aren’t exposed to a lot of sunlight. That being said, if there’s something causing your ceiling’s paint to flake, it’s probably indicative of a larger core issue either inside your ceiling or the structure in general.
How to Fix Peeling Paint on Ceiling Surfaces
Now that you know why paint peels away from the surface of ceilings and why it’s a good idea to tackle this problem as soon as possible, it’s time for you to learn how to repair a ceiling that has fallen victim to peeling. When working with paint (regardless of whether it is wet or dry) always ensure you are wearing the appropriate personal protective gear.
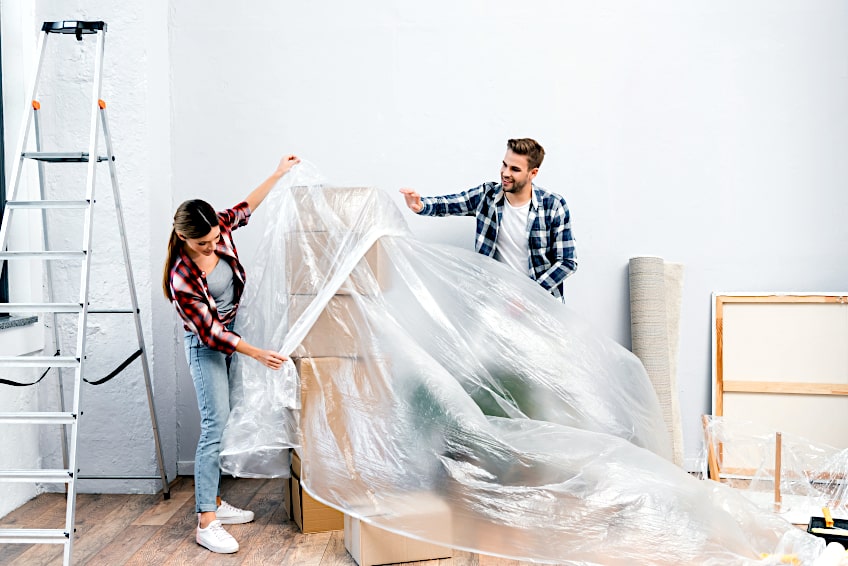
Prepare Your Workspace
It goes without saying that repairing a ceiling can get messy so it’s best to ensure that the area beneath your affected ceiling is adequately prepared before the repair process begins. The best place to start is by removing all the furniture from the space, and if certain things are unmovable, find a tarp or similar covering to cover them up nicely.
Once the area is clear it’s time to prepare the floor of your work area. Once again you can either use some large tarps or some old newspaper to protect your floor. Regardless, ensure that they are secured with some painter’s tape, so they do not move and expose your flooring to paint chips and wet paint while you work.
Next, you should ensure that you have everything you will need to repair the paint job. Having all the tools you need beforehand will save you quite a bit of time and effort while you’re working, and when you’re climbing up and down a ladder and straining your neck upward, energy becomes a rather scarce resource. That being said, here are a few of the things you will need:
- A ladder
- Paint of your choice
- Primer
- A scraper
- Patching compound
- A putty knife
- Sandpaper/orbital sander
- A brush and roller set (preferably with a long extension pole)
- A paint tray
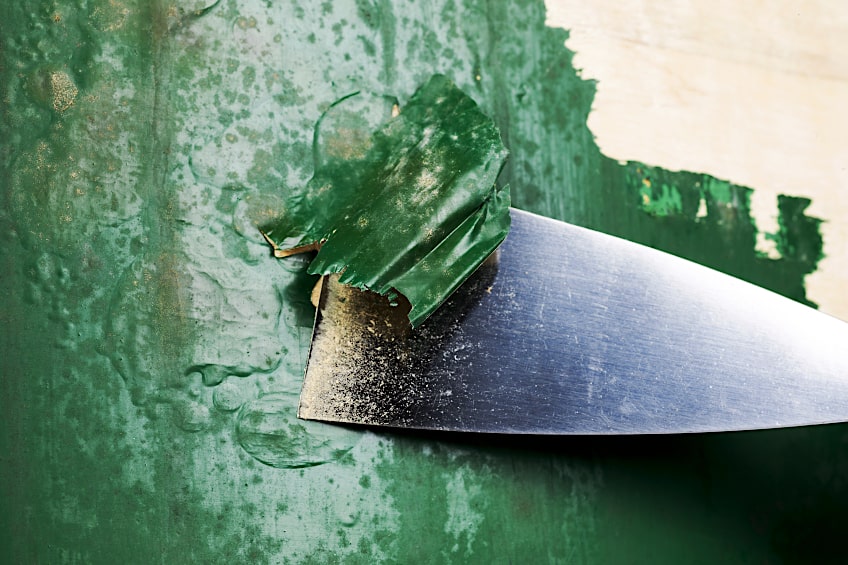
Remove the Peeling Paint
Before you get to fixing the paint job you should ensure that you remove all the loose paint from the surface of your ceiling. The best way to go about this is to scrape the majority of the loose paint off the surface of your roof using a scraper or, if the paint is quite loose, simply use your putty knife. Since you’ll likely be on a ladder leaning upward you might want to have someone holding the ladder for you.
Ensure that you get underneath all of the paint flakes and get as much off in the immediately affected area using the scraper as possible. You should also ensure that you wear eye protection and some gloves while doing this as the flaking paint can have some really sharp edges that can cut into your hands and/or hurt your eyes.
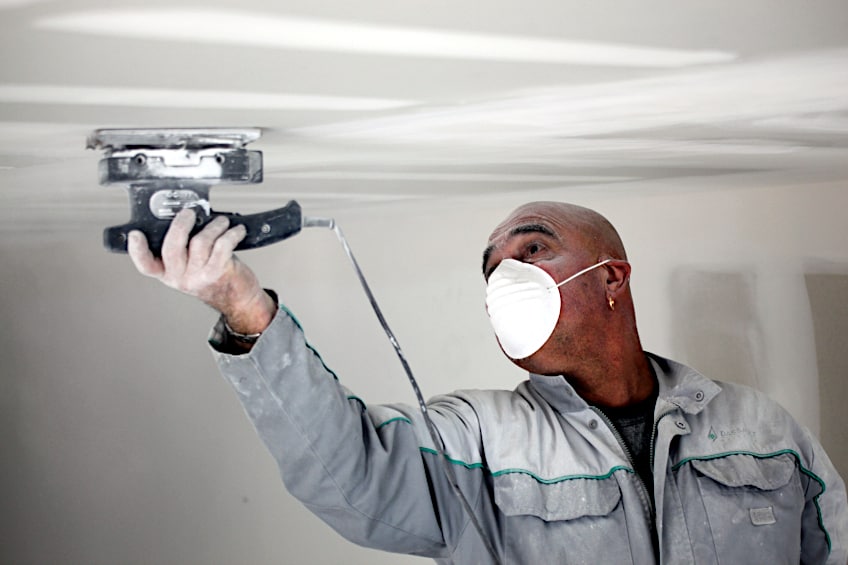
Once you’re done you need to ensure that you sand the area you have scraped. Why? While the majority of the paint flakes would be removed using the scraper there will likely be a lot of smaller pieces that are a bit more challenging to remove. Using some sandpaper, a sanding block, or an orbital sander is the perfect way to get rid of these.
Ensure that you sand the affected areas evenly and be sure not to miss a spot. If the area has been affected by moisture your goal is to remove as much of the surface as possible before you complete the repair process. Once you’re done, give the surface another good once over before you begin filling the surface of your ceiling.
Now that the surface of your ceiling has been thoroughly sanded you should give it a good clean. First, give a wipe with a clean cloth and then give the affected area a good once over with some good old-fashioned soap and water and allow the surface to dry completely before moving on to the next step in the process.
Repairing the Surface of Your Ceiling
Repairing the surface of a peeling ceiling is pretty straightforward stuff. How do you go about it? Well, now that the surface of your ceiling has been sanded and cleaned it’s time for you to patch any holes or recesses that have resulted from the peeling paint. Since ceiling board and drywall are similar you can use some spackle if the damage is minimal or some drywall putty if it’s a bit more extensive.
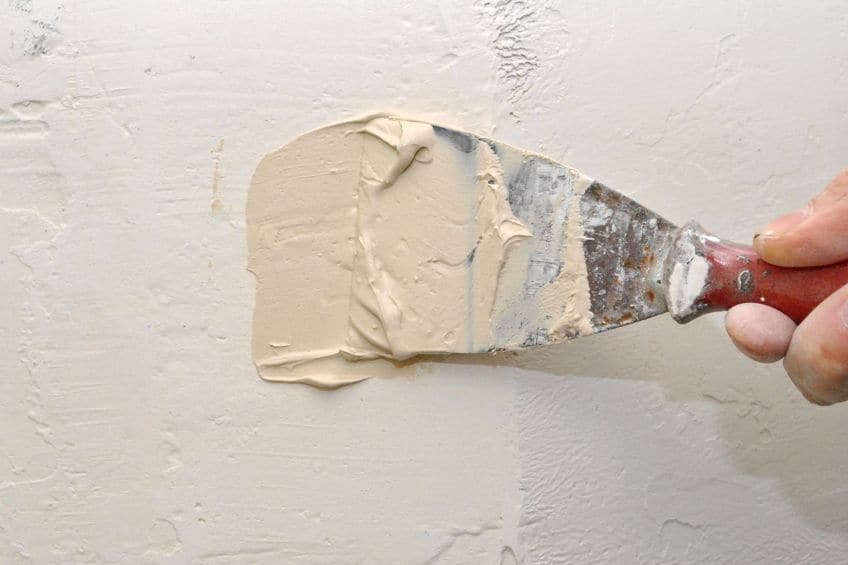
Once the surface has been repaired it’s time for you to once again smooth out the surface of your ceiling. Ensure that the putty and/or spackle has been allowed to dry for the manufacturer’s recommended time period before attempting to sand it. Using a sanding block, some sandpaper, or an orbital sander to ensure that the filled areas are flush with the rest of the ceiling.
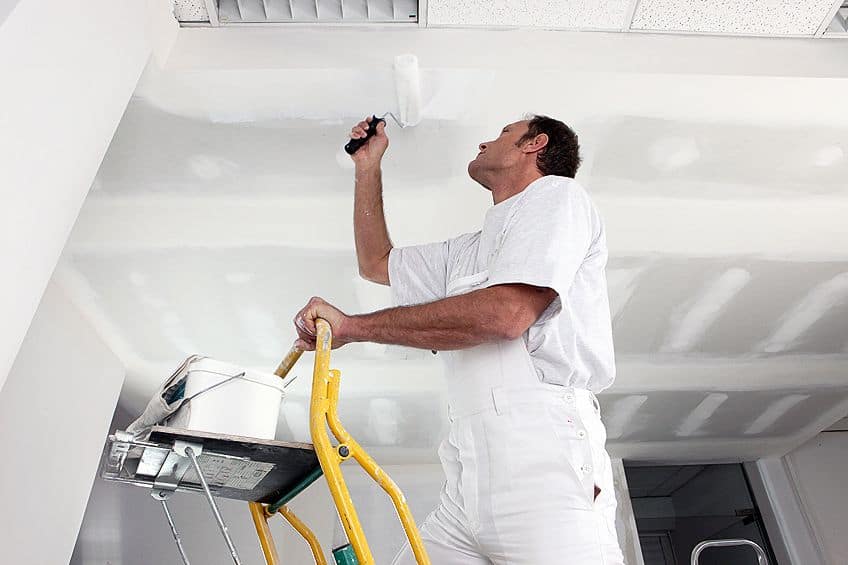
Once the surface has been sanded, remove as much of the putty dust as possible using a clean dry cloth. Once you’re sure the surface is relatively clean, it’s time to apply some primer. All that you need to do is give the container a good shake, pour some out into a painter’s tray, and get some on your roller.
For the next part, you have the choice of using a short-armed roller while standing on a ladder or using a long-armed roller while standing firmly on the floor. Regardless, apply the primer to the surface of your ceiling and ensure that you get it on all of the affected areas. While professionals tend to recommend repainting your entire ceiling (and so do we) this is entirely up to you and your blending skills.
Once your primer has been applied to the surface of your ceiling, allow the surface to dry for the manufacturer’s recommended time period before moving on to the next step in the process. You can lightly sand the surface once more to ensure maximum adhesion but this usually isn’t necessary, especially if you are using a good quality primer.
Paint the Surface of Your Ceiling
Painting the surface of your ceiling is pretty much the same as priming it. First, give your paint can a good shake to ensure the heavier particles at the bottom of the can are reintroduced into the mixture. Once this is done, pour some out into your painters’ tray and get some on your roller and start painting the primed areas of your ceiling.
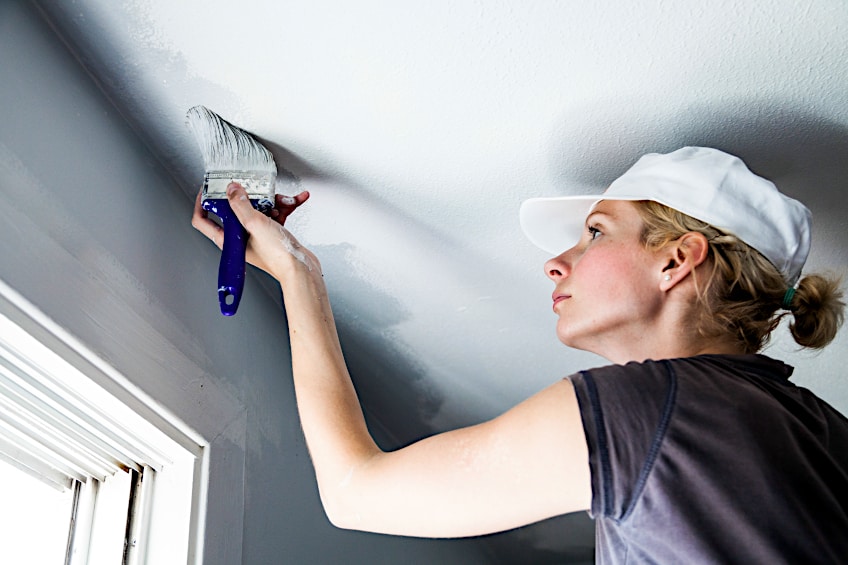
Once again, you can sand, prime, and paint the entire ceiling but this is entirely up to you. If you are simply spot-repairing the affected area, we recommend applying an even base coat and allowing it to dry completely. When it’s finally dry, give the surface a light sanding with some fine grit sandpaper and apply your final coat, allowing this one to dry completely as well.
If you find that your coat is still transparent and your filled areas are still showing through, feel free to give your final coat a light sanding and apply another coat. Repeat this process as much as you need to in order to get your desired finish, and ensure you allow the final coat to dry completely as well.
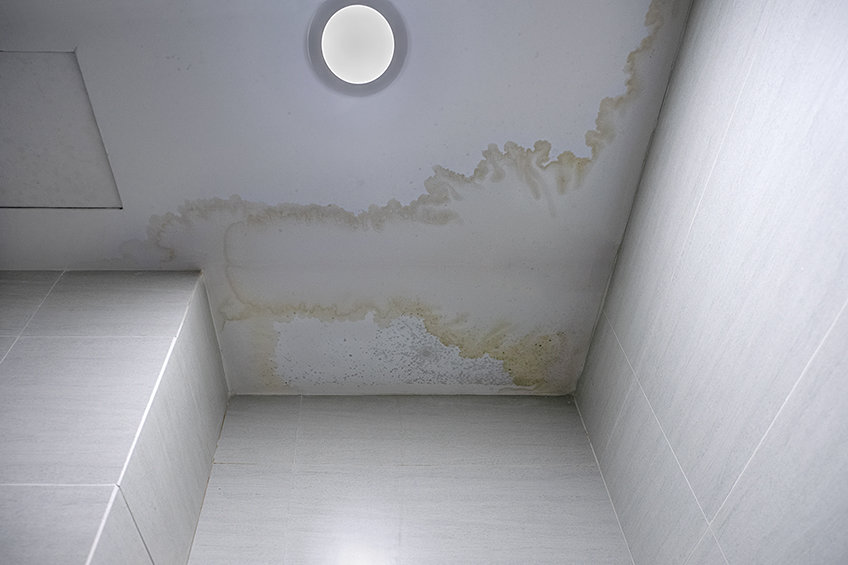
Tips to Prevent Paint from Peeling
Bathroom ceiling paint peeling is pretty common, especially in older buildings. If you’re wondering how you can avoid having to scrape, fill, sand, and paint your ceiling in the future there are a few tips and tricks you can follow to ensure that your ceiling does not peel. As with most things, prevention is far better than cure, so let’s have a look at how you can avoid bathroom ceiling paint peeling (and any other ceiling on your surface).
The first and best course of action to take is to ensure that you fix any leaks and/or other exposure to moisture as soon as possible. If you have a water heater leak or have a leak in your roof that could affect your ceiling, sort out the source of your leak and dry the surface as soon as possible before the damage can set in permanently.
Another trick to avoiding bathroom ceiling repair is to use the correct paint and primer. Some paint types such as specialized acrylic paint paired with a sealer can remain watertight for years, and naturally repel water and its subsequent effects. While other paint types can look more appealing and/or be a bit cheaper, it’s always best to use paint intended for bathroom usage.
You can also ensure proper ventilation in moisture-rich environments. Whether this is opening a window or installing an extractor fan, the less moisture that is allowed to rest on the surface of your ceiling the better. This is actually quite a simple and effective means of preventing moisture damage on your ceiling.
Another great way to avoid bathroom ceiling repair is to be sure of what cleaning products you choose to use. Some cleaning products can quite easily remove paint, so ensuring that you understand the tolerances of your paint and the strength of your cleaning products can save you a lot of time and money down the line.
Now that you know what ceiling peeling is, what causes it, how to avoid it, and how to repair it, it’s time for you to get out there and put your newfound knowledge to the test! Remember to always ensure that your workspace is well prepared and to ensure that you always wear the appropriate personal protective gear when repairing ceiling paint.
Frequently Asked Questions
Is Peeling Paint a Problem?
Peeling paint can be a fairly easy problem to solve, but it can also be an indication of larger problems such as water damage or paint that has reached the end of its lifespan. Regardless, fixing peeling paint is quite easy and relatively inexpensive.
Can You Repaint Peeling Paint?
It is entirely possible to repaint peeling paint! All that you need to do is remove the paint that has begun to peel, patch the surface, sand it, prime the area, and apply the new paint. Painting a ceiling is very similar to painting drywall.
What Causes Paint to Peel?
There are many reasons that the paint on your workpiece could begin to peel. Some of the most common reasons are too much exposure to moisture, heat, age, and even using the incorrect primer and paint together.