
How to Fix Paint Chips on a Wall – Surface Finish Repair Guide
This post may contain affiliate links. We may earn a small commission from purchases made through them, at no additional cost to you. You help to support resin-expert.com
As human beings, we love symmetry. Whether it’s watching something fit perfectly into a slot or looking at a beautiful work of art, uniformity gives us great satisfaction. Artists work tirelessly for years to achieve the absolutely perfect workpiece in their eyes and in the eyes of those who will one day view their work. Therefore, it makes complete sense as to why something as simple as chipped paint on a wall can be incredibly annoying. If you feel the same, we’ve prepared a short tutorial detailing how to fix paint chips on wall surfaces, what causes them, how to avoid them, and how to prevent your paint from chipping in the future!
Table of Contents
What Are Paint Chips?
In order to understand what paint chips are, you need to understand how paint works once it has been applied to a wall’s surface. Paint is a surface coating that uses surface friction to adhere to a given surface. A combination of the sanding and priming surface allows this paint to adhere strongly to a wall’s surface, regardless of whether it’s drywall, concrete, or brick.
So, paint is super sticky, and is made even stickier through the use of primer. The way most paints adhere permanently to the surface of a wall is by allowing the solvent in their composition to evaporate, leaving behind their binder and pigment which then harden. This stiff, colorful substance is what we see on the walls of our homes and offices.
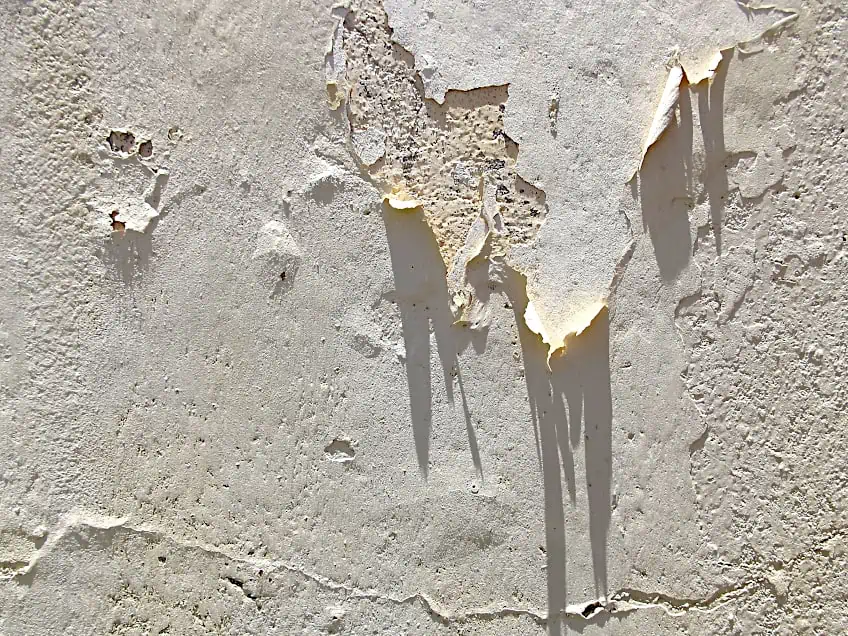
Paint chips occur when the painted surface has been damaged, fallen off, or has aged to a point where it needs to be replaced. Great impact over a small area of the painted surface, such as hitting the wall with a golf club or the edge of a table will cause the paint to crack and chip, leaving the affected area of the wall bare and exposed.
As we mentioned previously, when paint has reached a certain age, it can also begin to chip. This is due to the binder and pigment losing their integrity, causing the paint to lift away from the surface of the wall and crack, eventually falling off the wall. This can happen in random areas of your wall, or it can be localized to one spot depending on the type of paint and how it was applied.
Why It’s Important to Fix Paint Chips
Paint chips might strike you as just a chip in the surface of your painted wall, but they can be a sign of larger problems that need to be proactively corrected. As we mentioned previously, paint chips can occur when paint reaches the end of its lifespan, and if you leave the paint to simply chip away it could result in larger portions of pain chipping away in greater volumes over time.
The same goes for if a wall was accidentally damaged. If you don’t repair the affected area the rest of the paint on the wall count begins to crack, and before you know it you could have paint chips scattered all over your floor, which can be quite annoying. That being said, the sooner you get to repairing the chipped areas of your wall, the less time, effort, and money it will cost you down the line.
How to Fix Paint Chips on Wall Surfaces
Paint chips can be an eyesore and can be a bit distracting. That being said, let’s have a look at how to fix paint chips, what you should look out for, and what you are likely to need when repairing the paint chips on your wall. Before you get started, ensure that you have all of the relevant personal protective gear you need for working with paint and any other tools you might be using.
Identify the Cause of the Paint Chips
While time and physical impact tend to be the usual suspects when it comes to painting chipping, there are other ways that paint can begin to chip. One of the first steps to ensuring you repair your chipped wall surfaces correctly is to identify the reason why your paint has begun to chip in the first place to make things a bit easier for you, here are a few things you can look out for.
Water Damage
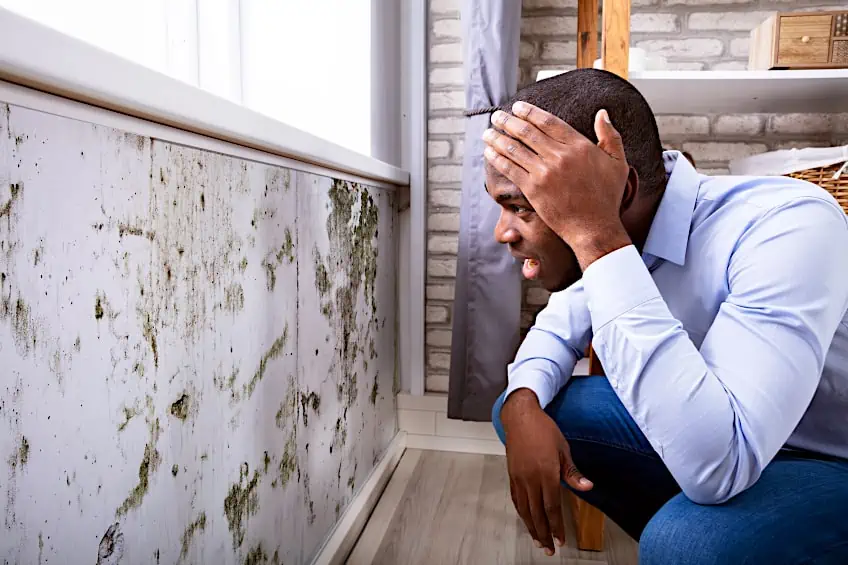
Painting over chipped paint that has been raised by water can be challenging. However, identifying paint that has been raised by water is easy, as the chips will usually be soft, and powdery, and can usually give off a pretty distinct smell. If your surface has been damaged by water, you will need to ensure that all of the affected areas are repaired and resurfaced to prevent the spread of mold on the wall’s surface.
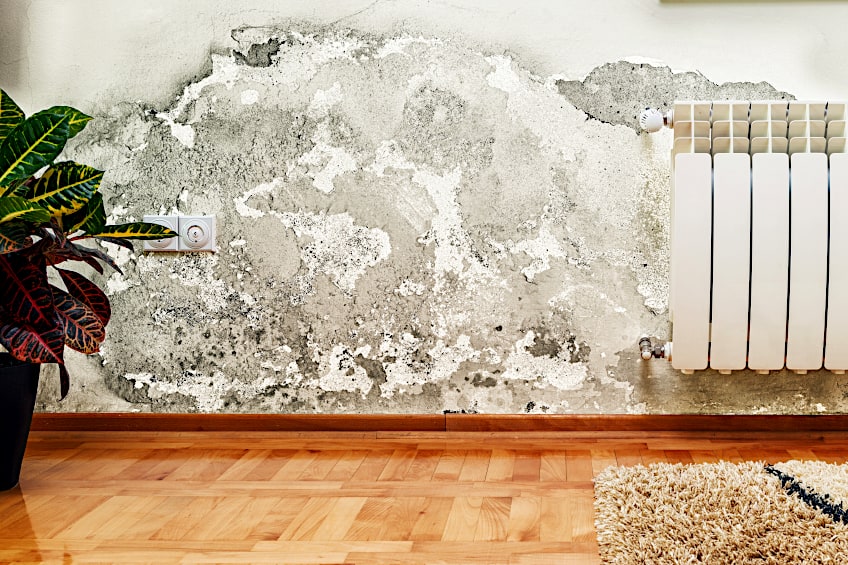
Water damage is pretty easy to identify, and the best thing to do when you find paint chipping due to water damage is to identify the source. Whether it’s a leaking water heater, a hole in your roof, or a burst pipe, it’s best to get that fixed immediately before the damage is able to spread and create some more work for you.
Age of Your Paint
There are two ways that the age of your paint can affect its ability to perform. The first is the one we mentioned previously, where paint that has been applied to a wall becomes too old to maintain its adhesion to the surface, resulting in the paint chipping and eventually falling away from the surface of the wall completely. The second way the age of paint can cause chips to form is when old paint is applied to a surface. This can be worsened if the paint is not mixed beforehand, as when paint stands idle for a long time the heavier particles of the mixture sink to the bottom of the container.
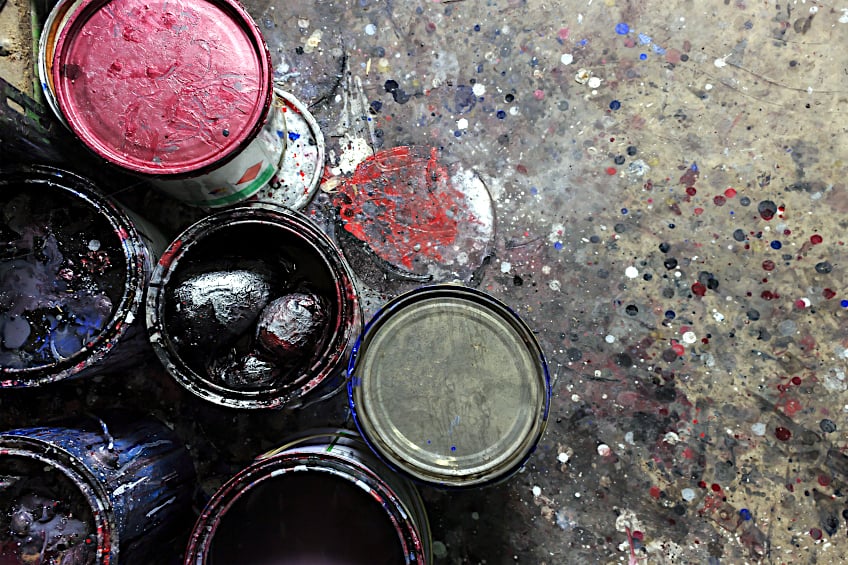
Keep in mind that using paint that is well past its expiry date will result in insufficient adherence which will eventually lead to chipping.
Incorrect Application
Applying your paint incorrectly can result in the surface of your wall peeling sooner rather than later. Why? Well, when applying paint to any surface, regardless of the material, you need to ensure that the surface has been adequately prepared and that the paint is applied evenly to the surface to reduce the probability of the paint chipping.
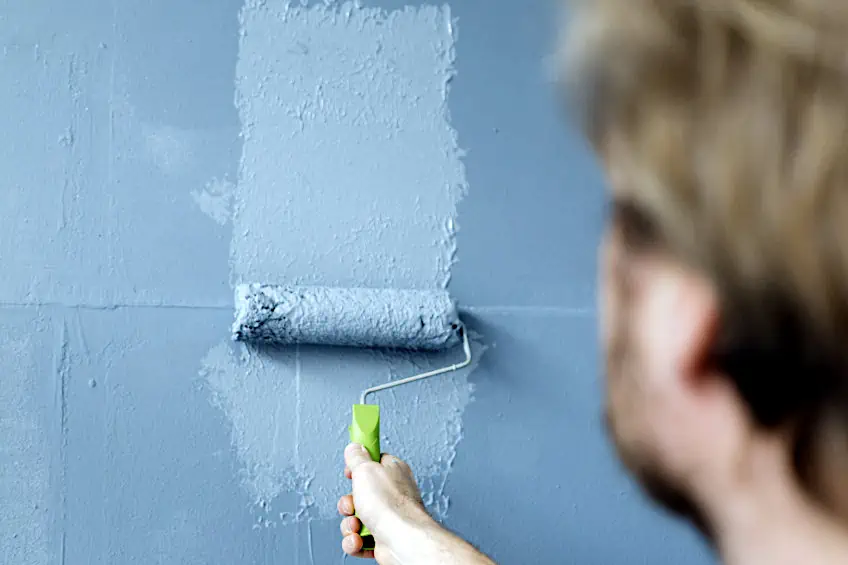
Doing things like applying paint before a surface is sanded and primed will result in the paint adhering incorrectly, causing it to eventually chip away. Failing to thoroughly clean a surface can cause this to happen too, as it will cause imperfections underneath the paint coat, which can lead to bubbling and eventual chipping.
Structural Issues
While this is far less common it is entirely possible. Paint tends to be rather rigid once it has had the opportunity to dry, which is usually a good thing. However, if a wall or anything else that wall paint is applied to changes its position or form, it can result in the paint cracking and chipping. That being said, if you suspect structural issues in your home, chipping paint can be a good indicator of this.

Environmental Factors
Before you attempt to go about just painting over chipped paint you should consider one more factor. The immediate environment your paint is exposed to can greatly affect its integrity. Rapid heating and cooling, as well as impact and abrasion, can cause your paint to lose its elasticity and eventually chip, falling away from the surface of the wall.
Ensure That You Have All the Right Tools
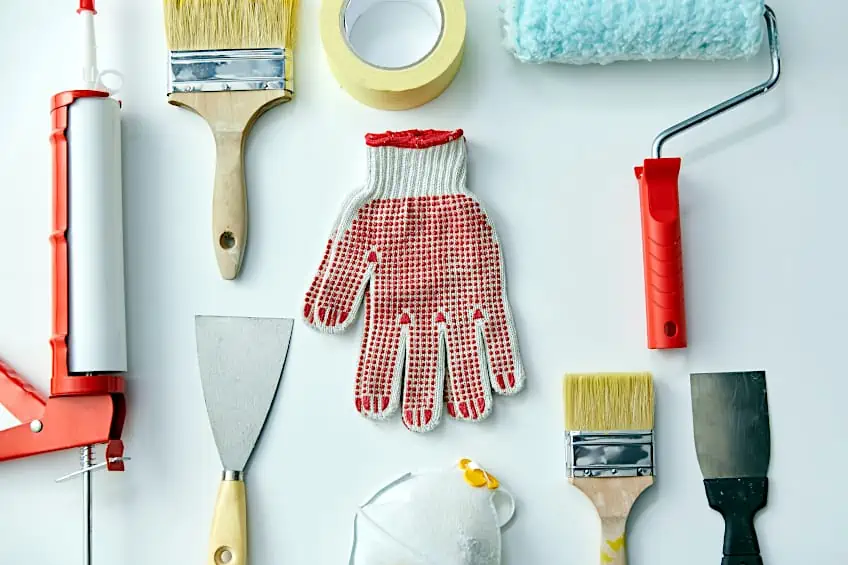
Before we show you how to repair paint chips on wall surfaces, we thought we’d show you a few things you will need to get the job done. You should also ensure that your workspace is well-prepared and that you have all of the personal protective gear you might need. Here are all the things that you will need:
- A paint scraper
- Sandpaper or a sanding block
- Some spackle paste
- A putty knife
- A paintbrush
- Some paint
Prepare Your Surface
Preparing your surface is important. Ensure that you use some soap and water to clean the affected area and the area surrounding it with some soap and water. This will allow you to sand and prime the surface with greater ease, just ensure that you allow the area to dry completely before moving on to the next step in the process.
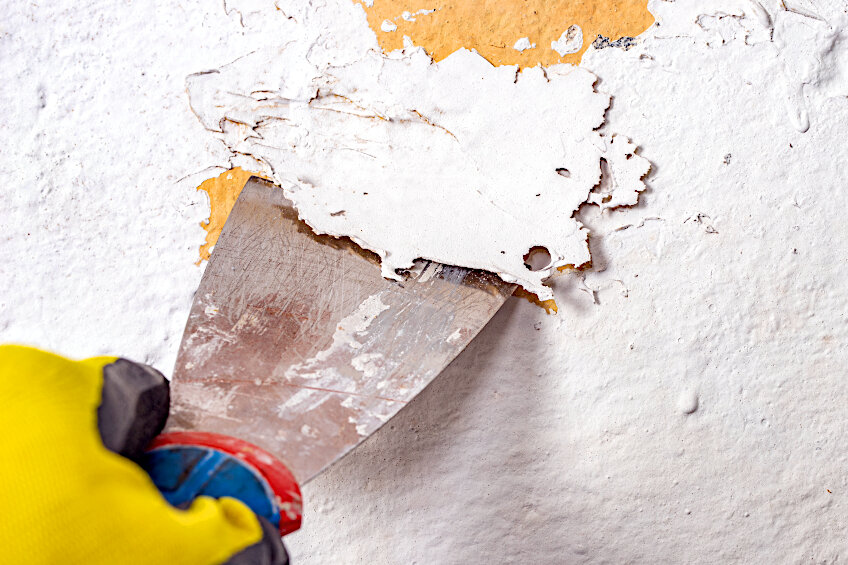
Scrape Away Loose Paint Chips
Using your paint scraper, do your best to remove any and all paint chips from the affected areas. This can be a bit time-consuming, but it shouldn’t be too labor-intensive, especially if the paint chips are localized to one area of the wall. Regardless, ensure that you get all of the paint chips removed by scraping them away from the surface.
Sand the Affected Area
You will need to sand the area that you have just removed the chips from. Using some sandpaper (or a sanding block depending on how big the affected area is thoroughly sand the affected area, ensuring that any stubborn chips that might be clinging to the wall are. Ensure that the surface is as flush as possible, and remove any paint dust using a clean cloth and/or some compressed air if possible.

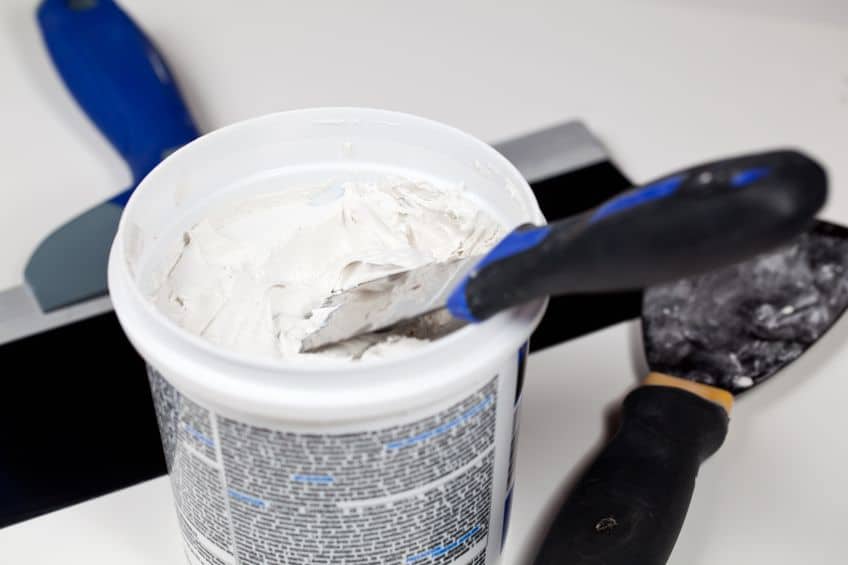
Apply Some Spackle Paste
Now to repair the affected area. Open your spackle paste and get some on your putty knife. Spread the putty on the affected area, ensuring that the spackle is as smooth as possible. Be sure not to miss any spots, especially the edges, and ensure that the spackle has been applied evenly to the surface. Allow the spackle to dry completely, sand the affected area as evenly as possible, clean off any spackle dust using a clean cloth, and move on to the next step.
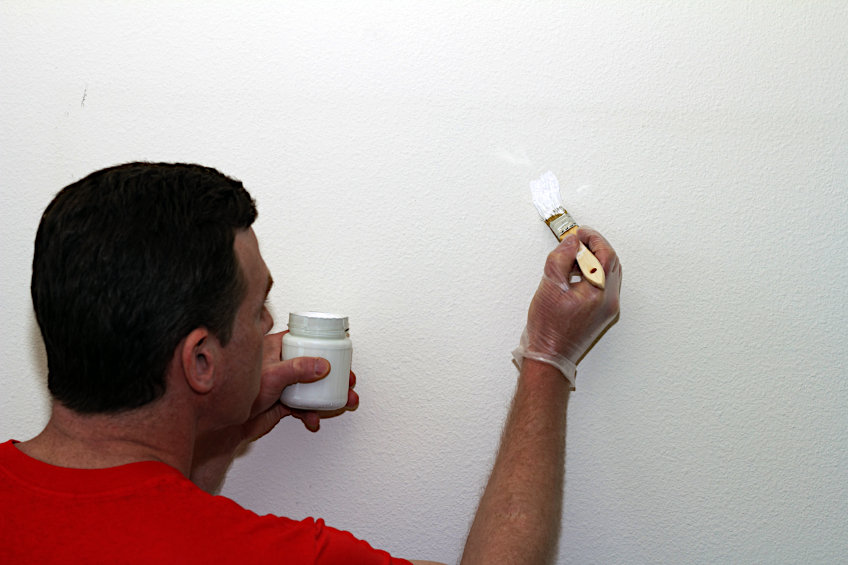
Paint the Affected Area
Now for the part you have been waiting for. Give the paint a good shake to ensure the heavier particles are mixed in with the rest of the mixture. Pour some paint out into a painter’s tray, get some on your brush, and begin painting the affected area. Spot repair can be challenging, so take your time and blend the affected area in as best you can.
Once you’re done, allow the paint to dry for the manufacturer’s recommended time period. If additional coats are needed, sand the dried paint, wipe the surface with a clean cloth to remove any paint dust, and apply the next coat. Allow the paint to dry completely before attempting to touch it or fasten anything to the wall’s surface.
Tips for Repairing Paint Chips
There are many tips for repairing paint chips, but the simplest is often the most effective. For example, always ensure that you use a high-quality primer and that you apply it correctly before any paint is applied. You should also ensure that you have allowed the primer enough time to set before you attempt to apply your paint.
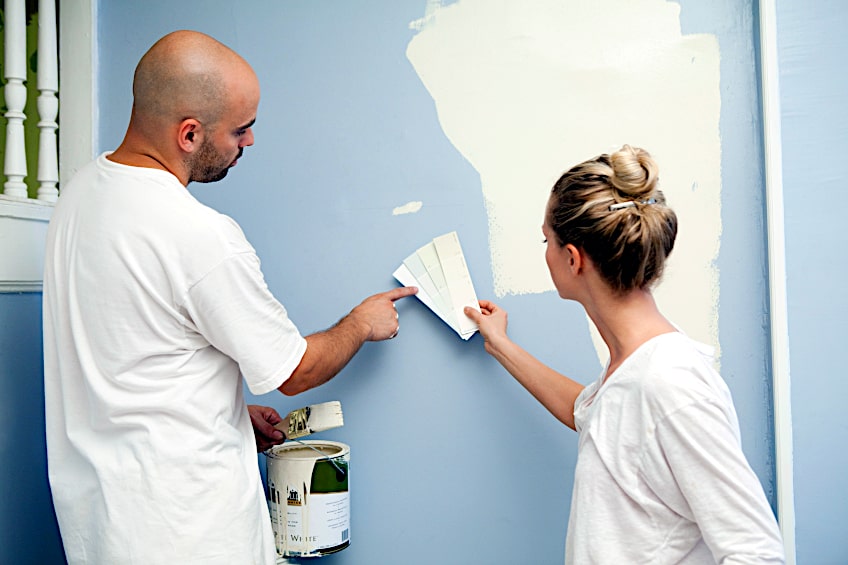
When it comes to painting, color matching is what you should focus on. If you can’t find (or can’t remember) the brand and color you used initially, you can have a professional match the color of the paint for you, which can be a bit expensive. However, it will allow you to patch the area perfectly without the need to lighten or darken the paint.
While paint and primer are important you should also ensure that you have a good quality paint brush to ensure you are able to blend the area nicely. Good quality paint brushes aren’t too expensive and will be significantly less frustrating to use when attempting to blend the paint in with the rest of the wall’s surface. Finally, you might not actually need to apply paint to the surface of your wall if you have a really small paint-flaking problem. Instead, you can simply fill the area using a little bit of spackle and then use a paint touch-up pen to fill in the area. Be sure to use the best quality touch-up paint you can find to ensure the best result.
Now that you know how to repair paint chips on wall surfaces, what you need to do, and why you should tackle them as soon as possible, it’s time for you to get out there and put your newfound knowledge to the test! Remember to always ensure that you prepare your workspace by laying down a tarp, and that you wear the appropriate personal protective gear when working with paint.
Frequently Asked Questions
Can You Paint Over Chipped Paint?
If you’ve just damaged the surface of your wall or your paint is simply getting old, you might be thinking about painting over it. Can you paint over chipped paint, though? Well, you cannot paint over it, but you can remove the chipped paint, fill the area, and then apply some fresh paint.
Is Chipped Paint Repair Difficult?
If you’re worried about chipped paint repair, you should know that it is entirely possible. All that you need to repair chipped paint is some spackle, a scraper, some new paint, and some elbow grease in order to complete your repair.
What Does It Mean When Paint Is Chipping?
What does it mean when the paint is chipping? Chipped paint can mean a lot of things, including that your paint is old, that moisture is present underneath the paint, that the surface of your wall is degrading, or that the environment has taken its toll on your wall.