
How to Fix Nail Pops – Ensure Smooth Drywall Joints
This post may contain affiliate links. We may earn a small commission from purchases made through them, at no additional cost to you. You help to support resin-expert.com
Drywall has made home construction and home improvement far easier and much less time-consuming compared to building walls the old-fashioned way. With that being said, installing drywall can take considerable time and effort to do correctly and even then, drywalls can degrade and move over time. One of the most common reasons for this are nail pops. This is a pretty common problem and can be very easy to fix if you know your way around it. What are nail pops, though? Let’s have a look at what nail pops are, how to fix nail pops, and what you’ll need to get the job done!
Table of Contents
What Are Nail Pops?
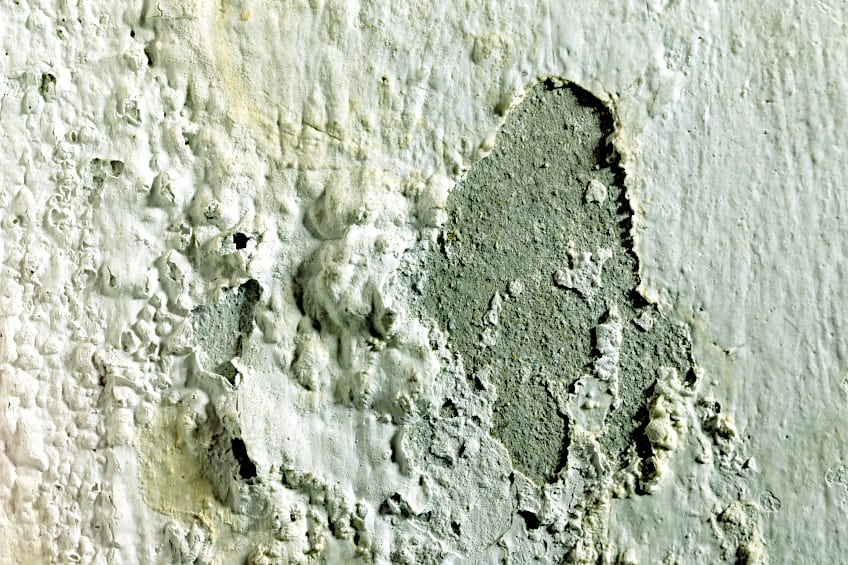
Nail pops occur when the nail holding your drywall to the stud becomes loose, allowing the drywall sheet to move forward. This is a very common occurrence and is relatively easy to fix considering that all you need to do is re-secure the wall to the stud. What causes nail pops to happen? Well, wood expands and contracts according to the ambient temperature. This expansion and contraction can result in the nail slowly becoming dislodged from the stud over time, causing the wall to move forward. Why is it called a nail pop if it’s just a loose section of drywall? Well, when the nail moves away from the stud it can protrude through the surface of the drywall panel, and subsequently, the paint covering it.
This results in what looks like a little bubble or a protrusion in the shape of the nail’s head on the surface of the drywall. It’s all pretty simple, and can easily happen in both new and old homes. While it generally happens due to wood expanding and contracting, it can also happen if a nail breaks, if a stud is damaged, or if the drywall somehow shifts at some point in time.
Nail pops can be an eyesore. This is particularly true if more than one happens, or if they occur on ceiling panels. While you could simply remove the panels, replace the nails, and reattach them, there is an easier way to re-secure your drywall that is far less labor-intensive (and far less expensive!), so let’s have a look at why it’s important to fix wall pops and how to go about it.
Why Is It Important to Fix Nail Pops?
Nail pops might seem like a trivial aesthetic issue but they can actually be an indicator of far larger issues. As we mentioned previously nail pops can occur as a result of many factors, and while the expansion and contraction of wall studs are commonly the cause there are far more serious reasons that nail pops occur.
How serious can it be? Well, if your nails are moving out of place this could be a result of that beam or potentially your entire house shifting. The latter usually has many more symptoms that are easy to pick up, and if it does there are usually a number of walls that exhibit nail pops. There are other reasons that fixing nails and investigating nail pops should be taken seriously though.
One of these is that drywall is essentially “hung” from wall studs. This means that if nails begin to work away from the studs, your drywall will come away from the wall entirely, which can be dangerous, dusty, and extremely expensive to repair (not to mention expensive). That being said, safety should always be at the forefront when it comes to home maintenance and repair.
What you shouldn’t attempt to do is simply slide the nails back into place. Doing so is barely a temporary solution as the nails will simply move out of place again, meaning that you’ll eventually have to implement a permanent solution. You will also need to ensure that you have all of the right tools for the job to ensure your repairs go off without a hitch.
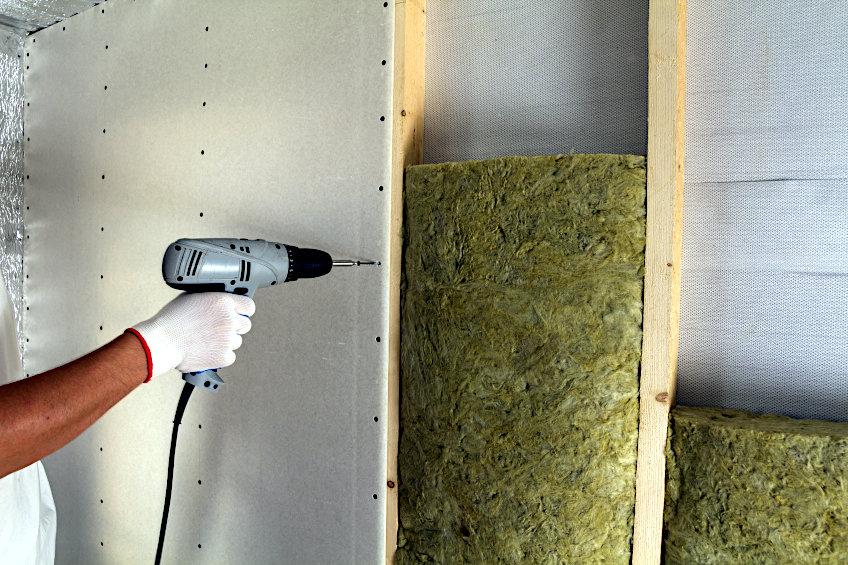
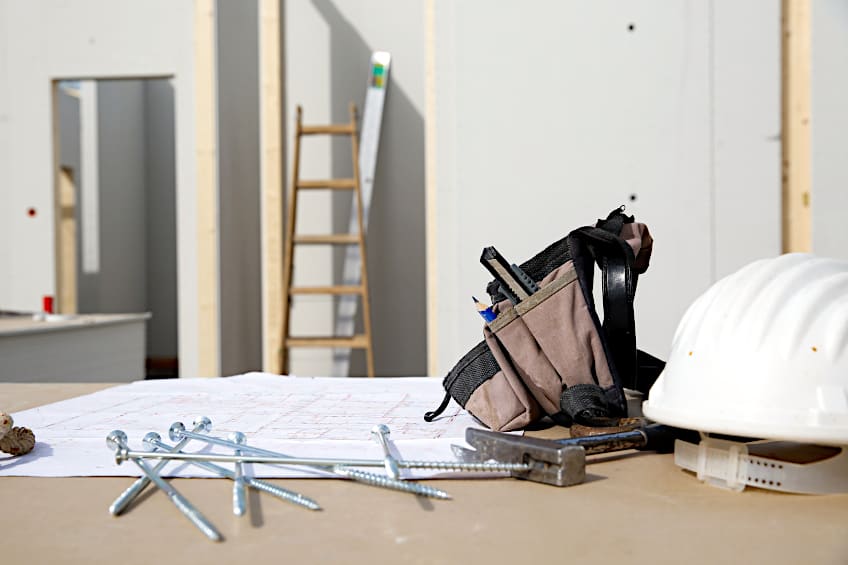
What Tools Do You Need to Fix Nail Pops?
Before we get into how to fix nail pops, we should have a look at some of the tools you’ll need to get the job done. Ensuring you have the right tools for any job can save you quite a lot of time, effort, frustration, and money, so let’s have a look at a few of the tools you can use to repair nail pops and what you will need them for.
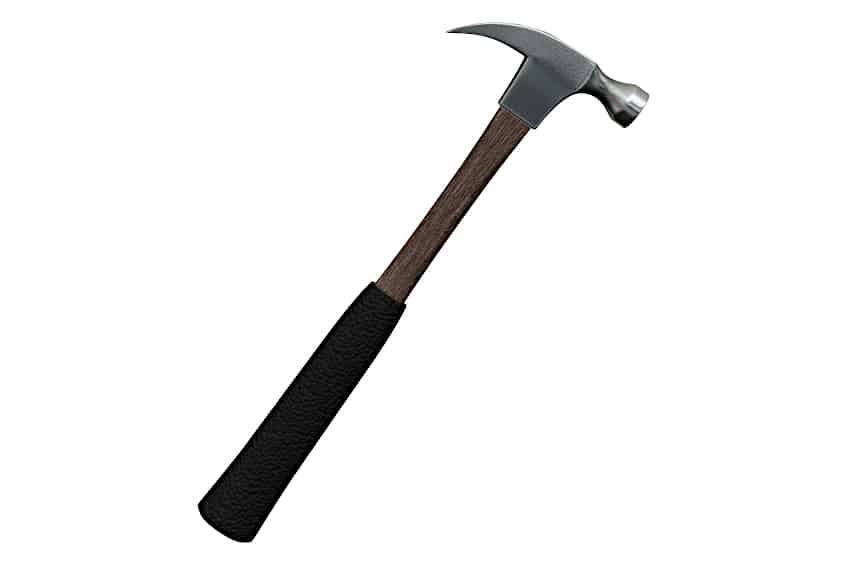
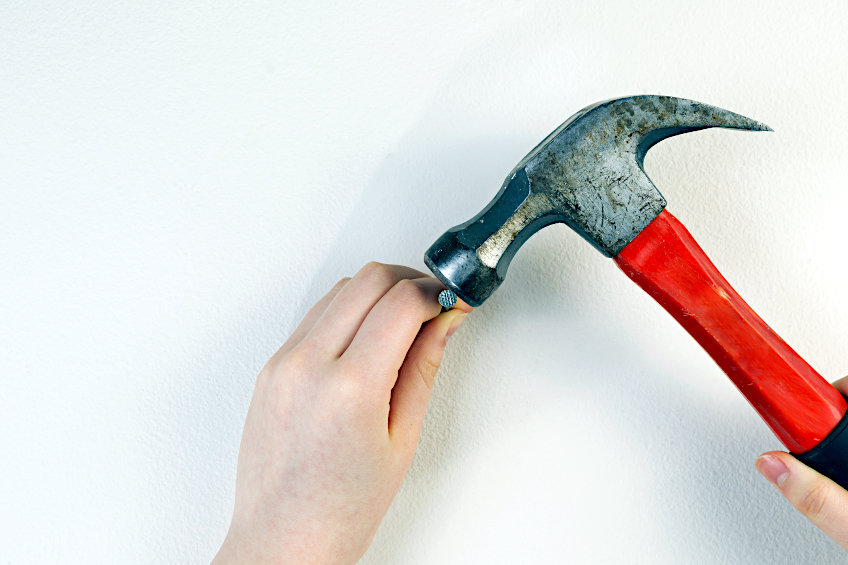
A Hammer
While the hammer won’t be used to make the primary repair, part of how to fix drywall nail pops involves knocking the nail back into place. You don’t need a specific type of hammer, but a plastic mallet will help preserve the surface of your drywall if you have a heavy hand or if the nail in question is particularly stubborn.
A Nail Set or Screws
To complete the repair, you will need to ensure that you have a good set of nails or screws. The goal of the repair process is to re-secure the surface of your drywall to the stud. The best way to about this is to use a new fastener either in the form of a screw or a nail. Generally speaking, screws are the better option when it comes to a permanent solution.
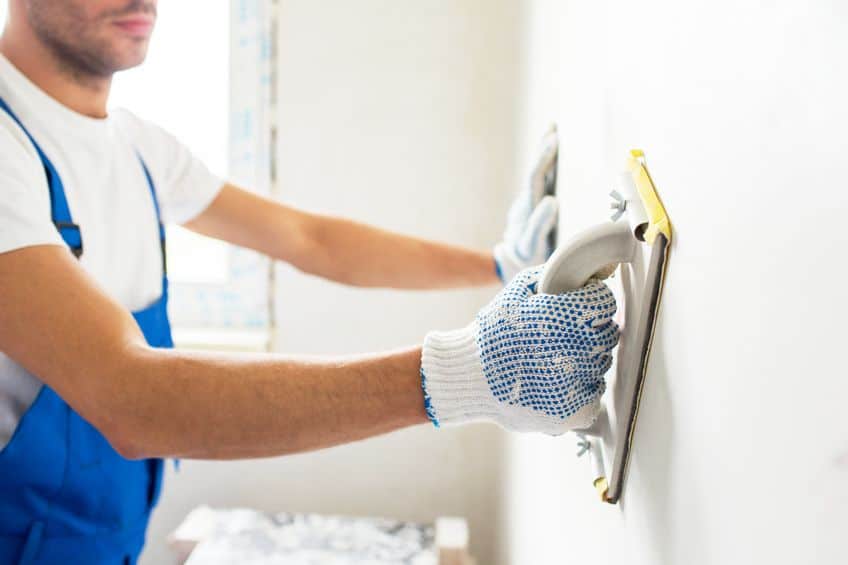
A Putty Knife
A putty knife will also be something you need to get your repair job done. What would you use the putty knife for? Well, it goes without saying that you’ll be putting a few extra holes in your drywall, so you’ll have to sand, plaster, and paint the area again.
Most putty knives these days are made of plastic, but if you have the older metal kind these work perfectly fine as well.
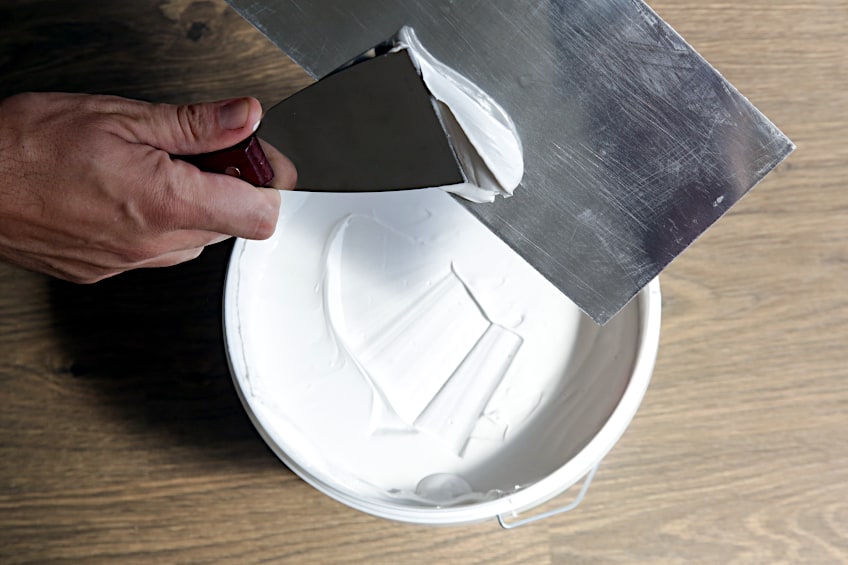
Some Joint Compound
Aside from additional fasteners, joint compound is the key when it comes to how to fix drywall pops. Once you have installed your new fasteners, you’ll have to blend them in with the rest of the drywall, and the best way to go about this is to use some joint compound. While spackle can get the job done if you’ll just be spot-repairing one spot, joint compound is the better choice if you will be resurfacing the entire wall.
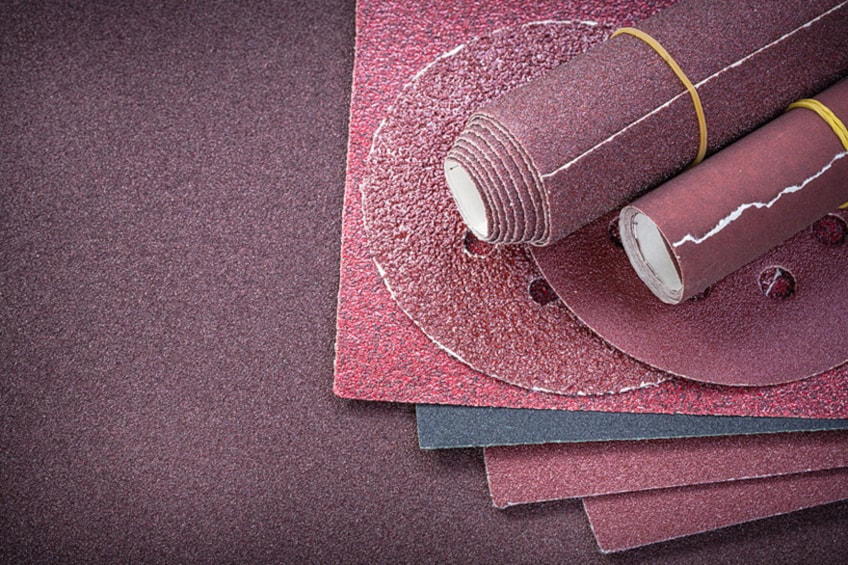
Sandpaper
Sandpaper is another indispensable tool you’ll need when repairing nail pops. The sandpaper will allow you to even out the layer of joint compound you have applied. It’s generally best to use a fine grit sandpaper of 120-grit and up to ensure that the surface is as smooth as possible before primer and paint are applied.
Paint
Once your repairs have been completed you might want to consider repainting the surface of your drywall. You can choose to match the paint and do a spot repair job or you can repaint the entire surface of the drywall, which is more labor-intensive but it will likely look a lot better (unless you’re skilled at blending).
That being said, you will need paint and a paintbrush to get the job done, or if the panel is particularly large, you could use a roller and/or paint sprayer.
How to Fix Nail Pops on Drywall
Let’s have a look at how to fix drywall nail pops. Fixing nail pops is relatively easy, and if there aren’t too many of them you should be able to complete your repair in a few hours, or in a day if you aren’t in a rush. That being said, here are a few steps that you can follow regarding how to fix nail pops on drywall.
Identify the Nail Pops
The first step to repairing the nail pops is to identify where they are. They should be easy to spot considering they present as an imperfection as bubbles on the surface of your drywall. However, if one nail begins to pull away from the stud, the weight of the drywall could lead to more nails being pulled away too.
Check along the length of the affected stud and/or press against the wall to feel for any play. You can also run your hand along the length of the stud to physically feel if there are any imperfections on the surface of the drywall. Once you have identified all the studs, move on to the next step in the process.
Remove Any Loose Debris
Once you have identified where all of the nail pops are it’s time for you to remove some of the material on top of or around the pop. This will make it a lot easier for you to see exactly what you’re working with and what area you should be focusing on. How do you do this?
The best way to go about this is to use a scraper or putty knife to lift away any loose paint on the surface of the drywall. Usually, the affected area is limited to immediately around the protruding nail head, but depending on the paint it could be a greater area that has been raised and subsequently needs to be removed for the repair process to take place.

Hammer the Nail into Place
Once you have the area on top of and around the nail head nicely exposed, you’re going to have to hammer the nail back into place. Why would you do this? Well, not only does this secure the drywall for the repair process but it gives you an accurate idea of where the stud is.
When hammering the nail back into place it might immediately fall forward again. This might lead you to attempt to simply knock it in harder, but this will likely only damage your wall due to the stud being worn out in this specific spot. Try hammering at a different angle just to secure the wall for a few minutes.
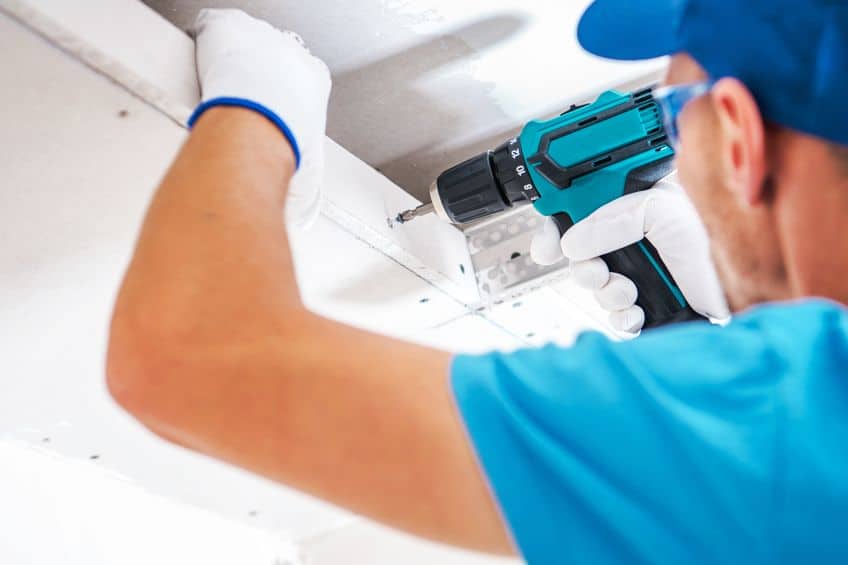
Use Your Nail Set and Add New Nails
This is actually the least labor-intensive part of the process. The first thing you need to do is use your nail set to drive the existing nail as far into the stud as possible. This should reset the nail and prevent it from pushing the drywall further for a while. Push it in as far as the nail set will allow.
Once you’ve bottomed the existing nail out, insert two nails above and below the existing one, about an inch away from it on either side. You can use your hammer to drive them in initially and then drive them in a bit further using your nail set. Alternatively, you can make use of screws as their thread should lock the wall against the stud quite nicely. Repeat this process for every popped nail you encounter.
Apply Joint Compound to the Area
Once your drywall has been secured it’s time for you to get out your joint compound. Open the container and give the compound a good stir before getting some on your putty knife. Apply the compound to the affected area, smearing it with your knife at a 45-degree angle. Repeat this process for all affected areas.
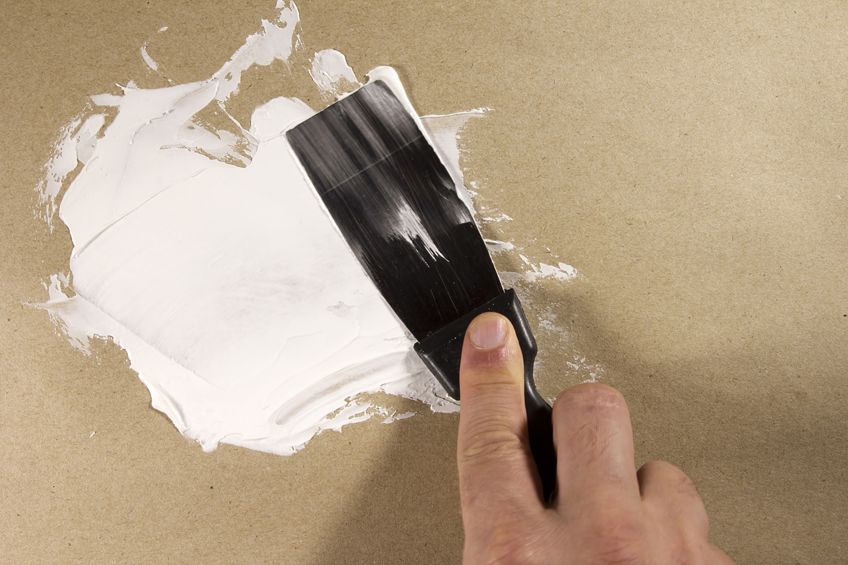
Once your joint compound has been applied, wipe off any excess with your putty knife, ideally holding it at a 90-degree angle to the wall while doing so. Once you’ve removed all the excess, allow the joint compound to dry for the manufacturer’s recommended time period before moving on to the next step in the process.
Sand the Affected Area and Add Paint
Once your joint compound has dried it’s time to ensure the area is nice and smooth. Using some fine grit sandpaper, sand all of the affected areas until they are smooth and flush with the rest of the drywall. This process can produce a lot of dust so be sure to wear some eye protection and a face mask to avoid inhaling the joint compound residue.
Once the area is nice and flush you can choose to paint the affected areas to blend them in with the rest of the wall. Spot repairing paint can be extremely challenging though, which is why most people tend to simply sand and repaint their entire drywall instead. This is entirely up to you though.
How Do You Prevent Nail Pops from Occurring?
Nail pops tend to be more annoying than anything else, and if there are many of them it can be time-consuming and labor-intensive to repair. That being said, sometimes prevention is better than cure, so let’s have a look at how to avoid nail pops entirely.
Use Longer Nails or Screws
The best way to ensure that your nails don’t pop away from your wall stud is to use decently sized nails and/or screws when the drywall is first installed. Longer screws mean that there is simply more material in contact with the stud, increasing the grip between the drywall and the stud behind it. A simple trick that could save you a ton of time and effort down the line.
Try Not to Overdrive Your Nails
This is a pretty common theme when drywall is being installed. If you drive your nail in too far the head can crack or break the surface of your drywall which means there’s no solid surface for the nail head to hang on to and retain the position of the drywall. This is an easy mistake to make if you’re new to installing drywall, and can lead to nail pops.
Use Adhesives With Your Fasteners
People tend to use adhesives or fasteners, which makes sense considering most applications in everyday life usually require one or the other. Why not use them together though? Using an adhesive in conjunction with your fastener greatly decreases the probability of nail pops occurring.
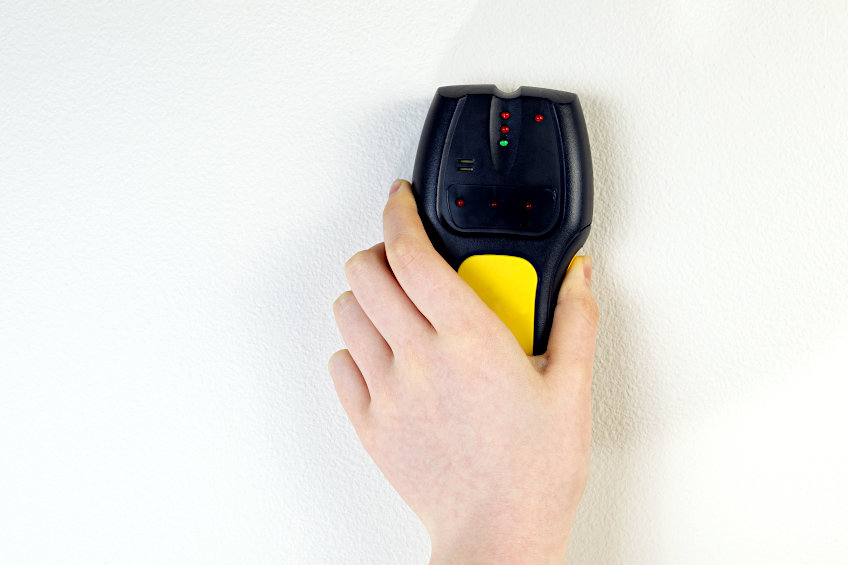
Use a Stud Finder
Finding a member in your wall that is conducive to drywall nails is the best step to take when erecting new drywall sheets. If your stud is capable of holding on to your drywall screw you should have very little to worry about in regard to nail pops occurring.
Now that you know what nail pops are, why they happen, how to avoid them, and how to fix them, it’s time for you to get out there and put your newfound knowledge to the test! Remember to always wear the appropriate personal protective gear when working with a joint compound, and to properly inspect your drywall before attempting to repair it.
Frequently Asked Questions
What Causes Nail Pops?
Are you wondering what causes nail pops? Essentially, nail pops occur when a drywall nail fails, causing the drywall to fall away from the wall stud it is meant to be secured to. This leads to the nail moving forward and creating a pop on the surface of the drywall.
Are Nail Pops Normal?
Nail pops are a relatively common problem if a building is old enough. Are nail pops normal, though? Well, not really, and considering that they hold up your drywall, they should be repaired as soon as possible, as they are usually an indicator of other issues.
Is It Easy to Repair Nail Pops?
Repairing nail pops is quite easy. All that you need to do is drive the nail back in and apply additional fasteners to the affected area of the drywall. You can choose to repaint your entire drywall or simply spot-repair the affected area.