How to Fix Epoxy Mistakes – Fix common Epoxy Problems [Guide]
This post may contain affiliate links. We may earn a small commission from purchases made through them, at no additional cost to you. You help to support resin-expert.com
Mistakes or mishaps in your poured epoxy can easily happen. Problems come about as a result of a design flaw, incorrect mixing ratios, or uneven hardening of the epoxy. Remember, though, that it will be much harder to fix any mistakes when the epoxy has fully cured, than when it is still wet. Luckily, many of these are still relatively easy to repair if you follow our advice below on how to fix epoxy mistakes. We will get your project back the way it should look like in no time!
Table of Contents
Popular mistakes
One of the most frequent issues when working with epoxy is that it remains tacky or sticky, even after the curing time has passed. This could be due to an incorrect mixing ratio of the resin and hardener, or the temperature was too cold during the curing phase. Another issue that is more common than you may think is having debris or an insect land in the epoxy. You can fix this, though, by removing the object with a pair of tweezers, or with a wooden stick, while the epoxy is still wet.
How to fix an uneven epoxy finish
An uneven hardening of your epoxy resin can lead to dull, or even tacky spots. To fix an uneven epoxy finish, wait until the epoxy has dried thoroughly, and then sand it lightly with fine-grained wet sandpaper. After this, make sure to wipe down the surface, so it is entirely free of any sanding dust and other debris. You can use a wet microfibre cloth and mix some commercial detergent into the water (roughly half-and-half) to get rid of any oils or fats on the surface.
You can then apply a covering coat of epoxy resin. Make sure you mix enough, and that your project is entirely level. This will allow the epoxy to self-level, giving you an excellent finish. A good rule to remember is always to mix a little more than you calculated to use, as you can then have enough epoxy to create a smooth surface. Another good tip is that you can use any of the epoxy that drips, or runs off your project, to fill up smaller cavities elsewhere in the piece.
Preventing uneven Epoxy surfaces
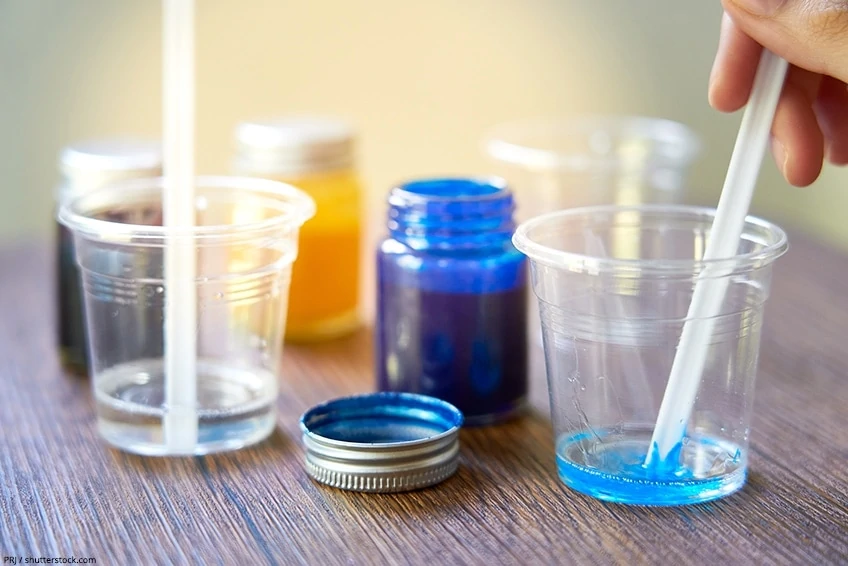
As the saying goes, prevention is better than cure, and it is nowhere more true than when you are trying to fix uneven epoxy resin or epoxy mistakes. The most common cause for uneven epoxy resin is often not using the correct mixing ratio, or even using hardener and resin that is too old. This can lead to sticky spots in the cured resin. Surface preparation is often key to these problems, so make sure you have done yours well. Colder than recommended epoxy can also be used with a special hardener, which lets the epoxy cure at lower temperatures.
Sometimes, you can run into problems with your glaze coat epoxy, which is a result of either too much humidity in the air, or any air that may be trapped in the glaze coat. These problems can be prevented by ensuring your work area is well-ventilated, not too humid, and using a torch to heat the epoxy and allow the air bubbles to escape. Be careful, though, not to add too much heat, as this can lead to rippling in the epoxy.
How to repair your Epoxy countertop
There are two different methods of how you can repair your epoxy resin countertops. Which one you will use, depends on the state of the epoxy resin – if it’s still wet, or if it has cured already.
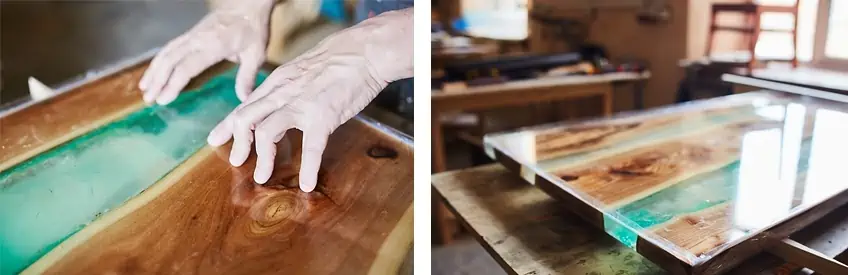
How to repair epoxy resin countertops that are still wet
Repairing any mistakes in your epoxy resin countertop while the epoxy is still wet is easiest. Then it can still be smoothed over to help it level, or have it flow into corners where you can see the epoxy layer looks a little thin. As we mentioned above, this is also the best time to remove anything that may have fallen into the resin.
How to repair epoxy resin countertops that have cured
Repairing your epoxy resin countertops is actually one of the more common DIY jobs undertaken in the home. Over time, you may notice that your counter needs to be repaired, as the surface may be full of gouges or scratches. Use a product, like Old English, to fill in any more substantial surface scratches, as it is specially produced for this.
Then, take fine-grained wet/dry sandpaper (around 650-grit) and sand along the length of the scratch. Make sure to treat all the surface imperfections this way, before wiping the whole counter with a cloth and 50/50 mix of household cleaner and water. Buff the area with a dry cloth, and you should have gotten rid of all the debris, as well as any water/cleaner still on the surface.
Now you can apply a thin coat of resin to restore the shine to your countertop. It is recommended to wait a full day to allow the epoxy to cure before it takes on its final sheen. Now, it’s as good as new!
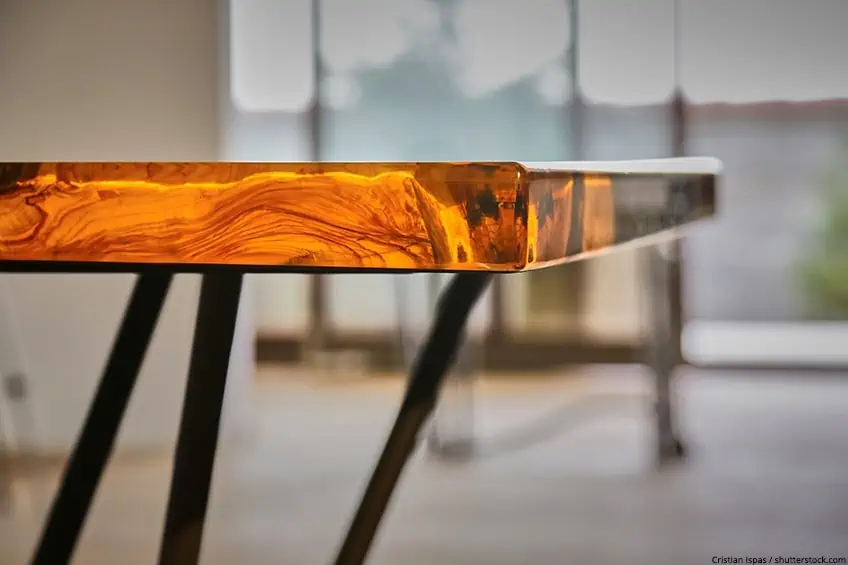
Get rid of waves and ripples on your Epoxy surface
Warping is another common problem when working with epoxy, especially when working with wood. This can lead to ripples in the epoxy, or a wavy structure to the surface. The best way to deal with this is to apply more than one layer of epoxy.
Thus, you will:
- Apply a so-called seal coat, which is used to fill in any voids in the project. It is especially important when using wood, cork, concrete, or any objects with a porous or uneven surface to apply the seal coat. This layer will also help prevent any bubbles from escaping from these porous materials into the surrounding epoxy.
- Always conclude with a flood coat, as not doing so may lead to an uneven appearance. It is a thinner layer on top, which will level out and smooth the surface for a perfect finish. Be careful of applying too much heat when trying to rid it of bubbles, as this may cause ripples.
How do you fix uneven epoxy resin on a Tumbler
Conclusion
As you can see, it is reasonably straightforward to repair any epoxy resin mistakes. All you need is proper guidance, the correct materials, and a little bit of work.
Always keep in mind, when working with any epoxy products, to work in a well-ventilated room, and wear your gloves and eye protection. Make sure of the temperature and humidity of your surroundings, not just when you are working with the epoxy, but also during the curing time.
We trust that, by following the steps and advice laid out above, you will once again have an epoxy resin piece you can be incredibly proud of.
