How to Fill Screw Holes in a Wall – Flawless Finishes
This post may contain affiliate links. We may earn a small commission from purchases made through them, at no additional cost to you. You help to support resin-expert.com
Drywall has made it possible to safely and effectively construct a wall pretty much anywhere you would like. They can be used for the interiors of homes and offices alike, making them one of the most versatile construction materials on the face of the planet. However, they are far from perfect and are quite susceptible to damage, especially by impact and abrasion. Screw holes are some of the most common damages to drywall, but thankfully, they are easy to fix and don’t require any specialized tools either. Let’s have a look at how to fill screw holes in wall surfaces, why it’s a good idea to fix them immediately, and what you need to fix them.
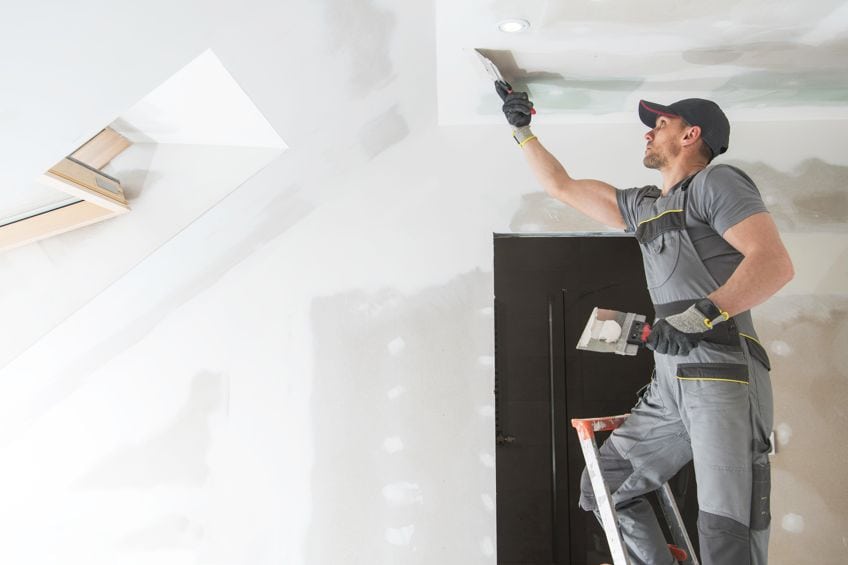
Table of Contents
Why Is It Important to Fill In Screw Holes?
Whether you pulled a screw out of your drywall while you were taking down a painting or simply drilled a hole in the wrong spot, fixing the little hole should be an immediate priority. Before we show you how to fill screw holes in wall surfaces, we thought we’d show you why it’s of the utmost importance to tackle these holes as soon as you can.
Maintain the Appearance of Your Walls
There are many things that can make the surface of your walls unsightly, whether it be fingerprints left by little ones, stains, scuff marks, and even degrading paint. Even if the problem is isolated to one area of the wall, it can ruin the appearance of the wall and the mood in the space around it.
That’s why when little holes like these form, it’s best to tackle them immediately.
Prevent Further Damage from Occurring
There are many things that can make the surface of your walls unsightly, whether it be fingerprints left by little ones, stains, scuff marks, and even degrading paint. Even if the problem is isolated to one area of the wall, it can ruin the appearance of the wall and the mood in the space around it. That’s why when little holes like these form, it’s best to tackle them immediately.
Avoid Insect Infestation
One of the worst parts about having these little holes in the surface of your wall is the little critters see them as prime real estate. Insects love finding warm, obscure places to nest, and what’s better than a little hole that’s likely filled with insulating material?
Filling holes immediately dramatically lowers the probability of little critters making the interior of your walls their home.
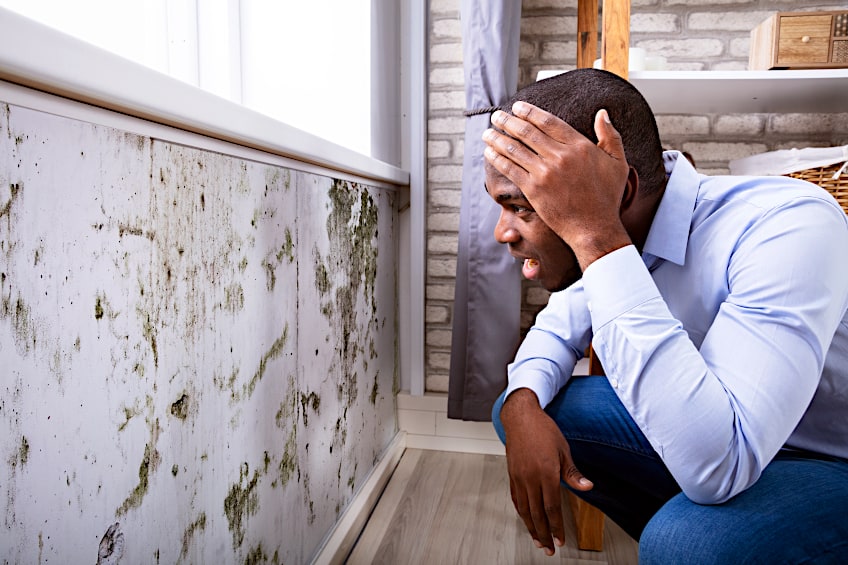
Prevents Mold and Mildew Build-Up
Mold and mildew tend to build up in cracks and recesses where there is high humidity. If allowed to spread, this can become a health hazard, especially if you or anyone else that occupies your homes have respiratory comorbidities. Filling the holes in your walls quickly and effectively eliminates this probability almost entirely.
What Do You Need to Fix Screw Holes in Drywall?
You don’t need an awful lot of tools to fix screw holes in drywall surfaces. For as long as walls have been around, people have been putting holes in them (intentionally and otherwise) so it’s easy to imagine that we’ve come up with a few solutions to patching these holes quickly and effectively.
When it comes to patching small holes in drywall, here are a few things you will need.
Sandpaper
Sandpaper is an essential tool when it comes to repairing holes in drywall. What type of sandpaper do you need? Well, you should be able to use fine-grit and medium-grit sandpaper (120 to 160-grit) to smooth the surface of your drywall before you patch it. If you’re more comfortable with a sanding block and can get your hands on one, feel free to do so.
Spackle Compound
When it comes to patching small holes in drywall, spackle compound will be your key instrument. Specially designed to patch small holes in wood, drywall, and composite materials, spackle is the perfect tool for the job and is very easy to use.
You won’t need a lot of spackle if you only have one or two holes to fill, and thankfully spackle tends to be inexpensive and readily available!
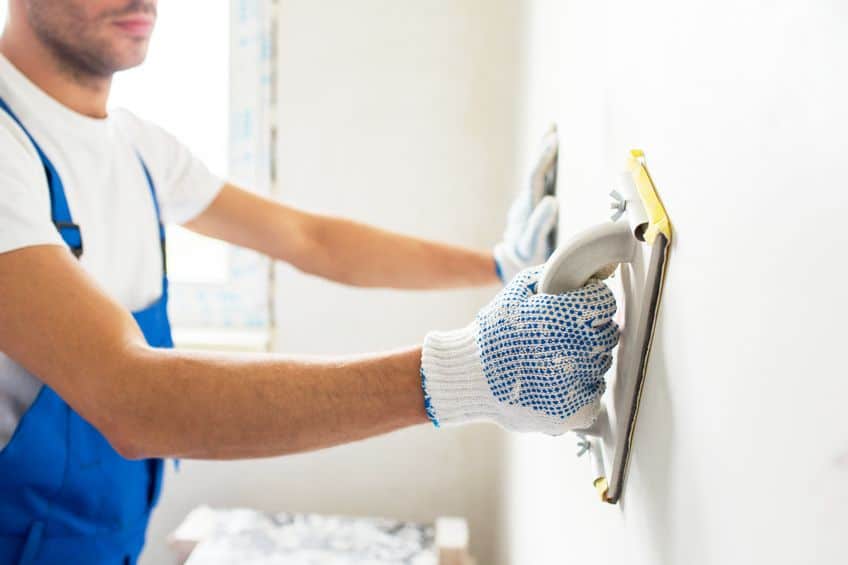
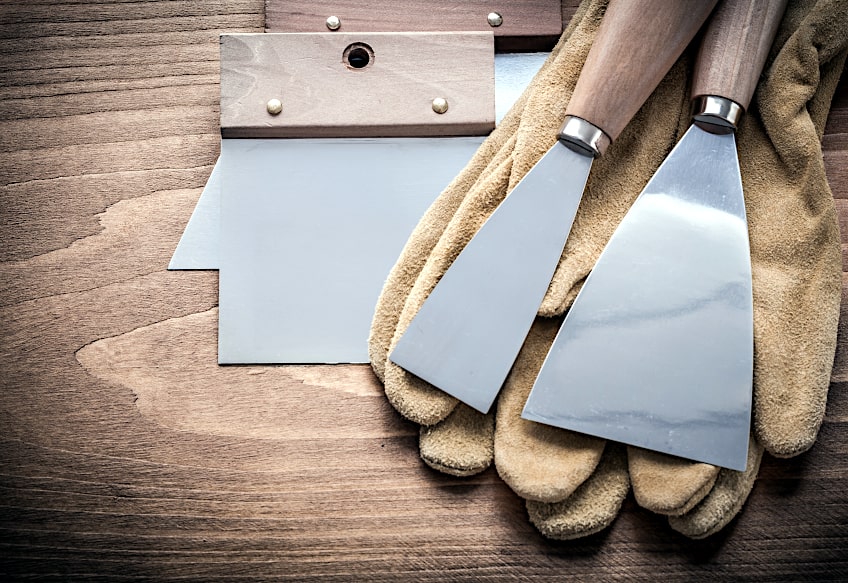
A Putty Knife
Whether you’re a professional contractor or a DIY weekend warrior, when it comes to working with drywall a putty knife is indispensable. Not only does this allow you to fill holes using spackle, but it allows you to trim edges when applying drywall mud and flatten other compounds involved in the installation of drywall sheets.
Some Paint
It’s fairly safe to say that if you are fixing a hole in the surface of your drywall you are probably going to need to repaint the area at some point. Whether you are doing a spot repair job or repainting the entire wall, you’re going to need some good-quality paint.
Otherwise, you will need the same paint as the rest of the wall if you’re going to blend in the affected area.
A Paint Brush and/or Roller
If you’re going to be repainting the entire wall you could use a paint sprayer or roller, but spot repairs are best done with a paint brush. Getting a decent brush with bristles soft enough for blending paint in with the rest of the wall is what you should have for this application. These are relatively inexpensive and can be found both online and in most hardware stores too.
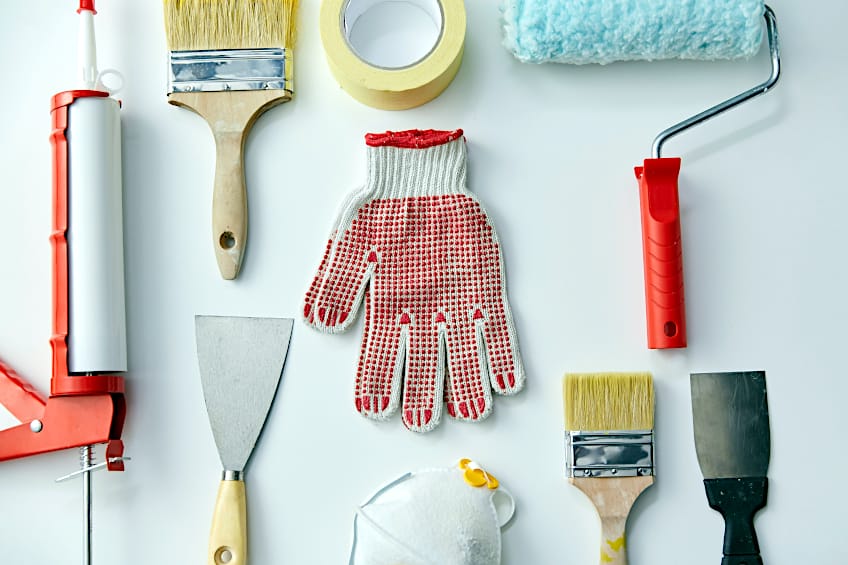
A Clean Cloth
While this might seem like a trivial thing to mention, you’d be surprised as to how handy a clean cloth can be when repairing holes with spackle. The cloth can be used to clean up excess spackle and to remove any paint/drywall dust from the surface of the wall once you’re done sanding.
Any clean cloth will suffice for this exercise.
A Drop Cloth
Even though you’re just repairing a small hole you would be surprised as to how much of a mess can be made simply by sanding alone. Having a small drop cloth or some old newspaper won’t only save your floor from potential damage, but it will save you a ton of time when it comes to cleaning up. If you don’t want your drop cloth moving around, secure it using some painter’s tape.
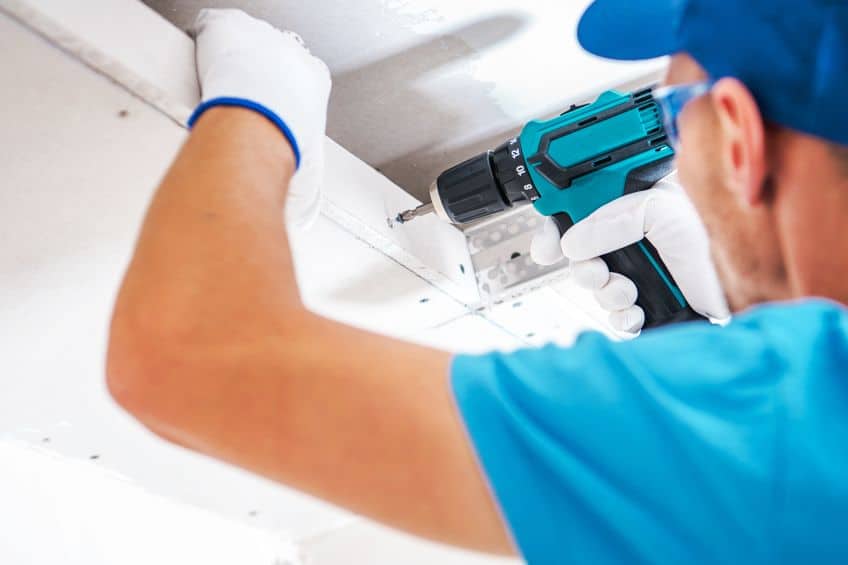
How to Fill Holes in Drywall
It’s time to learn how to fill holes in drywall. Filling holes in the surface of a wall is pretty easy and doesn’t take an awful lot of effort, although there are some steps you should follow to ensure that the surface is adequately prepared and that there aren’t any gaps.
Here is a step-by-step guide on how to prepare a hole for filling and how to use drywall spackle to fill it.
Prepare the Hole for Filling
Preparing the surface of your wall before filling the hole is one of the most important steps in the process. If the surface is not prepared correctly the spackle could fail to adhere correctly and ultimately force you to remove it and start the process all over again. How do you prepare your wall for spackle then?
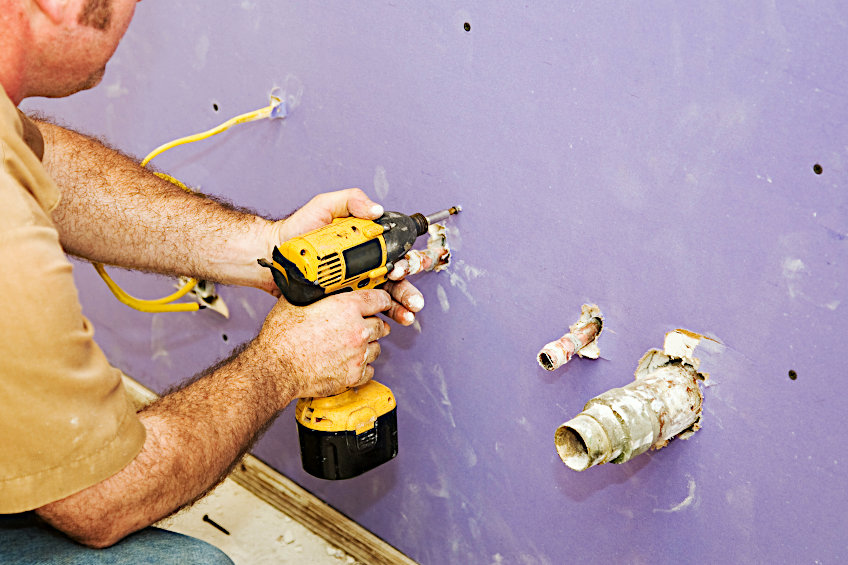
Clear Out the Area Around the Hole
The first thing you should do is remove any pieces of drywall from the surrounding area and/or inside the screw hole. You can pick away the bigger pieces and use a clean cloth to wipe away any dust that has accumulated in and around the area over time. Once you have removed any debris around the hole you should give it a good clean. Cleaning the area around your hole is simple. Get some soapy water and use a clean cloth to give the area around the hole a good once-over.
Ensure that any stubborn pieces of dirt and grim are removed to ensure that you have maximum adhesion by your spackle. When you’re done cleaning the area, allow it to dry completely.
Sand the Area Around the Hole
Is the area around the hole dry? Good. It’s time to sand the surface. Why? Sanding the surface surrounding the hole will increase the surface friction of the material the wall is made of. This ensures that that spackle adheres correctly and will blend in nicely once it’s been applied. For this exercise, we recommend using medium grit sandpaper. Sanding in a circular motion is the most effective way to go about things. Sand the area around the hole until it is nice and smooth, ensuring that you wipe away any dust as you go along. Once the area around the hole is nice and smooth, ensure that you have your spackle ready before you can move on to the next step in the process.
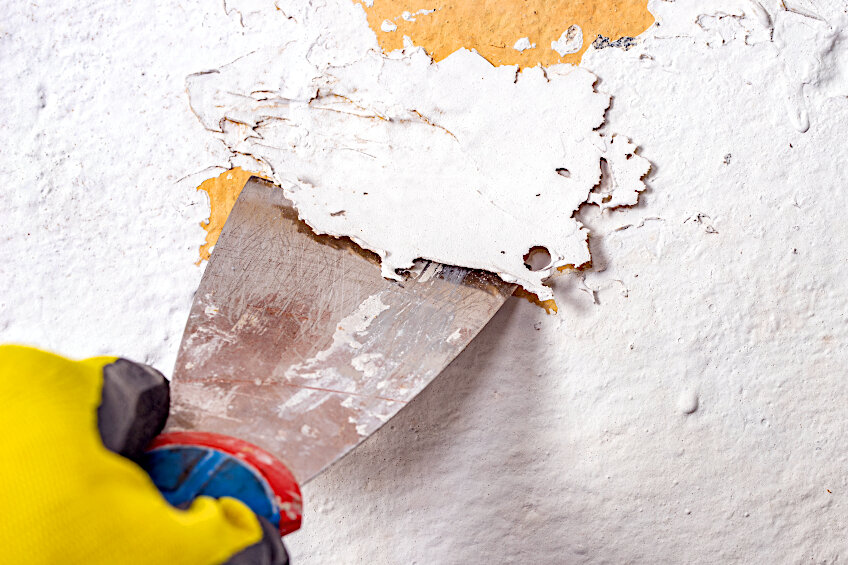
Fill the Hole With Spackle
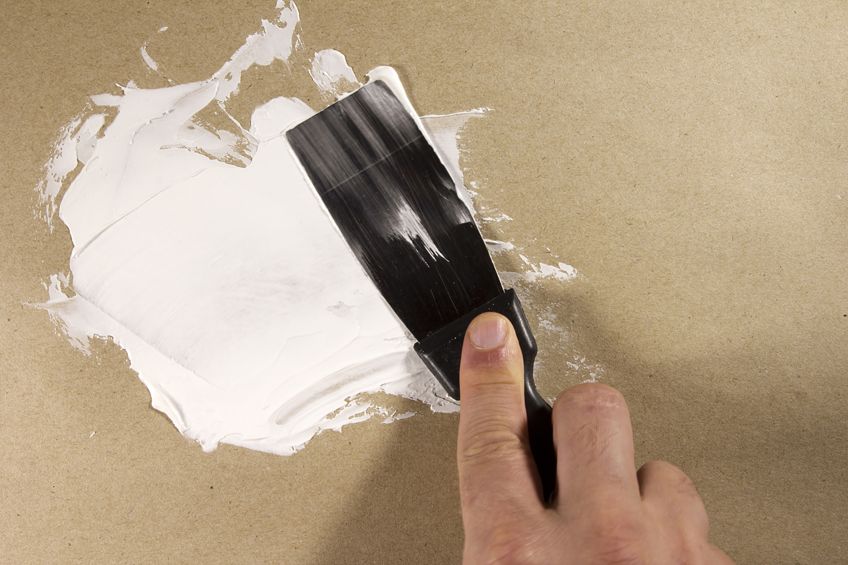
Once the hole has been sanded nice and smooth it’s time for you to apply your spackle. Spackle is super easy to use and doesn’t take an awful lot of effort to apply. Unlike drywall mud, spackle does not need to be diluted, mixed with water, or otherwise prepared before it can be used as a void filler. Therefore, you can literally just open it up and get to work. How do you use Spackle? Simply put, open the spackle container, and remove the protective seal. Next, scoop some up using your putty knife and use the surface to fill the hole in your wall with the putty.
You don’t need to use too much, just enough to ensure that the recess is thoroughly filled and not too much protrudes from the hole. Once the hole has been filled, use the edge of the putty knife to wipe away the excess.
Hold the edge of a knife in contact with the surface of the wall at a 45-degree angle and drag it across the surface of the hole until all of the excess has been collected. This should spread some of the spackle across the surface surrounding the hole as well, which is exactly what you want. Once you have removed the excess and successfully spread the spackle across the surface surrounding the hole, all you need to do is allow the spackle to dry and harden for a time period that will likely be indicated by the manufacturer. Do not attempt to touch or otherwise interact with the spackle while it is hardening.
Sand and Paint the Wall
Has your spackle hardened? Good. At the moment you have a nicely filled screw hole and hardened spackle on the surface of your wall. What is the next step? The next step is to sand the hardened spackle until it is smooth and then apply some paint to blend the now repaired area in with the rest of your wall’s surface. How do you do this? Start off by getting your fine-grit sandpaper. As you did when you were preparing the wall for spackle, sand the now-filled area until it is nice and smooth. While you can sand in one direction (back and forth), you can also work in a circular motion on the affected area.
Regardless, the goal is to make the hardened spackle as smooth as possible while ensuring that it is flush with the surrounding surface.
Once your surface has been sanded, use a clean cloth to wipe away any sanding dust that might have accumulated on the spackled area. Once the area has been cleaned, it’s time for you to paint the spackled area. Spot repairing can be challenging as you will have to blend the repaired area in with the rest of the wall, but with some practice, you should be able to do a decent job. Give your paint container a good shake to mix the heavier particles at the bottom of the can with the rest of the mixture. Next, you can either pour some out into a smaller container or dip your brush directly into the paint. Start painting from the center of the hardened spackle and work your way outward toward the edges.

Blend the edges in with the surrounding area using just enough pressure and precision strokes of your brush. As we mentioned previously this can be challenging, but the more you work at it the better the results will be. Works slowly and precisely, and once you are done allow the paint to dry for the time indicated by the manufacturer. Additional coats may be applied once the paint has dried.
You should have an idea of what hole filler is, as well as how to use screw hole filler, why it’s important to fill screw holes to begin with, what you should need to get the job done, and what the best way to go about it is. Now you should be able get out there and put your newfound knowledge to the test, but remember that the longer holes are left open, the greater the probability of cracks forming. Therefore, it is best to tackle them as soon as possible.
Frequently Asked Questions
How Do You Patch Screw Holes in Drywall?
Are you wondering how to patch screw holes in drywall? All that you need to do is clear out the hole of any debris, fill the hole using some spackle, and then paint over the affected area. Larger holes might require the use of a drywall patch.
Can You Fix a Hole in Drywall?
Yes, drywall is repairable as long as the hole is of a reasonable size. Wondering how to patch screw holes in drywall? If your hole is small enough, all you need to do is fill the hole with spackle and paint over it, which is a quick and easy process.
What Are the Mysterious Holes in Drywall?
If you have holes that you did not make yourself, it is possible that these holes could have been made by termites. Termites tend to make holes in the surface of drywall during their mating season when creating escape routes for larvae that will hatch later.