How to Cut Screws – Using Different Tools to Cut Screws
This post may contain affiliate links. We may earn a small commission from purchases made through them, at no additional cost to you. You help to support resin-expert.com
Screws are arguably one of the most useful fasteners on the market. It is believed that the screw was invented around 4000 BCE, and since then, we’ve made screws from a wide variety of materials to suit various applications. However, screws aren’t always the perfect size or thread for your intended application, in which case, you might need to cut your screw. For this reason, we thought we’d show you how to cut screws correctly, how to cut screws without tools, and how to ensure that your screw is still usable after it has been cut. With that being said, here are a few scenarios where you could find yourself needing to cut a screw.
Table of Contents
Why Would You Need to Cut a Screw?
Cutting a screw might seem like overkill to some, but it is often the last resort when attempting to insert or remove a screw/bolt. There are many factors that can affect a screw’s ability to be inserted or removed, including lubrication, cross-threading, corrosion, metal fatigue, or simply the incorrect screw size. Below are some of the most common reasons that screws and bolts are cut.
Scarcity and Availability
Most products today are made through the mass production process. This is done to ensure the needs of the broadest customer base are met and to ensure that the business remains profitable by producing products that are widely needed and therefore will sell consistently.
Screws then are produced following the measurements that are in the greatest demand.
Expensive to Custom-Make Screws
Due to this, if you have an internal thread that requires a screw of a less common length or pitch, you could end up needing to cut an available screw if you’re unable to get your hands on an appropriate one. Rare or seldomly used screw sizes can be challenging to track down, and if they cannot be found, it can be quite expensive to have them custom-made.

Precision Sizing
Aside from being expensive, screws are very small. This means you could end up having to purchase a dozen or so of them, just to make it worth the manufacturer’s time and money. In this case, cutting your screw to size would not only be cheaper but would be less time-consuming.
You will also be able to gauge the size perfectly since you have its intended thread on hand for measurement.
Ensuring Your Surface Is Flush
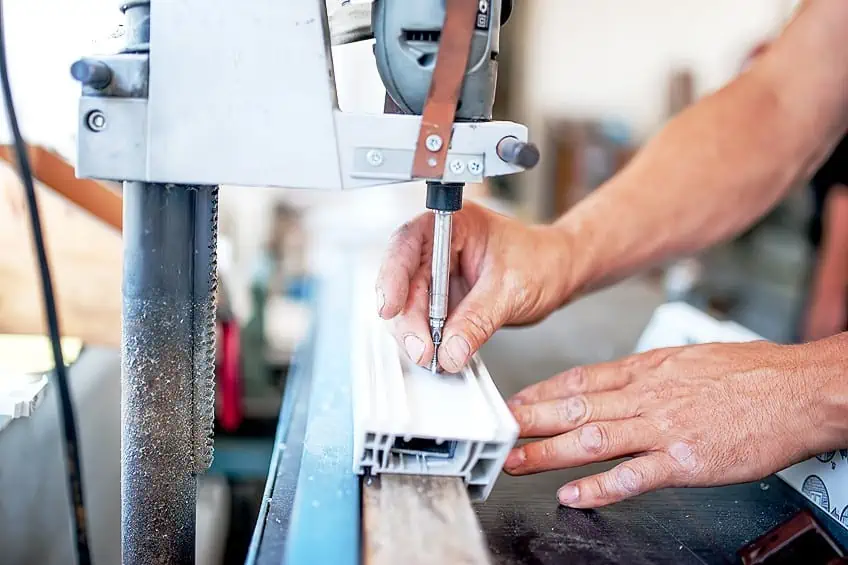
Besides cutting the edge of a screw to ensure it’s short enough to be threaded into place, you might need to cut off the head of a screw too. The head of a screw is where the drive configuration is located, and when a screw or bolt has been driven into place this is usually the part that’s left exposed on the surface of your workpiece.
Why would you need to cut the head of a screw off then? Well, there are usually two reasons for this. First is when you’d like the surface of your workpiece to be flush but you don’t have access to countersunk screws or bolts. This removed the protruding head and will allow you to create a flush surface using wood filler or similar materials.
Removing a Stubborn Bolt or Screw
The second reason is that you might need to cut the head off with a screw or bolt it to remove it. If a screw or bolt has become cross-threaded, it can become impossible to remove using a screwdriver or wrench. By removing the head of the bolt, you’ll be able to drill into the shaft of the screw/bolt and remove it since you’ll have the required grip. This won’t apply to screws made of certain materials, or if the surrounding material is too malleable.
That being said, working with steel screws in iron or wooden workpieces should have enough resistance to heat and friction for you to remove the screw for your workpiece without damaging it too much.
How to Cut Screws Correctly
Cutting a screw correctly is easy, but there are a few steps you should follow to ensure that you achieve your desired length and don’t distort the thread. Here are a few steps you should follow when cutting a screw as well as a few of the things you’ll need to get the job done correctly.
Ensure that you wear a pair of gloves as well as some eye protection when cutting screws.
Determine Your Desired Length
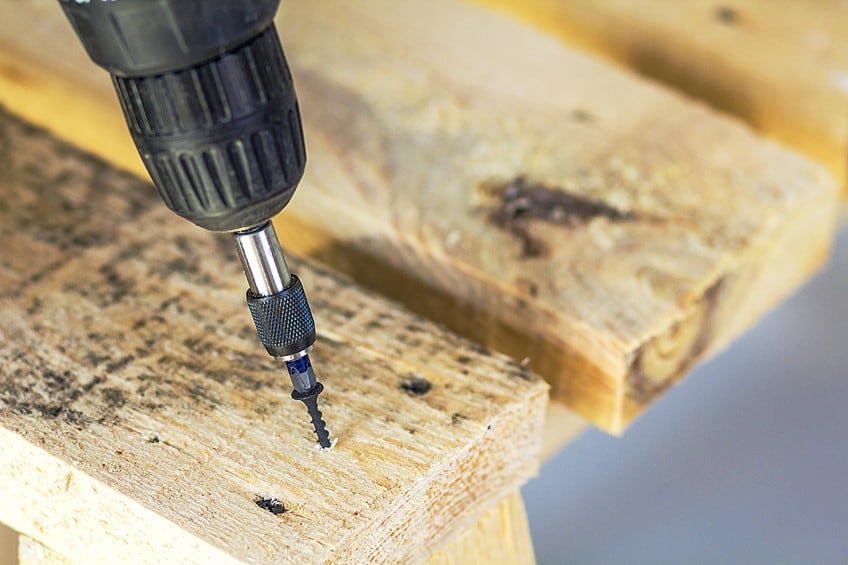
The first step in the screw-cutting process is to determine how long your screw needs to be. How do you do this? If you’re working with a wooden workpiece, the easiest way to go about this is to simply drill the screw into the wood board and check how much of the screw protrudes on the other end. However, you should implement another step before this. We recommend drilling a pilot hole first. Not only will this guide your screw upon insertion but it will also allow you to gauge the length of the screw you’ll need simply by looking.
Your pilot hole should be one size smaller than the diameter of your screw to ensure a tight fit. Drill your pilot hole and clean off any remaining wood particles.

Once your pilot hole has been drilled simply drive your screw into it using a screwdriver. Keep driving it in until the head of the screw is in contact with the surface of your board, or if you’re using a countersunk screw, until the head is flush with the surface of your board. Next, simply measure how much of the screw is protruding through the other end using some string, a ruler, or a combination of the two.
Mark Where You Would Like to Cut
The second step in cutting your screw would be to mark exactly where it needs to be cut. Once your screw has been driven into the wooden workpiece you can either use the ruler or string to create your marking with a felt pen or you can simply mark it using the point where it protrudes through the other end of the wood.
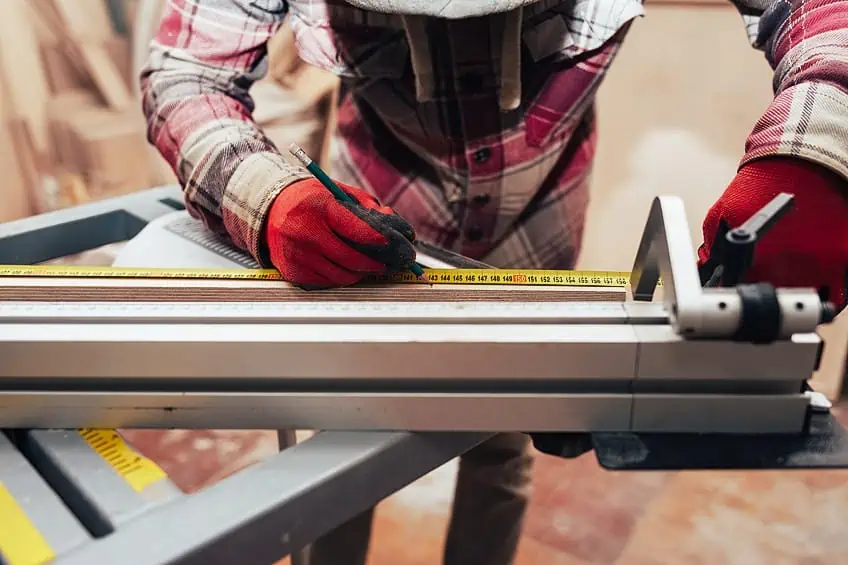
When marking your screw, it’s best to use something that will ensure the mark won’t be accidentally removed. It is best to use a permanent marker (of a color of your choice) on the edge you wish to cut and ensure that you allow it to dry completely before removing the nail from the wood and/or attempting to cut it.
Secure Your Screw Tightly
Once you’ve determined how long you would like your screw to be and marked where you would like to cut it you should do your best to secure your screw before you begin cutting. Remember that regardless of whether you are using a hand tool or a power tool to cut your screw, attempting to cut it whole loose can result in injury and/or the loss of your screw. How do you secure your screw before you begin cutting? The best way to go about securing a screw for cutting is to use a clamping device or a bench vice.
Ensure that the end you intend to remove is facing upward and that the other end is firmly secure inside the vice or clamp. To make sure it is secure, simply attempt to move the screw inside your clamping device, and if it doesn’t move, you’re good to go.
Cut the Screw Using a Tool of Your Choosing
Below we’ll show you how to cut screws flush. There are many ways for you to go about cutting a screw, so we’ve listed some of the most commonly used and arguably most effective means of doing so down below. Once again, ensure that your screw is secure in your clamping device and that you are wearing the appropriate personal protective gear before proceeding.
Using a Rotary Tool
Using a rotary tool or Dremel is one of the easiest ways to cut a screw. The circular blade is small enough to allow for an accurate approach and its motor is powerful enough to cut through virtually all commercially available screws. Once you’re sure your screw or bolt is in a secure position, place the flat of the bevel parallel with the surface of your clamp/vice with the handle facing upward at a 90-degree angle.
Once in this position, turn your Dremel on and begin cutting into your screw. Allow the Dremel to do most of the work, do not force the blade through the screw as far as you can help it.
Simply keep doing this until you’ve managed to cut all the way through the screw. Ensure that you turn your Dremel off and place it on a level surface. Also, do not touch the freshly cut screw as it will be quite hot to the touch.
Using a Hacksaw
Using a hacksaw is one of the more accessible ways of cutting through a screw or bolt, especially if you want to get the job done quickly and/or don’t have power tools available to you. Using a hacksaw to cut through a screw is easy, but you should ensure that you have the correct hacksaw blade for the job, namely one with about 18 teeth per inch (TPI).
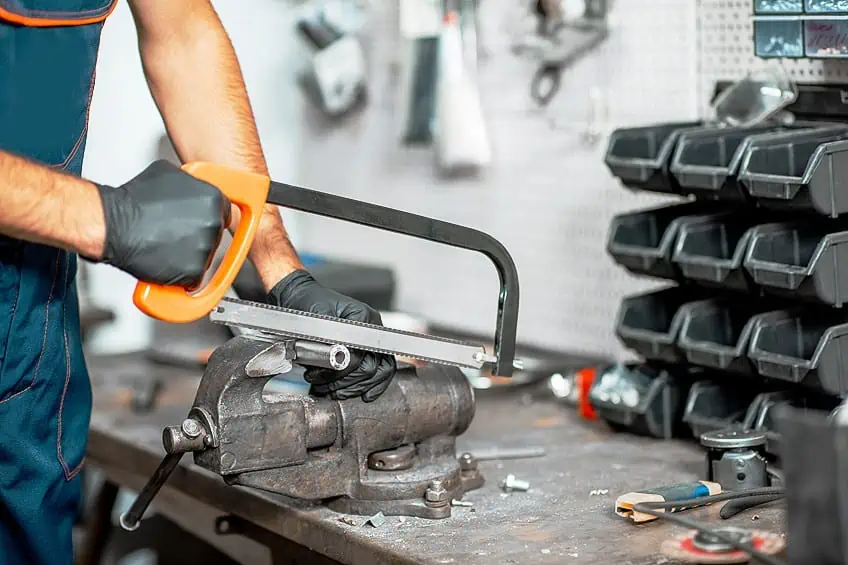
Once you’re sure your screw is firmly secure inside your vice or clamp, position your saw so that the flat side of the blade is parallel to the face of your vice/clamp. Next, place the teeth in contact with the screw and saw back and forth until you have sawn through to the screw. Remember that hacksaw blades cut on the return stroke, so that’s when you want to use the most power.
Using a Bolt Cutter
Bolt cutters are one of the best ways to cut screws if you’re pressed for time. After all, you won’t be sawing through the screw, you’ll quite literally be cutting it, much in the same way you would with scissors and paper. Bolt cutters are easy to use but they can be quite dangerous so make sure you have your hand and eye protection on before proceeding. Once you’re sure your screw is firmly secure in your vice or clamp, open up the jaws of your bolt cutter and place them around the screw, preferably as close to the fulcrum as possible.
This will allow you to apply the most force to your screw, and all you need to do after this is squeeze until the screw’s edge pops off. Don’t be surprised if the edge you’ve been cutting pops off, just ensure your hands and eyes are clear of its flight path.
Smooth Out the Edges of Your Screw
Once you’ve managed to resize your screw you’ll probably notice that the edge of your screw is a bit rough. Not to worry though, this can quickly and easily be fixed simply by using a metal file, some sandpaper, or a Dremel with a dressing tip attached to it. The goal of using any of these tools is to smoothen out the surface you have cut.
Ensure that you sand around the circumference of the screw’s shaft, not focusing on any one spot for too long. This is to ensure that the surface receives a uniform finish and that the thread isn’t irreparably altered by the sanding process. Repeat this process until you’re happy with the end of your screw and clean up any metal filings using a clean cloth or a vacuum cleaner.
Tips for Cutting Screws
Now that you know how to cut screws flush using a Dremel, hacksaw, and bolt cutters, we thought we’d share some other screw-cutting tips with you to ensure that your experience goes as smoothly as possible.
Remember that there are many more ways to cut screws, some with tools you likely haven’t even considered yet.
Use a Rotary Tool for Precision
Rotary tools are the best option if you need to be super precise when cutting a screw or any other metal workpiece. The small size of their blades combined with their powerful motors allow you to accurately cut through sheet metal, screws, the body panels of cars, and many other surfaces. That being said, if you want a clean, smooth cut that requires little dressing afterward, we recommend using this tool.
Ensure You Choose the Right Tool for the Job
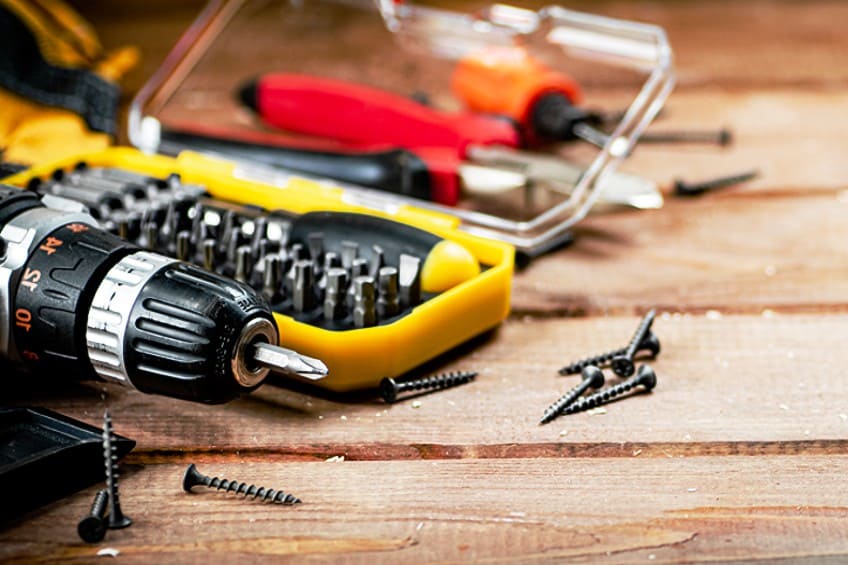
Choosing the right tool to cut screws is super important. The best way to ensure that you choose the right tool for the job means understanding what materials your screws are made out of. There are certain tools that simply won’t be enough to cut through hardened or coated steel screws, so it’s best to do your research and avoid potentially damaging your tools. Choosing a tool to cut screws can be challenging, and while we have covered bolt cutters, Dremel’s, and hacksaws, you can also use pliers, a drill, wire cutters, and even a cutting torch.
The amount of effort and degree of difficulty it would take to cut a screw with any of these tools can vary considerably, so be prepared to use some elbow grease when using hand tools.

Now that you know why you might need to cut screws, what tools are available to do so, and how to use them, it’s time for you to get out there and put your newfound knowledge to the test! Remember that the type of screws you’re trying to cut can determine what tools will be applicable to you, so ensure you know what kind of screws you’re working with and always wear hand and eye protection when attempting to cut screws.
Frequently Asked Questions
Can You Cut Screws With a Drill?
Yes, it is entirely possible to cut screws with a drill! Wondering how to cut screws with a drill? The best way to go about it is to attach a Dremel cutting bit and secure it in the drill’s chuck. All you need to do is turn the drill on and use it as you would with a Dremel. This is how to cut screws with a drill without completely destroying the screw.
Can You Cut Screws With Pliers?
Yes, this is possible. Wondering how to cut screws with pliers? The best way is to use side cutters with hardened tips, or electrical pliers with sufficient leverage. Simply get the tip of the screw between the jaws and squeeze until it pops off. In addition to wearing the correct safety gear, this is how to cut screws with pliers correctly.
Can You Cut a Screw Without Tools?
Wondering how to cut a screw without tools? Well, if you’re thinking about cutting a screw with your bare hands, it’s not likely you’re able to pull it off. You would need to apply quite a bit of force onto a really small surface area to achieve this. That being said, if you’re wondering how to cut a screw without tools, you would at the very least need a small hammer, pliers, or similar rudimentary tools.