How Many Coats of Polyurethane – Everything about Applying Poly
This post may contain affiliate links. We may earn a small commission from purchases made through them, at no additional cost to you. You help to support resin-expert.com
A polyurethane coating offers a durable and clear finish for all kinds of different wooden surfaces. The varnish is commonly used in countertops, flooring, and tables, offering a long-lasting result. Polyurethane is water-resistant and resistant to solvents, chemicals, abrasions, impact, and all kinds of other damage. A polyurethane finish doesn’t just help to strengthen the wooden surface, but it also looks great. So, how many coats of polyurethane to add? And how exactly do you apply it? We will explore this topic in detail below.
Table of Contents
What is a Polyurethane Coating?
Polyurethane is a substance that can either be water-based or oil-based. Oil-based polyurethane has been around for longer, and it is a form of alkyd varnish which is combined with polyurethane resin.
Alkyd is a substance found in basically any varnish or oil-based paint. By adding polyurethane resin to this, you get a much stronger and more resistant product. Thanks to the addition of polyurethane resin, this type of finish has excellent water, scratch, and heat resistance. Water-based polyurethane finishes are a combination of an acrylic resin with polyurethane. These coatings are not as strong as the oil-based version, but they do offer a number of favorable properties.
There is another option available though. This is an oil0-modified water-based polyurethane. Basically, this substance offers the best of both worlds. It is quick to dry, safer to use with fewer chemicals, easy to clean while maintaining the durability of an oil-based product.
How many coats of polyurethane you will need to apply depends on the type of product you use, and what your specific requirements are. Each type of polyurethane has its advantages and disadvantages. The choice should be based on the specific project that you are doing.
Oil-Based Polyurethane
As mentioned above, oil-based polyurethane finishes are extremely strong and resistant to many influences when they are cured. These finishes are quite thick – something that influences how many coats of polyurethane you add. Oil-based products also contain rather a high level of VOCs – something that makes them less easy to find.
Is one coat of polyurethane enough? For ideal results, you should use about three or four coats. You will also have to wait quite some time between coats, as this polyurethane takes longer to dry. No matter how many coats of polyurethane you apply, it will always be quite a time-consuming process when using an oil-based finish.
Oil-based polyurethane finishes have a slight amber hue when dried,. This shows through more in lighter woods and adds more warmth to the color. Oil-based polyurethane varnishes can be cleaned up using mineral spirits.
Water-Based Polyurethane
If you are after a safer and more environmentally-friendly option, then a water-based polyurethane is best. This type of varnish emits a low number of VOCs. These products are also self-leveling and faster to dry. However many coats of polyurethane you add, the process will be much quicker with a water-based product.
Even though this finish is much better to use and work with, it has its setbacks.
The cured finish is less durable, and can even cause a lift in the grain of the wood. So, how many coats of polyurethane do you need?
Because of the raise in the wood grain, water-based polyurethane products will need a couple of layers to achieve a smooth surface. The consistency of this varnish is also thinner and more liquid – meaning that more coats are required. When working with water-based polyurethane, four or five coats is probably best. Luckily, this type of finish is faster to dry. It doesn’t matter how many coats of polyurethane you do choose to apply, the job becomes faster and easier.
When water-based polyurethane is still liquid, it has a milky type of color. However, when dry it is completely clear. This allows it to really highlight and enhance the natural wood color underneath. These finishes are much easier to clean up, and only need water and soap to do this. Water-based finishes also dont yellow as easily.
The Best Polyurethane Options
With so many different polyurethane products and finishes out there, finding the right one can be a challenge. We have chosen three of the best polyurethane products below, each one in a different category. These will ensure the highest quality finish available.
Best Oil-Based Product: MINWAX Fast-Drying Polyurethane
If you are after a polyurethane finish that provides the highest level of durability, then this option by Minwax is a great choice. This finish offers a long-lasting solution that looks great with its clear satin shine.

- Provides lasting beauty and protection to any interior wood surface
- Ideal for woodworking, furniture, doors, cabinets and floors
- Can be used on both finished and unfinished wood
This polyurethane can be used over bare wood or finished wood, and it provides superior protection. A great feature of this oil-based polyurethane is how fast it dries. You still get a high level of durability, but the product manages to dry much faster than others.
Pros
- A fast-drying oil-based product
- Free of VOCs
- Abrasion and water-resistant
- Long-lasting and highly durable
Cons
- Only suitable for indoor use
- It will only dry fast in the right conditions
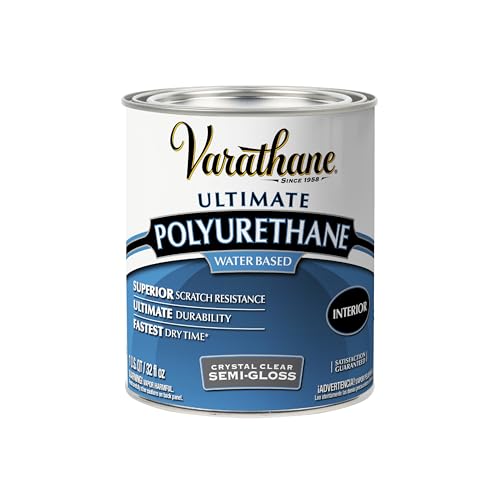
Best Water-Based Product: VARATHANE Ultimate Polyurethane
Compared to most other types of water-based polyurethane finishes, this option is more durable. It is resistant to scratches and stains and has been specially formulated for indoor use. This coating will not yellow over time, leaving you with a long-lasting clear, semi-gloss finish.
- Protects indoor wood surfaces such as furniture, windows, cabinets
- Water based formula dries fast and cleans up with soap and water
- The best scratch and stain protection available
The polyurethane dry time on this water-based product is much faster. It only takes about 30 minutes to be dry to touch, so you can add a second coat within about two hours. And no matter how many coats of polyurethane you add, you don’t need to worry about VOCs, dangerous fumes, and difficult cleaning up. So, how many coats of polyurethane to add when using this product? Generally speaking, at least three coats will do.
Pros
- Fast drying
- Resistant to stains and scratches
- Minimal VOCs and low fumes
- Very easy to clean up
- Dries to a super clear finish that won’t yellow
Cons
- Suitable for interior use only
- Does not provide a glossy shine
- The product is only available in quite a small amount
Best Oil-Modified Water-Based Product: MINWAX Water-Based Oil-Modified Polyurethane
Looking for a polyurethane varnish that offers the best characteristics of both worlds? Then this water-based finish with oil-based additives is a perfect choice. This finish can be used on any type of interior wooden surface – offering a very durable end result. The finished polyurethane has the kind of shiny warmth that you expect from good oil-based varnishes.

- Lower in odor than traditional solvent-based polyurethanes
- Protects and adds beauty to interior wood surfaces including woodwork, furniture, doors, cabinets and floors
- Dries quickly, Clear, ultra fast-drying finish that combines superior durability
The product is still very quick to dry thanks to its water-base. It is also easy to clean up without the need for tough chemicals. When working with the polyurethane, it is safer thanks to its low level of VOCs and fumes. How many coats of polyurethane need to be added when using this product? At least three layers is best.
Pros
- Fast drying
- Offers a very durable finish
- Low VOC content
- Very easy to clean up
- Minimal fumes and odors
Cons
- The fast drying time means you will need to work very precisely
- The polyurethane can show streaks
How Many Coats of Polyurethane to Apply?
Knowing how many coats of polyurethane to apply is essential for achieving a result that really works well. Is one coat of polyurethane enough? For proper protection of the underlying wood, multiple coats are required. Oil-based finishes usually require fewer layers than water-based versions.
This is because water-based polyurethane is thinner. This type of varnish is usually best after about four to five coats. Oil-based polyurethane has a thicker consistency and will offer great results after three or four coats. How many coats of polyurethane you apply really depends on how much use the surface will get, and what level of protection it needs.
Applying a Polyurethane Finish
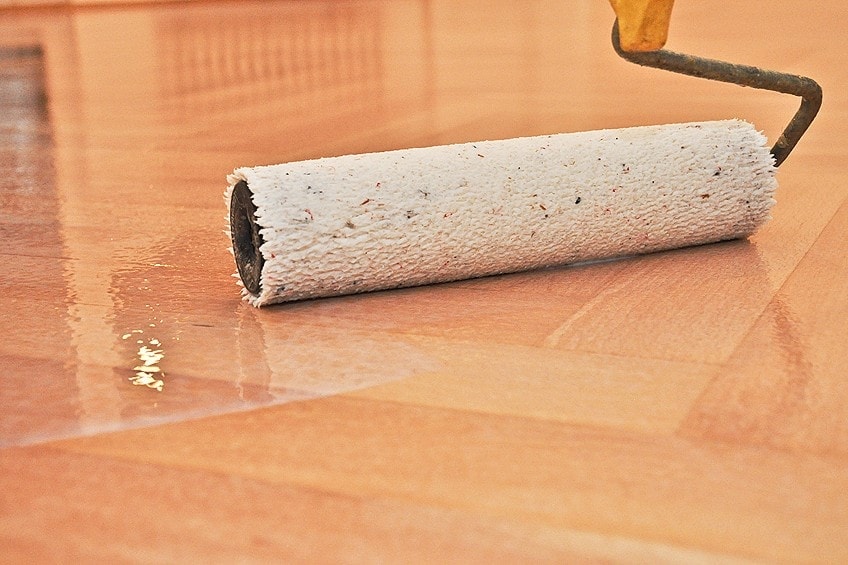
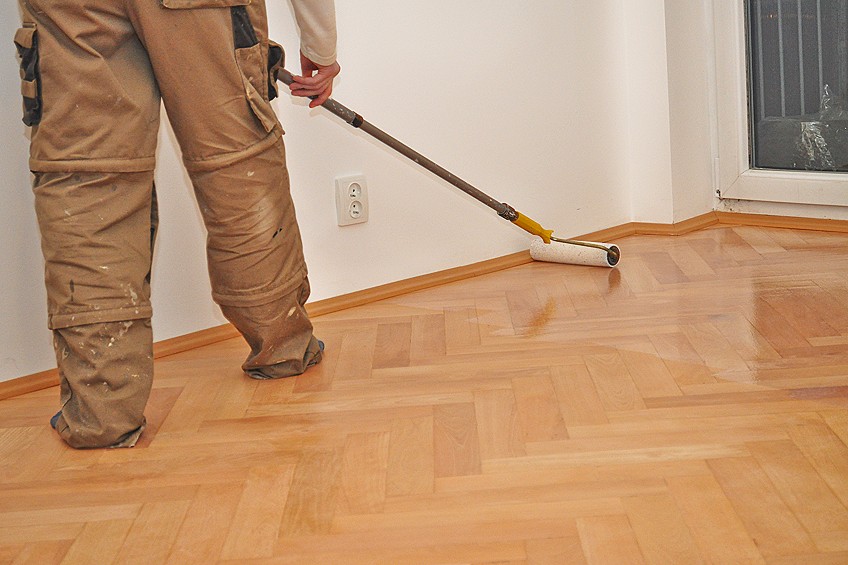
When you apply polyurethane varnish, it can be done through brushing on, spraying, or wiping. The most frequently used technique would be spraying it on. However, this does produce more fumes and should be avoided by anyone sensitive to this.
Spraying polyurethane is applied as if it was spray paint. This finish is best used over oddly shaped surfaces, as it allows you to get a nice even coating over any shape. While this is easier you apply, you also get a thinner coat. This means that five or six layers should be applied. The application also needs to be very careful in order to avoid any drips or uneven finishes.
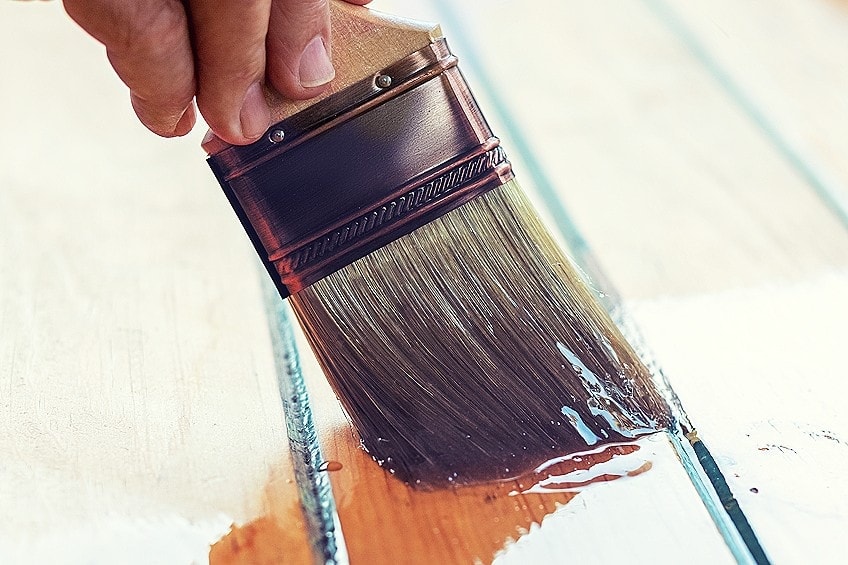
Applying polyurethane with a brush is great for flat surfaces. Brushes can apply a large amount of polyurethane over a big area. This can be laid down as a thick coat – offering great durability. Foam brushes can also be used for precise results.
For difficult surfaces that are contoured, wiping on the polyurethane is best. This allows you to avoid drips and uneven finishes. The downside to wiping on polyurethane is that you get a much thinner coat, so multiple applications are necessary.
How to Apply Polyurethane: Step by Step
You need to know what you are doing when applying polyurethane to wooden surfaces, as the process can involve various steps. We have detailed out the application process below for achieving the perfect finish.
The Workspace
- No matter what kind of polyurethane you are using, or what the VOC content is, you will need a safe and appropriate workspace. This needs to be well-ventilated with plenty of fresh air
- Always try to work inside if possible. This helps to avoid things like dust, bugs, or other contaminants that can settle into the wet polyurethane
- Make sure that you have the right protective gear on when working. This includes a respirator mask, protective goggles, and gloves
- If possible, try to work on a perfectly flat surface. This allows you to get a more level and even coating without creating drips
- Work in good light and look intensely at the finish to make sure you notice any brush marks and imperfections
Preparing the Surface
- Before any polyurethane is applied, the surface needs to be fully prepared. Make sure that the surface is clear, without any obstructions in the way
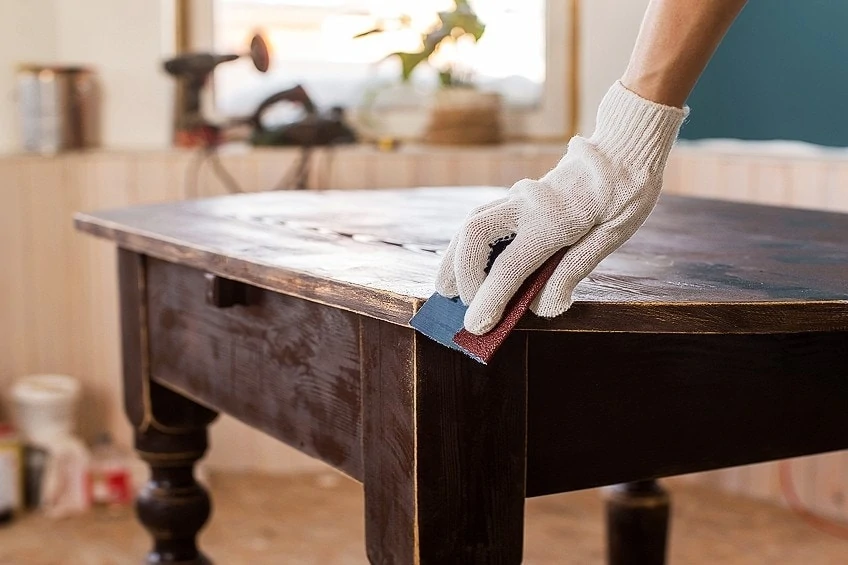
- Sanding polyurethane surfaces needs to be done to achieve an even result. Start with coarse sandpaper and move to finer sandpaper until the wooden surface is smooth and even
- Vacuum up any dust from the sanding, and completely wipe the area clean to make sure that no dirt or residue is present. This can affect the polyurethanes adhesion
- If using water-based polyurethane, wet the wooden surface first to raise the grain. Then sanding the polyurethane surface can be done to achieve a perfectly smooth result
Sealing the Wooden Surface
- When applying polyurethane to wood, adding a sealant layer is important. This is because wood is porous and so bubbles can form. Thinning polyurethane needs to be done here to achieve a sealant consistency
- How to thin polyurethane? The process is easy. When thinning polyurethane, mix two parts of an oil-based product with one part mineral spirits. Thinning polyurethane that is water-based can simply be done with water. Knowing how to thin polyurethane is a helpful trick for achieving various effects
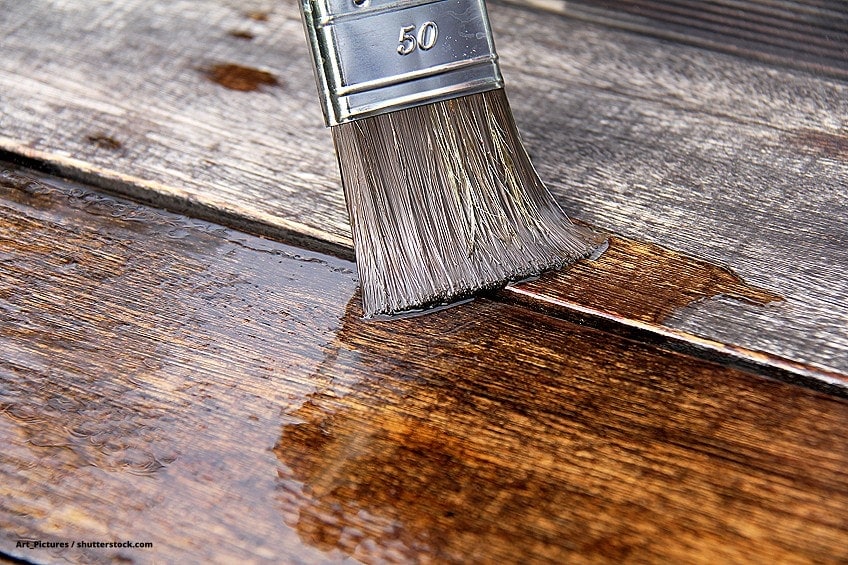
- Apply the sealer layer with a brush using long strokes. Try to use a natural bristle brush for a smoother finish. Make sure that no drips form when applying the sealer
- Applying a water-based product over an oil-based stain involves some preparation. This is necessary for good adhesion. To do this, the surface can be roughened up a bit with steel wool to create an area that will bond stronger
Adding the First Coat
- Once the sealant has been applied, you should wait about 24 hours before adding the first coat of polyurethane. Only do this when the sealant layer is fully dried
- This coat of polyurethane should not be thinned as it will make it less adhesive
- If brushing on, try to overlap the brush strokes for a smoother and more even finish. Any drips also need to be smoothed out. Depending on what type of polyurethane you will be using, slightly different application processes are involved.
How to Apply Oil-Based Polyurethane
- Either use a foam brush or use a natural bristled brush with the softest bristles possible. If you use a cheap brush with rougher, synthetic bristles, you can get streaks and brush strokes forming. For flat surfaces, foam brushes work really well. Bristled brushes are great for more detailed applications
- Dip the brush straight into the polyurethane can, but do not wide it on the side of the can in order to prevent bubbles from forming. To remove any excess polyurethane, rather tap the brush into the middle of the tin
- Brush on even coats of polyurethane that are quite thick. Just make sure to do this smoothly and evenly
- How many coats of polyurethane you apply will vary. Generally, this should be at least two or three coats. Sanding between coats of polyurethane is also necessary
How to Apply Water-Based Polyurethane
- Water-based polyurethane is a thinner consistency. Applying this is best done with a cloth or a brush – preferably foam. Always apply thinner coats to avoid the wood grain from rising up to the surface
- Sanding between coats of polyurethane is not necessary with water-based products. However, it can still be a good idea
- This type of polyurethane requires at least three coats for quiet areas and four coats for busy surfaces. The polyurethane dry time is faster, so it will; be easier to apply more coats
Wet Sanding the First Layer
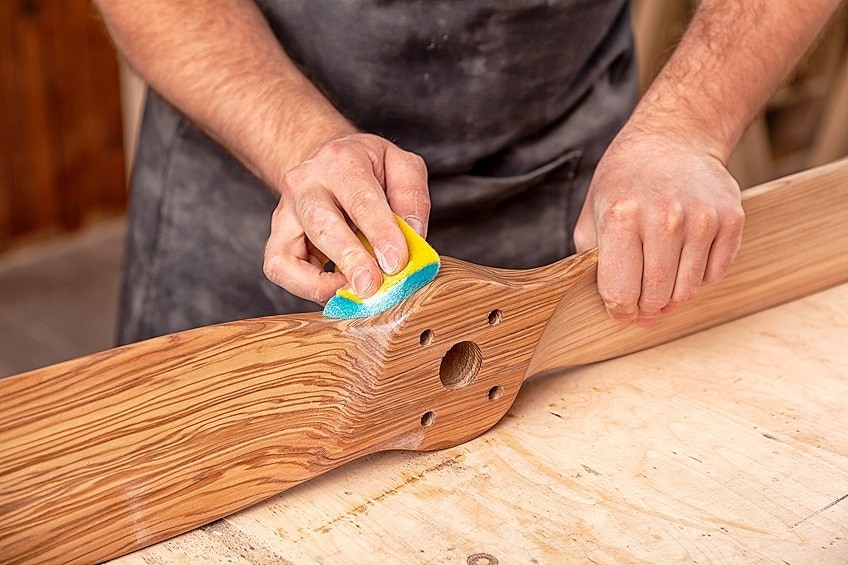
- Leave the first coat to dry properly for 24 hours. Then sanding polyurethane can be done. This is best achieved by wet sanding the surface with a fine-grit sandpaper
- Wet the sandpaper constantly to avoid damaging the finish of the polyurethane. Only sand the surface enough to get rid of any unevenness
- Sanding polyurethane should be done until the surface is smooth. Then wipe down the surface with a wet cloth, and dry it completely before adding the next coat
Adding More Coats
- No matter how many coats of polyurethane you apply, only do so once the underlying layer has completely dried first
- Sanding between polyurethane coats is needed when the layer dries uneven or bumpy. However, sanding polyurethane is not always necessary as long as the surface is smooth and even
- Sanding between polyurethane coats can be done, but don’t sand the final coat. Rather polish this coat for a nice shiny effect
- When brushing on coats of polyurethane, always follow the grain of the wood
Sanding Between Polyurethane Coats
- If sanding between coats of polyurethane a fine-grit sandpaper needs to be used. Then make sure that the coat of polyurethane is fully dried before moving onto the next one
- Sanding polyurethane with a glossy finish requires more intensity than satin or semi-gloss finishes. Glossy coatings highlight any imperfections more, so greater care needs to be taken. Finishes that are flatter can hide these easier. Polyurethane also doesn’t adhere as strongly to glossy finishes, so a rougher underlying layer needs to be created
- Using a sanding block for polyurethane will require great care. It can work well on flat surfaces but can cause deep scratches if used without precision. Steel wool and abrasive pads can also be used for roughing up the surface, although these do not work as well as sanding.
Polishing the Surface
- The final layer of polyurethane should be polished for a beautiful end result. If the second coating was wet sanded, this is particularly important. Just make sure that the final coat is completely cured before polishing. This should usually be left alone for about 48 hours
- Make sure to use a high-quality polishing paste or compound. The product you choose should have a fine abrasive quality to get rid of any scratches left behind by the sanding paper. This will help to create a smooth and shiny surface
- Use a damp cloth to apply the polishing paste to the polyurethane surface. This can be rubbed in a circular motion
- This surface should dry completely first. Then it can be buffed with a dry cloth. If there is some cloudiness on the surface, just add a bit more polishing paste and then buff the finish. You can continue this process until the desired end result is achieved
Useful Tips for Working With Polyurethane
- Always stir the polyurethane mixture instead of shaking it. This will help to prevent bubbles from forming
- When using a brush to apply oil-based polyurethane, make sure that it is a quality natural bristle brush. This will help to avoid air bubbles as well as brush marks and streaks
- Water-based polyurethane can be brushed on with synthetic brushes. If you use a foam or roller brush, bubbles can arise
- Thinning polyurethane can be done to achieve a faster drying time
- The first coat should never be thinned though. Thinning polyurethane can be done for the base coat and other layers, but never the first coat as this affects how the polyurethane sticks to the wood
- While brushing on the polyurethane, the brush should be kept damp with a solvent. By dipping it in something like mineral spirits or water (depending on the type of polyurethane), the brush becomes much easier to clean
- Wiping the brush on the can of the polyurethane can result in bubbles. Rather tap any excess polyurethane off over the container
- When brushing on the polyurethane coating, make sure to do this with the grain of the wood. To get a nice even surface, the polyurethane should be worked into the wood pores as much as possible
- Working with thinner coatings will help to reduce any drips. Spraying or wiping on the layers will produce thinner coats. Otherwise, drips and runs can be removed with a sharp razor
Frequently Asked Questions
What is a Normal Polyurethane Dry Time?
Water-based polyurethanes dry faster thanks to their thin consistency. These can be dry to touch within six hours. Oil-based products generally need about 24 hours to dry. The polyurethane dry time depends on things like the air temperature, humidity, ventilation, and how thick the layers are.
What is the Best Polyurethane Drying Temperature?
Drying time is dependent on various factors, including humidity and airflow. However, the best temperature for drying polyurethane would be around 77 degrees Fahrenheit. Humidity levels should be around 50% compared to the temperature.
How to Get Rid of Air Bubbles in Polyurethane?
If bubbles form in the polyurethane finish, they will need to be removed. You can either wipe the coat of polyurethane that has bubbles in it with a cloth dipped in mineral spirits. Wiping over the coat for around 20 minutes should get rid of the bubbles without causing any damage to the polyurethane surface.
You could also wait until the polyurethane is completely dried, and then sand out the bubbles to achieve a smooth and even surface. When applying a new layer of polyurethane, thinning it with water or mineral spirits will help to prevent bubbles from forming.
How to Remove Brush Marks in Polyurethane?
If brush marks are left behind after applying the polyurethane, they can be sanded away with very fine sandpaper. Make sure to sand this down evenly, then wipe away and clean off any dust left behind. Rather apply more thin coats of polyurethane, as thicker coats are more prone to producing brush marks.
Applying polyurethane and knowing how many coats of polyurethane to lay down is important when going ahead with your DIY project. This finish can provide many benefits to wooden surfaces, but it is important to understand the different types of polyurethane available and methods to take when using it. Our article should have covered everything you needed to know to prepare you for applying coats of polyurethane to a wooden surface.