Epoxy Paint for Tile – Guide for coating Epoxy over Tile
This post may contain affiliate links. We may earn a small commission from purchases made through them, at no additional cost to you. You help to support resin-expert.com
Epoxy resin as a floor coating is becoming increasingly popular. No wonder, because epoxy offers many advantages and even old tiles can be coated with epoxy resin. How you can apply the synthetic resin to your tiles, and what advantages this provides, is explained in our guide.
Table of Contents
Why apply Epoxy Resin on Tiles?
All apartments and houses need a thorough renovation at some point. This also includes the renewal of the floor covering. As a rule, the old floor must then be removed before the new floor covering can be applied.
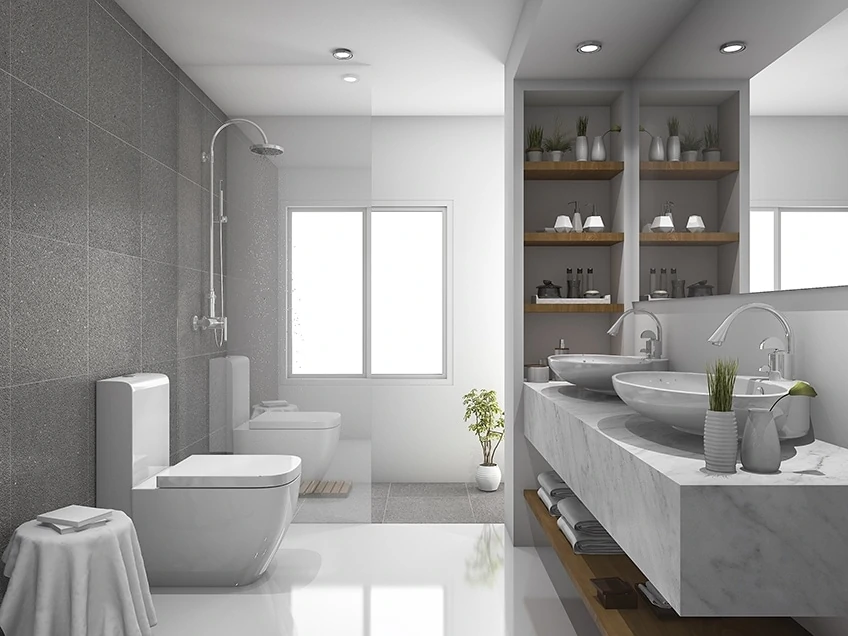
Especially with old tiles in the bathroom, however, it can be challenging to remove them, as they can often only be broken out with great effort. If the tiles are dubious in taste and date back to the 70s, there is usually no question of simply enduring the disaster. Then not only a new design is needed, but also a floor coating that is both water-resistant and impermeable.
This is where epoxy resin comes into play as a floor coating on old tiles. This consists of two components, namely the resin and the hardener, and can be applied as a coating after exact mixing.
In principle, almost all materials can be coated with epoxy resin. In addition, epoxy resin flooring on tiles can be mixed with various filling materials and colors, thus guaranteeing a high degree of design freedom. You can arrange the floor according to your personal taste.
Advantages and Disadvantages of a coating with Epoxy Resin
An epoxy resin floor coating on tiles has many advantages. However, epoxy resin flooring on tiles has a few disadvantages.
Advantages
- Joint and seamless installation
- Simple processing
- Wear-free and abrasion-resistant
- Especially well suited for large areas
- Withstands high chemical and mechanical loads
- Extremely durable
- Not very maintenance-intensive
- Completely impermeable to liquids
- Relatively inexpensive
- Non-slip and therefore very safe
Disadvantages
- The epoxy coating is tough to remove; this can only be done by mechanical action
- Resin and hardener must be optimally mixed before application
In practice, mixing resin and hardener is not as complicated as it sounds. It is important that you follow the manufacturer’s instructions exactly and do not mix products from different manufacturers.
Furthermore, other components can be added to the mixture of resin and hardener. These include inhibitors that extend the pot life, but also paint particles and filling materials. As far as the latter is concerned, there are, however, several things to consider when using epoxy resin as a floor coating on tiles, which we will discuss in the following step-by-step instructions.
Supplies for Epoxy Resin Floor Coating on Tiles
To install epoxy resin in the bathroom, you need the following materials:
- The epoxy resin plus the corresponding hardener
- Cleaning utensils for the floor
- Possibly a filler to level out unevenness, cracks and gaps
- Possibly a spatula
- Two large buckets or masonry buckets for mixing
- A drilling machine with mixing attachment
- A big roller to apply
- Possibly decorative elements such as glitter particles, small stones, etc.
Tutorial for applying Epoxy Resin on Tiles
Coating tiles with epoxy resin is not difficult. There are only a few things you need to consider. Below we offer you a step-by-step guide for your floor coating with epoxy.
Preparing the Tiles
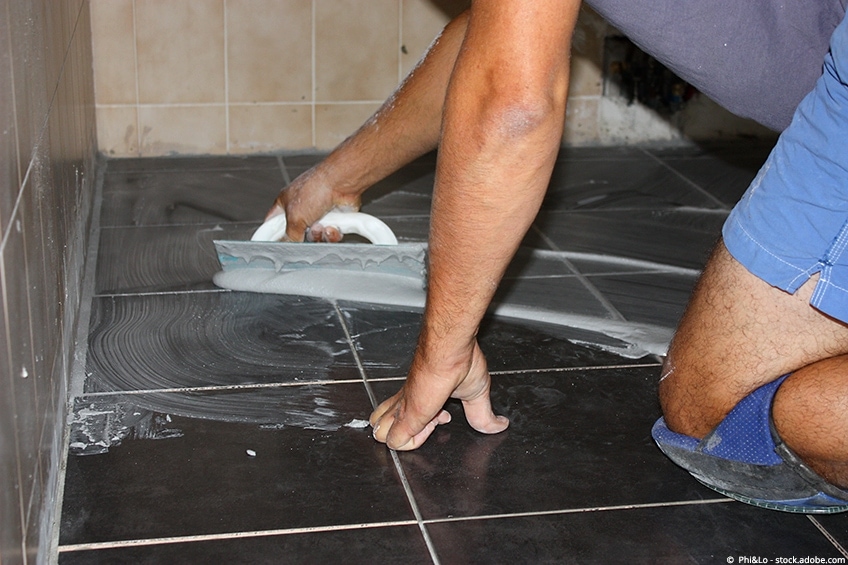
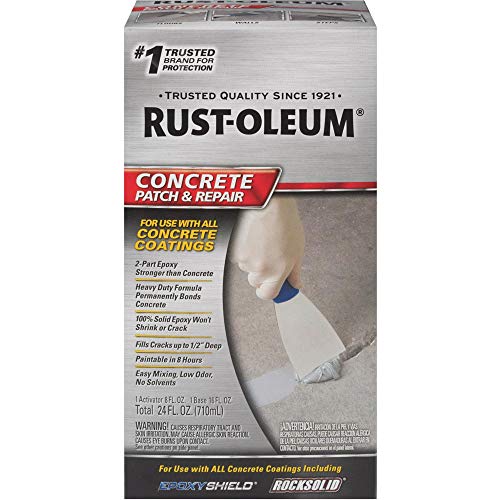
To apply epoxy resin to the tiles in the bathroom, the room must first be cleared. Carry out all objects and furniture in the room. Once you have access to all areas, you can start preparing the substrate. The floor to which the epoxy coating is to be applied must be free of any dust and dirt deposits. Any gaps, cracks or holes must be filled using a filler, such as an epoxy filler. The entire floor must be leveled.
- For use on floors, walls and all other surfaces
- No shrinkage and cracking
- Easy mixing, low odor
After you have cleaned the floor covering of dust and dirt, you should also clean it of all oil, grease and solvent residues. Otherwise, the epoxy flooring may not harden sufficiently. It is also essential that the substrate is completely dry – this also applies to the joints. These often absorb moisture and should, therefore, be allowed to dry for several days before you apply epoxy resin to the tiles. The areas repaired with leveling compound must also be completely dry.
Even if the substrate is clean and dry, it should still be primed. This ensures perfect adhesion of the epoxy resin. Also allow the primer to dry.
Apply Primer
For almost all surfaces, you should apply a primer first. This prevents the applied epoxy resin from sinking into absorbent surfaces and leaving an uneven surface.

- Low VOC acrylic-urethane bonding primer-sealer
- Adheres to glossy tile, PVC, vinyl, plastic, glass, glazed block, and more
- Top coat with almost any product, covers 300 - 400 sq. ft. per gallon
Suitable Epoxy Resin for Floor Coating
The right product for the actual coating of the floor is vital for a successful project. It is essential that you use specially developed products that are designed for this application. They are available either as already colored, or as colorless, containers, whereby the quality is crucial.

- Complete 2-component, self-leveling, and high-build epoxy flooring kit
- Excellent adhesion, abrasion, impact, and chemical resistance
- Apply over concrete, existing epoxy coating, or as binder for resurfacing

- Easy to clean attractive satin finish
- A full epoxy floor kit that offers a durable solution
- Easy to apply and long-lasting low odor formula
Actual application of Epoxy Resin
When you have finished your work on the substrate, prepare all the materials you need, because the so-called pot life, i.e., the time in which the epoxy resin can be processed, is limited. Now you can start with the application.
Mixing the two Components
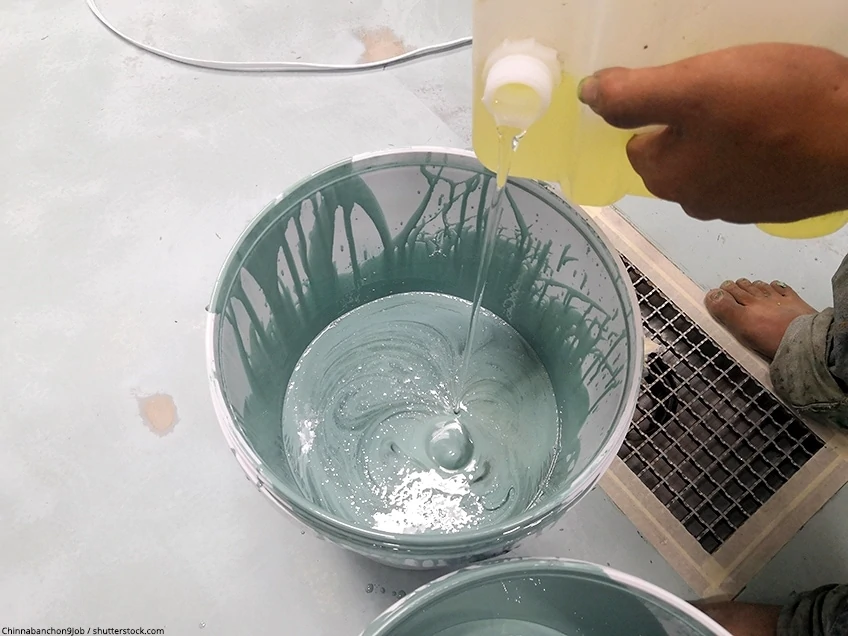
Now you can mix the two components of the floor covering. For this purpose, resin and hardener are combined in a particular ratio, which must be perfectly maintained. This is very important for an optimal hardening of the substrate. Always follow the manufacturer’s instructions when mixing. If too little hardener is added to the mixture, it may result in insufficient hardening, while too much hardener may lead to porous areas in the floor covering.
To mix the two components, you need a drill with a stirring attachment to carefully mix both parts for several minutes at a speed of about 400 rpm.


Mix the two components in a bucket and stir very thoroughly. Ideally, use a drill with a stirring attachment. It is also best to repot the mixture two or three times to ensure that the resin and hardener are thoroughly mixed.
Now the pot life begins, so the epoxy resin should be applied quickly.
Processing the Epoxy Resin
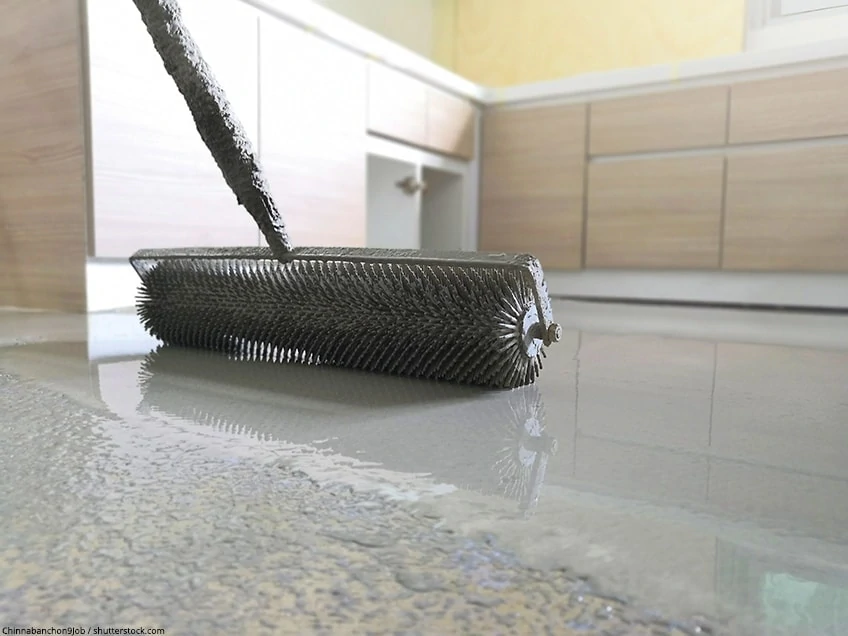
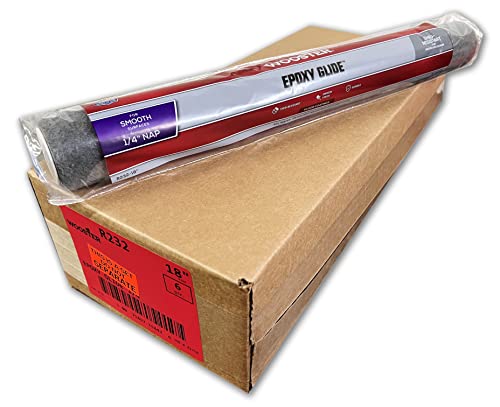
For epoxy resin application, use the roller provided, which should, of course, be clean and dust-free. Make sure that the resin is evenly distributed. Now work with the help of cross rollers. This means that you roll from front to back and then from left to right to apply the epoxy resin. This method also ensures an optimal result because it removes excess air bubbles from the mass.
The application of epoxy resin works best with a coating roller.
For the application of epoxy resin a special venting roller is necessary, which removes air bubbles and provides the final smooth distribution.

- Helps removing air bubbles from your epoxy floor coating
- Use it with spike sandals to walk over the still wet epoxy resin
It is essential to remember the pot life, because once this has expired, the epoxy resin can no longer be used.
Once you have applied the first layer, let it dry for 24 hours. Ensure proper ventilation during this time. Then, for best results, apply a second coat and let it dry for another 24 hours.

Scattering of Decorative Elements
To make your floor something special, you can sprinkle decorative glitter particles, small stones, flakes, or other accessories before the drying process begins.


Epoxy Resin Floor Sealing
Although the durability of an epoxy resin floor covering is very high, especially compared to many other floor coverings, it does not offer optimum light resistance. However, this can be significantly increased by applying another layer of transparent epoxy resin as a sealant. Such a procedure not only increases the light resistance and protects the floor from unattractive yellowing, but also provides an exceptional shine. Apart from this, this last layer optimizes the stability of the flooring and prevents wear and tear caused by mechanical action.
Curing of the Epoxy Resin Coating
After 24 hours per coat, the floor coating is cured with epoxy resin and can be used normally. However, this time also depends on the ambient temperature. If in doubt, it is better to let the floor covering dry a little longer. If you want to be absolutely sure, give the floor up to seven days for an optimal drying and curing phase.
Alternative: Varnish Tiles with 2K Varnish
If, for some reason, you prefer not to use epoxy resin floor coating, you can also resort to an alternative: the 2K tile varnish. It is easy to apply and is available in an unbelievable number of color variations. It also offers high coverage and is relatively inexpensive. However, it has some disadvantages compared to the epoxy tile coating. For example, the durability is not as high as with epoxy resin. This is especially true for use as floor covering.
Furthermore, all joint recesses remain visible with this type of floor coating on old tiles. The user must decide whether this is desired.
Even for laymen, with the right instructions, it is relatively easy to apply an epoxy resin floor coating to tiles. We hope we could support you with our guide!