Clay Bonding – The Complete Guide to the Best Clay Adhesives
This post may contain affiliate links. We may earn a small commission from purchases made through them, at no additional cost to you. You help to support resin-expert.com
Clay is one of the oldest building materials in the history of mankind. This building material has so many positive properties that it is still extremely popular today in industry and trade, as well as among private users. However, it has various disadvantages, such as with regard to joining, because it cannot be welded or screwed. In our adhesive guide, we show you how to glue clay and discuss the best glue for polymer clay according to the project at hand.
What Is Clay?
Clay is not only one of the most popular building materials in history, but also one of the oldest. It has been used in the form of dried clay bricks for more than 10,000 years; its use as pottery and tableware is even older. Clay is extracted from soil containing clay particles. Its components are, in turn, mostly fine-grained minerals.
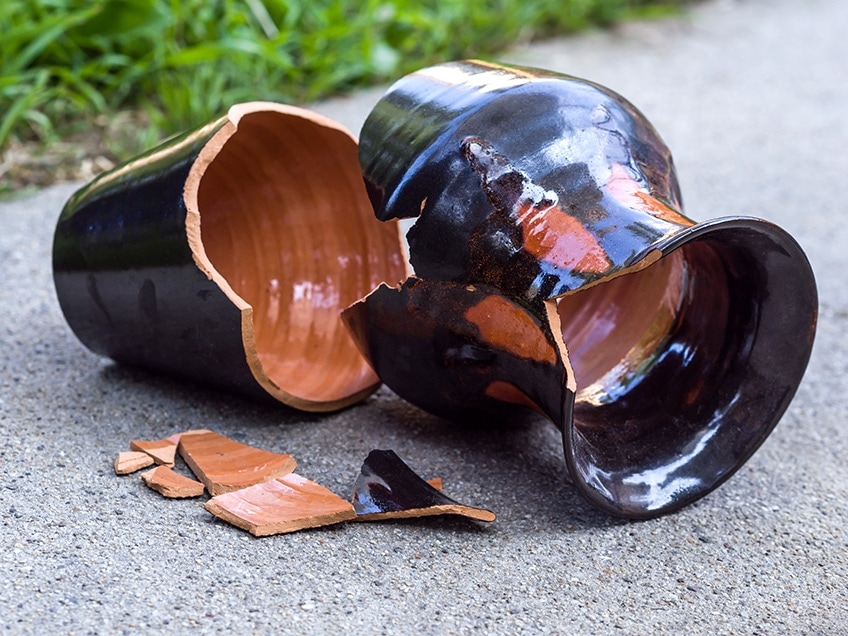
In its original state, it can be molded with great ease due to the high content of water, and can therefore be shaped into any imaginable form. After molding, it is dried or fired and thus achieves high strength and brittleness. Due to these properties, there is a high risk of breakage, which is one of the few disadvantages of clay. On the other hand, however, the material achieves a high load-bearing capacity, especially through the firing process.

The minerals that lead to the positive properties of clay include:
- Silicates
- Feldspar
- Quartz
- Calcite
- Dolomite
In particular, these properties ensure the high formability in clay’s raw state. Among the objects made of clay, a distinction is made between building ceramics and earthenware. In principle, both terms are self-explanatory:
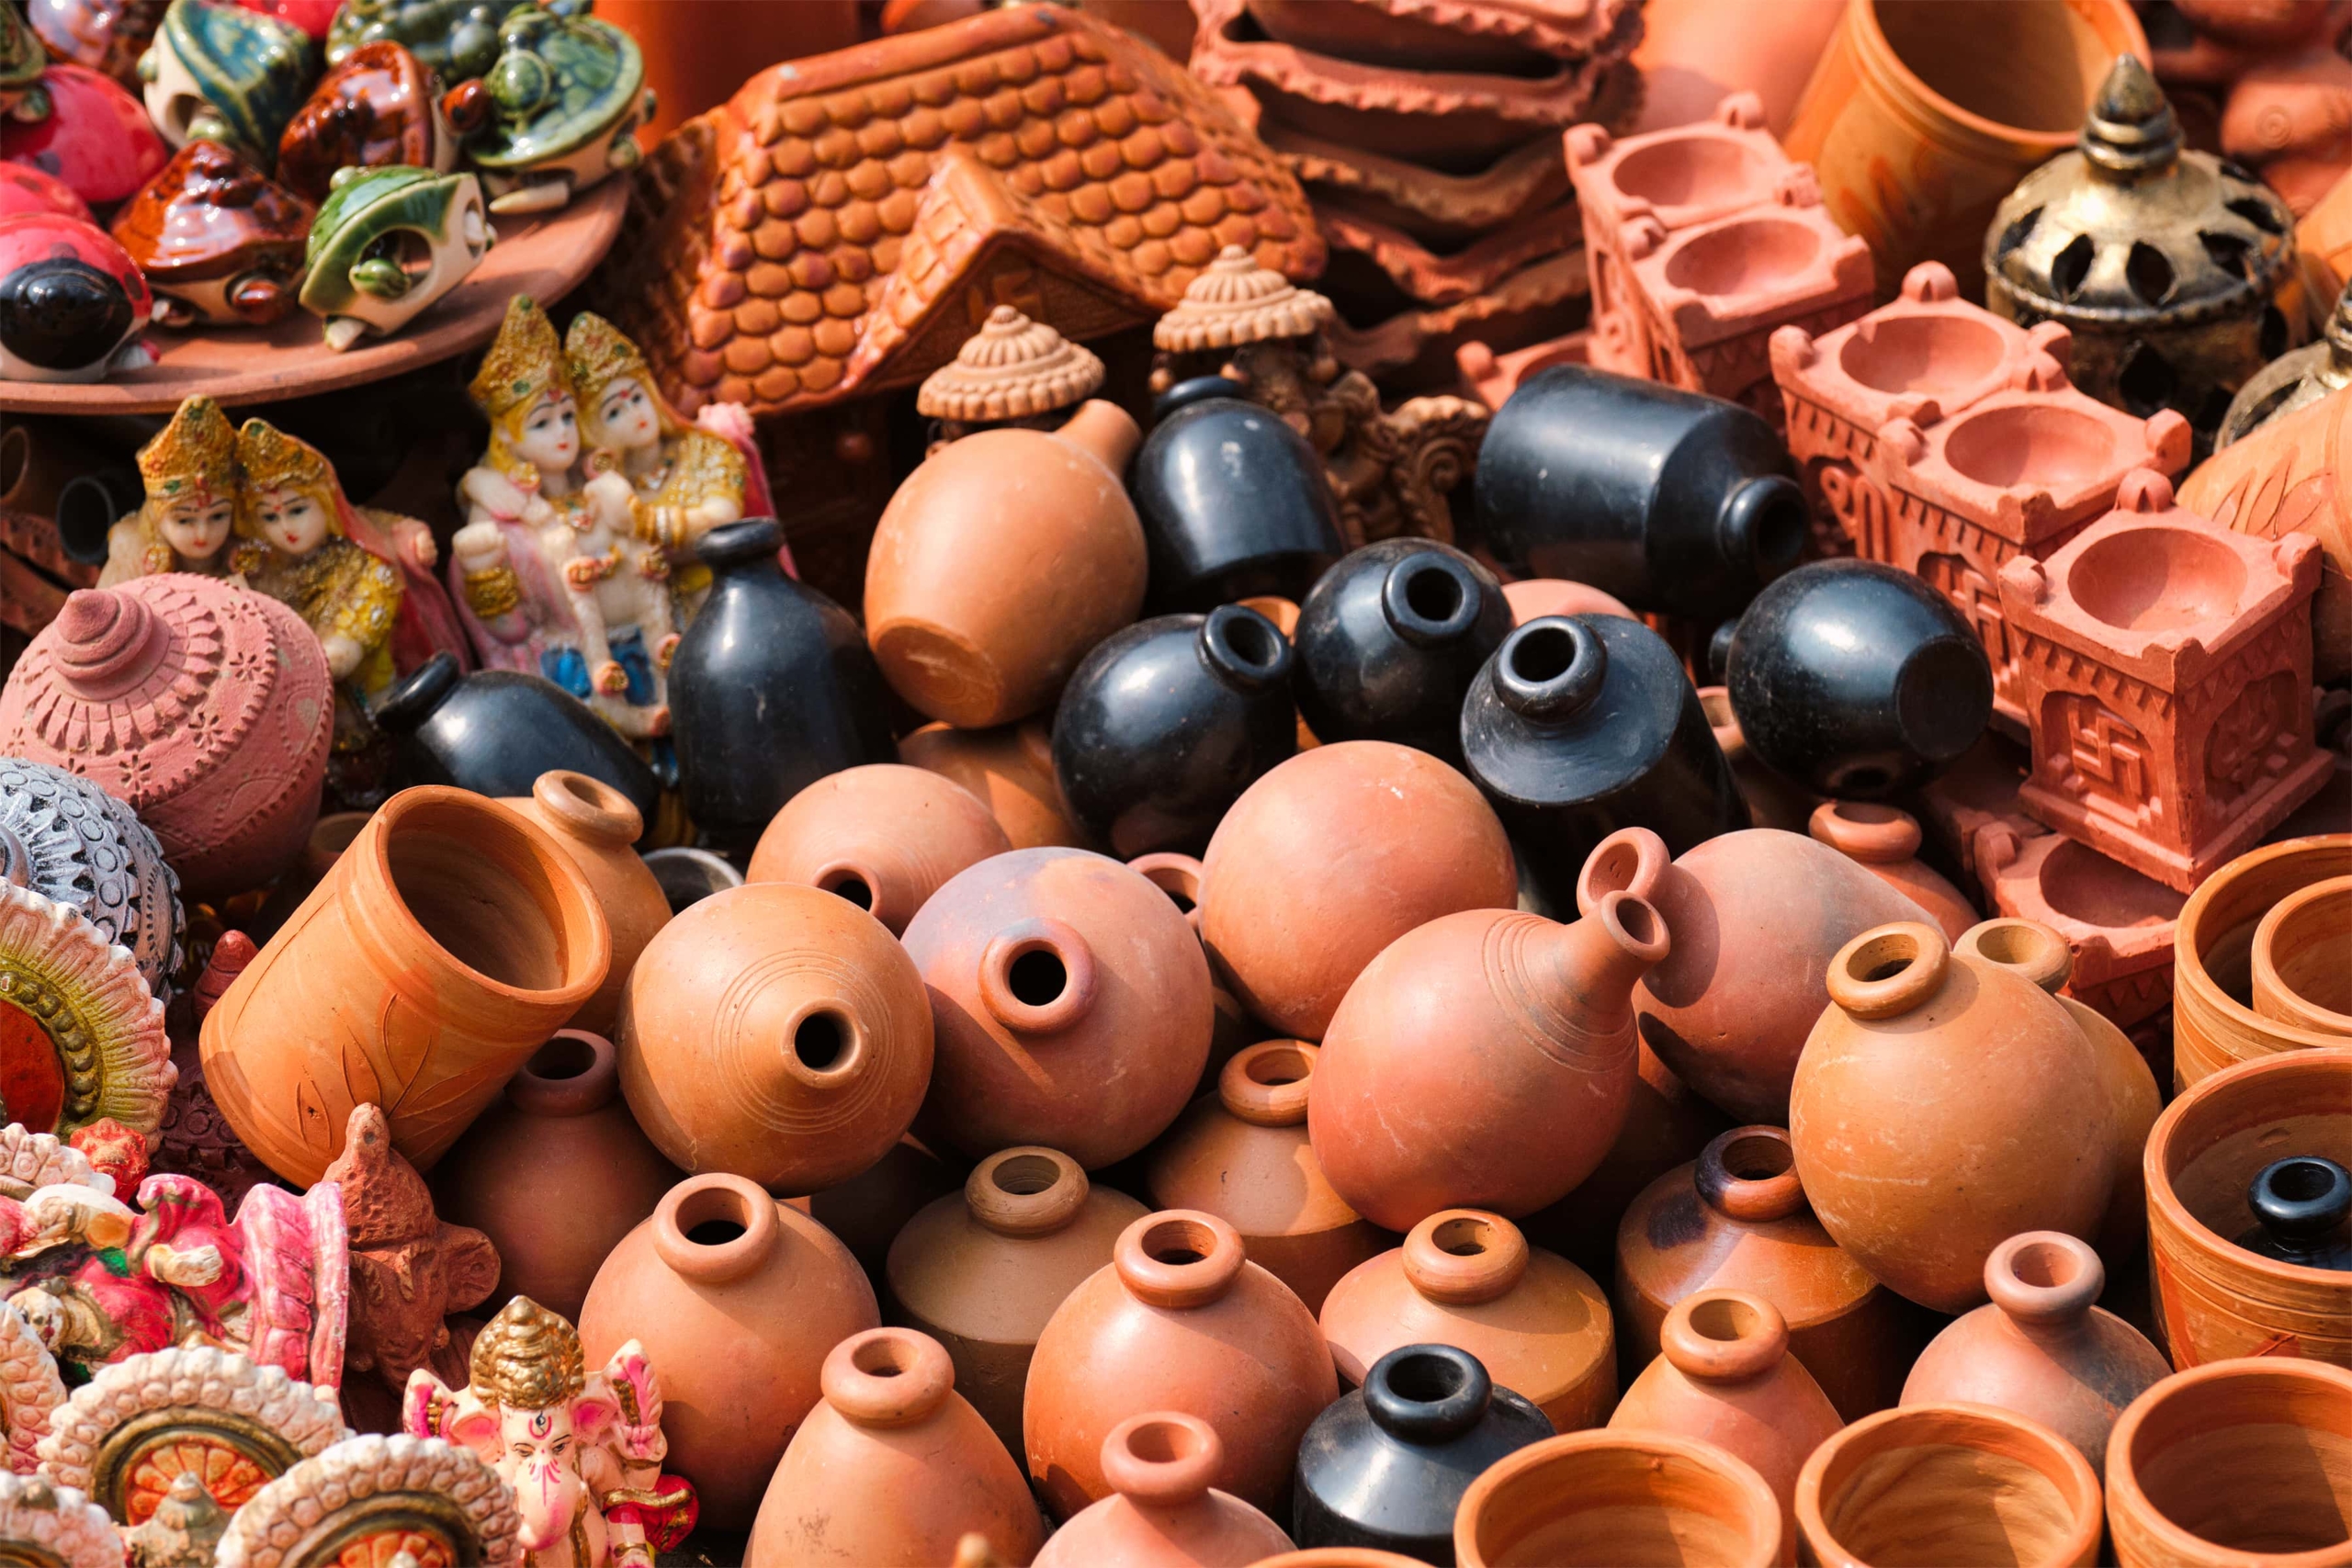
- Pottery belongs to the group of fine ceramics. They are used, among other things, as planters and tubs and as household items. As a rule, good, old-fashioned manual work is still used for their production – it is not for nothing that such unglazed pottery has a proud price. After the process of creation by means of a potter’s wheel, the pottery is fired in a kiln at 1652° to 2012° Fahrenheit (900° to 1100° Celsius). The color of the resulting utensils varies from yellow to red, depending on the iron content.
- Building ceramics have the advantage of hardly being able to absorb water, as they are fired at higher temperatures than earthenware. Therefore, building ceramics are used in the areas to which they owe their name, i.e. especially in house construction or in garden and outdoor areas. Above all, bricks, drainage pipes, and clinkers are made from building ceramics.
Applications for Clay Bonding
When bonding clay, a distinction must first be made between glazed and unglazed clay. As a rule, thinner adhesives are selected for glazed clay than for unglazed clay, since the latter is more absorbent and would partially absorb the thin adhesive film.
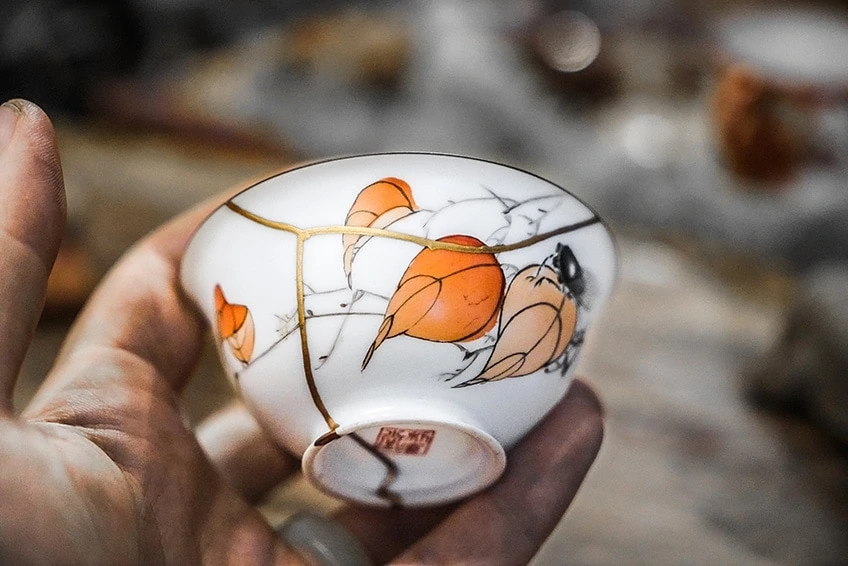
Clay and terracotta bonding is particularly interesting for artists because it opens up many creative possibilities. However, many do-it-yourselfers also appreciate the advantages of clay bonding. For example, broken or damaged pottery can be repaired very well with the help of a suitable adhesive for fired clay. You can even glue roof tiles with a high-strength curing clay glue.
Clayware Glue
Glue for clay pots and pottery is one of the few methods of joining this material together. Adhesives for fired clay come in different varieties. Some of them are highly heat-resistant, and can withstand temperatures of up to 2282° degrees Fahrenheit (1250° Celsius). These are therefore suitable for repair as well as for the subsequent firing of damaged pottery.
Other adhesives for clay, while not heat resistant, are excellent for clay bonding. One example is a two-component epoxy resin adhesive, or more precisely a construction adhesive based on epoxy. Its two components, once mixed, set off a chemical reaction that cures to high strength and can bond a wide variety of materials together. This clay adhesive offers many advantages, such as high shear strength and optimal resistance to ageing processes and weather-related influences. Some of these two-component adhesives even have a gap-filling effect.
If you need to do it quickly and it is only a minor repair, we can recommend the use of a suitable superglue. You can use this to glue a damaged clay pot, for example. One superglue that we can recommend for such repair work with a clear conscience is the following.
Recommended Glue for Clay Pots: GORILLA Clear Glue
This crystal-clear glue by the Gorilla brand offers an extremely strong, water-resistant, and non-foaming product for bonding your clay pots and pottery. You can use this glue with the greatest ease on both indoor and outdoor items.
Simply dampen the surface of your piece with some water (a spray bottle works well for this), and then apply a thin layer of this clear glue. You should wipe off any excess glue within the first 15 minutes, after which time you should clamp it down for a couple of hours and allow at least 24 hours for it to cure. This product offers excellent value for money and is a great choice for smaller repairs.

- Crystal-clear and incredibly strong
- Non-Foaming and water-resistant
- Easy to use and bonds virtually everything
PROS
- Crystal-clear
- Extremely strong and durable
- Suitable for indoors and outdoors
- Water-resistant
- Non-foaming
- Easy to use
- Great value for money
CONS
- Strong odor
- Requires clamping
We can, due to the many advantages compared to only two disadvantages, give a full recommendation for the Gorilla brand’s clear glue.
How to Glue Clay Pottery
For clayware bonding, you can use a two-component adhesive as well as a superglue. Note that the pot life is limited for both types of adhesive. However, the two-component adhesive offers you a longer working time than the superglue. The disadvantage is that you have to mix its components first.
For complicated bonding operations, make sure that you use a gap-filling adhesive. First, join all the fragments together without glue to find out whether they are a perfect fit. Now, you can apply the clay glue on both sides and fix it. You can use a wide adhesive tape for this purpose. When the glue has hardened, you can gently remove the tape. Use a cutter knife to carefully scrape off any excess dry adhesive.
Gluing Terracotta
Terracotta is an unglazed material that is extremely popular, especially in the form of flower pots or planters. It gives the garden a pristine, Mediterranean look and is very beneficial to delicate plants. However, it has this sensitivity in common with plants, because terracotta breaks quickly. Fortunately, it is easy enough to learn how to glue terracotta provided you have the right adhesive.
Best Glue for Terracotta: PC PRODUCTS PC-Clear Epoxy Adhesive Liquid
PC Products is renowned for their excellent products, and this clear two-part epoxy adhesive liquid is no different. While the adhesive may appear more opaque at first, once cured this glue for clay will become completely clear, thus blending in with the bonded item. This adhesive will form a tough, durable bond to your terracotta pieces, and will also resist chemicals, oils, salts, and water.
- Crystal-clear and incredibly strong
- Non-Foaming and water-resistant
- Easy to use and bonds virtually everything
PROS
- Completely clear
- Forms a strong and durable bond
- Resistant to chemicals, oils, salts, and water
- Easy to use
CONS
- Components have to be mixed before using
- Toxic in its liquid state
Epoxy can be toxic to work with, which is why you should always wear the appropriate safety gear. Apart from this, bonding with this two-component epoxy adhesive is no problem, so we recommend this product without reservation.
How to Glue Terracotta
Gluing terracotta is usually not a problem if all the broken parts are present and there are no major gaps. If you want to glue a very heavy terracotta piece or clay pot, you should resort to a really strong adhesive. The two-component epoxy resin adhesive mentioned above is the first choice here. It scores not only for its adhesive strength, but also for its weather resistance. This is particularly useful for items that are used in the garden.
When working with this adhesive, however, be sure to wear gloves and, ideally, a respirator. Furthermore, you should ensure optimal ventilation of your workplace or work outdoors.
You will need, in addition to your protective clothing, the following items:
- A fine brush for applying the glue
- The adhesive
- A sharp knife, preferably a cutter knife
- Adhesive tape
- Water-resistant clear coat
First, the terracotta pots to be glued should be emptied so that no unnecessary weight stresses the gluing seam. Moisture caused by soil adhering to the pots should also be avoided during the bonding and curing phase.
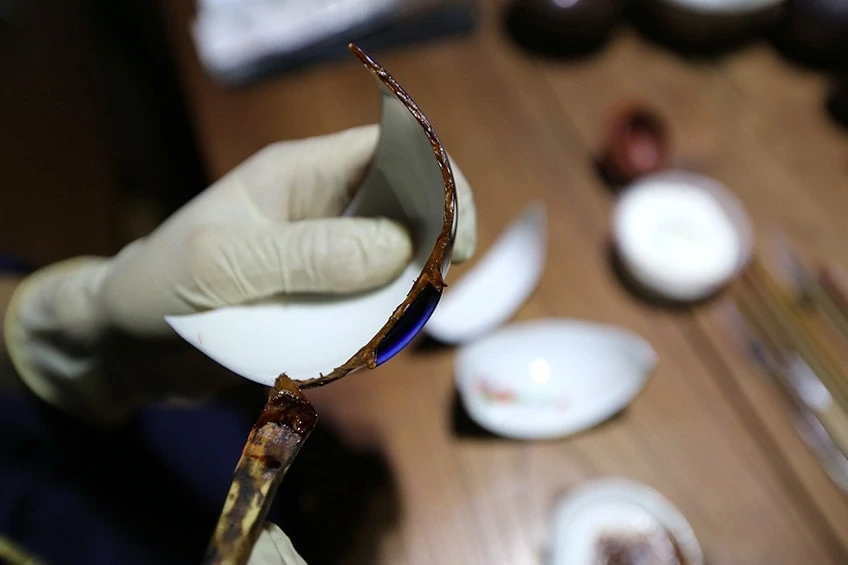
Clean all breakages and cracks thoroughly with the fine brush. Be careful not to abrade the filigree material too much. Dust and dirt can impair the adhesive properties of the clay adhesive. Mix the adhesive by operating the plunger of the cartridge and squeezing out a little of it onto a suitable base, such as a plastic plate. Mix the two components thoroughly with a wooden spatula. Do not use too much adhesive, otherwise you may have to dispose of any residue.
After cleaning, start by filling the cracks with the epoxy resin adhesive. Use the adhesive sparingly so that you do not have to scrape off too much surface with a knife afterwards. Now, put the fractures together as accurately as possible. First check whether they fit perfectly into the overall picture before you glue them together. This will save you work and you will not have to be annoyed when the pot life of the adhesive has expired. The pot life or working time of the adhesive is limited, as once it has hardened, it cannot be used any further.
Apply the two-component glue for clay terracotta to the fractured areas and attach the respective shard. Fix them in place with a piece of adhesive tape. If there are a lot of small shards to be attached, you can proceed as described in our instructions above for gluing pottery.
The bonded parts must now cure for at least 24 hours. During this time, they must not be exposed to large temperature fluctuations or moisture. You can scrape off excess dry glue with a cutter knife. Be careful not to damage the terracotta pot with the sharp blade. If you want to apply a weatherproof layer on the pot, you can paint a clear varnish over it.
If you have artistic skills or like to tinker, why not decorate the unsightly breakages with various decorations such as glitter, mosaic stones, or acrylic paint.
Glue for Clay Roof Tiles
In addition to securing your roof tiles with the help of wire or spike clips, there is also the option using glue for clay roof tiles. However, this is not always possible and should always be discussed with a professional beforehand. Roof tiles in particular have to withstand not only rain and snow loads, but also the odd violent storm. If they are not appropriately secured, a lot of damage can be caused, even serious injuries to pedestrians.
What to Consider When Bonding Roof Tiles
When bonding roof tiles, the main thing to consider is the wind load zone. In simple terms, this is the severity of the weather conditions to which the house is exposed. Wind load zones are classified according to the following:
- Wind load zone 1 is located in both central and southern Germany
- Wind load zone 2 is exclusively in the central area of Germany
- Wind load zone 3 prevails in the north
- Wind load zone 4 is found on the coast
Depending on the wind load zone, it may or may not be possible to bond the roof tiles. Gluing roof tiles yourself is actually not advised. At the very least, a professional roofer should be called in to provide advice and assistance.
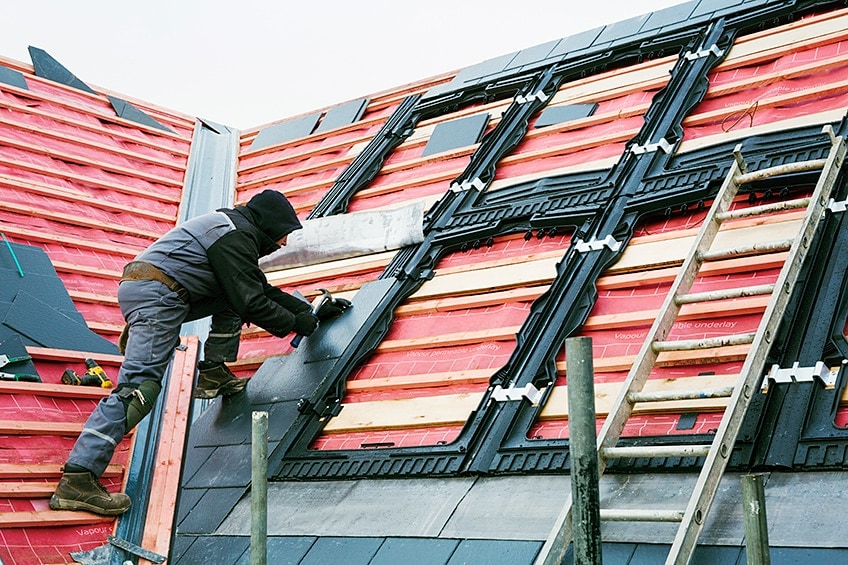
If you still want to do this work yourself, you should never use silicone for this purpose, as it does not create a permanent and resilient bond. Use a high-quality two-component adhesive or a special adhesive such as the one presented below. Ensure good UV- and weather-resistance. The adhesive used must also be waterproof and paint-compatible.
Best Glue for Polymer Clay Roof Tiles: LOCTITE PL Premium Polyurethane Construction Adhesive
Loctite’s top-performance polyurethane adhesive is strong, effective, and evironmentally friendly. This product will allow you to cover twice as much surface area than you would with ordinary adhesives, and it is also three times as strong. Add some shine to your tiles by using this construction-grade adhesive, which can be used on both interior and exterior projects.
This clay glue is waterproof, can be painted, and will cure in cold temperatures. In fact, you can apply this adhesive directly to wood that is wet, dry, or frozen. This product is easy to use due to it having only one component, making this the ideal choice for gluing your clay roof tiles.

- High performance urethane-based adhesive
- Waterproof, paintable, and cures even in cold temperatures
- Twice the coverage of conventional adhesives and 3 times stronger
PROS
- Eco-friendly
- Covers more surface area than other products
- Three times stronger than other adhesives
- Waterproof
- Can be painted
- Will cure in cold, wet conditions
CONS
- Can be messy to work with
- Short shelf-life
This construction-grade adhesive by Loctite is ideal for bonding your clay roof tiles, as it will provide a great deal of strength and resistance to the elements. You cannot go wrong by choosing this product!
Frequently Asked Questions
Can You Glue Terracotta?
Gluing terracotta is easy if you use the right adhesive. This should be a two-component epoxy adhesive.
How Do I Glue Fired Clay?
You can fix fired claywith the help of adhesive tape, after which you can apply a two-component epoxy adhesive. Now that the fragments are joined together, allow the adhesive to harden. After that, the fixing tape can be carefully released.
Clay is an easy material to glue if you use the right clay glue. With the right technique and some tools, the gluing process is no problem.