
Can You Sand Caulk? – How to Smooth Out Caulking Sealant
This post may contain affiliate links. We may earn a small commission from purchases made through them, at no additional cost to you. You help to support resin-expert.com
These days, there are many products available to make DIY and professional repairs that much easier. Epoxy resin can be used to repair and protect virtually any surface in your home, acrylic paint is used in almost every facet of the industry, and wood filler makes repairing old or damaged wooden boards a breeze. Another commonly used substance that’s made the lives of contractors and DIY enthusiasts a lot easier is caulk. Sealing caulk products are pretty much loved by everyone, but what exactly is it, and if it’s so great, can it be sanded? Let’s have a look at what caulk is, what it’s used for, whether it can be sanded, and is the best way to go about it.
Table of Contents
What Is Caulk?
Caulk is essentially a type of polymerized sealer that is used in a wide variety of applications in a number of industries all over the world. In a practical sense, caulk is a flexible polymer that is used to seal gaps in workpieces of varying sizes, materials, and applications. These gaps can be waterways or airways that need sealing, or they can simply be used to fill an undesired gap.
What makes caulk so popular though? Well, since caulk is made of a number of polymers that have been combined and processed, it has a number of properties that make it the best tool for a number of jobs. What properties make caulk so sought after you ask? Caulk is able to expand and contract with temperature changes, making it the ideal tool for sealing metal, wood, and even plastic workpieces.
Caulk does such a good of sealing and retaining its shape, that it is often used to seal doors and windows in homes! It is one of the most popular weatherproofing substances on the market today thanks to both its flexibility and durability in the face of harsh conditions.
Now, you might be thinking to yourself, “is caulk just silicone?” and if you have, you’d be forgiven. Caulk and silicone are very similar, but they are not the same thing. Funny enough, caulk has silicone in it, but there are a number of other elements that make it an entirely unique substance. If you’re wondering what the key difference between silicone and caulk is, it’s in its elasticity.

Silicone does a far better job of stretching out and retaining its shape once the force stretching/compressing it has dissipated. Caulk on the other hand is more of a “sealer” than an elastic polymer and does not possess the same elasticity as caulk. It’s for this reason that silicone and caulk are rarely used interchangeably (at least by professionals).
Another key difference between silicone and caulk lies in their composition, and how they react once they’ve been applied to a surface. Caulk has a mixture of acrylic and latex materials in its composition, and when it is setting, caulk will often shrink as it fills the gap it’s been placed in. Silicon does not do this and retains its overall mass and shape quite well.
Can You Sand Caulk?
The good news is that it is entirely possible to sand caulk. The bad news is that not every type of caulk can be sanded, and you need to sand it a certain way in order for the caulk to remain intact and not break apart. How do you ensure that your caulk will be sanded correctly? Essentially you want to ensure that the caulk is sanded by hand.
Why should you sand your caulk by hand? Caulk generally isn’t applied in large quantities due to it being used to fill in various gaps. Therefore, using a power sander could be overkill considering how easy it is to sand caulk down. This doesn’t mean it’s impossible to sand caulk with a power sander, but you do better feel for the shape and height of your caulk when using sandpaper.
That being said, sanding caulk is usually done to ensure a uniform appearance and to create a surface that is flush with the rest of your workpiece. Sanding caulk can only be done once the caulk has been applied and allowed to dry completely. Attempting to sand wet caulk can result in a big mess, and waste quite a lot of sandpaper in the process.
What Types of Caulks Can Be Sanded?
Essentially, most run-of-the-mill caulk variations can be sanded by simply allowing them to dry and then following the sanding process we’ll lay out for you below. However, not every type of caulk you come across can be sanded the way that these can. Why, though? Different types of caulk have different elements in their composition that make them suited for various applications.
Some of these elements make the inherent nature of these caulks unsuitable for sanding, whether it makes them too brittle or too malleable. The most commonly used caulk types that cannot be sanded are silicone sealers and decorative caulks. Attempting to sand these whether they be wet or dry will result in a huge mess, so we don’t recommend trying it for yourself unless you’re willing to start the caulking process from the beginning again.
Why Would You Need to Sand Caulk?
The question “can you sand caulk?” is fairly common, but rarely does anyone ask why you would want to sand caulk, to begin with. Essentially, when the caulk is applied to fill a gap it looks a lot like squeezing some toothpaste out onto a toothbrush. Once the caulk has been applied to the gap you want to use a putty knife (plastic or metal) to set it into the gap and remove the excess.
Next, you’re going to allow the caulk to dry as per the manufacturer’s instructions. However, once dried, you’ll notice that the caulk is uneven and creates an aesthetic inconsistency on the surface of your workpiece, which is why we sand it until it’s smooth and flush with the rest of the surface. Sanding caulk is more of an aesthetic choice than a practical one.
What Do You Need to Sand Caulk?
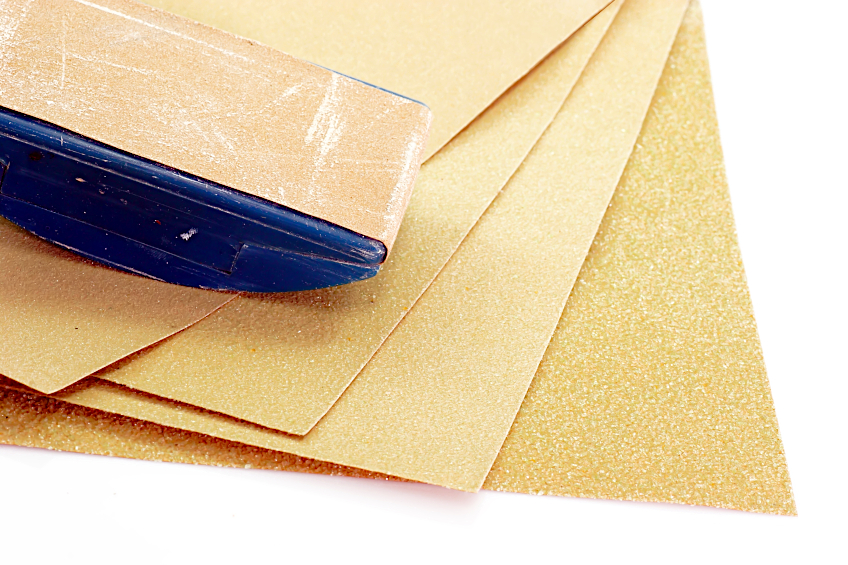
The tools needed for sanding a caulked workpiece aren’t specialized. First off, you’ll need some caulk to fill your gap, and once it’s been applied to your surface and allowed to dry, you’ll need some sandpaper to get started. You’ll need some rough sandpaper and some fine grit sandpaper to ensure you achieve the best finish, and just for good measure, get some denatured alcohol to smooth things out.
- Sandpaper (120 grit and 160 grit)
- Denatured alcohol
- A clean cloth
- A face mask and eye protection
Can You Sand Caulk Without Sandpaper?
While you can certainly sand certain types of caulks, it isn’t always necessary to do so. What most crafters and DIY enthusiasts do is simply smooth the caulk out while it’s still wet using the tip of their finger or a special cloth. Once the caulk has been applied a special solvent is sprayed along the length of the area where the caulk has been applied, and the caulk is then wiped away. A near-perfect finish is virtually guaranteed!
How to Sand Caulk
As we mentioned previously it is entirely possible to sand dried caulk. However, if done incorrectly, you could ruin the finish of your workpiece. With that being said, we’ve prepared a short tutorial detailing how to properly sand down dried calk as well as what you will need to get the job done as quickly and effectively. Here is what you’ll need:
- Sandpaper (rough and fine grit)
- A putty knife
- Denatured alcohol
- A face mask and eye protection
Apply Your Caulk and Remove Any Excess
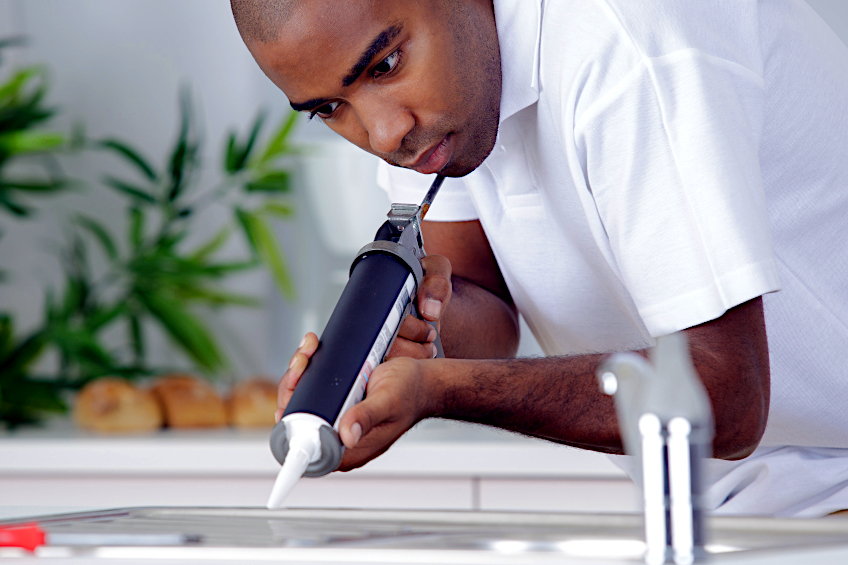
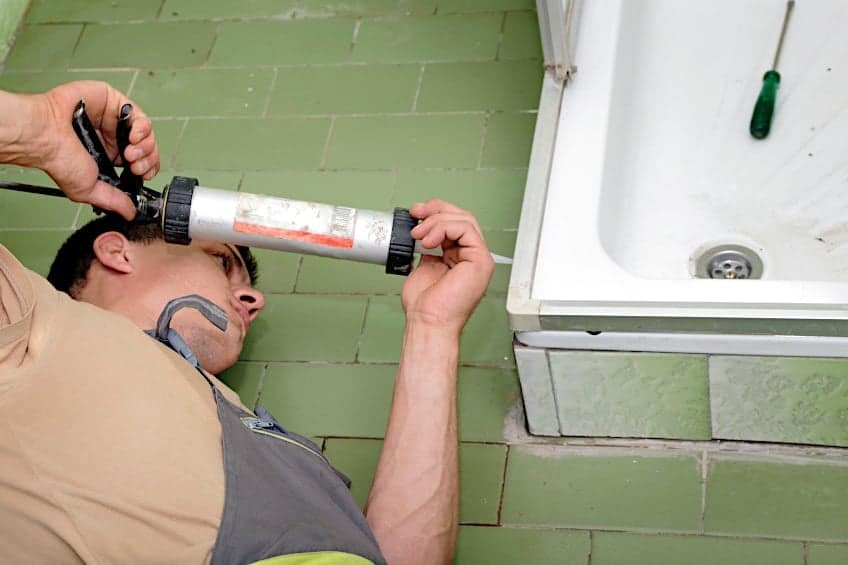
If you’re going to be sanding caulk off the surface of your workpiece, you’re going to need to apply it first. Caulk is really easy to apply, simply place the nozzle of the dispenser in contact with the surface of your workpiece and hold it at a 45-degree angle. Next, squeeze the trigger of your dispenser and drag the nozzle along the length of your gap until all of it has been filled.
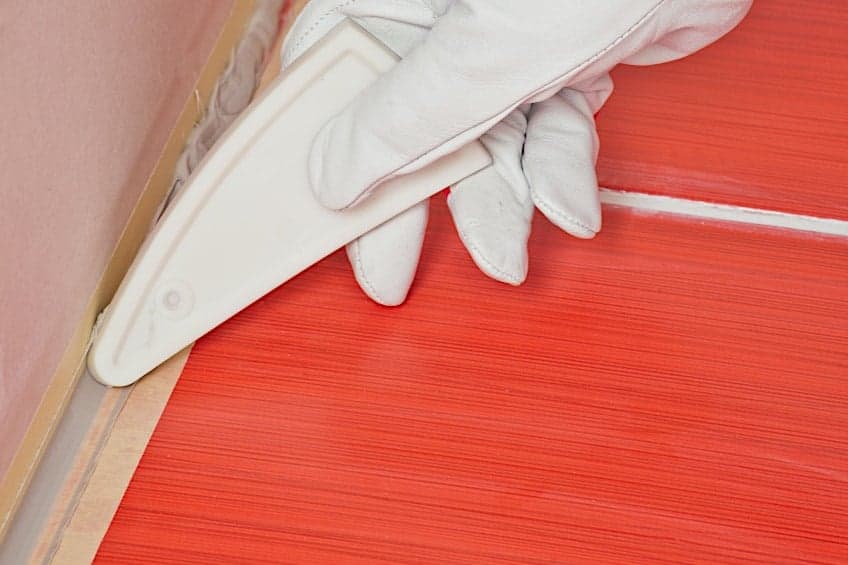
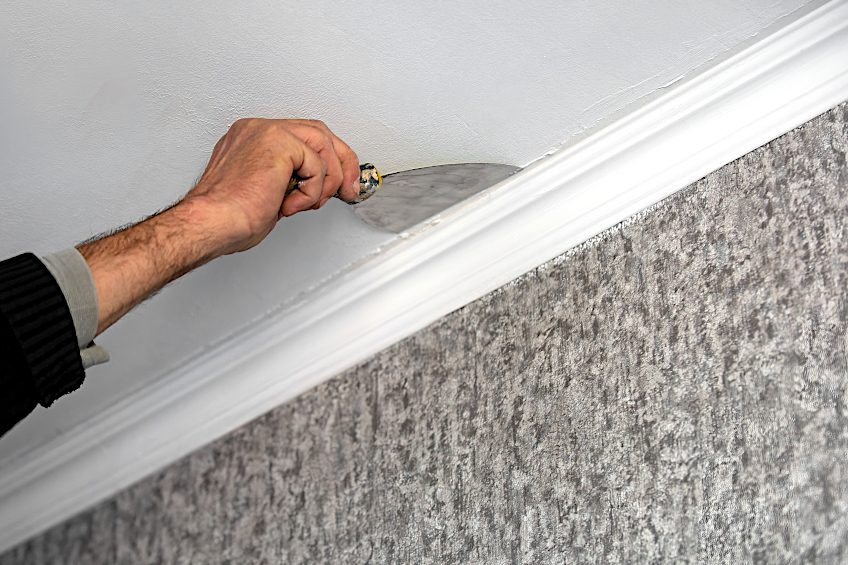
Before the caulk has a chance to dry, get your putty knife out. All that you need to do is place your putty knife in contact with the caulked surface at a 90-degree angle and drag it along the length of the gap until all of the excess caulk has been removed from the surface. Feel free to use a clean cloth to remove any remaining excess on the flat surfaces using a clean cloth dipped in some denatured alcohol.
Sand the Remaining Caulk Using Rough Sandpaper
Sand the surface of your workpiece using some rough-grit sandpaper. This might seem like overkill, but it will provide you with a smoother finish for your caulk and draw less attention to it than the surface of your workpiece. What is the best way to go about this? Well, as most professionals will tell you, folding your sandpaper can do wonders.
Fold your sandpaper in half. Next, place the corner you’ve folded in contact with the caulk that you’ve laid down (be sure that it’s dry first!). Next, sand along the surface of your caulk until all of the bumps on the surface of the caulk have been removed. Once you’re happy with the job you’ve done, wipe away any of the caulk dust that has been generated by the sanding process.
Throughout this process, you should ensure that your workspace is well-ventilated. Why? Even if your caulk hasn’t dried to the core it can still produce a surprising amount of dust while you begin sanding. Inhaling this dust can cause discomfort, so ensure that you are wearing a face mask and eye protection if you have a particularly large amount of caulk to sand.
Finish the Caulk Using Fine Grit Sandpaper
Finishing the caulk can be one of the best things to do especially if the caulk has been applied to a large surface area. The rougher sandpaper will smoothen out most of the excess caulk but there will be a bit of rough texture left behind. For this reason, we recommend using finer sandpaper of 160 grit or higher to achieve a smoother finish.
The best way to go about this is to break the surface you’ll be sanding into smaller ones. This way you’ll be able to sand a section thoroughly, check it by rubbing your finger over it, and then move on to the next one should you feel that you’ve done a good job. Simply repeat this process until all of the caulk has been sanded nice and smooth (and remember to apply light pressure throughout!).
This can seem like a labor-intensive and time-consuming method, but you can see the difference for yourself simply by looking at a completed section of your caulk when compared to the sections that have only been lightly sanded. That being said, we think that you’ll find giving the caulk a once over with the fine grit sandpaper well worth the effort in the end.
Clean Up Your Surface
As we mentioned previously, sandable caulk tends to produce a lot of dust when it’s being worked away. Even though your eyes and airways will be protected by your mask and eye protection, you’ll likely find that the surface of your workpiece is now become covered with caulk dust, which can be a bit frustrating visually.
In order to properly see the fruits of your labor, use a clean cloth and some denatured alcohol to remove the caulk dust from the surface of your workpiece. Be sure to give it a good once over, especially on the caulk itself. Once you’re happy with the job you’ve done, simply allow any excess alcohol left on the surface to evaporate naturally.
How to Smooth Silicone Caulk
While the sandable caulk is relatively easy to smoothen out, as we mentioned previously, silicone caulk isn’t as simple to work with. That being said, we’ve prepared a short tutorial detailing how to smooth silicone caulk. Remember that no matter how much you’d like to, it’s never a good idea to try and sand silicone caulk, whether it be before or after it’s been applied.
Apply Your Caulk
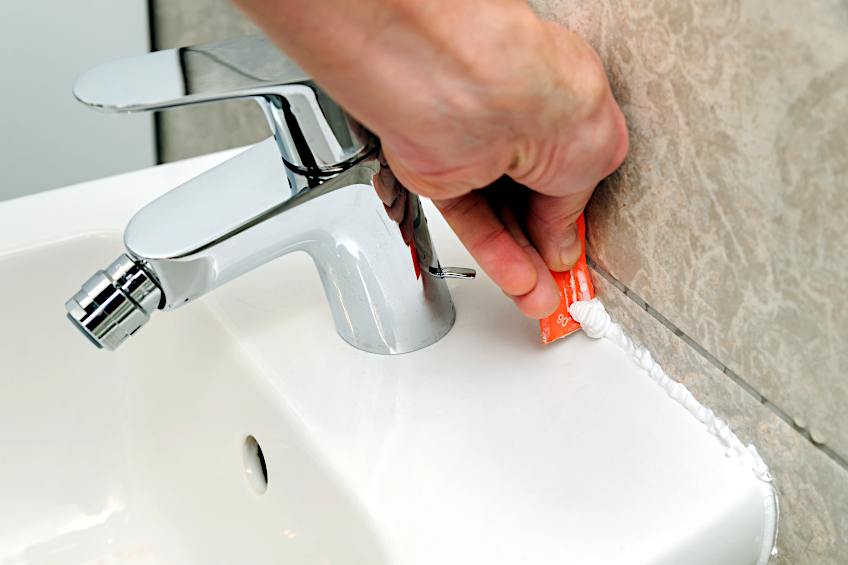
Before you get to smoothing out your caulk, you should ensure that it has been applied correctly. Once again, as you did with your sandable caulk, place the nozzle of your applicator in contact with the surface of your workpiece and hold it at a 45-degree angle. Start applying your caulk evenly along the gap you intend to fill.
Remove the Excess Caulk
As you did with the sandable caulk you are going to use a putty knife to remove all of the excess caulk from the surface of your workpiece. Ensure that you work evenly and patiently to get all of the excess caulk off the surface of your workpiece before you get smoothing the caulk out. Once you’re done, get your denatured alcohol ready.
Rub the Surface with Denatured Alcohol
Once the surface of your workpiece has been cleared of all the excess caulk, grab your denatured alcohol and apply some to your clean cloth. Using a single finger, run the cloth over the space where the caulk has been applied. This should smoothen the surface quite nicely, just be sure to rub evenly and not to saturate the silicone caulk in any one area. Allow the alcohol to evaporate naturally, and you’re all done!

Now that you know what caulk is, what it is used for, how to apply it, how to sand it, and how to smoothen out the caulk that cannot be sanded, it’s time for you to get out there and put your newfound knowledge to the test. Remember to work in a well-ventilated area and ensure that you are wearing a face mask and eye protection when sanding caulk.
Frequently Asked Questions
How Do You Fix a Bad Caulk Job?
Have you ever wondered how to fix a bad caulk job? Well, if the caulk is sandable, you can simply sand the surface until smooth, or you could remove the caulk entirely and start from scratch. If you are working with silicone caulk, you cannot sand it and will have to start from scratch after removing the caulk.
How Do You Clean Excess Caulk?
Wondering how to clean excess caulk? Once you have applied your caulk to the surface of your workpiece, simply take a putty knife and place it into contact with your workpiece at a 90-degree angle. Drag the putty knife across the excess caulk until all of it has been collected. Wondering how to clean excess caulk when it’s non-sandable? Simply use a cloth dipped in some denatured alcohol and wipe it away using your finger while the caulk is still wet.
How Do You Remove Dried Caulk?
Wondering how to fix a bad caulk job? Removing dried caulk is simple, but it can take some time and quite a bit of elbow grease. Simply use a putty or utility knife to dig up the caulk and scrape it out of the recess it’s been applied to without damaging your workpiece.