Can You Paint Pressure-Treated Wood? – Ultimate Guide
This post may contain affiliate links. We may earn a small commission from purchases made through them, at no additional cost to you. You help to support resin-expert.com
Let us say you are a complete beginner to woodworking and you have purchased some treated wood that you later found out was pressure treated. The job you need to complete involves painting the wood, so you ask yourself, can you paint pressure-treated wood? This tutorial is all about how to paint pressure-treated lumber. We will cover the instructions for painting treated wood, the best primer for pressure-treated wood, and what happens if you paint treated wood too soon. This kind of project is perfect for anything that will be bracing the weather conditions from being left outside. If you have a load of wood that has been pressure treated that needs painting and you are not sure what to do first, keep reading for a step-by-step guide on painting pressure-treated wood.
Table of Contents
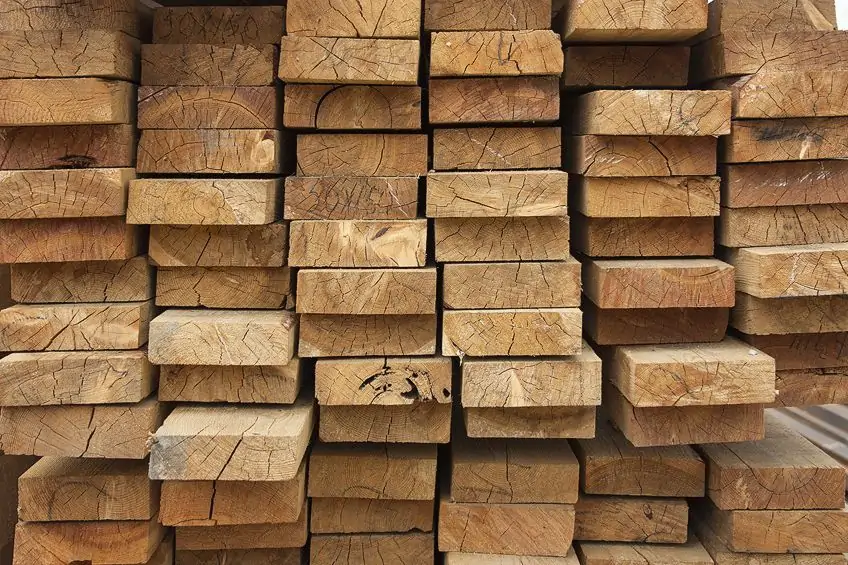
Pressure-Treated Wood Explained
Can you paint pressure-treated wood? Before we get into answering the question, let us discuss what it means for wood to be pressure-treated. Prior to being sold to the public, wood can go through several processes, one of which is pressure-treated. Pressure treatment is a method for introducing chemicals into the fibers of wood, allowing those boards to withstand pressures and wear as well as resisting the elements of nature like insects, and moisture from the climate which can ultimately cause mold. Mold is not an ideal growth, it has some serious health implications so we would like to avoid that.
Moisture is extracted from the core of the wood and then reintroduced with the chemicals attached, making it easier for the chemicals to absorb into the fibers of the core. Ultimately, pressure-treated wood will prolong the lifespan and enable its resistance to all kinds of weather.
Let us move on to whether or not painting pressure-treated lumber is going to work or not, and what happens if you paint treated wood too early.
Process of Pressure Treating
The pressure therapy procedure is straightforward. Before being treated, wood must be free of bark and other natural aspects that could obstruct the process; consequently, boards chosen for this process are debarked and gently pierced to aid in the admission of the chemicals. The board will be placed into a huge cylindrical container once it has been debarked and pierced along its principal surfaces.
The localized atmospheric pressure can be increased and decreased via the cylinder, therefore, the wood treatment chemicals can be flooded into the chamber and the pressure chamber facilitates the absorption of the chemicals into the wood fibers. Other treatments like varnishes, paints, and lacquers are considered to be precautionary.
Pressure-treated wood can withstand most of which varnishes and paints help it to resist.
Why Should Wood Be Pressure Treated?
There are various methods for protecting wood against moisture and rust damage. Simply adding a coat of lacquer, coating it with wood varnish, or applying epoxy glue is a common approach for individuals to protect their wood. These are great ways to protect your wood, especially from insects that threaten to eat up the wood or rot caused by moisture, but they are usually used as additional protection, after the pressure-treated process, which is mostly there to insulate the wood.
The cost is more than wood that has not been pressure treated, but it is more worthwhile. This means that painting treated wood is not only doable, but it also comes highly recommended. If you think about it like this, the cost is not much more than what you would have to buy to fix up your wooden structure in a shorter period of time.
So, ultimately, it will save you money.
Why Paint a Fence made of Pressure-treated Wood?
Do you own a fence that is made of impregnated wood? Painting it can be a great way to protect it from the elements and increase its longevity. Here are the most important reasons, why painting a fence made of pressure-treated wood is an important task:
- Protects against rot and insect infestation: One of the main reasons for painting a fence made of pressure-treated wood is to provide additional protection against rot and insect infestation. Pressure-treated wood does provide some protection against these problems, but an additional layer of protection such as painting can further increase protection against rot and insects. A painted fence also seals in any chemicals used in the impregnation of the wood, preventing them from leaching into the soil or water.
- Improves the appearance of the fence: Painting also helps improve the appearance of your fence, whether you choose a single color or multiple shades. By painting your fence, you can customize the look of your yard while protecting your investment.
- Easier maintenance: Another benefit of painting pressure-treated fences is that they are easier to maintain over time, as they do not need to be repainted as often as other materials such as standard lumber would require. Painting also prevents the accumulation of dirt and mold, making it easier to clean in the future if needed.
- Extends the life of the fence: Perhaps most importantly, painting a pressure-treated wood fence will significantly extend its life if done with quality products and applied at regular intervals according to the manufacturer’s instructions. With an additional painting coat, the already very sturdy type of wood is even better protected against weather, rot and insects
Can Pressure-Treated Wood Be Painted?
Now for the main question of this tutorial, can you paint pressure-treated wood? Well, of course! As previously noted, painting pressure-treated wood can be time-consuming and will require you to tap into your reserves of patience to complete the task. When attempting to paint pressure-treated wood, the most common issue is that it is frequently delivered to suppliers in a “wet” state and then sold as such to their patrons.
Your initial thought might be to simply wait for the wood to dry and then apply primer and paint as you would normally do with any other type of wood. You would be correct, except that some situations are a bit more complex than that because of what happens if you paint treated wood too soon, which we will discuss more in detail later on. To paint treated wood that was pressure treated, you must wait for it to be 100% dry, and nothing less.
This means, you can not paint treated wood right away, depending on the climate of where you live, this could take anywhere between weeks to months to happen.
Can Pressure-Treated Wood Be Stained?
The art of staining or even painting treated wood best has been up for discussion among DIY experts and professionals alike for an extended time. The nice news is that you simply are going to be able to do both, and fortunately for you (if you are doing arrange to stain your treated wood) staining wood is far easier than painting it. There are a couple of aspects you ought to bear in mind before you get stuck. Staining treated wood may be a ton easier than painting it, however, the wood must be considerably drier than if you were to color it.
Therefore, if you propose to stain your treated wood you must search for a board that has “KDAT” sealed on it, this implies that the wood has been kiln-dried to an extent therefore most of the wetness has been removed. These boards can dry a lot faster and therefore the chance of your stain being rejected thanks to moisture decreases considerably.
If you wish to grasp the way to prepare pressure-treated wood for wood staining, here are a couple of steps that will make it easier for you.
- You can check if your wood is dry by pouring some water on top of it and monitoring how long it takes for it to soak in. If it takes a long time or it does not soak in at all, it is not ready.
- Your board should be clean before use. You can use a wood cleaner and apply it directly to any dirt on the surface of your wood and allow it to dissolve. Wipe off any residual cleaner or dirt and ensure your board only has wood fibers on the surface.
- Before you start applying the wood stain to your project, make sure it’s thoroughly mixed. Ensure that the residue at the bottom of the can is fully blended with the substance on the surface for the color density to be uniform.
- After that, you can rinse the wood off with a garden hose or tap depending on the size of the workpiece. You don’t want the wood to get soaked, essentially the goal is simply to clean the surfaces to which the stain will be applied.
How You Should Prepare Pressure-Treated Wood for Painting
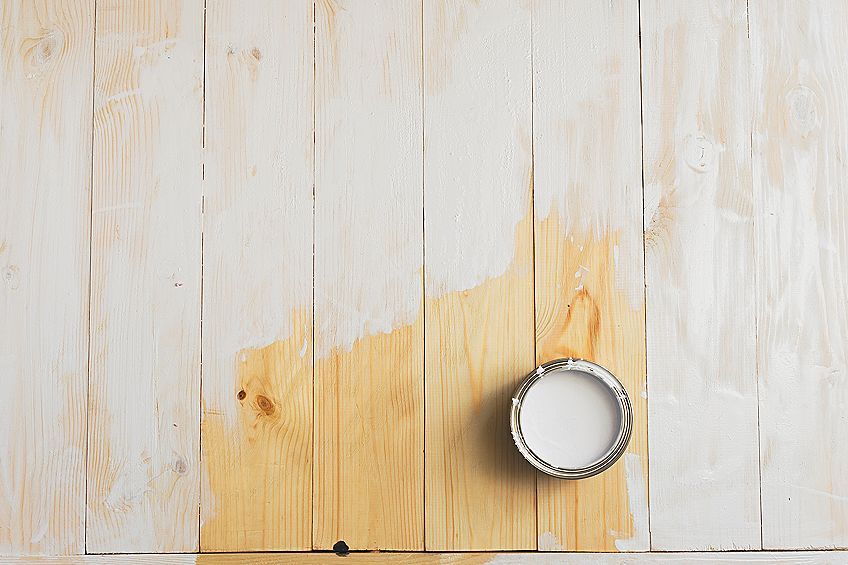
Now we will start to discuss how to paint pressure-treated wood, beginning with the preparation. Pressure-treated wood can be effectively painted if you keep certain things in mind and pay attention to them, this includes the fact paint may peel off the wood if the wood is not prepared correctly or dried sufficiently before the paint is applied. It is the last thing you want for your hard work to be ruined by an unfortunate mistake, so here are some tips you can do to ensure your paint or stain remains firmly adhered to your pressure-treated wood for as long as possible.
Note the Type of Pressure-Treated Wood
When it comes to pressure-treated wood you have two main options to choose from. The materials that are known as above-ground pressure-treated wood and ground contact pressure-treated wood belong to these two kinds. Typically, pressure-treated wood is intended to be used in circumstances in which it will be covered with soil or, at least, in direct contact with soil, whereas ground-treated wood will be used without direct contact with the corresponding surface or suspended in the ground.
A ground contact pressure treated board is treated with a more vigorous chemical pressure treatment than an above-ground pressure-treated board, which means it might take longer to dry.
Above-Ground Pressure-Treated Wood
- Regularly treated with pressure
- and dries relatively quickly
- this is suitable for above-ground or suspended installations
Ground Contact Pressure-Treated Wood
- Extended pressure treatment
- Pressure treatment makes it dry slower
- Designed to be underneath the soil
Your Wood Should Be Dry
To paint treated wood, the wood you wish to paint or stain must be fully dry before any type of staining or painting can take place. As we have discussed, this is of utmost importance. The dry time of treated wood is long, therefore if you are going to purchase this type of board, you should ask your supplier how long it’s been allowed to cure and you could also use a moisture meter for wood to test the moisture content.

Check with a “sprinkle test” to see if the water absorbs into the wood at an adequate rate, and check the wood for the designation KDAT to ensure it has been kiln-dried after pressure treatment. So, can you paint treated wood right away? No, you must for it to be dry.
What Type of Paint to Use on Pressure-Treated Wood
| Type of Paint | Suitable for pressure-treated wood | Outdoor use |
|---|---|---|
| Acrylic paint | Yes | No |
| Alkyd resin paint | Yes | Yes |
| Stains | Yes | Yes |
| Oil colors | No | No |
| Latex color | Yes | Yes |
| Dispersion paint | Yes | No |
| Epoxy resin paint | Yes | Yes |
| Polyurethane resin paint | Yes | Yes |
It is important to note that some ink types have better outdoor properties than others, such as UV resistance, weather resistance, and abrasion resistance. It is therefore advisable to read the product descriptions carefully.
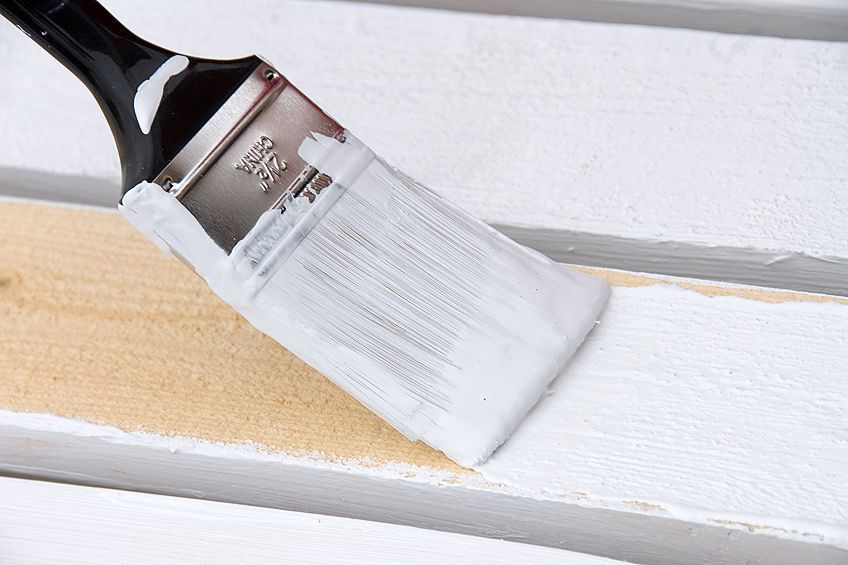
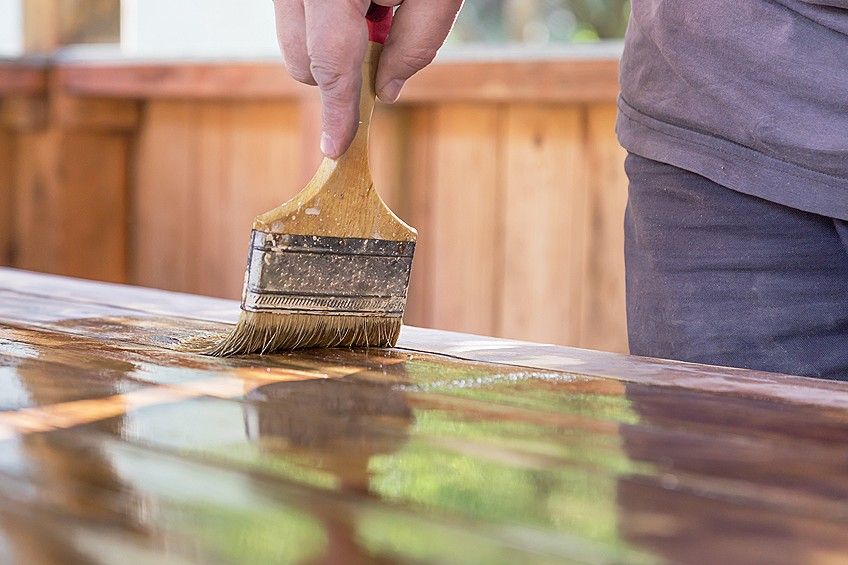
How to Paint Pressure-Treated Wood
You must follow a few steps when you are painting pressure-treated wood. If this is your first time learning how to paint pressure-treated wood, you’ll gain some insight you might only learn through experience, which will shorten your learning curve.
Here are our top tips and tricks to help you nail your painting of pressure-treated wood the first time.
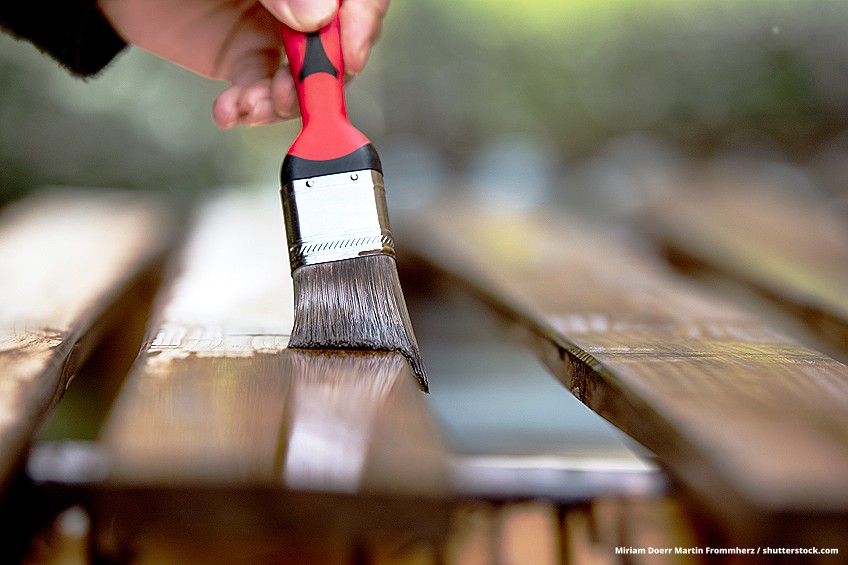
The Surface Should Be Cleaned
If you are adding primer for pressure-treated wood, or just painting treated wood, if you intend to paint treated wood, it is especially important to make sure that the surface you are painting is as clean as it can be. As a good practice, experts recommend washing your board with soapy water. In any case, if you let the soap seep into the wood, you must wait for it to dry before you can proceed to the next step.
One solution to this problem is to dip a brush into a shallow container of soapy water and fill it with water. Be as frugal as possible when brushing the wood with the soapy solution. Wipe the surfaces down with a dry cloth after you are satisfied with their condition and let them dry before continuing.
Let It Dry
Painting pressure-treated wood, or understanding how to paint treated wood, comes with the understanding that you may have not properly dried out the wood if water or soap begins to bead on it after you apply it when you clean the wood. As you are going to paint the surface, make sure the soapy water has completely dried and is not beaded or running down it.
You’ll have to wait for the drying process to be completed if the water hasn’t been absorbed into the wood and evaporated. If the wood is too damp, it takes a week to a month for this process to complete.
This might be a bit tedious, but it is worth it in the end because it will look far more professional with all the extra effort. Your project will have a much longer lifespan for it, and you will only have yourself to thank.
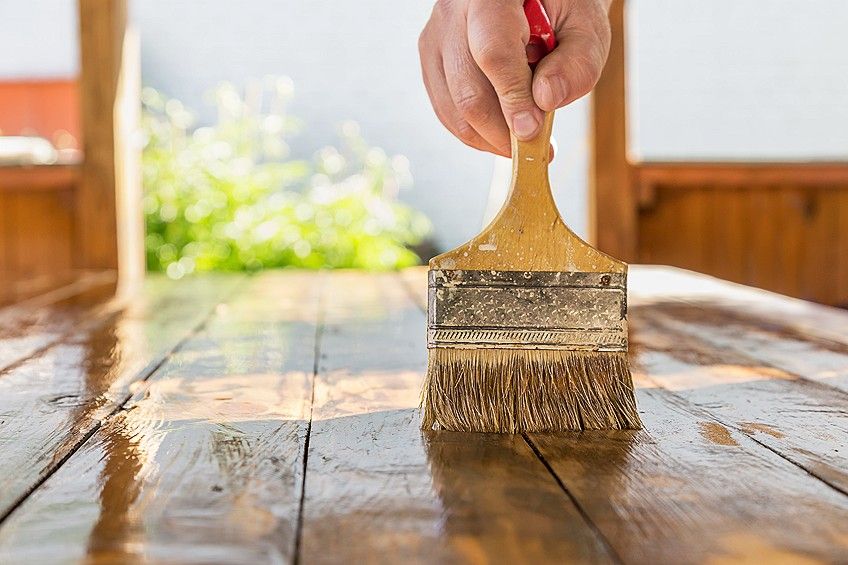
Your Surface Should Be Primed
We recommend adding a primer for pressure-treated wood, it is part of the process of learning how to paint pressure-treated wood. Once you are sure that your surface has dried you should get your primer ready. Ideally, the best primer for this job should be one designed for outdoor use, such as a primer for outdoor decks and porch woods, which will perform well for this job, as it matches the material’s characteristics. If you choose to paint with a brush or a paint sprayer, make sure the primer has been mixed well.
This means that you will have the neatest and very uniform aesthetic and that the right amount is applied to the wood. The primer is an addition to the already-added protection from the pressure treatment. The drying time is about twenty-four hours, so you must make sure you set this amount of time for your project.
Understanding How to Paint Pressure-Treated Wood
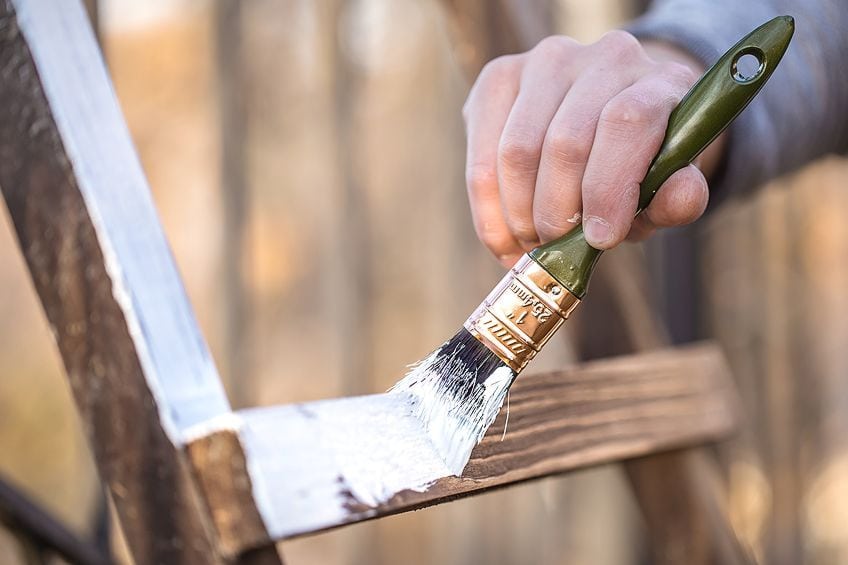
Understanding how to paint treated wood is not the most complicated thing in the world, it just has a few aspects that must be adhered to for optimal success. This includes how painting treated wood requires you to stay away from chemicals that might interfere with the chemicals used in pressure treatment. The aforementioned chemicals prevent oil paints from bonding well to wood due to their chemical composition.
This means that if you want the paint to adhere to the treated surface, it is recommended that you use latex-based paint when painting treated wood since it require less energy to connect to the fibers of the wood. Remember that when you are painting this wood, you are not intended to apply excessively thick layers and a medium coating is sufficient. You will probably realize that two coats are needed once the first one is done, this will provide better coverage.
In between each layer you can sand down the surface with some sandpaper to help roughen the surface. This will ensure the adhesion of the paint to the treated wooden surface. Make sure that the sandpaper you are using has the appropriate grit.
If you are painting treated wood for a billboard that stands vertically, there will be less of a bettering for it to endure, if you have a surface that will lie flat, or horizontally, it will be beaten by the weather and other phenomena. In this case, a coating of resin will give it sound protection. The resin will cat the surface with a force that is hardly impenetrable to hot or cold weather, and it will add elements of waterproofing too.
Our Top Suggestions and Safety Recommendations
It can be quite an exciting affair to learn something new, but we have some more suggestions that will make this process even more of a breeze! From selecting the most suited primer, what to do if you choose a sprayer application, all the way to safety suggestions, this next section will cover it all.
Choosing Primer
It is a good idea to do some research on the primer you purchase for the job, along with all of their specifications that state how long it will take to dry before you can paint over it. You will also find whether or not the primer is suitable for the task at hand.
Make sure that you take into consideration where the item you are painting will spend most of its time – moderately safe indoors or outdoors bracing the weather elements?
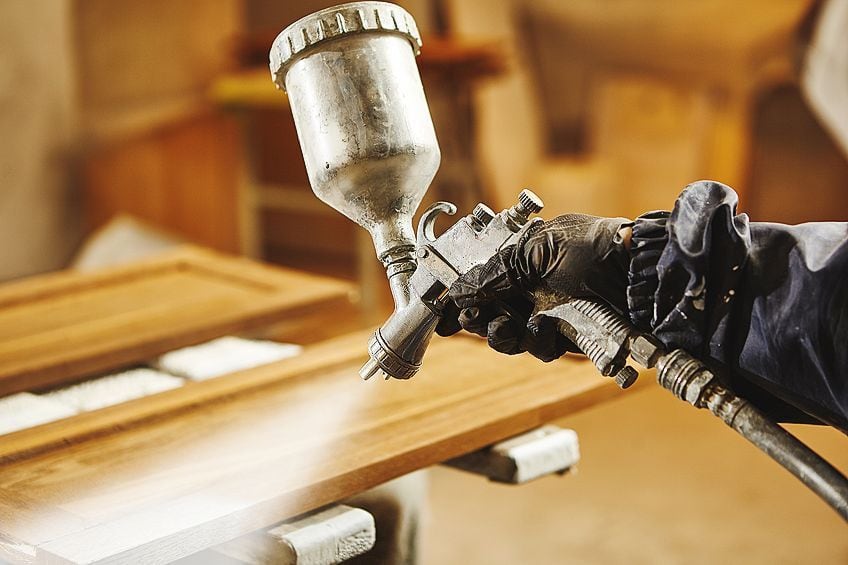
Using Sprayers
Most paints and primers, even varnishes, can be applied via a spray gun that is pressure powered. Certain guns allow you to choose when the spray flows out, according to the trigger being pressed or not, and they do allow you to change the pattern of the spray, being more misted and widely distributed or spraying in a smaller fan.
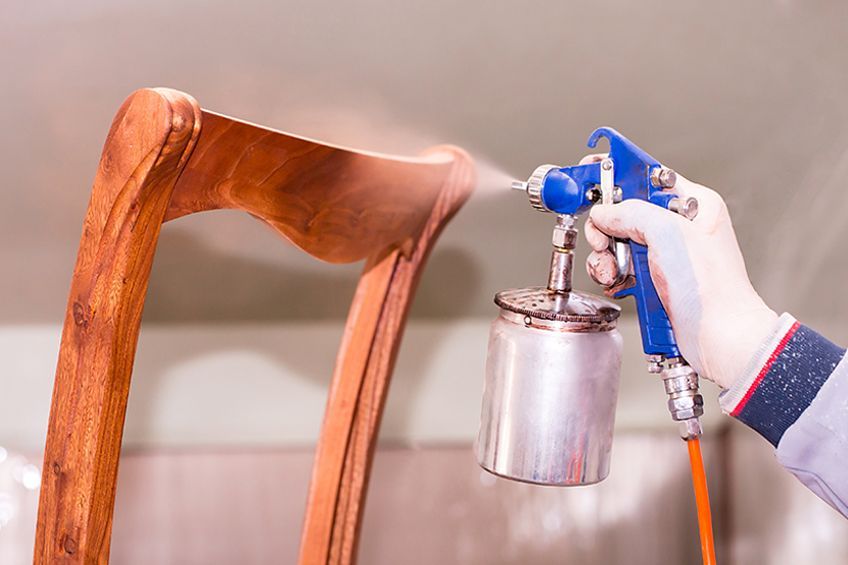
Spray guns not only save you time, but they are amazing at providing a flush surface with the most even full coverage in comparison to a brush-on method. This means that the brush strokes will not be visible through the paint.
Safety First
Your safety is our concern, and it should be yours as well. When you are doing any sort of work with paints, varnishes, glues, or anything that contains any chemicals, you must make sure that you have adorned yourself in the most appropriate and suitable protective gear. This will include respiratory masks for any of the breathable fumes that the paints and primers might omit.
If you have sensitive skin, you might already be thinking about this, but if not, we must advise that you wear gloves whilst working with these materials because they will irritate all skin, no matter the strength.
Lastly, if you are making a countertop, make sure that the wood has not been pressure treated, these chemicals are too intense to be in close contact with food, or our hands that go onto our mouths – it is inevitable.
It is now time to put your newly acquired knowledge to use by painting your pressure-treated wood effectively. Now that you know what pressure-treated wood is, how it is chemically treated, how it is advantageous to you, and how it can be painted efficiently, it is time to take action! Keep your safety in mind, make sure you have the right primer, and use a sprayer if you can!
Frequently Asked Questions
What Happens If You Paint Pressure-Treated Wood Too Soon?
You might be wondering what happens if you paint treated wood too soon. Well, in short, the paint will not adhere to the surface. The pressure treatment makes the wood reject any oils, and the chemicals from the treatment have seeded so far into the fibers of the wood that there is no chance for the paint to stick. The paint will form bead-like marks and simply run down the surface.
Can You Paint Pressure-Treated Wood Right Away?
To answer the question, can you paint treated wood right away, the answer is a resounding no. You must make sure that the wood that has been pressure treated has been dried in a kiln, this will be noted by the markings, KDAT, which will be found on the wood’s surface. You can make sure it is dry by adding some water and seeing if the wood absorbs it or if it simply runs off, otherwise known as the “sprinkle-test”.
How Do I Dispose of my Pressure-Treated Wood?
You cannot just dispose of your pressure-treated wood in the same way that you would for most wood, especially when it comes to burning it. This wood will release some nasty toxic fumes. You will need to dispose of them at your local landfill.