Best Brush for Polyurethane – How to Find the Right Poly Brushes
This post may contain affiliate links. We may earn a small commission from purchases made through them, at no additional cost to you. You help to support resin-expert.com
Wood is very important – we need it for many functions, such as in construction. In the construction industry, it is used in many different ways. This includes furniture, weapons, tools, and many more. You can choose various different materials to apply to your wood to protect and decorate it. One such material is polyurethane. While polyurethane is an amazing substance, you will need the right brush to be able to apply it properly. Follow our guide below on the best brush for polyurethane.
Table of Contents
What is Polyurethane?
Polyurethane is a very strong and attractive finish, it contains a lot of components that will help it to last longer, maintain its appearance, and resist weather changes. For the application of polyurethane, you need the best brush in order to produce excellent, professional results. In this article, we will be analyzing in detail a list of factors that can help you when choosing the best brush for your polyurethane.
Coating is a process where we apply a thin layer or cover on wood to protect it. You have to use a clear finish coat to beautify and make it resistant to the vagaries of weather. Polyurethane is a good example of a protective coating finish that is durable and attractive. We are going to explore more on polyurethane, including its benefits, processes, and the best brush that you can use to apply polyurethane
Brushes are very important. Without them, we will not be able to complete our projects with much ease. Before purchasing the best brush for polyurethane, be sure to check out plenty of reviews and do your research. You also need to look at the type of finish that suits your purpose, whether it is easy to clean or maintain, and the type of polyurethane being used ( if it is water or oil-based).
Oil-Based Polyurethane
This type of polyurethane has great qualities. For example, it produces really durable finished surfaces. When you decide to use this type of polyurethane, make sure there is sufficient free circulation of air around you. Oil-based polyurethane has poor adhesive qualities which means it does not dry easily. This is the reason why you need good airflow.
You have to use mineral spirits to clean up this polyurethane. Make sure that you wear protective gear in order to avoid lung and skin damage when working with it. Oil-based polyurethane does not allow you to lay a lot of coats.
Water-Based Polyurethane
This type is not as harmful to the environment and your health compared to oil-based polyurethane materials. You are able to apply many coats without waiting for a very long time in-between coats because it dries quickly. It adds a very attractive appearance to the finished surface provided it has been applied properly. You will not have a lot of complications when it comes to the cleaning part of this product since it only requires clean water and soap.
Avoid using strong chemicals when cleaning, such as ammonia. This will affect the finished surface, environment, and your health. It is important to wear protective clothing, including gloves, goggles, and face masks
Water-Based and Oil-Modified Polyurethane
You will not face the problem of waiting too long in-between coats because it dries very fast. However, this product can be harmful to your health. Overexposure will result in damaging your lungs and skin. Use protective gear, including gloves, goggles, boots, and face masks, and promote the free circulation of air. Water and oil-modified polyurethane creates resistant and attractive finish surfaces.
What About Luster or Gloss
The sheen is really important in the process of painting. There are several examples of sheen that are available on the market – for instance, gloss finish, satin, and semi-gloss finish. You are able to select any from the examples listed above depending on your preferences and type of project. Each different sheen has its own unique advantages. However, a high-gloss finish tends to show a lot of defects like marks and lines. It is important to use the best brush for polyurethane here to avoid brush marks.
Where to Apply the Polyurethane
The good thing is that polyurethane is suitable for both indoor and outdoor applications. It is important to note that you cannot use the indoor and outdoor polyurethane finishes interchangeably. You should always refer to the manufacturer’s guidelines and instructions when using polyurethane so that you prevent any unexpected outcomes. An interior polyurethane finish is designed specifically for indoor purposes and it contains elements that resist external weather challenges.
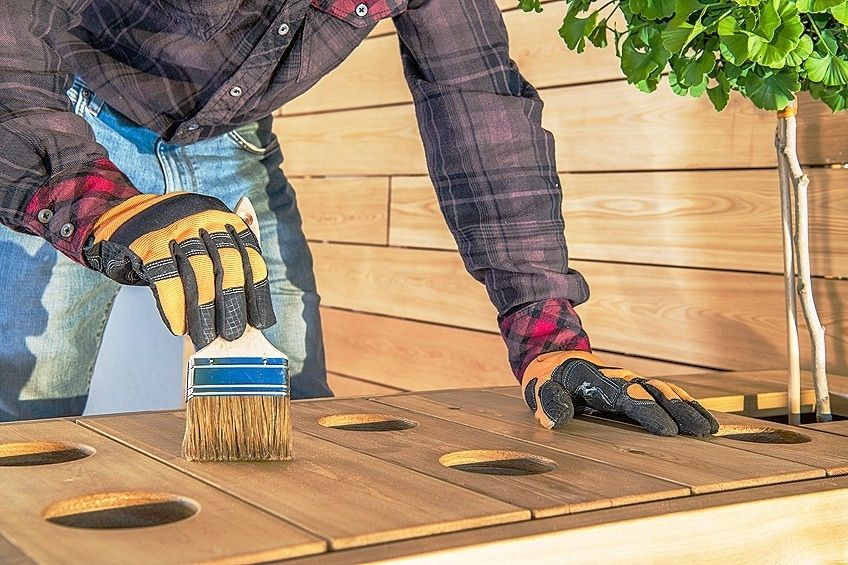
How to Apply Polyurethane
There are a number of ways to apply polyurethane to your surfaces. Your project perfection is completely based on the type of brush, materials, and the nature of your work. Remember: a good painter always takes good care of his tools while a bad one blames his tools for poor results. Below, we are going to explore the best options you can choose for the application process:
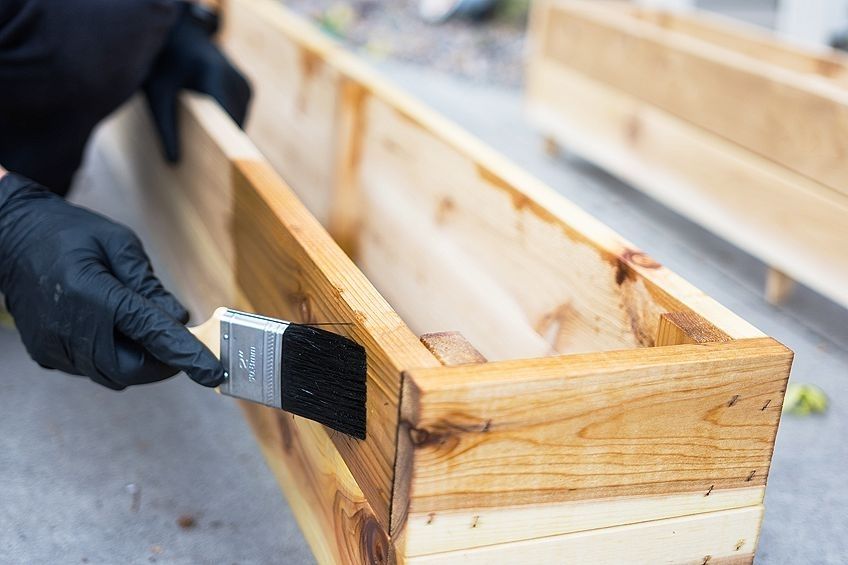
Brush the Polyurethane On
This application process requires a poly brush. A polyurethane brush is very efficient and easy to clean after work. It performs better on even and straight surfaces without leaving lines, spots, and marks. The best thing about the brush is that you do not need to re-load it very often since it covers a larger surface. Always use the best brush for polyurethane during the application, as this will result in a far superior finish.
Wipe the Polyurethane On
This method is highly suitable for those areas that are not even and straight, for example, confined and tight corners, grooves, and corners. This option will not give you a lot of complications since it is a very fast and easy process to follow. It ensures a very thin, attractive appearance and strong finish surface.
Spray the Polyurethane On
This type of application is often considered the best and fastest. However, it creates surfaces that are not particularly even and strong. For areas such as tight angles, stairs, louvers, corners, and grooves this method is the best. The sprayer is not difficult to maintain and clean, you can check the manufacturer`s instructions on how to take care of this item.
Why Use a Brush for Polyurethane
When it comes to polyurethane application, a brush is the most suitable and effective tool compared to using a roller, cloth, or a sprayer. There are many benefits of using the best brush for polyurethane. These include:
- A brush will stop bubbles from popping up on the surface
- It will allow you to access all the areas, for example tight and confined angles
- It ensures even and flat surfaces free from defects
- Offers quality and is very durable
- Improves the appearance of finish surface
- This type is resistant to polyurethane chemicals
Choosing the Best Brush for Polyurethane.
A polyurethane brush is different from others because of its distinctive qualities, easy maintenance/cleaning properties, and the results it gives on finished surfaces. We recommend you choose top quality brushes, although the prices may be higher. Quality brushes are durable and extremely effective in delivering the best results. Below we are going to point out factors that determine the best brush:
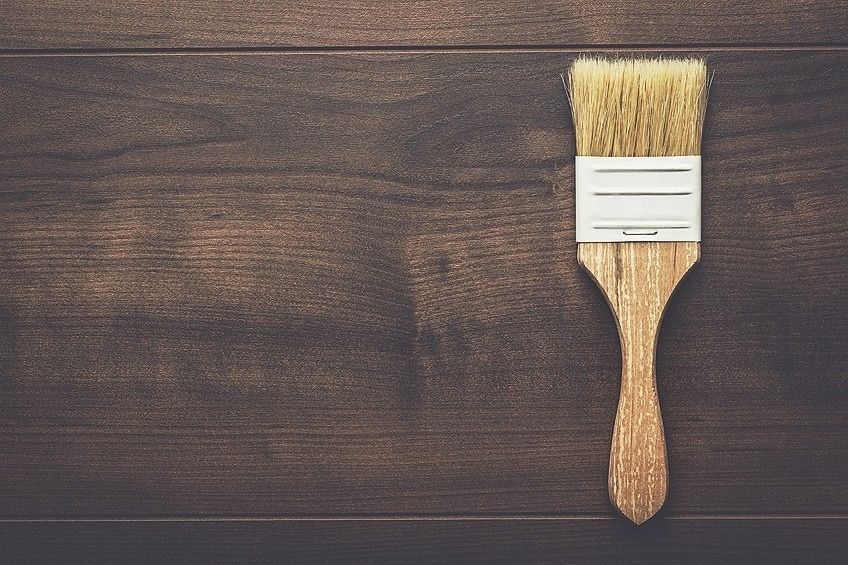
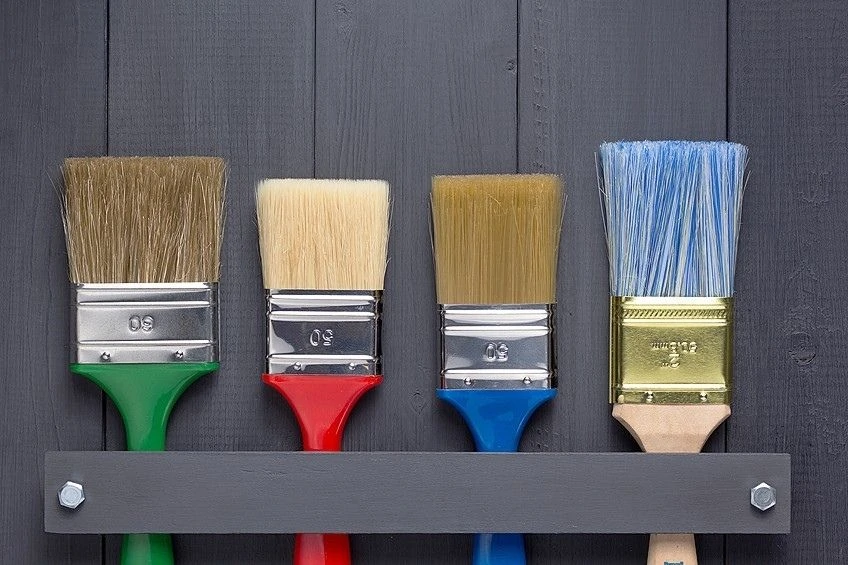
Type of Brush Bristles
The most important part of any paintbrush is the bristles that make up the head of the brush. They hold and spread the paint on the surface. Bristles come in two categories: namely natural and synthetic bristles. Natural bristles are good for polyurethane made of oil-based paint. Synthetic bristles are best suited for the application of water-based paint.
However, there is yet another type of brush which is the foam brush. It is less expensive and you can easily dispose of it after use. The foam brush is not as desirable and does not have the ability to produce professional results.
The Design and Width of the Brush
Size and width play a pivotal role in determining the best brush for your project. For example, when working on a small task a brush of two inches in size is the most suitable. Whereas, a four-inch brush is best for bigger projects tasks. When it comes to style and design, always opt for the one that really attracts you.
Handle Type
A brush handle plays an important role and it has to be seriously considered before making any purchases. There are small, big, and thick handles available. Usually, a smaller handle is easy to maintain and clean. The size of the handle depends on how big your project is and what the brush will be used for. You can use a brush with a smaller handle for minor projects and the one with a bigger handle for big projects.
The Ferrule
The purpose of a ferrule is to support and keep the bristles together. This is the most important part of the structure of a brush. It provides a support base to the bristles. Usually, a ferrule is made from materials that can resist wear and tear. You should make sure that the ferrule is stable and strong in order to keep the bristles in one place.
Split Ends
The function of split ends is to give a high level of capacity to the brush. This enables the brush to carry more polyurethane while painting. Split ends are very useful in saving time and giving you the ability to cover more work.
Quality
For the best professional results, you must use a top-quality and durable brush. We advise you to spend more money on quality more than anything else because you will save time while producing good results. Cheap brushes will break easily and they are very poor in how they perform. They can mess up your work.
Best Brush for Polyurethane
There are many good brushes available on the market. When making a decision on the correct brush to purchase for polyurethane, you must look at the quality, size, purpose, and easiness of cleaning. A good brush will save you time and money, produces excellent smooth surfaces, lasts longer, and makes your work very interesting.
Best Polyurethane Brush
Best Polyurethane Brush: WOOSTER Brush Silver Tip
This brush is a two in one because it works with both water and oil-based polyurethane. It has adaptable and gentle bristles that create even and straight surfaces without imposing a lot of defects.
It has a flexible handle that is made from hard-timber. The ferrule is made from materials that are able to resist wear and tear. You are recommended to adhere to health and safety regulations, especially when using the brush with oil-based polyurethane.

- A white and silver CT polyester brush
- Very soft formulation for a feather stroke
- A 2-inch chisel trim brush
Pros
- Good value
- Gentle and adaptable bristles
- The handle is generally easy to grip
- It is flexible and durable
Cons
- Poses a health danger risk
- Not easy to clean, requires mineral spirits
The Wooster manufacturers have been operating for a very long time. They have accomplished a lot in maintaining their brand name. They are well known in producing high class products. Never be hesitant when considering buying from them, especially when you are looking for a polyurethane brush for your projects.
Best All-Round: PURDY XL Polyurethane Brush
This brush is a multi-task one; it works with oil and water-based polyurethane. The ferrule is made from stainless steel to prevent wear and tear. The brush comes in different shapes and sizes. The sizes range from 1.5 to 2 inches. The bristles of this particular brush are made from Orel polyester which is durable and versatile. A small brush with less weight has the added advantage of letting you spread the application much faster, finishing your project much quicker.
You can use the Purdy XL brush to apply stains or primers to your surfaces. The handle is highly flexible, it is made from Alder-wood and it does not leave marks on the surface. It has the ability to soak up liquids from your hands quite easily, such as sweat, water, and any form of oils. Purdy XL brush comes with an attached chisel that makes your application even, smooth, and free from bubbles and marks.

- A 4-inch extra-large varnish and enamel brush
- A versatile brush suitable for all paints and stains
- Medium stiff bristles and a hardwood handle
Pros
- A flexible handle made from hardwood
- Multi-purpose, works with all paints
- Very strong and durable
- Produces professional and excellent results
Cons
- A more expensive brush
- Bristles sometimes become loose
- The handle is quite narrow
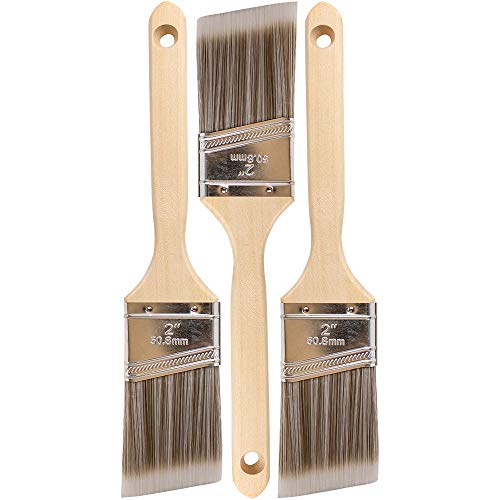
Best Value for Money: PRO GRADE Polyurethane Brush
This set includes three angled, 2-inch brushes. These types of brushes can be used on any project and even on those areas that are difficult to reach, such as angles and corners. These brushes are helpful in decorating craft or art objects, and they are highly versatile.
The ferrule is made from materials that are highly resistant to wear and tear; it also forces the bristles to stay in one place. The tails of the brushes are formed from synthetic materials, and they can carry a lot of paint at once. The handle is perfectly made in such a way that it soaks up any moisture. The brush is not difficult to operate and is comfortable to use. These brushes are known for their quality and assurance in terms of excellent work that is free from defects.
- A 3-pack of angled paint brushes
- The brushes have a thick synthetic filament
- High-quality brushes for precision painting
Pros
- Multi-purpose, can work with any paint
- Very strong and durable
- No complications when cleaning
- Bristles have the capacity of carrying a lot of paint at once
- It is made from top quality materials
- The handles are very comfortable to use
- Produces excellent and smooth results
Cons
- They have a tendency of leaving unwanted marks and spots on the surfaces
- Requires mineral spirits for cleaning
Tips for Using a Polyurethane Brush
There are two key phases to be considered when working with polyurethane brushes. These are the background preparation and application. We have highlighted tips on how to use the finish brush for each application below.
Preparation Phase
The first thing to do is to sand the wood surface using 220-grit sandpaper. Before you begin the process, make sure your surfaces are dust-free. You can use a dust-buster to remove the dust particles. Use a clean rag to make the surface cleaner. For water-based polyurethane, use a clean rag that is soaked with methylated spirits. Use fillers to make sure that the surface is smooth and even. You can apply polyurethane on all sorts of wood surfaces like walnut, oak, and so on.
Application Stage
The most important thing when working with polyurethane is to make sure that you observe and stick to precautionary measures to protect your health and the environment. Always wear protective clothing like gloves, face masks, and so on. Polyurethane contains harmful chemicals that can damage the lungs and skin. Make sure there is proper circulation of air before opening a polyurethane container because water and oil-based polyurethane contain harmful chemicals. The area of operation must not contain dust particles or anything that will end up messing the surface.
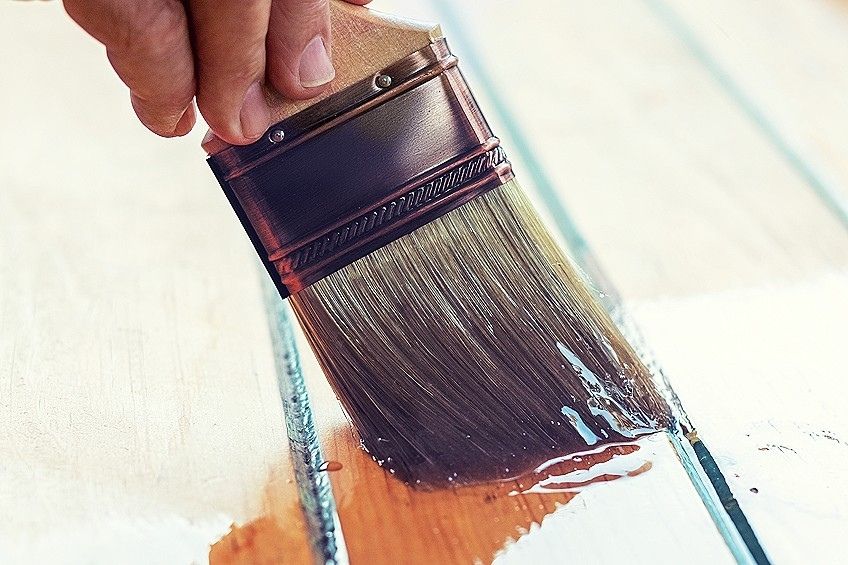
You need to moisturize the brush before painting. This is to soften the bristles otherwise they can leave marks and lines on the surface. To moisturize, use water for water-based polyurethane, and for oil-based polyurethane, use mineral spirits. Make sure that the brush dries very well.
Take notice of the amount of paint your brush is able to load and hold. An equal or uniform amount of paint will maintain the same level of thickness. Dripping is a serious problem that will affect the results of your work. To prevent dripping from messing your work, use a flat or horizontal method. If this method does not help you can spray or use a clean rag to apply paint as this will prevent dripping and ensure a smooth finish surface.
You should look for defects in between coats, for example, marks, lines, and knots. There are methods used to pick up the mistakes. For example, you can use a light to show the areas where the defects have occurred.
Applying Polyurethane with Poly Brushes
It is important to note that the method of application will not be the same for water and oil-based polyurethane. The cleaning process for both polyurethane types is also different. For cleaning water-based polyurethane, you can use a clean rag and water. For oil-based polyurethane, you can use mineral spirits.
How to Apply Water-Based Polyurethane
You need to do a thorough background assessment and preparation before you start applying your water-based polyurethane. This is done to make the surface ready in order to receive the polyurethane. Synthetic steel wool can be used to clean oil spots from the wood. Water-based polyurethane requires a well-prepared surface to avoid a lot of defects, for example, marks or bubbles.
Take notice of the thickness of your coats because this is very important. Make sure you maintain coats of the same level so that you will get the desired end finish. Remember to apply a thin layer of water-based polyurethane as your first coat. You must make sure the coats are not soft and wet before applying topcoats. Usually, the waiting time for coats to dry is between 1 to 2 hours before applying the next layer.
The number of coats depends on the purpose of the area you are putting them on. For areas where there is a constant movement of people and furniture, you can put up to four coats to strengthen the resistance of the surface to wear and tear.
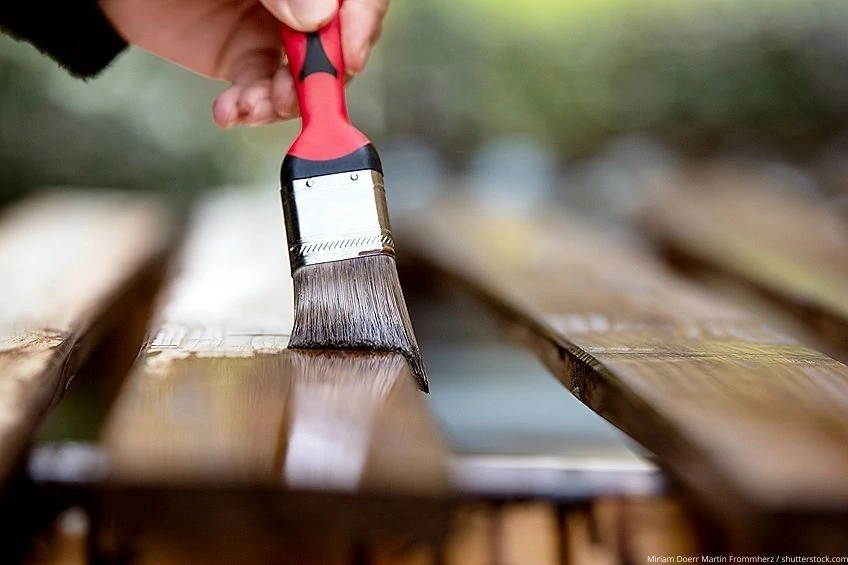
How to Apply Oil-Based Polyurethane
A finish brush with a lot of bristles is suitable for oil-based polyurethane. This is because it has to reach those tight areas like grooves, angles, and corners. Make sure the brush is moisturized and free of dust particles. Clean the brush before using it with mineral spirits.
To maintain the same level of thin coats and to prevent defects such as marks or lines, you can use the parallel application method. Depending on where you are putting the polyurethane, in less busy places three coats or less will be enough. In areas where there is heavy use by people or furniture, three coats or more will be able to resist wear and tear. Before applying the polyurethane, make sure that you use a clean moisturized rag to remove dust particles.
You must allow coats to dry before applying top layers. The waiting time should not be more than three hours. While waiting for the set time, you can make the surface ready for other coats by sanding with 320-grit sandpaper. You have to pay more attention when sanding, to avoid disturbing the first coats.
Frequently Asked Questions
How Do I Avoid Bubbles From Forming?
Bubbles come up as a result of a poor application process. However, there are methods you can use to prevent bubbles from forming. You can use mineral spirits to prevent defects for water-based polyurethane. There is also a natural strategy whereby you delay the setting time. The use of a thinner, retarder, or additives will help to stop the bubbles from surfacing.
How Can I Avoid Brush Marks?
Before anything else, remove all the dust particles from the surface by the means of a clean cloth. You should prepare the surface by sanding it down using small or medium-grit sandpaper. Finally, spread the water-based polyurethane. For any leftover brush marks, you can redo the sanding process.
Are Water and Oil Based Polyurethane the Same?
There is a big difference between water-based and oil-based polyurethane. Water-based polyurethane needs a lot of layers to reach the final coat, and oil-based polyurethane requires a few coats. Oil-based polyurethane is generally more durable, but it takes much longer to dry. Water-based polyurethane is safer, more eco-friendly, and easier to use.
Is a Foam Brush for Polyurethane a Good Choice?
A foam brush will not give you the best results and it is not the best option for the application of polyurethane. This brush type will produce a lot of defects such as bubbles, marks, and brush lines. The brush is one of the cheapest options available on the market. However, special poly bristle brushes are a better choice.
Why Use Natural Filament Bristles When Applying Oil-Based Polyurethane?
A natural bristle finish brush is the best option for polyurethane applications. This brush type is capable of resisting the minerals that come from oil-based polyurethane and it will still maintain its shape. A natural bristled brush will not work with water-based polyurethane because the bristles will soak in the water and leave marks on the surface.
Finding the best brush for polyurethane will make a major difference to your project. Poly brushes offer a smooth, even, and perfect finish. The right brush is also easier to work with and makes the process much more enjoyable. Be sure to follow our guide above on the best polyurethane brush to help improve the results of your next project!