Painting Garage Walls – Easy Home Storage Area Maintenance
This post may contain affiliate links. We may earn a small commission from purchases made through them, at no additional cost to you. You help to support resin-expert.com
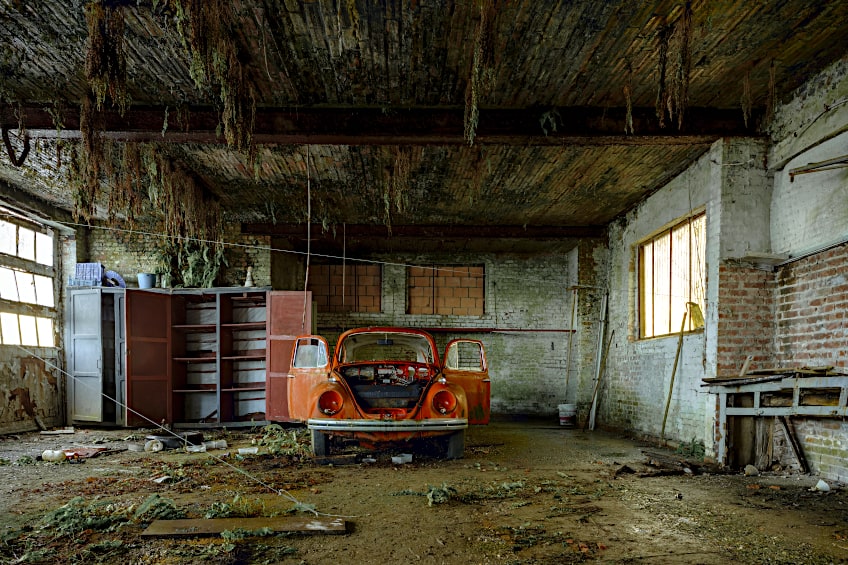
Most of us don’t spend an awful lot of time in our garage. Generally speaking, the garage is the place where storage boxes, Christmas decorations, and tools are kept until we need them. Because of this, it can be easy to forget that your garage is as much a part of your home as your living room or kitchen, and needs to be maintained from time to time. A good place to start is to paint your garage walls, so let’s have a look at how to go about painting garage walls, why it’s a good idea, what you’ll need, and the best way to go about doing so!
Table of Contents
Why Should You Paint Your Garage Walls?
Painting garage walls might seem like a purely aesthetic endeavor that does nothing except ensure the space looks and feels a bit better. However, there are quite a few benefits to painting the walls of your garage aside from making it look a bit better. If you’re asking yourself “Should I paint my garage walls?”, or simply want a bit more motivation, have a look at a few of these reasons below.
It Provides Greater Protection
The average garage is typically one of the most exposed structures that form part of your home. Unlike your home itself, it tends not to have insulation points or multiple layers of structural protection. This means that the interior and exterior paint coatings tend to be the only protection your garage has against heat, cold, impact, abrasion, moisture, mold, and insect infestation.
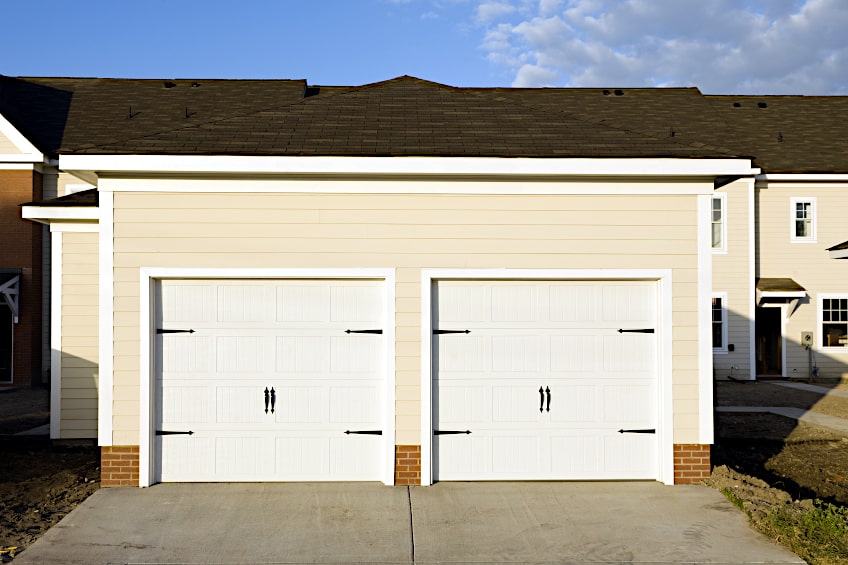
It Provides a Style Update
It’s funny how most of us get really excited at the prospect of painting our homes but when it comes to painting our garage, it seems like more of a chore. Painting your garage should actually go much quicker compared to painting your home. Painting your garage is also great for aesthetic uniformity, which tends to look far better than a modern home and a garage that looks like it from the 1970s.
It Provides a Degree of Climate Control
One of the reasons that individuals who live in harsh climates paint their homes annually is to create a degree of temperature regulation. Certain types of paint as well as certain colors can affect the garage’s ability to insulate or disperse heat. Ensuring that you have a good coat of paint every couple of years is far less expensive and labor-intensive than installing a dedicated climate control system.

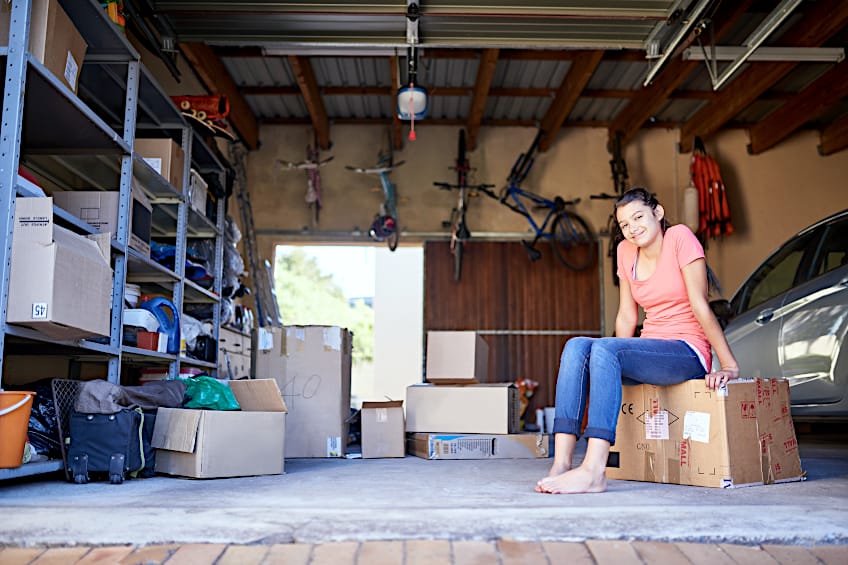
It Protects the Contents of Your Garage
As we mentioned previously, a fresh coat of paint on the interior and exterior of your garage protects the structure from impact, abrasion, heat, moisture, mold, and insects. However, it can assist in protecting the contents of your garage from warping due to extreme heat, becoming soaked by water leaking through cracks, and from critters that want to make your belongings their new home.
How to Paint Garage Walls
Now that you know why it’s a good idea, we thought we’d show you how to paint garage walls. Painting your garage walls isn’t unlike painting the walls or exterior of your home, with the primary differences being that it can take some more preparation and different kinds of paint. That being said, here’s everything you need to know about painting your garage.
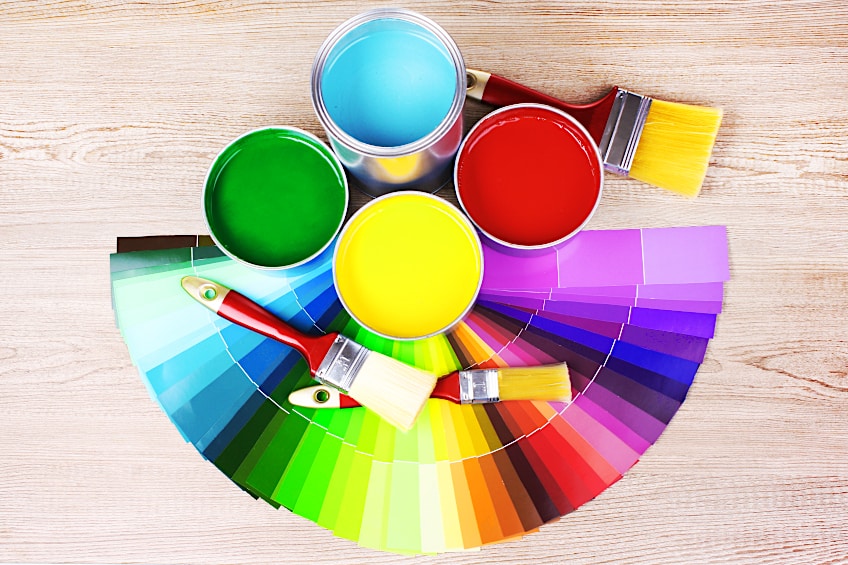
Choose the Right Paint for the Job
The paint you choose for painting both the interior and exterior of your garage will affect the finish, tone, and longevity of your paint job. What are the best paint types for painting your garage though? Well, pretty much all three major paint types (oil-based, latex-based, and acrylic-based paints) can be used when painting a garage.
Latex-Based Paint
When it comes to painting the interior of your garage the best choice is widely believed to be latex-based paints. These paints are water-soluble, inexpensive, and come in a wide variety of colors. It can also be used on shiplap, wood, and masonry, which means you don’t have to shop around for material-specific paints. Latex-based paints also do not contain any VOCs (volatile organic chemicals) which means you won’t be stuck with any nasty fumes during the drying process. Latex paints are seen as the ideal garage interior paint.
- Contains no VOCs
- Easy to use
- Readily available
- Can be spread very thin
- A wide variety of colors is available
- Inexpensive
- Water soluble formula
- Not very durable
- Muted color tone
- Cannot be used outdoors
- Needs to be sealed to prevent damage
Oil-Based-Paint
seen as the golden standard for painting the exterior of your home. After all, they are highly durable, have a rich color pallet, and create a shiny finish that screams class. However, these paints can be expensive, contain VOCs, and need to be sealed to prevent the loss of that trademark shine. Oil-based paints are typically only used to paint exterior surfaces due to the fumes they produce while drying.
- Versatile
- Easy to use
- Highly durable
- Provides a sheen finish
- A wide variety of colors is available
- Readily available
- Provides a rich texture
- Can be expensive
- Contains VOCs
- Cannot be applied indoors
- Not as many colors are available compared to acrylic-latex
- Needs to be sealed to prevent damage
Acrylic-Latex-Based Paint
Your second choice is acrylic-latex-based paint. As the name suggests this is a combination between acrylic and latex-based paints, which is a highly durable, easy-to-use, and readily available paint type. It can be a bit pricey but considering that acrylic-latex paints can be used both indoors and outdoors, many feel that it’s well worth the extra couple of dollars. Acrylic-latex paint tends to make good garage interior paint.
- Easy to use
- Highly durable
- Can be used indoors and outdoors
- Does not always need to be sealed
- The modern replacement for oil-based paints
- Contains very few VOCs
- Resistance to blistering, flaking, and bubbling
- Cannot be used on metal surfaces
- Expensive
- Can be challenging to find
- Can be challenging to remove when spilled
- Dried paint cannot be washed off with just water
Prepare Your Garage
Just like painting any other surface, you will need to prepare the surface of your garage before you begin painting. The preparation process is important as it will affect how well your paint adheres to the surface of your walls and the quality of your finish. Here are a few things you will need and a step-by-step guide to preparing your garage for painting.
- Paint (of your choice)
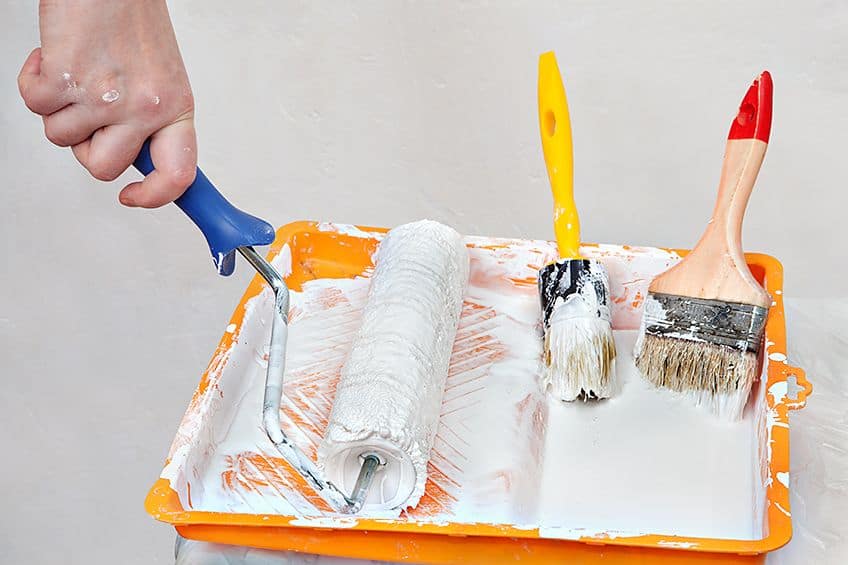
- A paint sprayer and/or a brush and roller
- A pressure washer or a clean cloth and water
- Primer
- A painter’s tray
- A tarp
- Painter’s tape
- An orbital sander
- Rough grit sandpaper
- Spackle or concrete filler
- A putty knife
Clean the Walls of Your Garage
Now this might seem a bit excessive, but you should always ensure that the walls of your garage are clean before you begin painting. If the walls of your garage aren’t squeaky clean the dirt and grime present on the surface could cause your paint to adhere poorly and/or cause it to lift and peel once the paint has a chance to dry. Here is how to clean garage walls before painting.
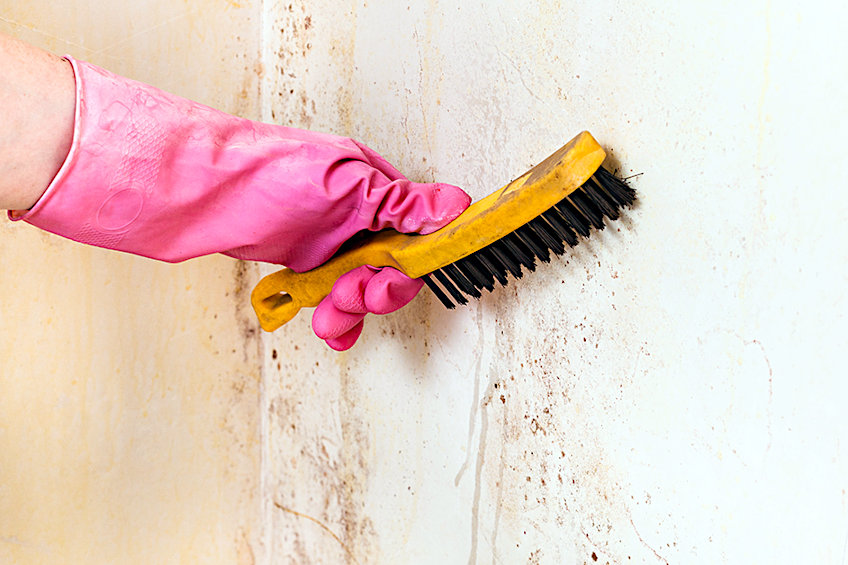
How do you clean the walls of your garage? With some good old-fashioned soap and water of course! We recommend taking it one wall at a time, using a scrubbing brush and a clean cloth to remove any dirt or grime present on the surface.
This can take a while and be quite labor intensive so be sure to pace yourself and ensure that all the areas you will be painting are as clean as possible. When you’re done allow the walls to dry completely before moving on to the next step in the process.
Patch Up Any Cracks or Holes
Most garages are subjected to a number of forces over their lifetimes. After all, their sole purpose is to protect our vehicles and belongings, which can lead to things like cracks and holes forming over time. While it won’t really affect the paint, it’s best to ensure that all of these little imperfections are filled over time to ensure uniformity and prevent them from becoming worse over time.
How do you fill holes in concrete or drywall? Well, for drywall you can fill cracks and holes with spackle and/or joint compound. Simply get some on your putty knife and fill in the holes. Next, remove any excess and allow the compound to dry for the manufacturer’s recommended time period before moving on to the next step in the process.

If you have concrete walls pretty much the same repair process applies. All that you need to do is get your hands on some concrete patch, mix some with water, get it on your putty knife, and apply it to the affected area. Fill the hole completely and remove any excess, then simply allow the mixture to dry for the manufacturer’s recommended time period before moving on to the next step in the process.
Sand the Surface of Your Walls
Sanding the surface of your garage walls is another important step to take before paint can be applied. Why? Sanding your garage walls ensures that the surface is not only even, but it will remove any existing surface coating. Sanding garage walls generally doesn’t take too much time, and only requires the use of a sanding block or an orbital sander and rough grit sandpaper (120-grit to 160-grit).
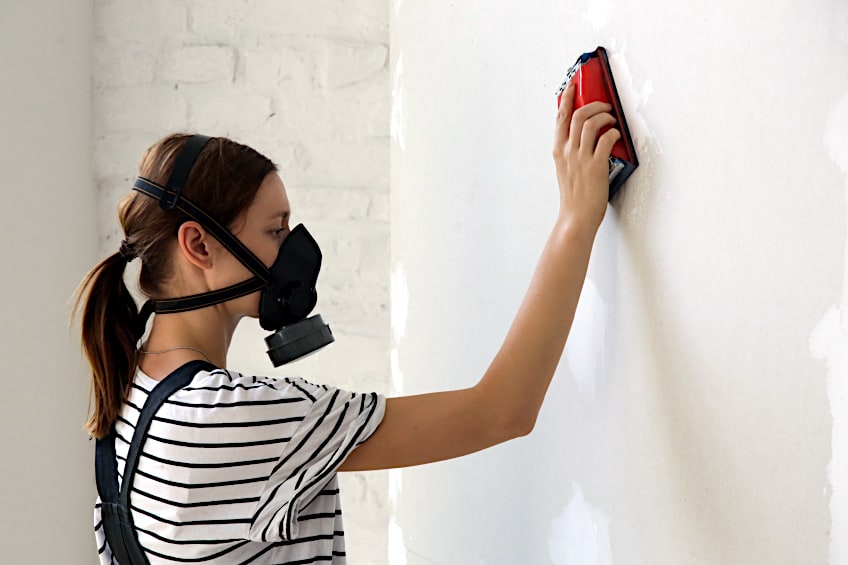
Insert your sanding disk and turn on your sander. Like you did when you were cleaning the surface of your walls, tackle one wall at a time and work from one end of the wall to the other. Ensure that you work carefully and evenly to ensure that you get a nice even finish when your paint is applied. If your walls are particularly large try working in sections, ensuring you blend them together nicely as you progress.
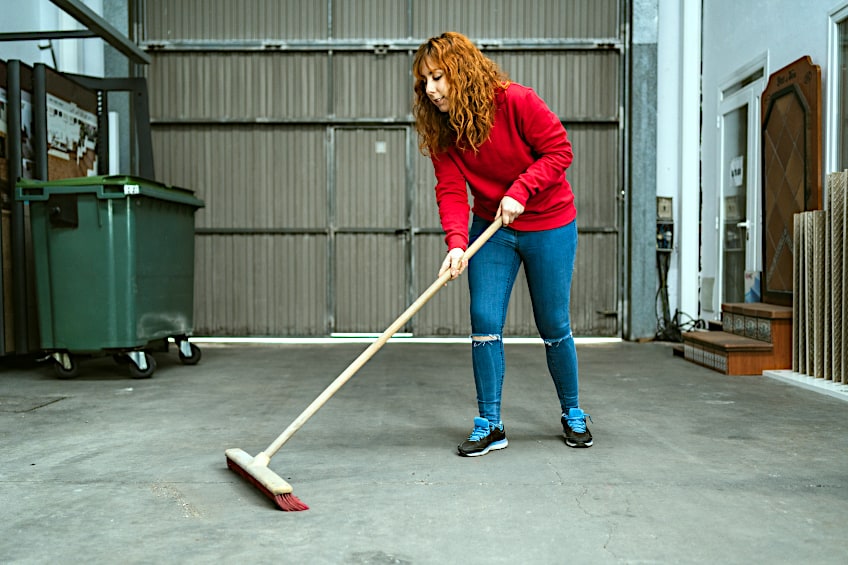
Once you’re happy with the job you’ve done sanding you should clean up any sanding dust present on the floor of your workspace. How do you do this? Well you could use a broom or vacuum cleaner, as this is just to ensure that you don’t end up walking a bunch of sanding dust into your home later on, as it can be troublesome to get rid of.
Prime the Surface of Your Walls
The last step you’ll take before painting the surface of your walls is to apply some primer. The type of primer you use will depend on the type of material your walls are made of. Regardless, you will need to give your primer a good shake to ensure the heavier particles sitting at the bottom of the can are reintroduced into the mixture.
You will also need to protect your floor and anything else you don’t want getting paint and primer on it (including ceiling runners). We recommend laying down some tarps or some old newspaper and securing them with some painter’s tape. You should also ensure that you are protected by wearing some gloves, eye protection, and a face mask to prevent the inhalation of paint and/or primer.
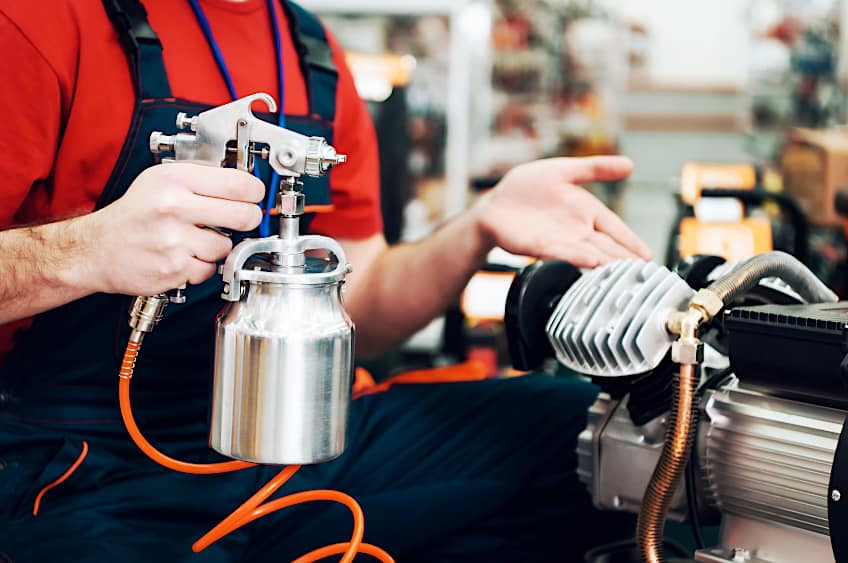
Using a Sprayer
Once you’re done, there are two ways you can apply your primer. If you’re fortunate enough to have one, you can use a paint sprayer. Fill up your hopper with the primer and choose an end of the wall to start at. Begin spraying by applying pressure to the trigger and moving your wrist in one smooth uninterrupted motion from one end of the wall to the other. Repeat this process until the entire wall has been covered, applying even trigger pressure to ensure even coverage.
Using a Brush and Roller
If you don’t have a paint sprayer, we recommend using a good old-fashioned brush and roller. Simply pour some primer out into a paint tray and get some on your roller. Apply your primer in vertical strips using the roller, ensuring each strip blends in with the next. Ensure that you keep your roller full of primer by dipping it between strips. Once you’re done, use your brush to touch up corners, edges, and anywhere else you couldn’t reach with your roller.
Paint the Surface of Your Walls
Now for the moment you have been waiting for! It’s time to paint your garage walls. Remember that all of the preparation steps we have covered so far apply to painting both interior and exterior walls, and the painting techniques we’ll be covering below apply too! That being said, there are two ways you can go about painting your walls, just like when you applied your primer.
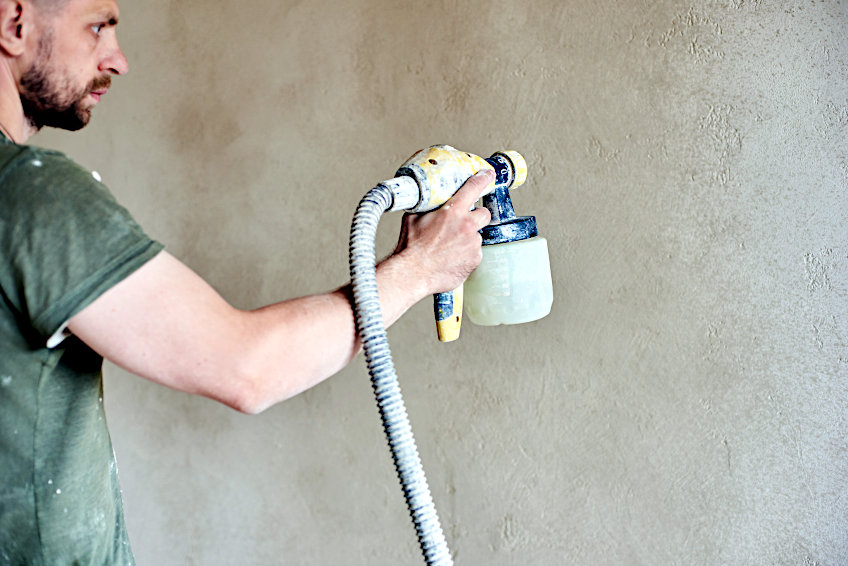
Using a Paint Sprayer
If you are going to be using a paint sprayer the first thing you should do is give your paint container a good shake to ensure the heavier particles are mixed in with the rest of the solution. Once you’re done pour some paint into the hopper of your sprayer and begin spraying. As you did when applying your primer, start at one end and work your way to the other.
Start with even pressure and move your wrist in one uninterrupted motion across the surface of your wall. Whether you’re spraying in vertical or horizontal lines is entirely up to you, and it will largely depend on the size of the wall you’re painting. You will likely have to work in sections if your wall is large, so be sure to blend them with one another.
Using a Brush and Roller
If you are painting with a brush and roller, the same process is applied as when you were applying your primer. Once your paint has been mixed pour some out into a painter’s tray and get some on your roller. When using a roller it’s best to paint in vertical stripes, ensuring you blend each strip In with the next so there are no gaps. Be sure to dip your roller every stripe or so to ensure you get even coverage.
Repeat this process until the entire wall has been painted. Once you’re done with the main surfaces of your walls be sure to use your brush to fill in any gaps you couldn’t quite reach with your roller. This will ensure even coverage and save you some time and effort later in case you missed any spots. Once you’re done, allow the paint to dry for the manufacturer’s recommended time period.
You are free to apply as many coats of paint as you like regardless of which application method you have used. Just be sure you have allowed the paint to dry before the next coat is applied. In terms of durability and insulation, the more layers the better. However, the more coats you apply the more intense your color will be, especially when oil-based paints are concerned.
Tips and Tricks for Painting Garage Walls
Now that you know how to prepare and paint the walls of your garage, we thought we’d show you some helpful tips and tricks. While you don’t have to use any of these, they are good to know in case you’re having trouble painting your garage. That being said, here are a few things for you to keep in mind when painting your garage walls.
Maintain Your Garage Well
Whether you’re a seasoned professional or just want to save a few bucks by painting your garage yourself, you’ll find that painting your garage can be time-consuming and labor-intensive. The best way to ensure you don’t have to do this too often is to ensure that your garage walls are well-maintained and regularly cleaned.
Giving the walls of your garage a good wash every once in a while and ensuring there aren’t too many cobwebs or dust bunnies are good ways to start. Using a power washer on your exterior is a good idea, and cleaning your interior are good habits to get into. This will deter insects and keep your garage looking spick and span!
Choose the Right Lighting
While this might seem like overkill, it could actually save you a lot of time and money down the line. Paint can be more fragile than you think, and since we use artificial light quite a lot in our daily lives, choosing a light that won’t slowly degrade your paint job over time seems like the most reasonable course of action, don’t you think?
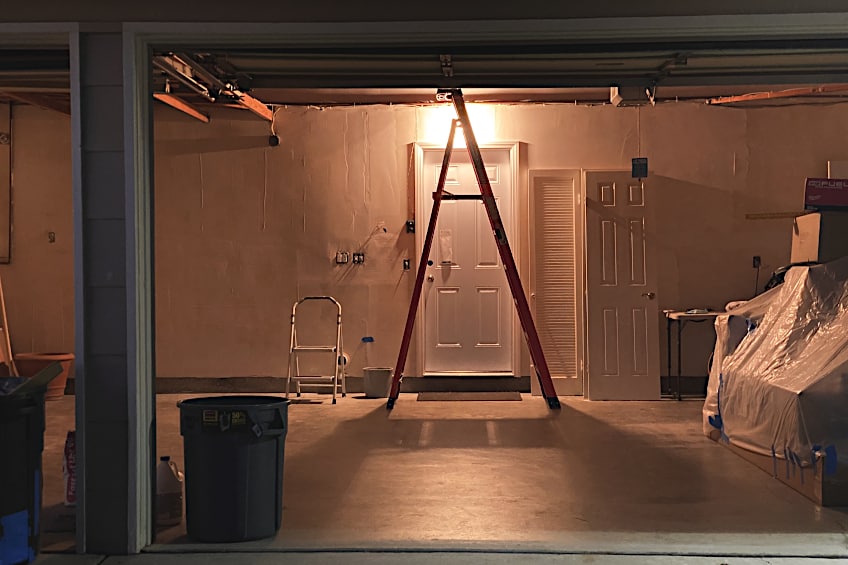
What is the right lighting for paint though? Well, the best lighting for pretty much any paint would be LED lighting. Galleries use these to illuminate famous works of art all the time, which means they will be more than sufficient for your garage walls. LED lighting also uses far less electricity compared to conventional light bulbs, saving you even more money!
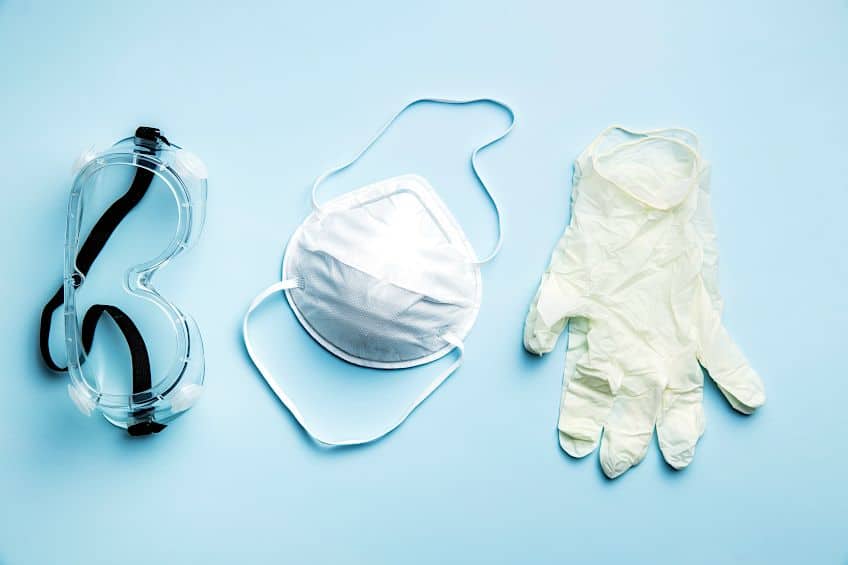
Always Wear the Appropriate Personal Protective Gear
While this should go without saying, you should ensure that you protect yourself when working with any type of paint. This doesn’t necessarily mean protecting yourself against the paint itself, but you will be working with potentially harmful tools and chemicals during the preparation process as well, so it’s best to suit up beforehand.
What should you wear? Wearing a set of eye goggles, a face mask, and gloves graded for use with paint is a great place to start. These will prevent you from inhaling or coming into physical contact with anything potentially harmful, saving you some discomfort or a potential trip to the emergency room while you paint your garage walls.
Now that you know why it’s a good idea to paint your garage walls, what you will need, and how to go about it, it’s time for you to get out there and put your newfound knowledge to the test! Remember to always wear the appropriate personal protective gear and to ensure you have the right paint for the type of surface you will be painting.
Frequently Asked Questions
How Do You Clean Garage Walls Before Painting?
Wondering how to clean garage walls before painting? Whether you are cleaning interior or exterior walls, a good wash using either a pressure washer (on a low pressure) or some soap, water, and a clean cloth will get the job done.
Should I Paint My Garage Walls?
There are many good reasons to paint your garage walls. It gives the space far better insulation, makes your garage looks better, blends it in with the rest of your property, and protects the surface of your garage walls from external forces.
Are Painted Garage Walls Better?
Objectively speaking, painted garage walls are better than unpainted ones because they have more protection from exterior forces. They are protected from things like insects, wind, impact, abrasion, heat, moisture, and mold.