How to Stabilize Wood – In-Depth Guide
This post may contain affiliate links. We may earn a small commission from purchases made through them, at no additional cost to you. You help to support resin-expert.com
Wood has a big disadvantage: it ages, and after a specific time, it even rots. The skilled craftsman, however, knows methods to make wood durable, or more precisely, to preserve the wood on the surface and stabilize it completely. In our wood guide, we will tell you how this works.
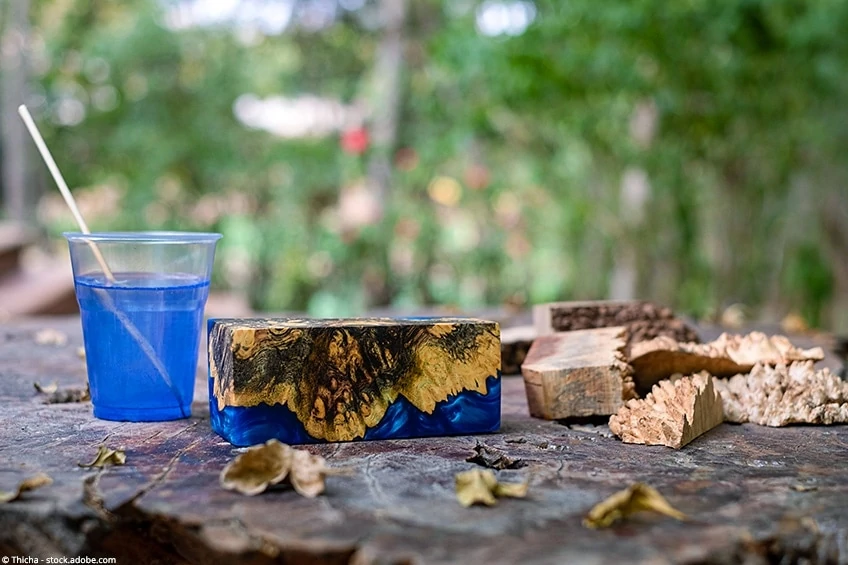
Table of Contents
How to Stabilize Wood with thermosetting Resin
As the name suggests, thermosetting resin is cured using heat. Therefore, you will need an oven for its application. Please note that the optimum temperature is 95° Celsius or less. If you choose a higher temperature, the resin will bleed more from the wood, and, in the worst case, the resin will not cure or stabilize sufficiently.
The residual moisture in the wood should be as low as possible – ideally below five percent. Therefore only wood that has been stored for a long time should be used. You can also dry the wood in an oven at 104° Celsius for 24 hours before stabilization.
Needed Materials
You need the following materials and equipment if you want to stabilize rotten wood with thermally hardening resin:
- Thoroughly dried wood, preferably with a residual moisture content of no more than 5 %.
- A vacuum pump
- A vacuum chamber with the necessary equipment: a vacuum meter, valves, and a suitable hose
- Standard household aluminum foil
- Protective equipment consisting of an apron, protective gloves, protective goggles and oven-proof gloves
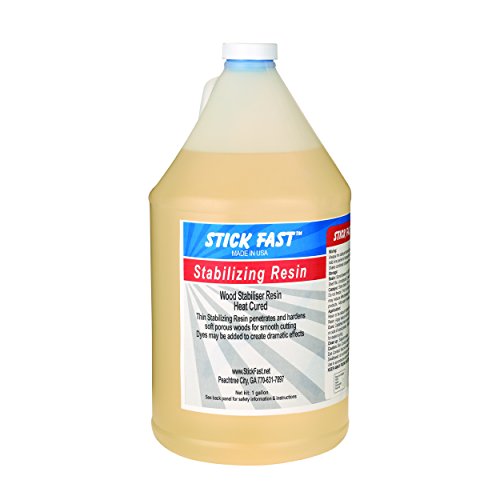
- A stabilizing resin; we assume in our instructions that the resin is thermally hardening
- A baking oven with a constant temperature of 71 – 93 degrees Celsius
- A high-quality furnace thermometer to determine the corresponding temperature as accurately as possible
- Possibly a dye or a coloring agent, if you want to color the wood
The vacuum pump used should be able to create a vacuum of 30mmHg. The aluminum foil is used to stabilize the wood for the baking process. The oven-proof gloves are used to remove the hot blanks after the baking process. An oven that you use for stabilizing wood should never be used for food, as this can have health consequences!
An advantage of using thermosetting resin is that all equipment can be cleaned with warm soapy water. For time-curing resin, however, you will always need a solvent.
Preparation
- Before every stabilization procedure, you should check your equipment for damage and dirt. This work is an essential part of stabilizing wood, as dirt deposits can have a considerable negative influence on the stabilization process.
- The vacuum chamber, in particular, has to be checked for damages, because this question is an essential safety aspect.
- All tools should have a safe, heat-resistant, and solid place where you can work without problems. Always wear safety equipment; this includes protective gloves, long-sleeved clothing with an apron and safety goggles. Should the resin come into contact with your skin or mucous membranes, immediately rinse the affected area thoroughly with warm soapy water and seek medical attention immediately!
- Have all the necessary utensils within easy reach. Now you can load the vacuum chamber.
Load Vacuum Chamber
- The blanks to be stabilized are now placed in the vacuum chamber. It is essential that the stabilizing liquid can reach the blanks from all sides without hindrance; this means that they must not prevent the stabilizing liquid from penetrating. Therefore, make sure that there is an appropriate distance between the blanks.
- Now the blanks are first weighted down to prevent them from floating up during the stabilization process. For this purpose, you can either use a large-mesh grid weighted with weights or an anti-float mat, which you can screw to the wall of the vacuum tank.
- You can now fill in the resin. The blanks must always be covered with the stabilizing medium used. During the stabilization process, the blanks naturally absorb resin, and the resin level drops slightly. This must be taken into account. In any case, put enough resin into the vacuum chamber; it should cover the blanks up to 15 mm high.
- The chamber is now closed. The evacuation process can begin. As the air contained in the blanks escapes, you will notice that the stabilizing medium begins to “boil.” Take care that the resin does not overfoam and run off. If you are unsure about this step, let the air escape slowly and gradually at first. It is better to give the blanks more time. If there is a lot of foaming, wait several minutes between each evacuation step until the foam has dissolved. If the resin no longer foams – i.e., if there are no more bubbles on the surface – all air has escaped, and the blanks are completely saturated.
- Once the air has completely escaped from the blanks and they have absorbed the resin, the process is complete. The process usually takes about one hour, but sometimes it can take longer. Now you can switch off the vacuum chamber. Leave the blanks in the chamber for a while.
Before switching off, the valve of the vacuum chamber must be closed. Do not open the vacuum chamber too quickly, but be careful when ventilating it.
Baking / Curing
- When the evacuation process is complete, you can remove the blanks and let them drain well. Afterward, they are dabbed off thoroughly with kitchen paper. Pour the resin from the vacuum chamber into an airtight container and store it in a dry place away from light at a maximum of 20° Celsius. The resin can be reused for the next stabilization process. It can be stored for a long time and should, therefore, never be discarded! With our tips and tricks, you can learn how to save resin.
- All tools that have come into contact with the resin should be washed with warm soapy water. You can easily relate this to the blanks’ baking process, which takes between 60 and 90 minutes.
- The blanks are now wrapped in aluminum foil. Use a single piece for each of them. Make sure that the aluminum foil is wrapped very tightly and that the matt side faces outwards. The glossy side should snuggle closely to the blank.
- The oven is now preheated to a temperature of 71° to 93° Celsius. Use the oven thermometer to measure the temperature accurately. Once the appropriate temperature has been reached, the blanks are placed in the oven and remain there for a minimum of 60 and a maximum of 90 minutes.
- When this process is finished, you can remove the blanks with the help of protective gloves and remove the aluminum foil. If the foil does not come off easily, carefully help with a knife or other sharp object.
Tips and Tricks
- It is perfectly normal for a little of the stabilizing resin to escape after baking. However, if a substantial amount of resin has escaped, the wood had too much residual moisture before stabilization. You should, therefore, always ensure that the wood used is thoroughly dried.
- The evacuation target should be 30 mmHg. The following applies: The deeper the evacuation, the better and deeper the penetration of the resin and the more durable and robust the piece of wood being worked on will be.
- The wood is much heavier after the stabilization process than before. This must be taken into consideration, especially when working as a knife or pen handle, because writing with a pen that is too heavy can become unpleasant after a short time. A knife, on the other hand, must be well balanced in order to be comfortable to use. Especially with high-quality blades, the weight of the handle should always be considered.
- In order to save stabilizing medium in the vacuum chamber, you can build a cavity yourself from an old metal salad bowl and a plastic bucket: Simply cut a ring out of the plastic bucket and glue it into the cavity of the salad bowl so that it protrudes a reasonable distance. Seal the resulting ring well. You can place this container entirely in the vacuum chamber and place the piece of wood inside to stabilize it. Fill the container with the resin as you would fill the vacuum chamber, and then use the vacuum chamber as usual. This will save you a lot of resin – and you will not have to decant the remaining resin after the stabilization process.
Why Should Wood Be Stabilized?
Many types of wood are hard enough to be used as a material for all kinds of objects, be it art objects, knife handles, pencil handles, or other everyday objects. These give the objects a noble and, at the same time, high-quality appearance.
However, some types of wood are too soft, which is why the artist runs the risk of damaging them during processing. Even after processing, they lose their hardness, grip, and, at some point, even their substance.
To counteract this natural ageing process, rotten wood can be stabilised, for example with the help of a vacuum chamber and very low-viscosity MMA, the basic material of Plexiglas. It is also possible to stabilise wood with epoxy resin.
Generally speaking, it can be said that air is extracted from the wood pores by building up a vacuum, the place of which is then taken by a stabilizing medium. The latter is done with the help of a built-up overpressure. In this process, the lowest possible residual moisture must be ensured so that the stabilizing medium can be optimally distributed. Insufficient stabilization occurs if the wood is still too moist during the process.
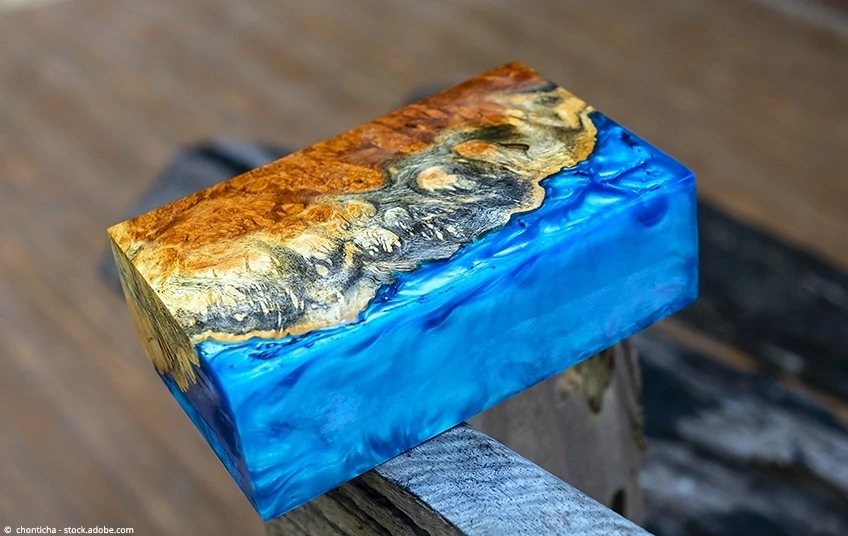
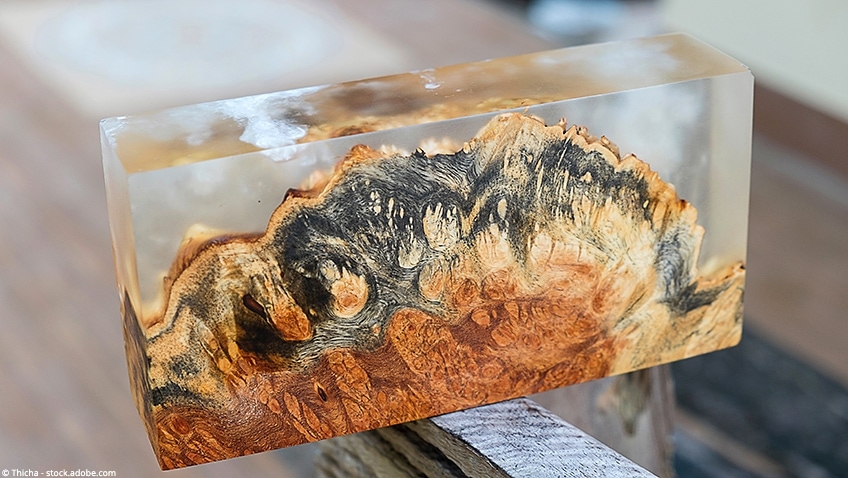
After stabilization, the original material shows characteristics of both this basic material and wood; a hybrid material has been created. Now the wood can withstand higher loads and has a more durable structure. Large temperature fluctuations, weather-related damage, solvents, acids, and many other chemicals can hardly harm it. Even high humidity and intense UV radiation no longer affect the material or only to a negligible extent.
The woods created in this way often have a strong grain and are very attractive, as in many cases, they are still stained by the artist. They can be worked well mechanically, but high temperatures should be avoided. From a temperature of about 120° Celsius on, the surface of the processed wood starts to smear, which can lead to a considerable visual impairment.
Stabilized wood is non-toxic for the human as well as animal body if the stabilization with liquefied Plexiglas, i.e., MMA, has taken place. One should be a little more careful with thermally hardening resin such as Cactus Juice, which we will discuss later, but even this does not have any adverse effects on health after hardening. Besides wood, horn and bone material can also be stabilized.
What can Stabilized Wood Be Used for?
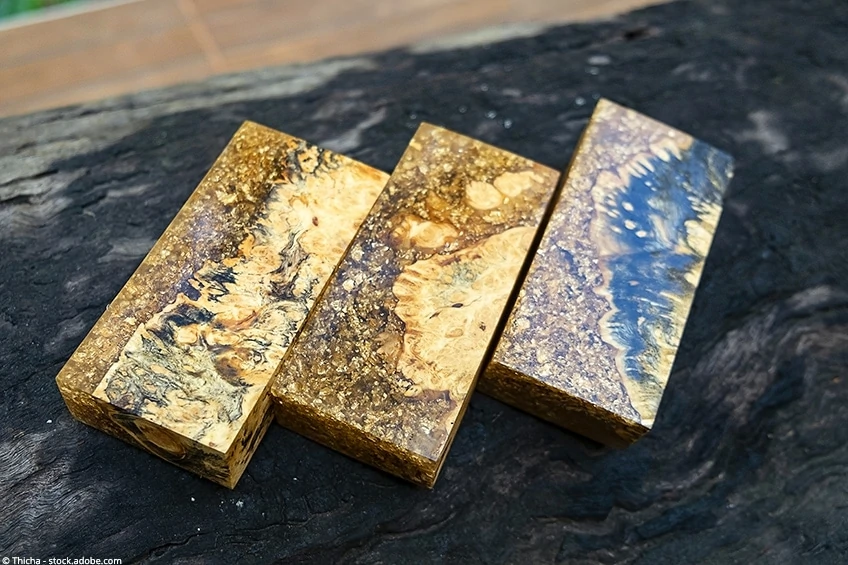
Stabilized wood can be used for many different things, for example, for the production of knife handles. A classic example of the use of stabilized wood is the Pen Blank, which is basically the handle of pens. In principle, however, any suitable piece of wood can be stabilized, including works of art made of wood as well as bowls, dishes, and other everyday objects.
Such unique specimens made of stabilized wood have of course a premium price, but you have to consider with what kind of effort they were made.
Stabilize Different Types of Wood
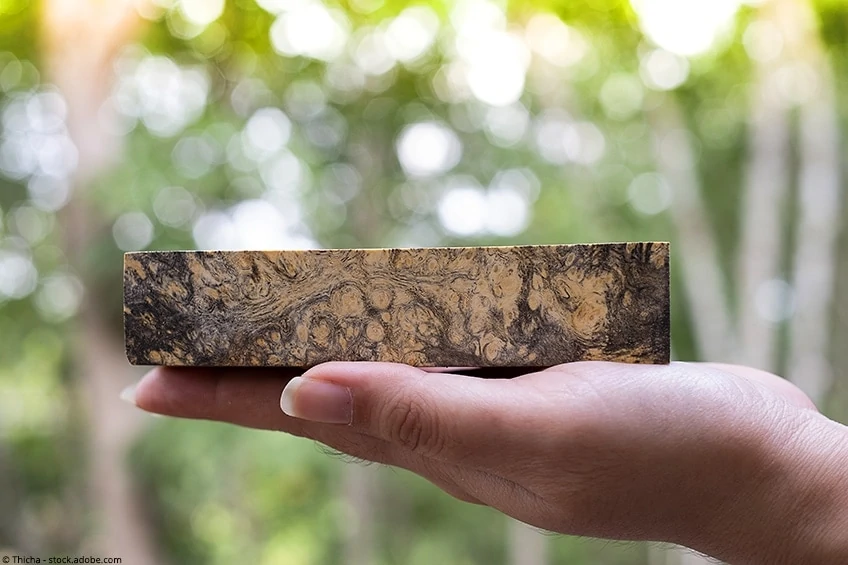
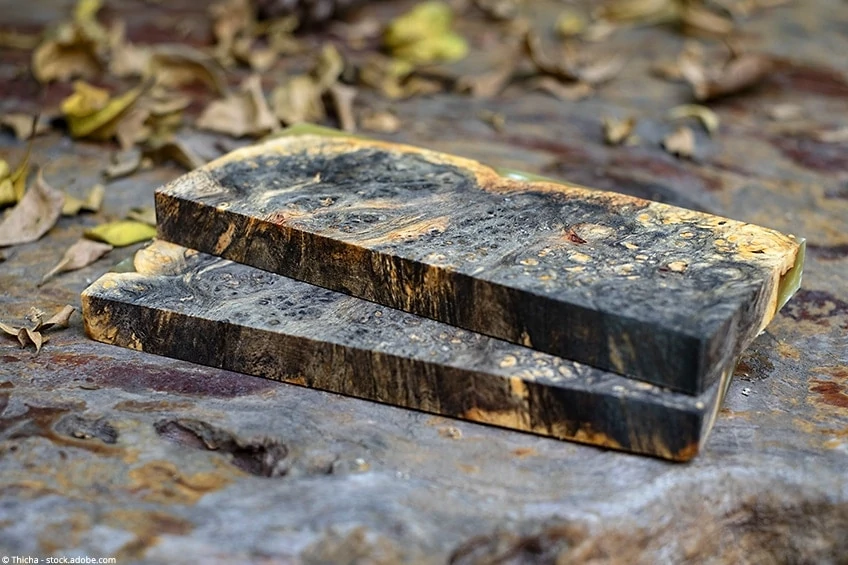
There are many different types of wood, and not all of them are suitable for stabilization. In general, large-pored wood types with a low density are well suited to be stabilized. In particular, felled wood cuts a remarkably good figure: due to its large pores, it absorbs a considerable amount of the stabilizing medium. This results in a beautiful structure, especially after subsequent polishing. Examples of this are:
- Birch
- Poplar
- Beech
If dyes are then added, the wood shows itself from its best side and is extremely durable and long-lasting.
However, some woods are only conditionally suitable or even unsuitable for stabilization. These are, for example:
- Rosewood
- Olive
- Ebony
- Softwoods
They have a very oily and resinous component, tiny pores, and high density. This and other factors, such as the presence of tanning agents, massively impair the absorption of the stabilizing resin. The hardening process cannot be optimal because the stabilizing medium does not completely saturate the wood.
Stabilize Wood with Thermally Hardening Resin
Thermosetting resin allows complete penetration of the wood used, thus ensuring the best possible stability. The resin used to stabilize the wood is not only introduced into the wood, but also cured by heat. As a result, it not only remains on the surface, but also wholly impregnates the wood.
One of the resins you can use for this purpose is Cactus Juice. This is mixed before use and reaches its final hardness and stability when baked in the oven. It is easy to color; if possible, use coloring agents from the same manufacturer to avoid unpleasant surprises.
- Low odor
- Deep penetrating and reusable
- Environmentally friendly
- Cleans up with soap and water
Especially when using thermally hardening resin, it is essential to keep residual moisture as low as possible. Even if your wood has been stored for an extended period, it is still possible that the remaining residual humidity is too high for the stabilization process. If you want to make sure that your wood is sufficiently dry, you can dry it for 24 hours at 104° Celsius in an oven.
After mixing, Cactus Juice is basically used in the same way as described further down in our detailed wood stabilization instructions. It should be noted that Cactus Juice must never be stored at a room temperature above 29° Celsius, as a higher temperature can massively affect the properties of the resin.
Stabilize Wood Surface with Epoxy Resin
Epoxy resin can be used to stabilize and repair wood in a way that is sufficient for many applications. However, it should be noted that a structural engineer must always be consulted for load-bearing parts of buildings to ensure that the wood has been sufficiently stabilized. Epoxy resin, despite all its advantages, also has one disadvantage: it does not penetrate deeply into the wood without a vacuum chamber, but only stabilizes it on the surface. It can be coated with resin, which makes the wood waterproof.

- Thick pours up to 2" per application, low viscosity and long working time
- Super clear results, compatible with pigments and dyes
- 2 : 1 mix ratio by volume (100 A to 44 B by weight)
Epoxy resin is best processed at temperatures between 15 and 25° Celsius. It consists of two components, the resin and the hardener. After mixing, these two components react with each other and harden. When applied to wood, it must be dry and absolutely free of dust and dirt. Therefore, crumbling wood should first be thoroughly removed, and the piece of wood to be processed should be cleaned.
To ensure that the wood absorbs the epoxy resin optimally, you should add a reactive thinner to the resin. This makes the resin more penetrative. You can also drill tiny holes to improve the absorption capacity of the wood.
Always observe the safety precautions when working with epoxy resin. Wear gloves and long-sleeved clothing and ventilate the work area well.
Consolidate Wood surfaces with Wood Hardener
Wood Hardener also offers an excellent way to repair porous areas in wood. However, this material has the same disadvantage as epoxy resin: it does not penetrate the entire wood, only the surface.
One advantage is that it can be used indoors and outdoors, effectively preventing future damage. As a rule, wood hardener is transparent, so that the wood’s own color is not only retained, but refreshed. The application is simple and even for inexperienced do-it-yourselfers effortless.

- Penetrates deep into the wood and its special resin binds and reinforces the decayed wood fibers
- Seals from further moisture penetration and hardens to a rock hard solid base for lifting
- Penetrates deep, strengthening decayed wood
Buy a Vacuum Chamber to Stabilize Wood
If you would like to buy a vacuum chamber to stabilize wood, we have the ultimate tip for you: the BACOENG vacuum chamber. It is made of stainless steel and is available with different capacities. It offers the user a high quality at a reasonable price and has several advantages:
Advantages
- It has an easy-to-read liquid-filled display
- It offers a non-adhesive silicone mat that is guaranteed to be used at least 10,000 times without signs of wear
- BACOENG’s vacuum chamber not only stabilizes wood, but also extracts essential oils from organic materials and degasses epoxy, urethane and other materials
- The processing of the vacuum chamber is clean and of high-quality
- The price includes everything the user needs; it is not necessary to buy additional equipment
Disadvantages
- In some cases the bottom of the container may bulge inwards during use

- High strength stainless steel, durable and sturdy, long service life
- This Vacuum Pump comes with 2 silencers, reducing the motor vibration and noise
- It can protect itself and prevent it burning out when something is stuck. Built-in thermal protection
The BACOENG vacuum chamber offers you everything you need to produce stabilized wood. The fact that the bottom of the container rarely bulges inwards is a case for customer service and can be quickly repaired. The price-performance ratio is simply right here, which is why we can give a thorough recommendation for this vacuum chamber.
How to Stabilize Wood
Materials
- Thoroughly dried wood
- Vacuum pump
- Vacuum chamber
- Aluminum foil
- Stabilizing Resin
- Baking oven
- Thermometer
- Dye or a coloring agent
Instructions
- Have all the necessary utensils within easy reach. Now you can load the vacuum chamber.
- The blanks to be stabilized are now placed in the vacuum chamber. It is essential that the stabilizing liquid can reach the blanks from all sides without hindrance; this means that they must not prevent the stabilizing liquid from penetrating. Therefore, make sure that there is an appropriate distance between the blanks.
- Now the blanks are first weighted down to prevent them from floating up during the stabilization process. For this purpose, you can either use a large-mesh grid weighted with weights or an anti-float mat, which you can screw to the wall of the vacuum tank.
- You can now fill in the resin. The blanks must always be covered with the stabilizing medium used. During the stabilization process, the blanks naturally absorb resin, and the resin level drops slightly. This must be taken into account. In any case, put enough resin into the vacuum chamber; it should cover the blanks up to 15 mm high.
- The chamber is now closed. The evacuation process can begin. As the air contained in the blanks escapes, you will notice that the stabilizing medium begins to “boil.” Take care that the resin does not overfoam and run off. If you are unsure about this step, let the air escape slowly and gradually at first.
- Once the air has completely escaped from the blanks and they have absorbed the resin, the process is complete.
- The blanks are now wrapped in aluminum foil. Use a single piece for each of them. Make sure that the aluminum foil is wrapped very tightly and that the matt side faces outwards.
- The oven is now preheated to a temperature of 71° to 93° Celsius. Use the oven thermometer to measure the temperature accurately. Once the appropriate temperature has been reached, the blanks are placed in the oven and remain there for a minimum of 60 and a maximum of 90 minutes.
- When this process is finished, you can remove the blanks with the help of protective gloves and remove the aluminum foil. If the foil does not come off easily, carefully help with a knife or other sharp object.
Frequently Asked Questions and Answers
What Moisture Content must the Wood have for Stabilization?
The wood should have no more than 5% residual moisture content. The drier the wood is, the better it can be stabilized. To be on the safe side, you can dry it for 24 hours at a temperature of 104° Celsius in an oven.
Which Color Mediums to use for Coloring?
There are special color mediums with which you can color the wood. If you are using resin or MMA from a specific manufacturer, it is vital to stay with that manufacturer – so if possible, use both coloring medium and stabilizing medium, from the same company.
